
You can turn regular egg yolks into the richest, most umami-packed ingredient in your kitchen with just salt, sugar, and a little patience! You'll want to put this popular delicacy on everything be sure to give it a try!

I first came across salted egg when I was gifted some Irvin's Salted Egg Fish Skins.
This dangerously addictive snack, which has salted duck egg yolks as its main ingredient, blew me away with its incredible umami flavor. Here began my love for salted egg!
And now I'm thrilled to share with you a homemade recipe for salted egg yolks, using chicken eggs.
Use these to elevate almost any dish to another level. Once you try them, you'll always want to have these on hand!
But first, allow me to tell you a little bit about salted egg yolks!
Jump to:
What Is Salted Egg Yolk?
Salted duck eggs have been a preservation staple in China for centuries, and they are a popular ingredient in Asian cuisine. For example, you will see them grated over congee, included in moon cakes, or whipped into sauces that coat everything from crabs to potato chips.
There are different ways to cure eggs and egg yolks.
The traditional way of creating salted duck eggs included curing the eggs in a brine solution or salted charcoal, and these are still used today in Asian countries.
The brining process typically takes about 20-30 days, so great patience is needed for this method. 😁
Over time, cooks realized the yolks were the real prize. Dense, creamy, and packed with umami, they became a standalone ingredient rather than just a preserved egg.
The modern way skips the clay and fresh duck eggs in favor of chicken yolks cured in straight salt, a combination of salt and sugar, or a simple brine method.
In the west, salted egg yolks are typically produced using dry methods (my favorite way to cure egg yolks), which is what you will find here. This method (much quicker than brining!) produces more of a firm texture, suitable for grating.
The resulting cured egg yolk has a rich salty umami flavor which enhances anything it touches!
Interested? Please read on to find out what you'll need to make this umami flavor bomb!
🍽 Equipment
You don't need much in the way of equipment to make salted egg yolks, but you will need the following:
- Small deep container, preferably with a lid (this will need to be deep enough so that it will hold the yolk and layers of salt and sugar, and wide enough so that the yolks do not touch each other). I used an airtight container from a set I bought on Amazon (affiliate link). If you're looking for a good affordable glass storage set for food you can't go wrong with this one.
- Small bowl
- Wire rack (for use when drying out your yolks in the oven)
🥘 Ingredients
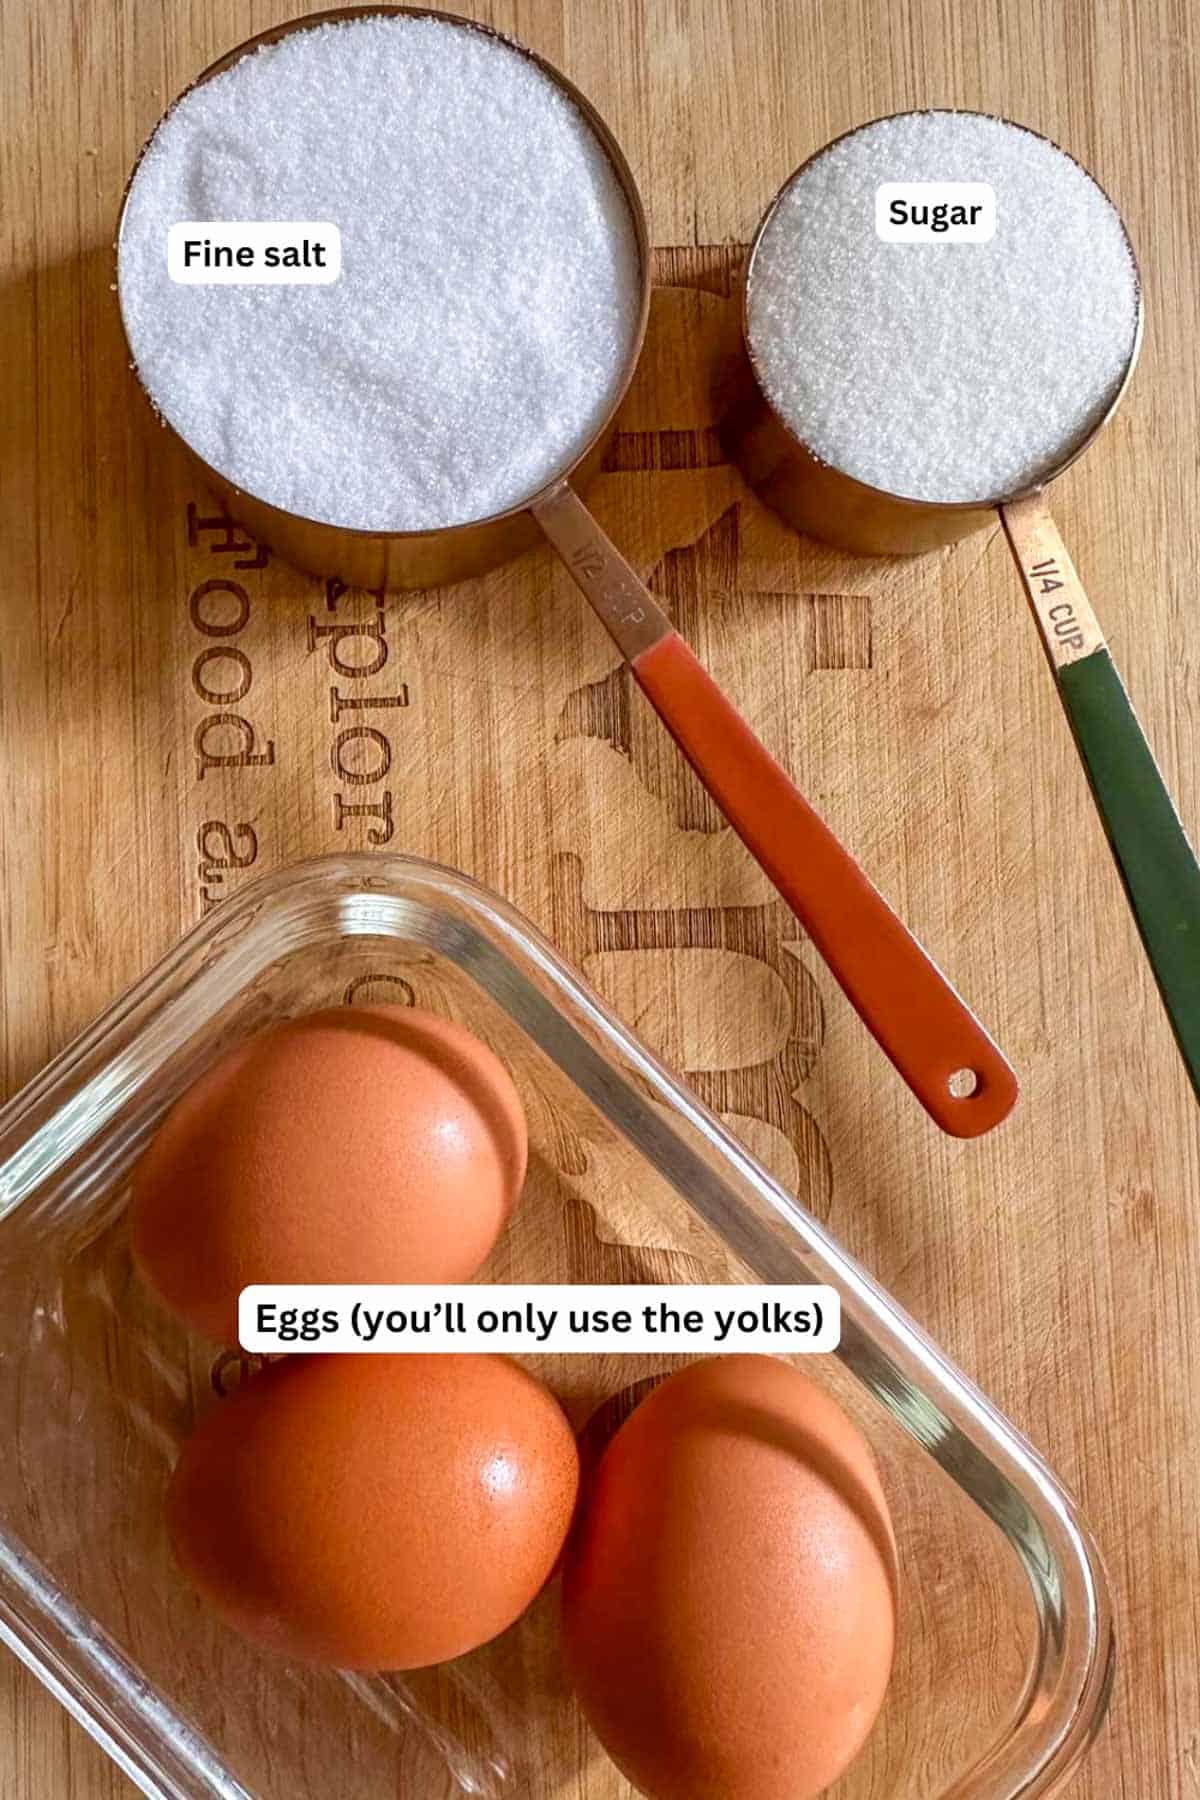
This recipe is adapted from Ottolenghi Test Kitchen Extra Good Things "Creamed Spinach With Paprika Pine Nuts and Cured Yolks."
You only need 3 ingredients to make this salted yolks recipe:
- Fine Salt - I used fine table salt, but you can also use sea salt
- Sugar - sugar is included in the cure to balance out and mellow the saltiness just a bit
- Chicken egg yolks - I used regular eggs (fresh and pasture raised with bright orange yolk) that I bought from my grocery store
You most likely won't even have to go shopping as I would hazard a bet that you may already have these 3 ingredients!
Now on to the easy instructions!
🔪 Instructions
Mix the salt and sugar in a small bowl. Place half of this mixture in your container, and make 2 small wells (in which your yolks will sit) using a spoon. Space these apart so that the yolks won't be touching each other.


Separate the egg yolks from the egg whites, and carefully place a yolk in each of the wells. Try not to break the yolk, but it's ok if you do (just a little bit though!). Pour the remaining mixture over the egg yolks so that they are completely covered.


Place the lid on your container, and refrigerate the mixture for about 2 days. If you don't have a lid, you can also use plastic wrap.
After the 2 days, use a spoon to lift the yolks out one at a time. Rinse each one gently under cold water to remove excess salt and sugar from the surface. Pat dry with a paper towel.
Preheat your oven to 175F. Place the yolks on a wire rack and then dry them in the oven for about 2 hours.

Remove from your oven and allow to cool to room temperature. Your salted egg yolks are ready to enjoy or can be stored in your fridge for 3 weeks or so!
You'll find a printable recipe card with step by step instructions below!
Suggestions For Enjoying And Serving
Don't the cured egg yolks look like apricots? 😃
So let me first say you can be forgiven for enjoying these salted egg yolks as a snack. It's best to just take small bites, savoring each umami filled bite while closing your eyes.
Some other ideas are adding them to your delicious homemade food. Here are some suggestions:
- Roasted or sautéed vegetables - use a microplane or zester to grate your yolks over your veggies
- Pasta - grate over hot pasta
- Fried Rice - chop up the yolks and add them right at the end
- Potatoes or sweet potatoes - grate over the top when hot, and enjoy with lots of butter!
Once you've made a batch, you'll start seeing ways to use them everywhere!
FAQ
Store your salted egg yolks in your refrigerator in an airtight container.
The oven serves to dry the yolks out so that they firmer and easier to grate.
Some Other Recipes You May Enjoy!
Here are some other recipes for flavor bomb sauces that you may enjoy:
- Easy 3 Ingredient Miso Sauce With Butter
- Spicy Thai Chili Oil
- Make Your Own Delicious Chinese Black Bean Sauce!
Join Me On A Fun Food Journey!
I invite you to come along on this food journey with me! Please sign up to get the latest recipes and inspiration for you to expand your food horizons! It's an incredible journey, please join me by signing up here.
Cheers!
Grace

Easy Homemade Salted Chicken Egg Yolks Recipe
Equipment
- small deep container, preferably with a lid this will need to be deep enough so that it will hold the yolk and layers of salt and sugar, and wide enough so that the yolks do not touch each other
- wire rack
- Small bowl
Ingredients
- 2 each egg yolks this recipe uses chicken eggs
- ½ cup fine salt
- ¼ cup sugar

Instructions
- Mix the salt and sugar in a small bowl. Place half of this mixture in your container, and make 2 small wells (in which your yolks will sit) using a spoon. Space these apart so that the yolks won't be touching each other.
- Separate the egg yolks from the egg whites, and carefully place a yolk in each of the wells. Try not to break the yolk, but it's ok if you do (just a little bit though!). Pour the remaining mixture over the egg yolks so that they are completely covered.
- Place the lid on your container, and refrigerate the mixture for about 2 days. If you don't have a lid, you can also use plastic wrap.
- After the 2 days, use a spoon to lift the yolks out one at a time. Rinse each one gently under cold water to remove excess salt and sugar from the surface. Pat dry with a paper towel.
- Preheat your oven to 175F. Place the yolks on a wire rack and then dry them in the oven for about 2 hours.
- Remove from your oven and allow to cool. Your salted egg yolks are ready to enjoy or can be stored in your fridge for 3 weeks or so!
Margaret
I’m going to try this soon. Can you reuse the salt/sugar mix for more than one batch?
Grace
Hi Margaret! Thanks so much for your question! Yes, you can reuse it once or twice but honestly it's easier just to make another batch. If reusing, dry the used mixture on baking sheet in a low oven until it's loose again (it's clumpy after curing). Add some more fresh salt and sugar then store it covered in the fridge. If it smells off, or if a yolk broke, then you'll need to toss it out. I hope you will enjoy making these and would love to know how your salted yolks turn out! Have fun and thanks again! Grace
Margaret
Thank you for your speedy reply, Grace. I’ll let you know how they turn out. I’m enjoying exploring your site.
Grace
Margaret, what an absolute honor. Thank you so very much I'm truly grateful. Have a wonderful day and take care! Grace