This page may contain affiliate links. I receive a small commission at no cost to you when you make a purchase using my link. This post is about an Easy and Spicy Thai Chili Oil Recipe!
There are some great chili oils that you can purchase to make almost anything taste better. I am such a fan of Lao Gan Ma's Spicy Chili Crisp (Chinese Sichuan style) and my life changed for the better ever since I discovered it!
But I'd never tried my hand at making my own chili oil until now, and I'm super happy I took the plunge! I decided to try making chili oil Thai style with the BOLD Thai flavors that I love.
This Thai style chili oil is really spicy, and super easy to make. So, if you like hot and spicy foods and want a delicious condiment to fire up your foods, you've got to try this recipe!
Jump to:
Why You Will Love This Recipe For Thai Chili Oil!
You will love this recipe for homemade chili oil because:
- It's easy! If you've never made your own chili oil before you'll be surprised at how uncomplicated it is to create a delicious chili oil!
- You'll have a delicious condiment ready to spice up your favorite foods! It's also a great dipping sauce!
- This Thai chili oil is full of amazing flavors! It's not only spicy hot, but it is also sweet and salty.
Are you ready to give this a try? Then please read on!
🥘 Ingredients
In this recipe I tried to stick with ingredients that are used in Thai cooking. However, I have provided some substitutions for your convenience.
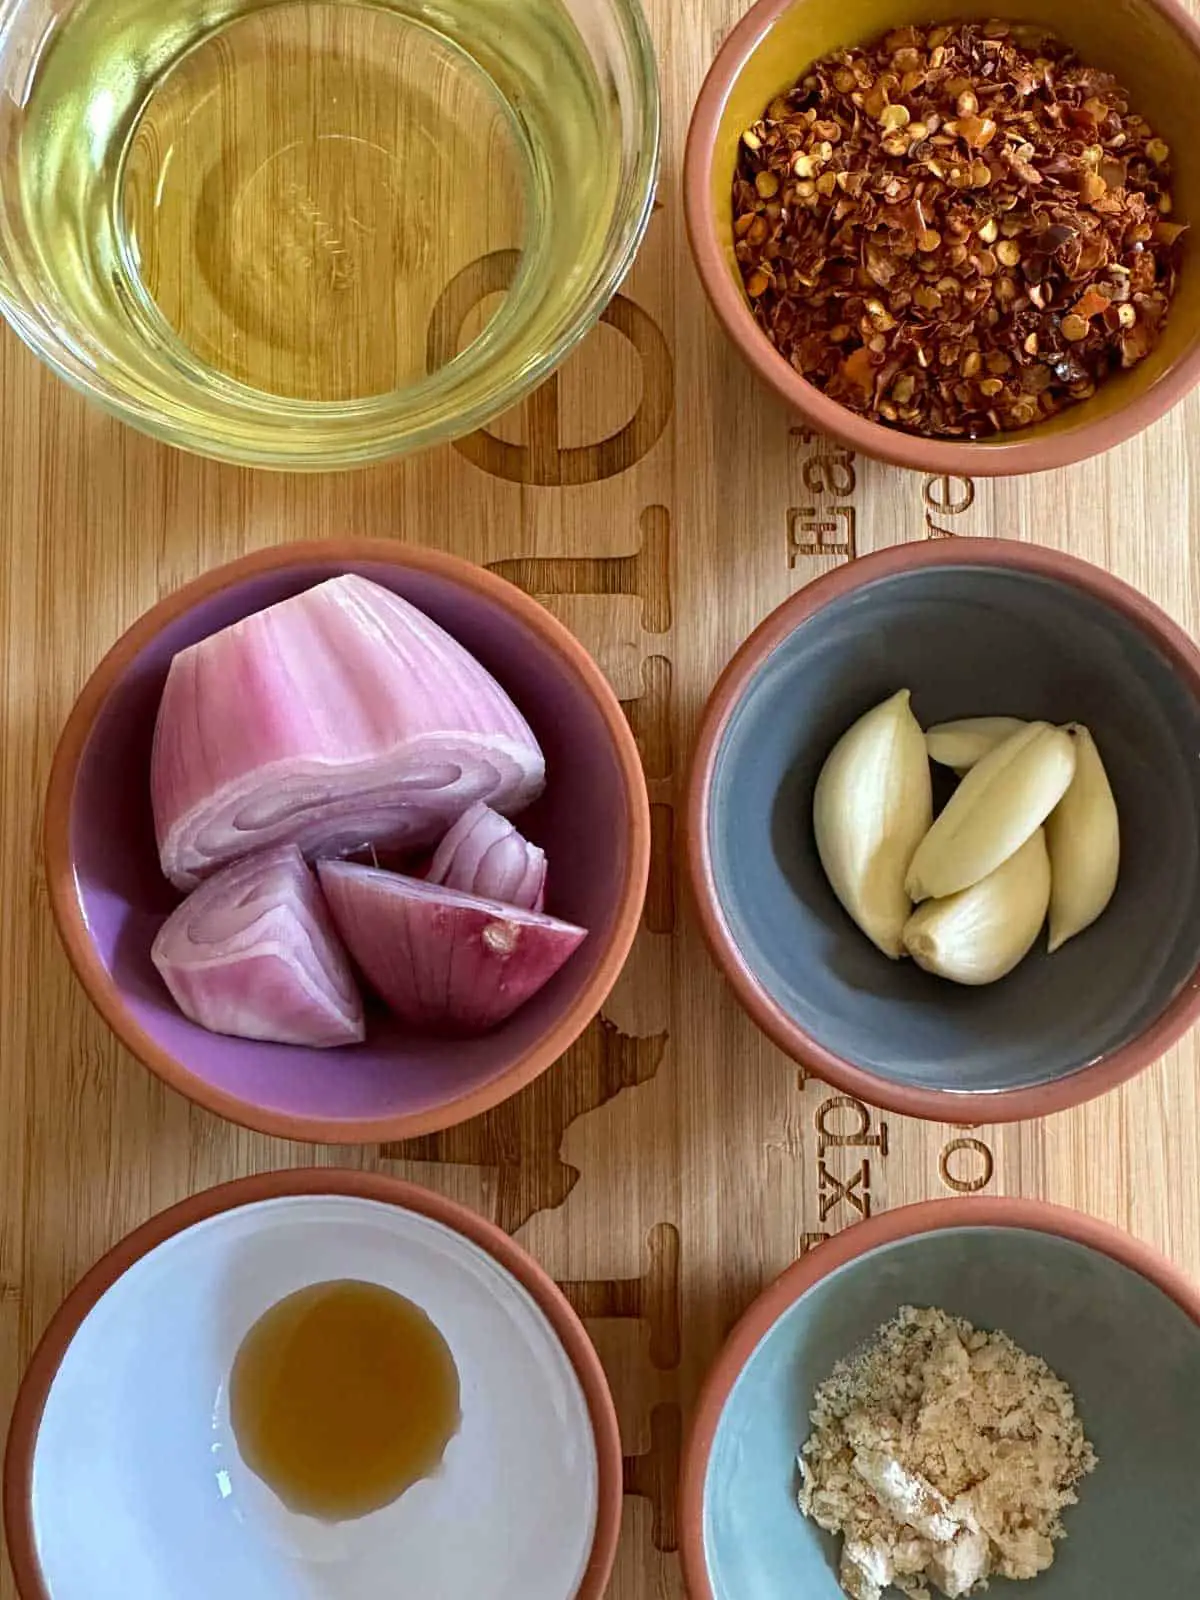
You will only need 6 ingredients to make your Thai chili oil. They are:
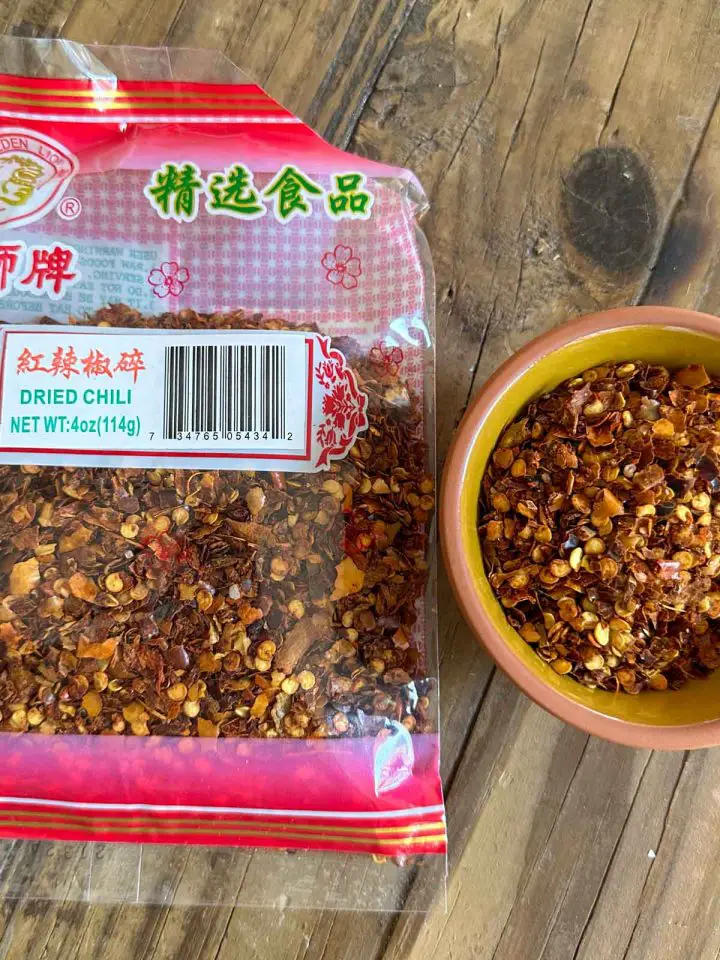
- Dried chili flakes. Look for Thai chili flakes, or you can use other Asian chili flakes, such as Sichuan chili flakes if you prefer. However, it's not recommended to use Italian red chili flakes for this recipe.
- Shallots
- Fresh garlic cloves
- Vegetable oil - you can also sub canola oil if you wish (be sure to select a neutral oil)
- Fish sauce (naam plaa) - used in Thai cooking to impart a salty flavor to foods. You can sub regular salt for the fish sauce
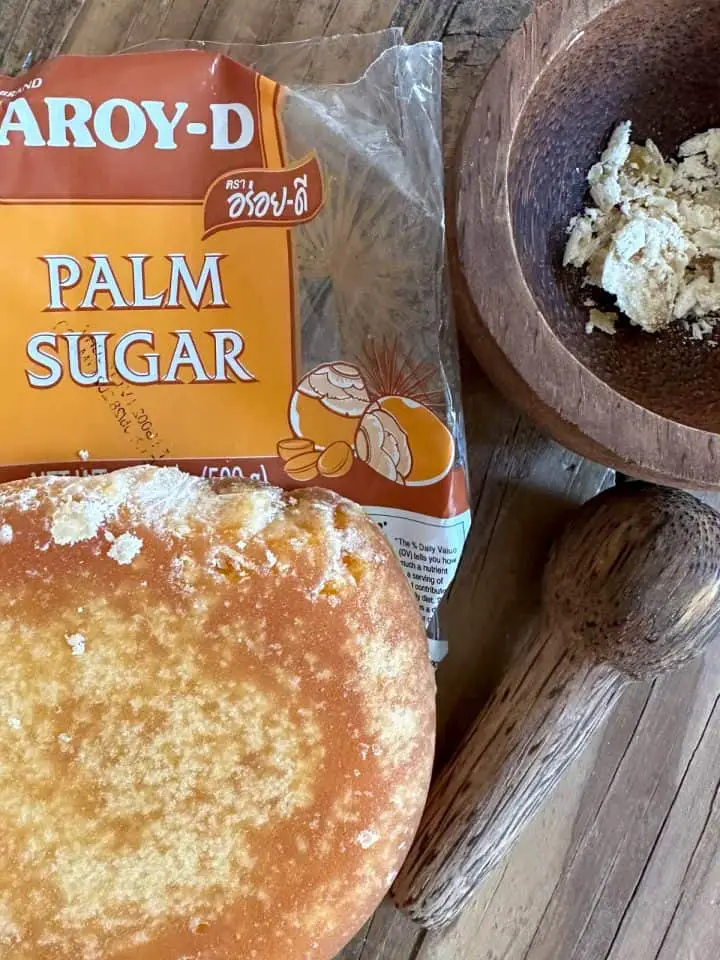
- Palm sugar (naamtaan piip) - this sugar comes from the sap of specific types of coconut palm trees and is an essential ingredient in Thai cooking. You can sub light brown sugar for palm sugar
So we are going to aim for a nice balance of flavors including hot, sweet, and salty in this chili oil.
I hope you are as excited to make this as I was!
🔪 Instructions
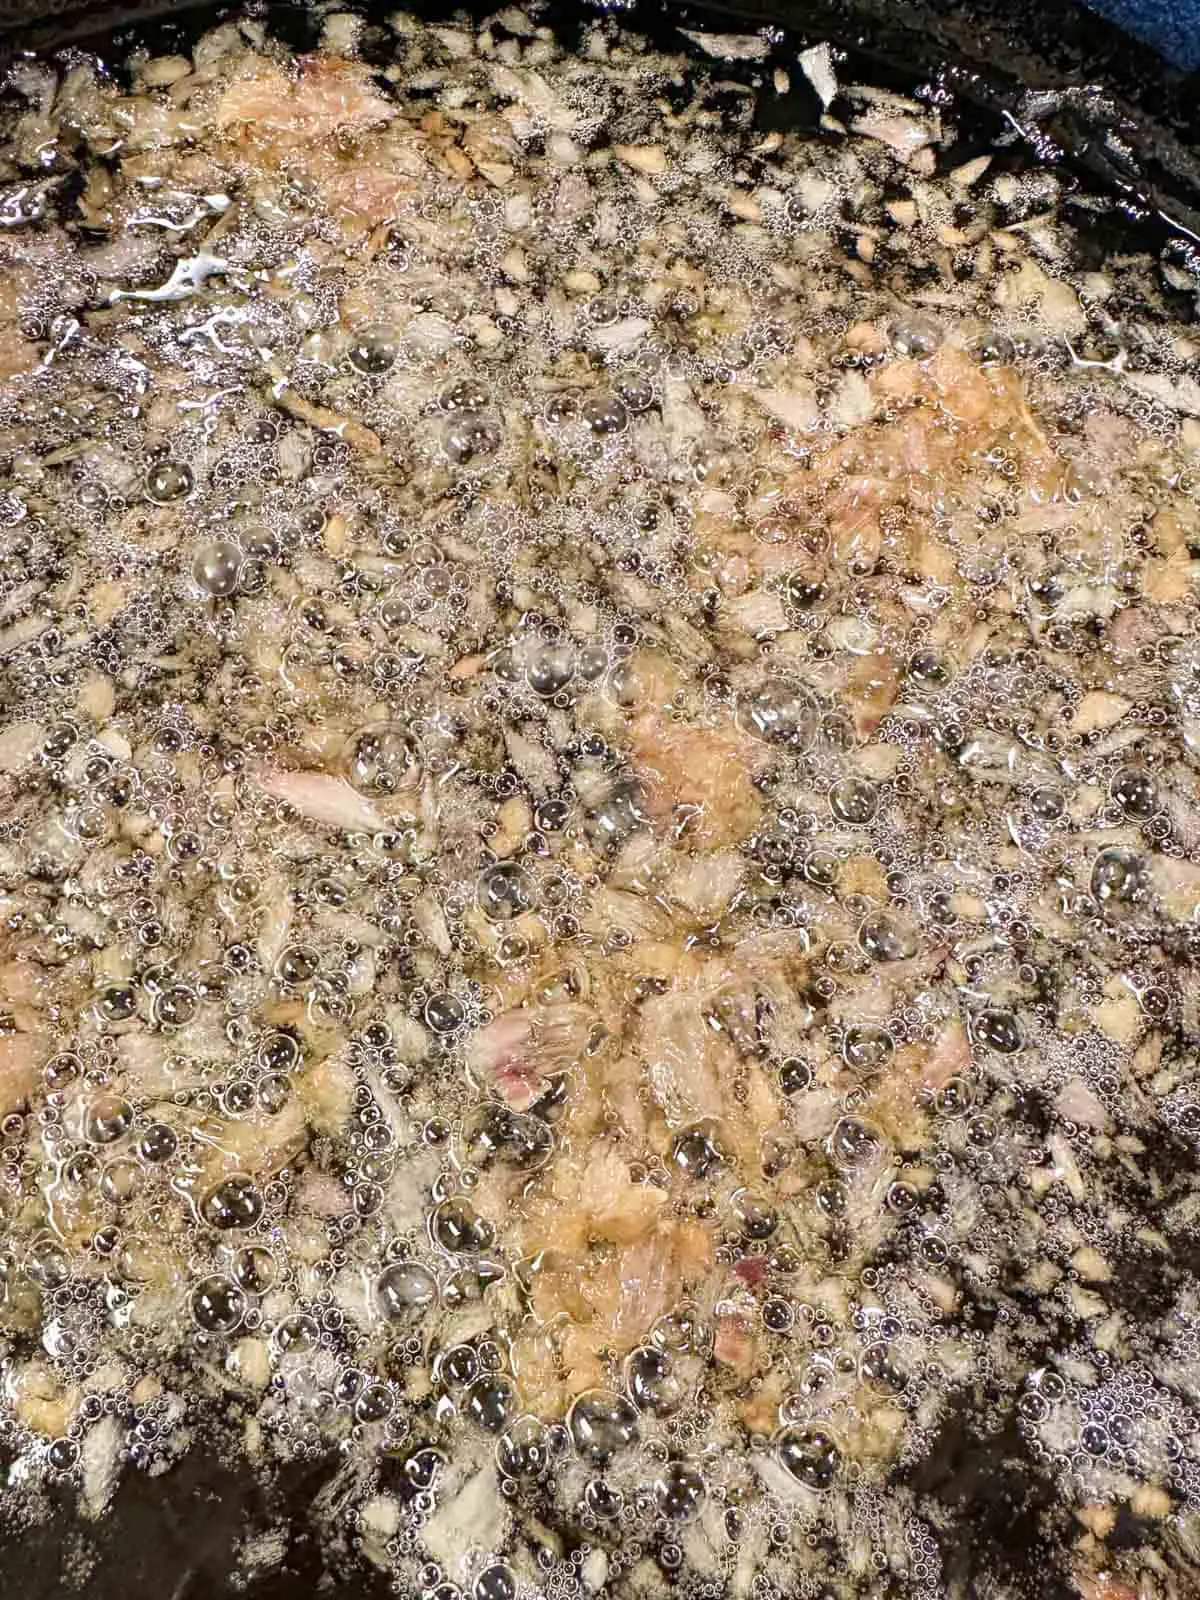
Begin by placing a small saucepan or skillet on a low heat on your stove. Then add oil and once the oil is warmed, add minced garlic and shallots. Cook the garlic and shallots until they turn brown at low temperature or you may need to turn it to medium-low. This may take up to 30 minutes. You are just aiming for them to turn golden brown. The oil should bubble gently and you'll want to stir from time to time so that these aromatics don't burn.
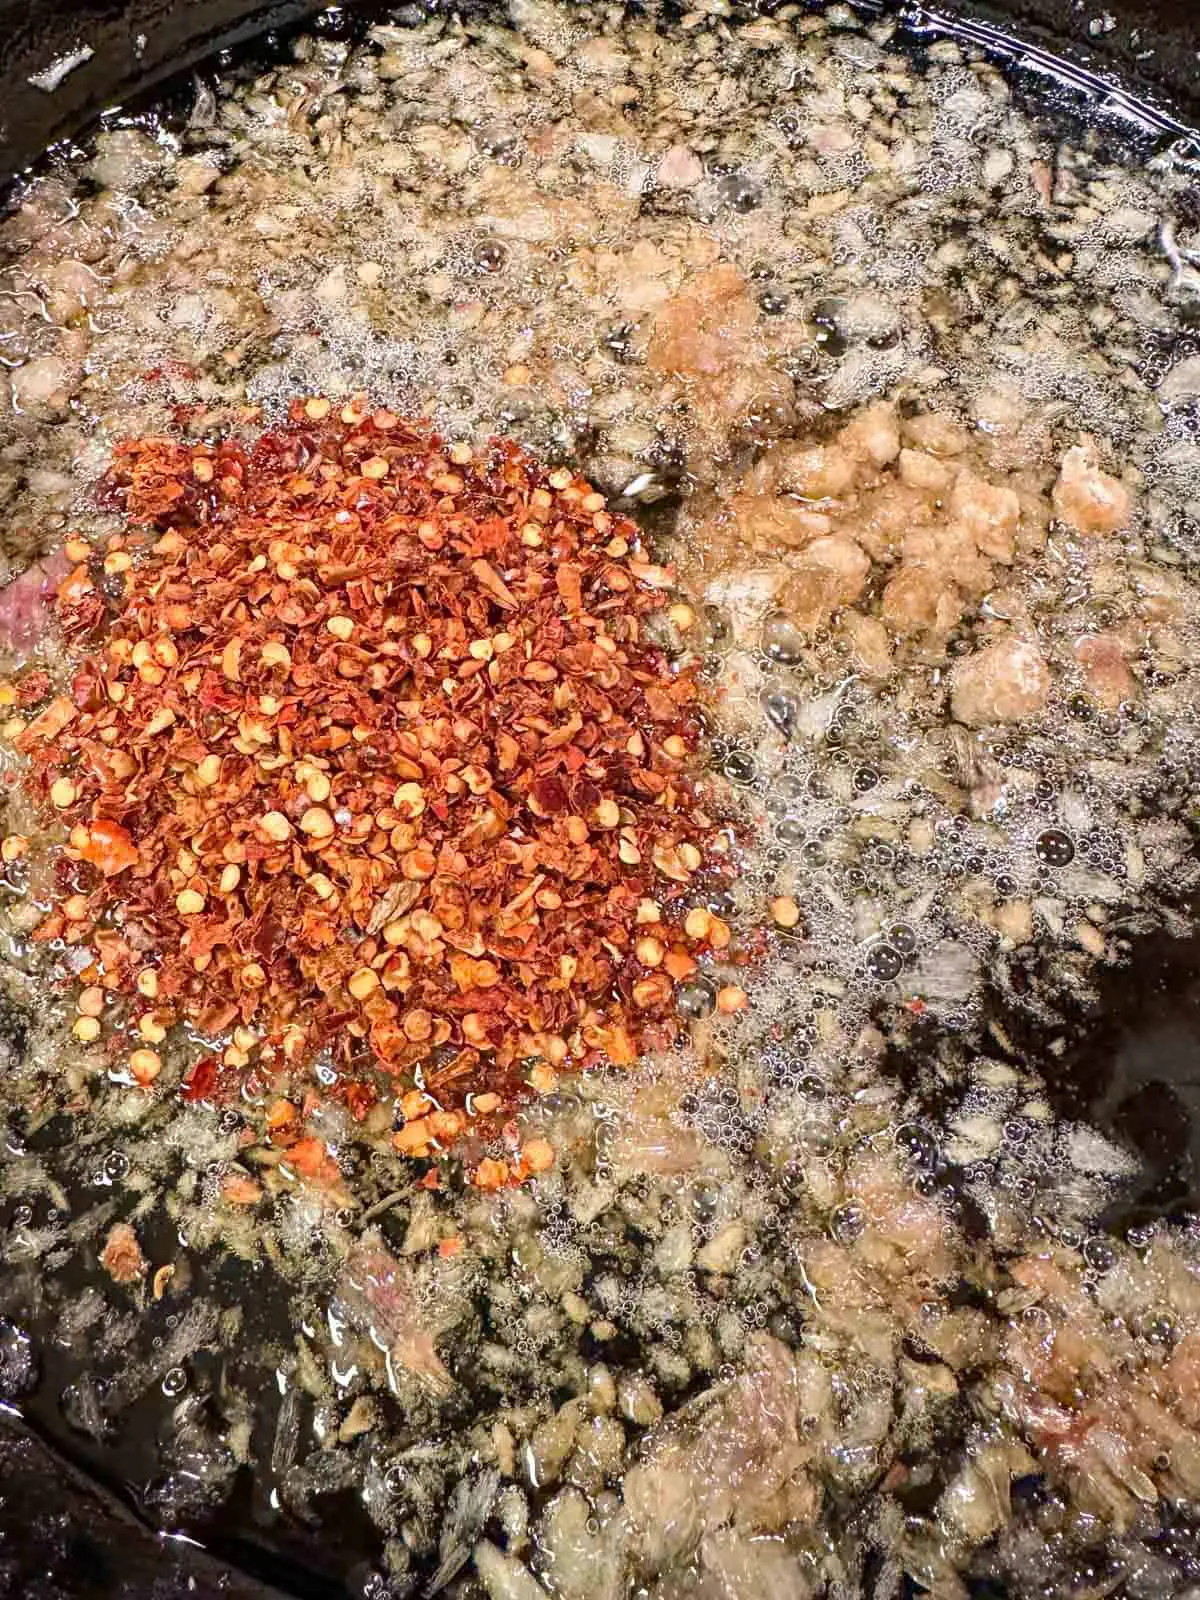
Once the garlic and shallots have turned golden brown, add the chili flakes, fish sauce, and palm sugar. Stir well to combine and then sauté for a minute.
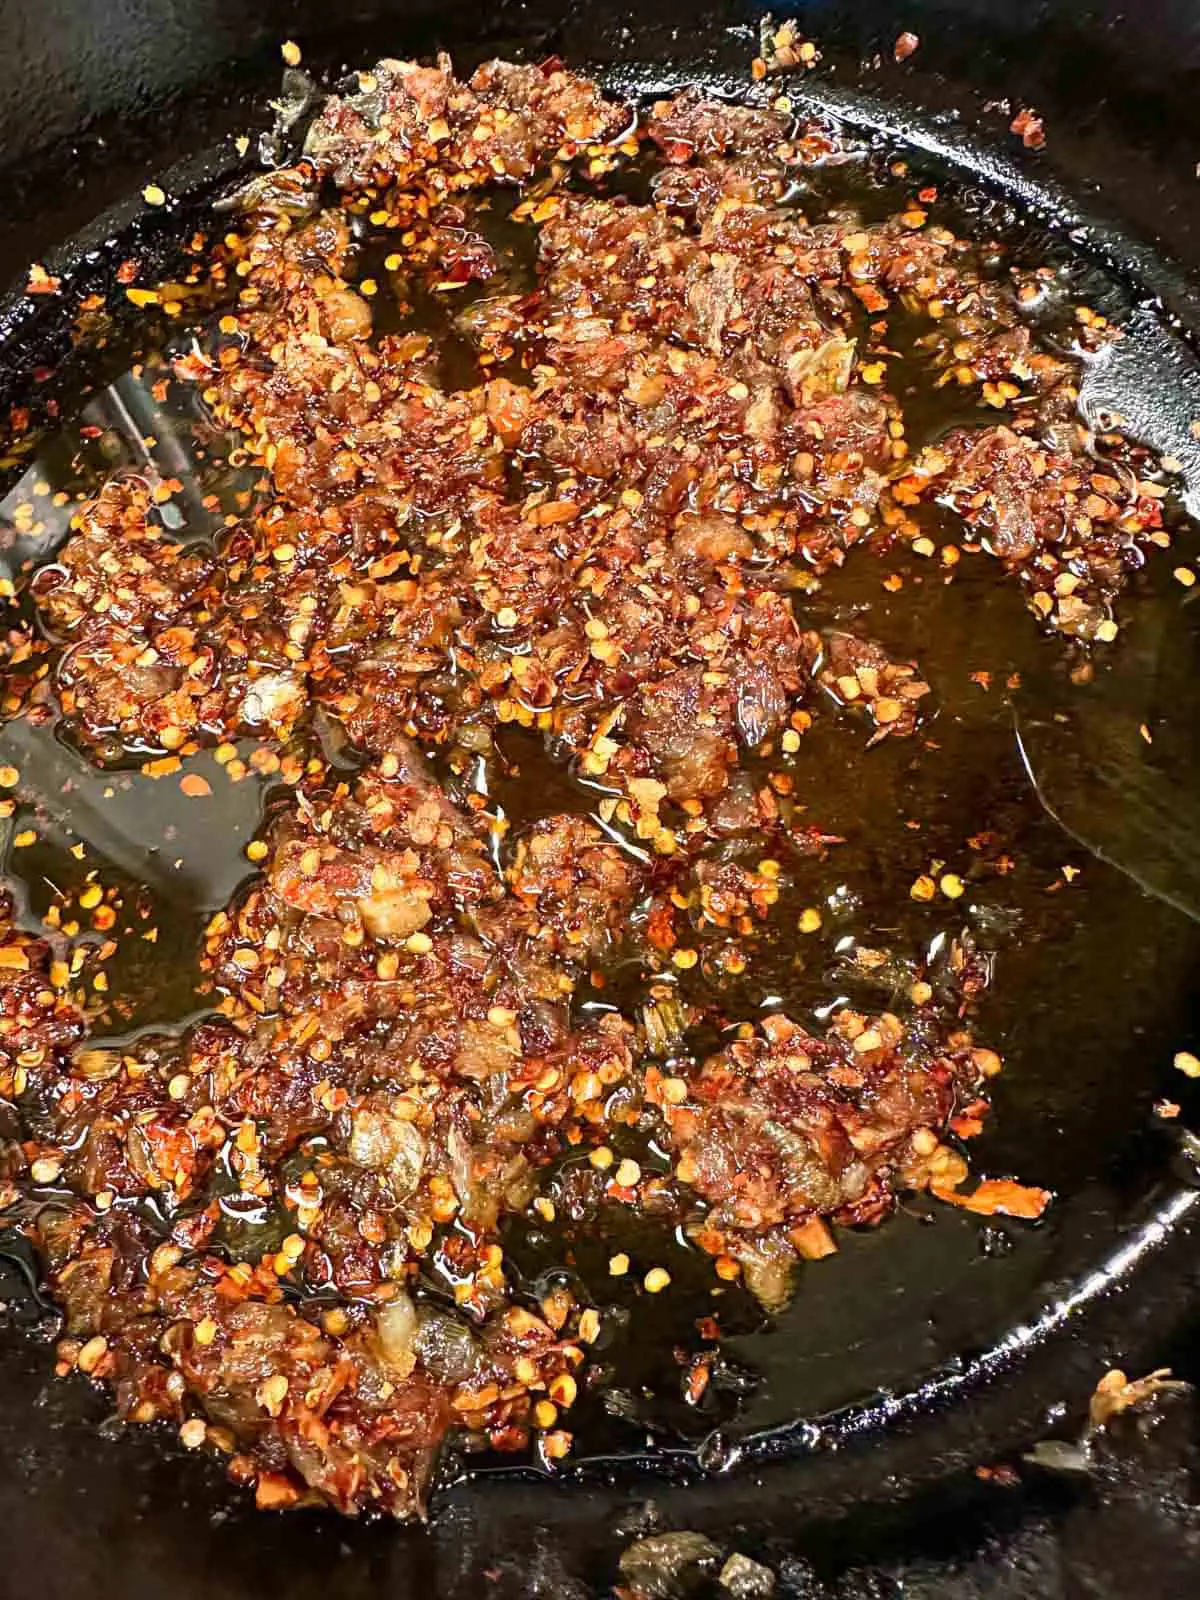
If there is not enough oil to your liking, or not enough chili flakes, you can adjust by adding some more. Additionally you can adjust the fish sauce and palm sugar to your personal preference as well.
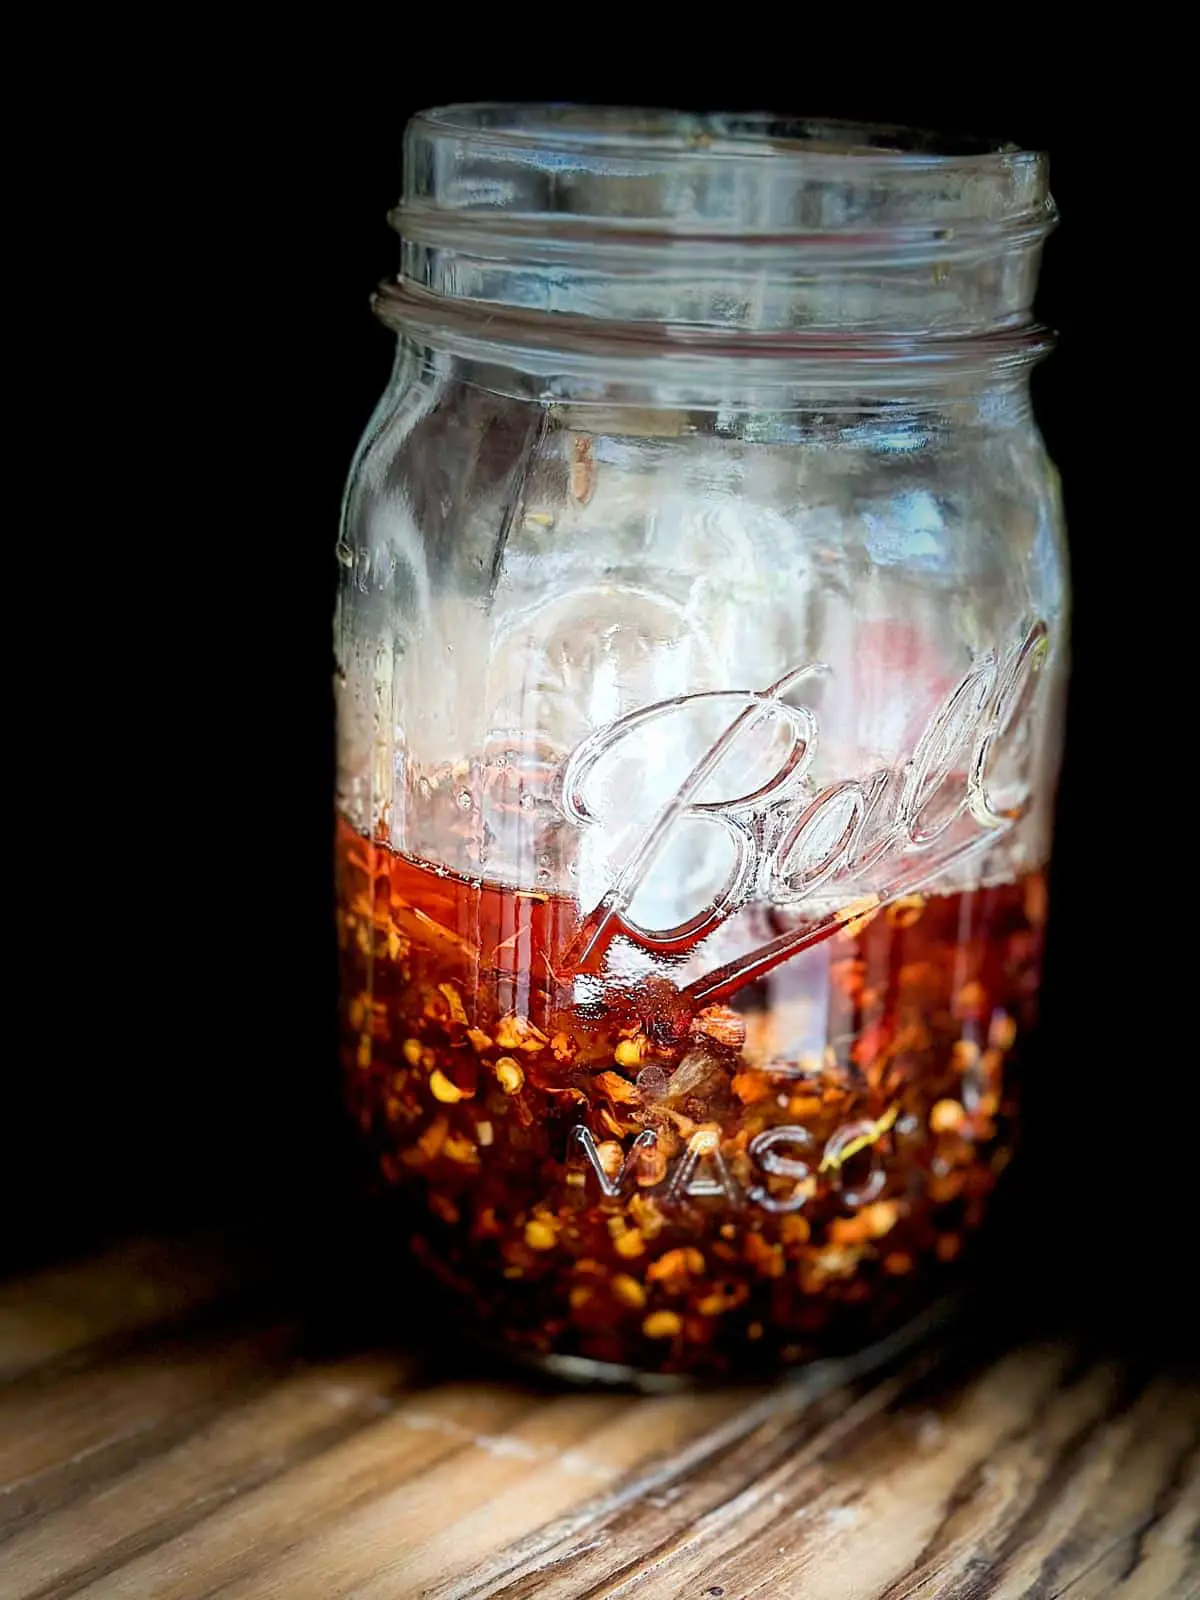
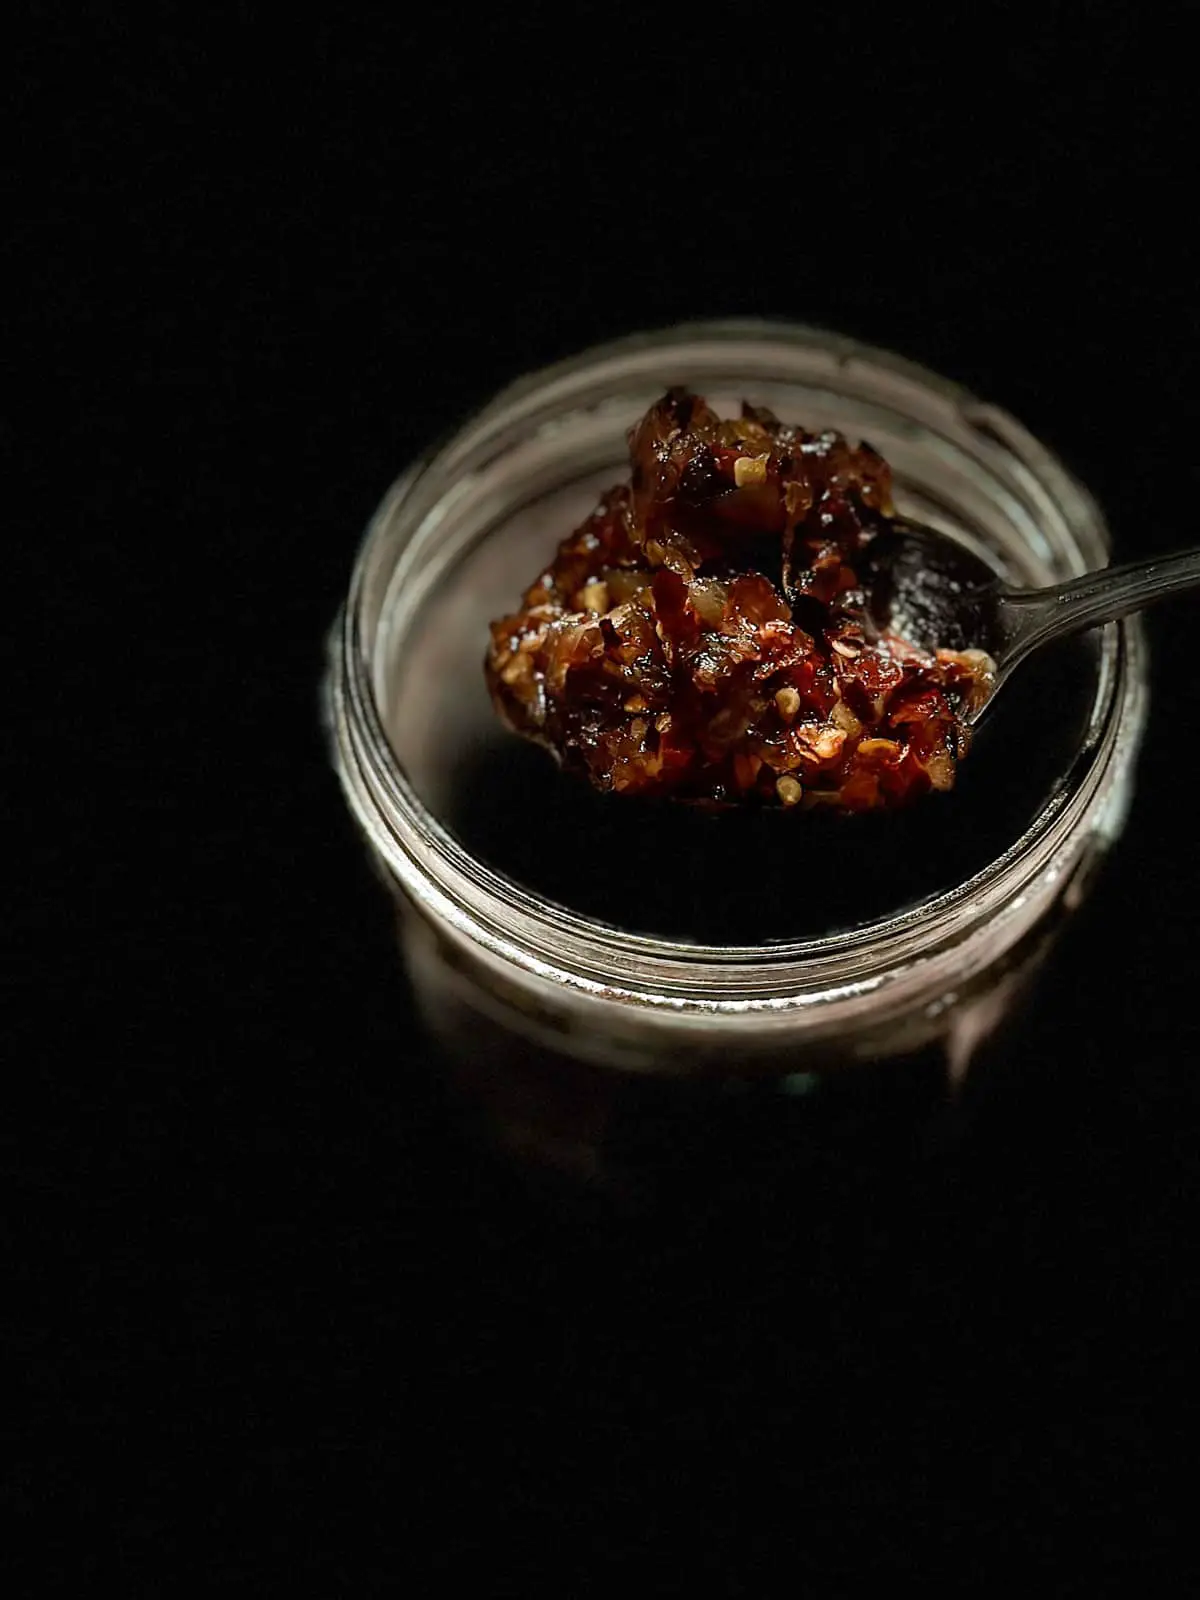
Allow the chili oil to cool, and then place into an airtight glass jar.
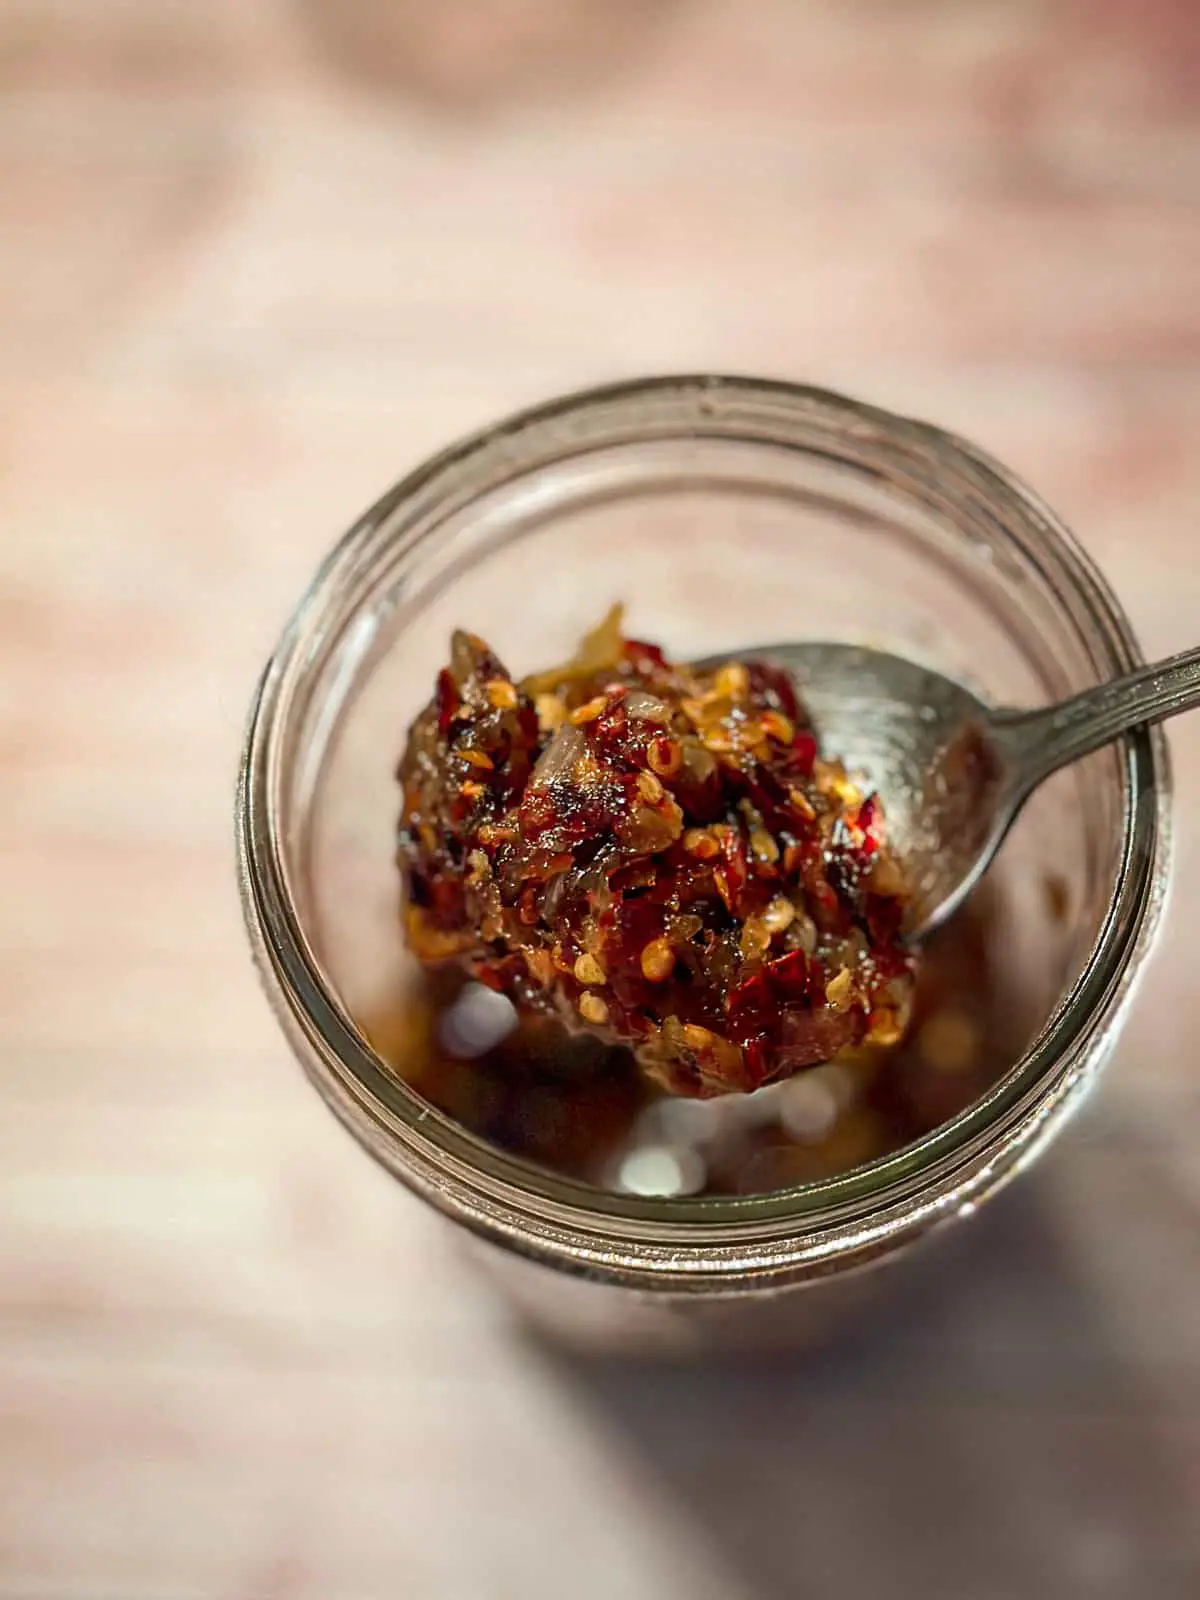
Now comes the hard part...trying to make this last more than a few days!
Some Variations
I've intentionally tried to keep this Thai chili oil recipe as easy as possible, with a minimum number of ingredients. However, I encourage you to customize and play around with this recipe!
Here are some recommended ingredients you could add if you wish:
- Sichuan peppercorns
- Star anise
- Cinnamon stick
- Bay leaves
- Kaffir lime leaves
The ingredients listed above could be added during the time you are heating the oil to infuse the oil with these wonderful complex flavors. You could then remove them prior to adding the chili flakes, sugar, and fish sauce.
There are so many variations you can create to make a delicious chili oil!
FAQ
When stored properly in an airtight glass jar in your refrigerator, this Thai chili oil should last around 2-3 months. However because of the presence of fresh garlic and shallots in the oil, it is best consumed within one month to be on the safe side.
If your homemade chili oil develops a bad smell or the color changes from red to brown, it is best to discard the chili oil.
Everything! It's great drizzled over rice or noodles, and a great accompaniment to dumplings or spring rolls. Serve it with eggs, or meats, or any food you want to spice up!
Some Other Recipes You May Enjoy
Here are some other recipes for side dishes that you may enjoy:
- Easy Spicy Chinese Yu Choy
- Make Your Own Delicious Chinese Black Bean Sauce
- How To Make Divine Dan Dan Noodles
Join Me On A Fun Food Journey!
If you'd like to come along on this food journey with me, please sign up to get the latest recipes and inspiration for you to expand your food comfort zone! It's an incredible journey, please join me by signing up here.
Cheers!
Grace
Easy and Spicy Thai Chili Oil Recipe
Equipment
- small saucepan or you can use a skillet
Ingredients
- ⅓ cup dried chili flakes I used Thai chili flakes - you can sub other chili flakes but use Asian chilies for this recipe
- 2 shallots minced; select small or medium sized shallots (around ¾ cup)
- 4 cloves garlic minced
- 1 cup oil I used vegetable oil; you could sub canola oil if you wish
- 1 ts fish sauce if you prefer a saltier chili oil, you can add extra fish sauce to taste; can sub regular salt
- 1 ts palm sugar you can sub light brown sugar
Instructions
- Place a small saucepan or skillet on a medium low heat on your stove. Then add oil and once the oil is warmed, add minced garlic and shallots. Cook the garlic and shallots until they turn brown at a medium-low temperature or you may need to turn it to low if the garlic and shallots start to burn. This may take up to 30 minutes. You are just aiming for them to turn golden brown. The oil should bubble gently and you'll want to stir from time to time so that these aromatics don't burn.

- Once the garlic and shallots have turned golden brown, add the chili flakes, fish sauce, and palm sugar. Stir well to combine and then sauté for a minute.
- If there is not enough oil to your liking, or not enough chili flakes, you can adjust by adding some more. Allow the chili oil to cool, and then place into an airtight container (glass jar).


Leave a Reply