This page may contain affiliate links. So, I receive a small commission at no cost to you when you make a purchase using my link. This post is about How To Make Perfect Portuguese Marinated Carrots!
One of my favorite ways of enjoying and cooking carrots is to boil carrots and then marinate them the Portuguese way.
I've never been one to enjoy sweet carrots drizzled with maple syrup or cooked with dark brown sugar. My personal preference is for a savory carrot dish which also allows me to enjoy the natural sweetness of carrots.
If you are like me, then you will absolutely love this easy recipe for Portuguese marinated carrots!
[feast_advanced_jump_to]What Are Portuguese Marinated Carrots?
In Portugal, these marinated carrots are similar to a Spanish tapas. They often accompany drinks or other snacks or foods you may enjoy while waiting for a main course. I find this dish also makes an outstanding side dish, appetizer, healthy snack, or salad.
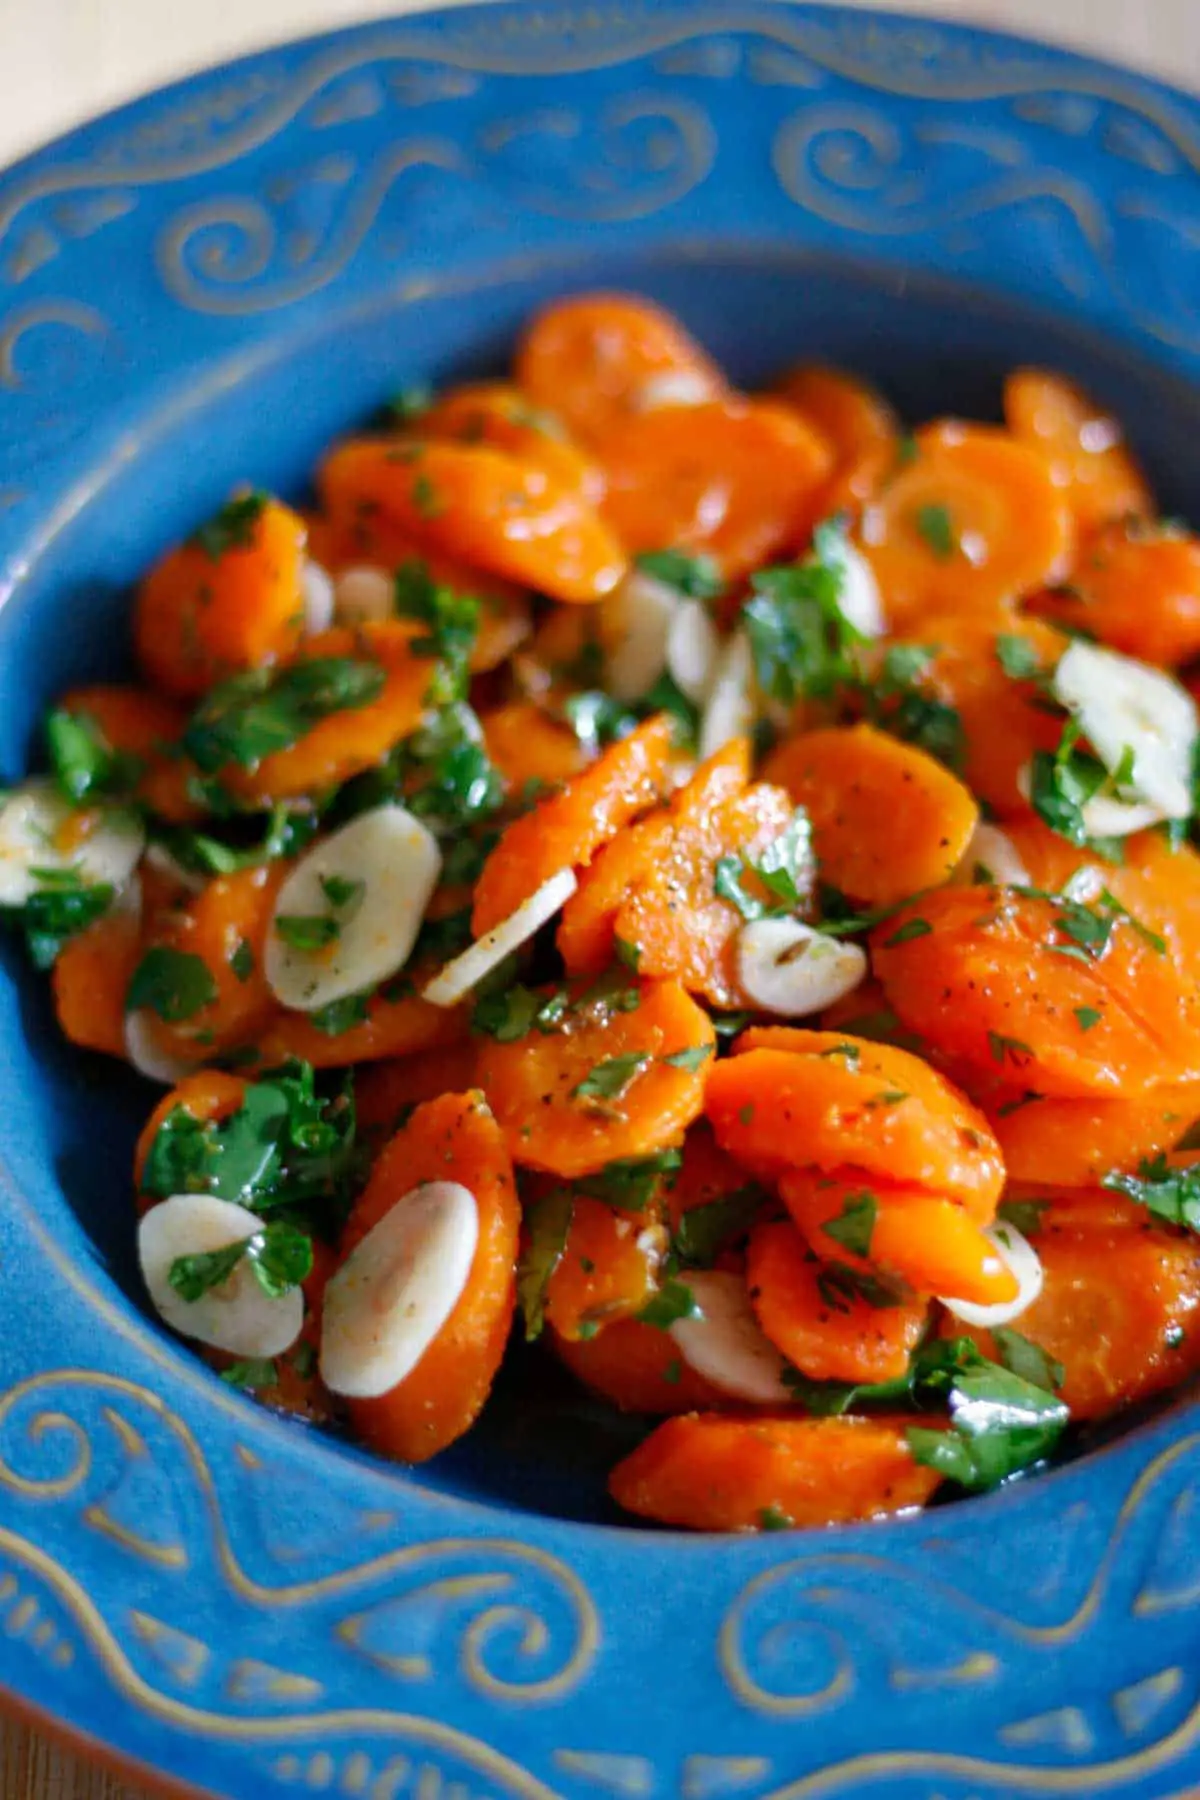
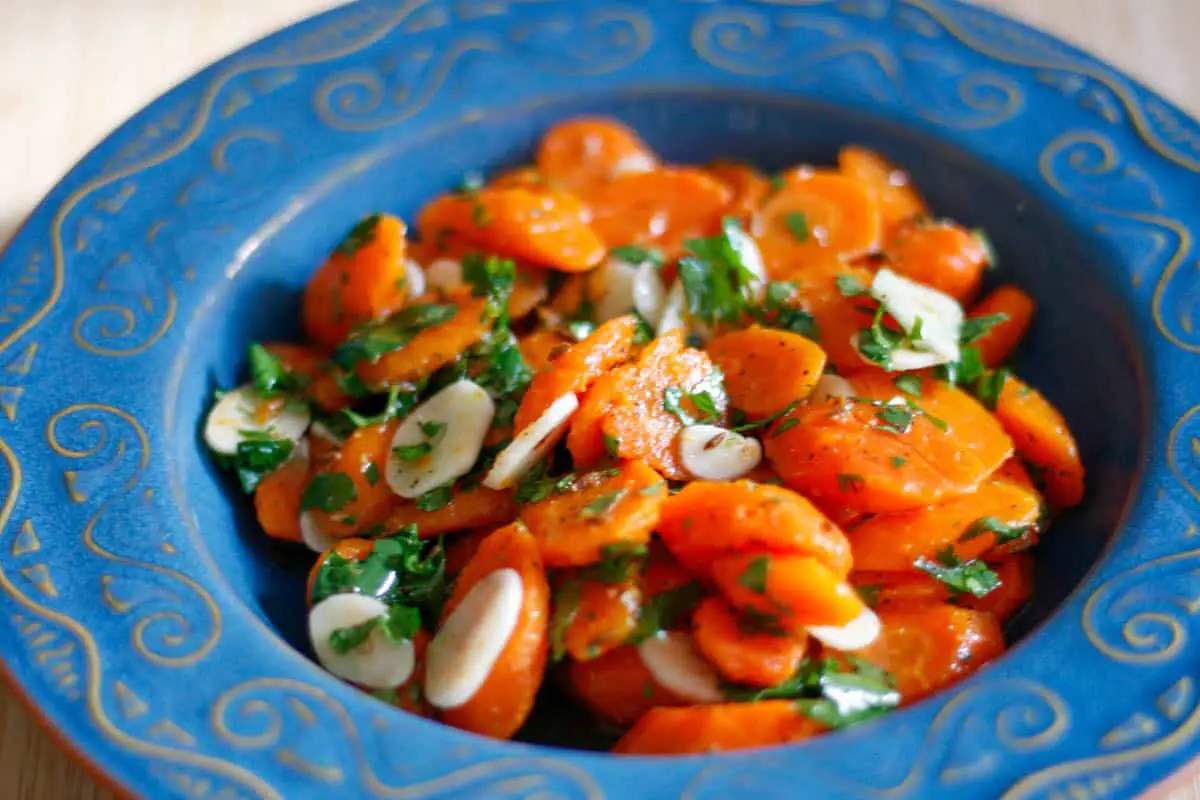
Carrots prepared in this Portuguese way are first boiled until tender, and then dressed with a marinade that includes oil and vinegar, plenty of garlic, fresh herbs, and seasonings.
These carrots are a healthy option and pack a lot of flavor!
Of all the different ways there are to serve carrots, I am convinced that this is one of the absolute BEST!
🥘 Ingredients

So here are the simple ingredients that you will need for this delicious carrots recipe:
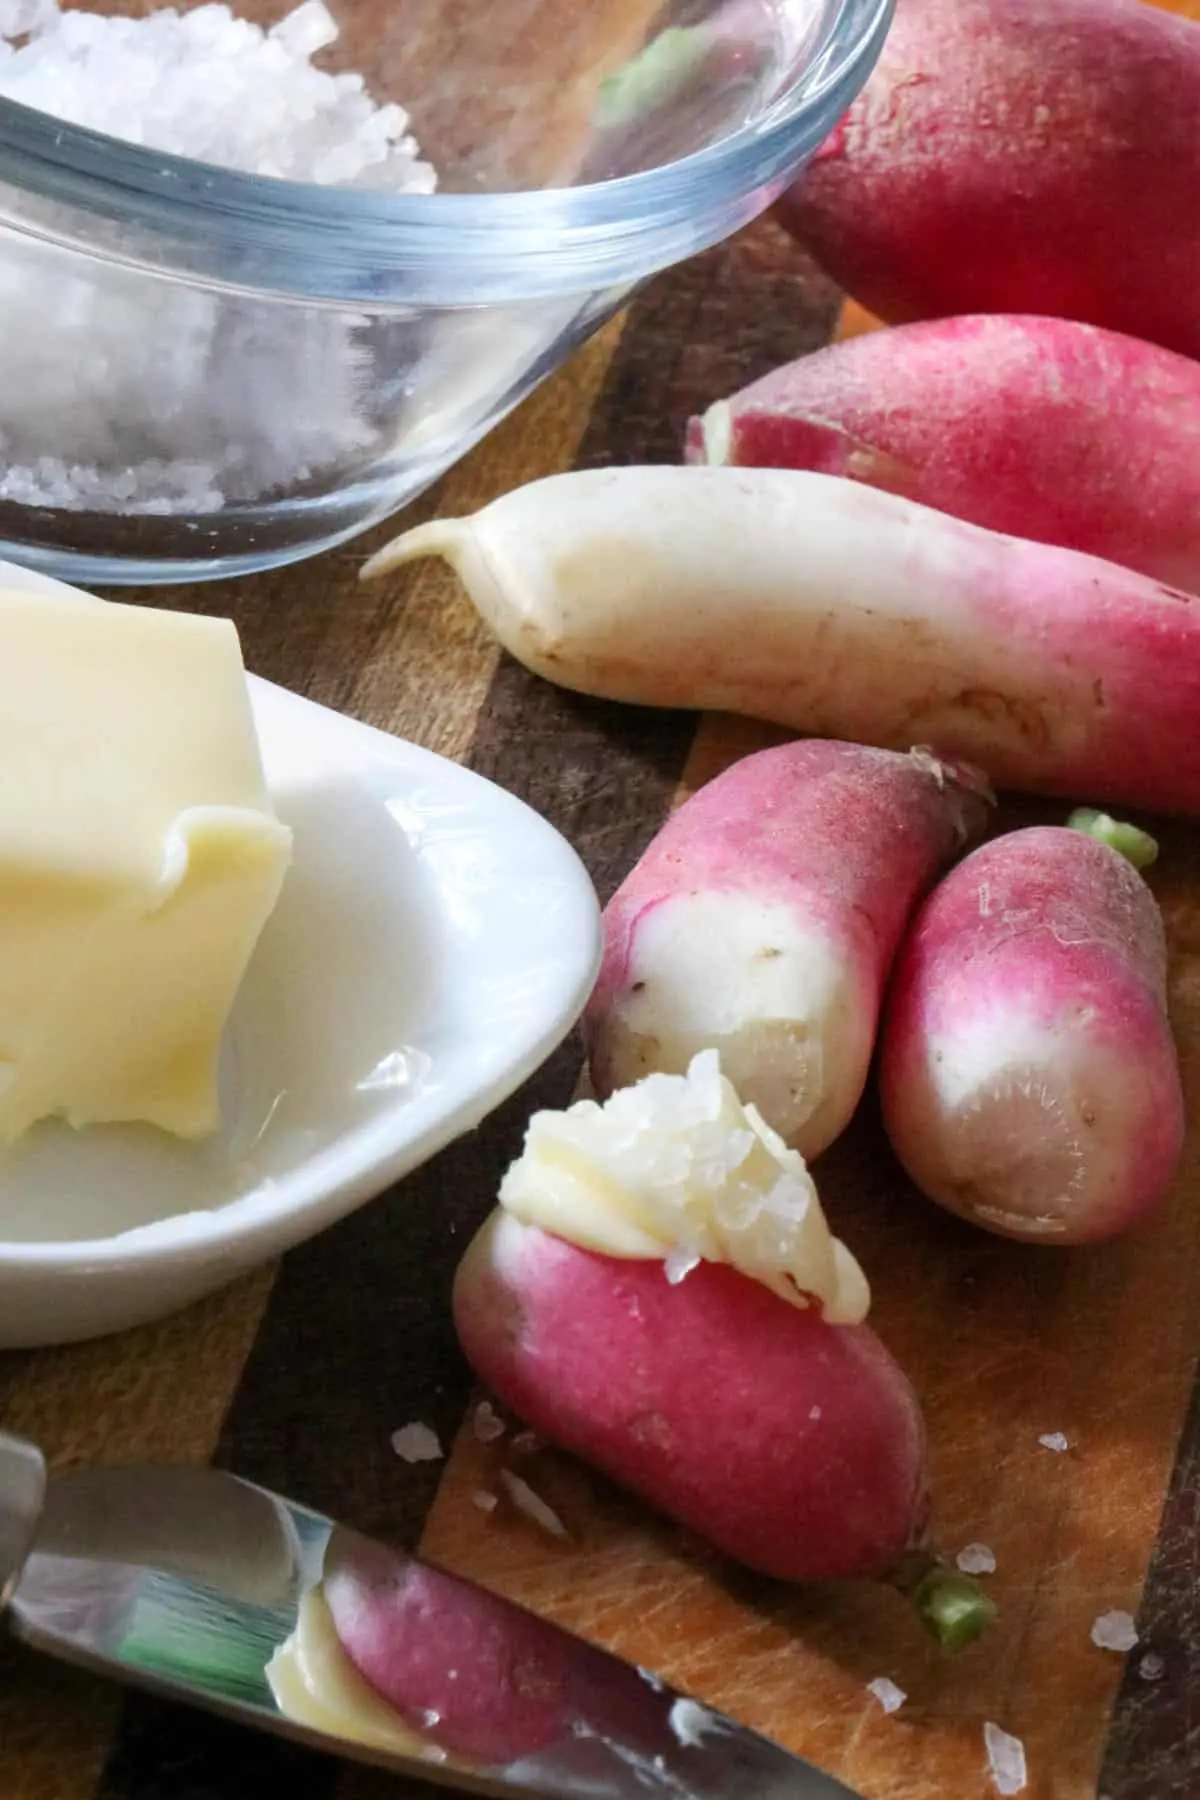
- Fresh Carrots - prepare by peeling whole carrots and then slice them at an angle for a more beautiful presentation; could sub baby carrots if you like (see FAQ below)
- Bay Leaf
- Olive oil
- Red wine vinegar (can sub white wine vinegar)
- Fresh garlic
- Cilantro - use fresh cilantro; fresh herbs always lift a dish into the realm of the spectacular
- Cumin seeds
- Salt
- Black pepper
Please read on for the step by step instructions on how to make this delicious side dish from Portugal!
🔪 Instructions
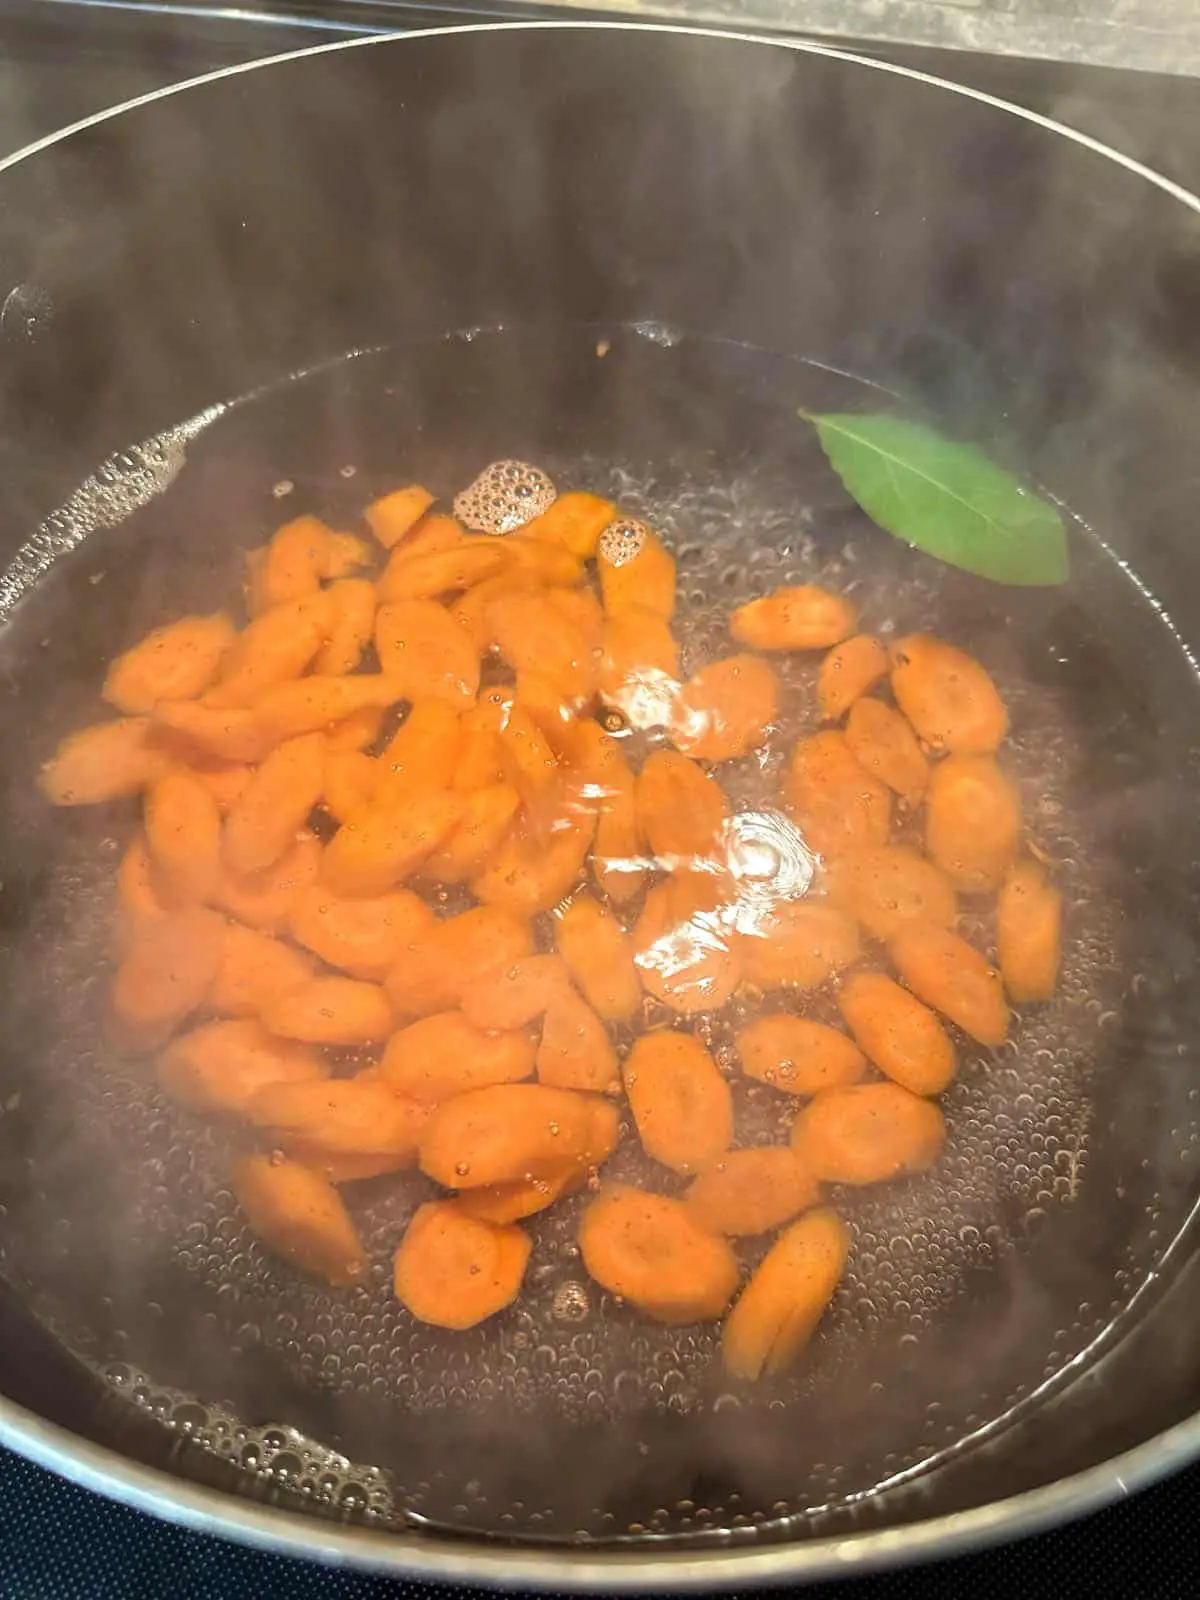
Add peeled and sliced raw carrots and a bay leaf to a large pot of salted boiling water on medium-high heat. Boil for about 10 minutes until the carrots are fork tender but not too soft or mushy. Drain, discard bay leaf, and set aside to cool.
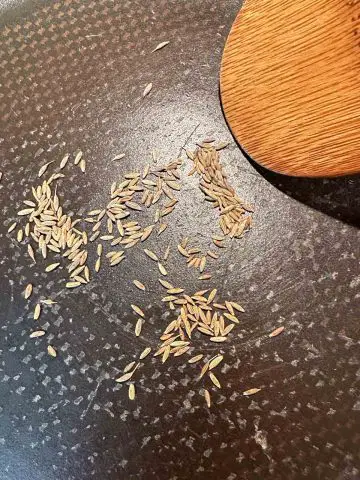
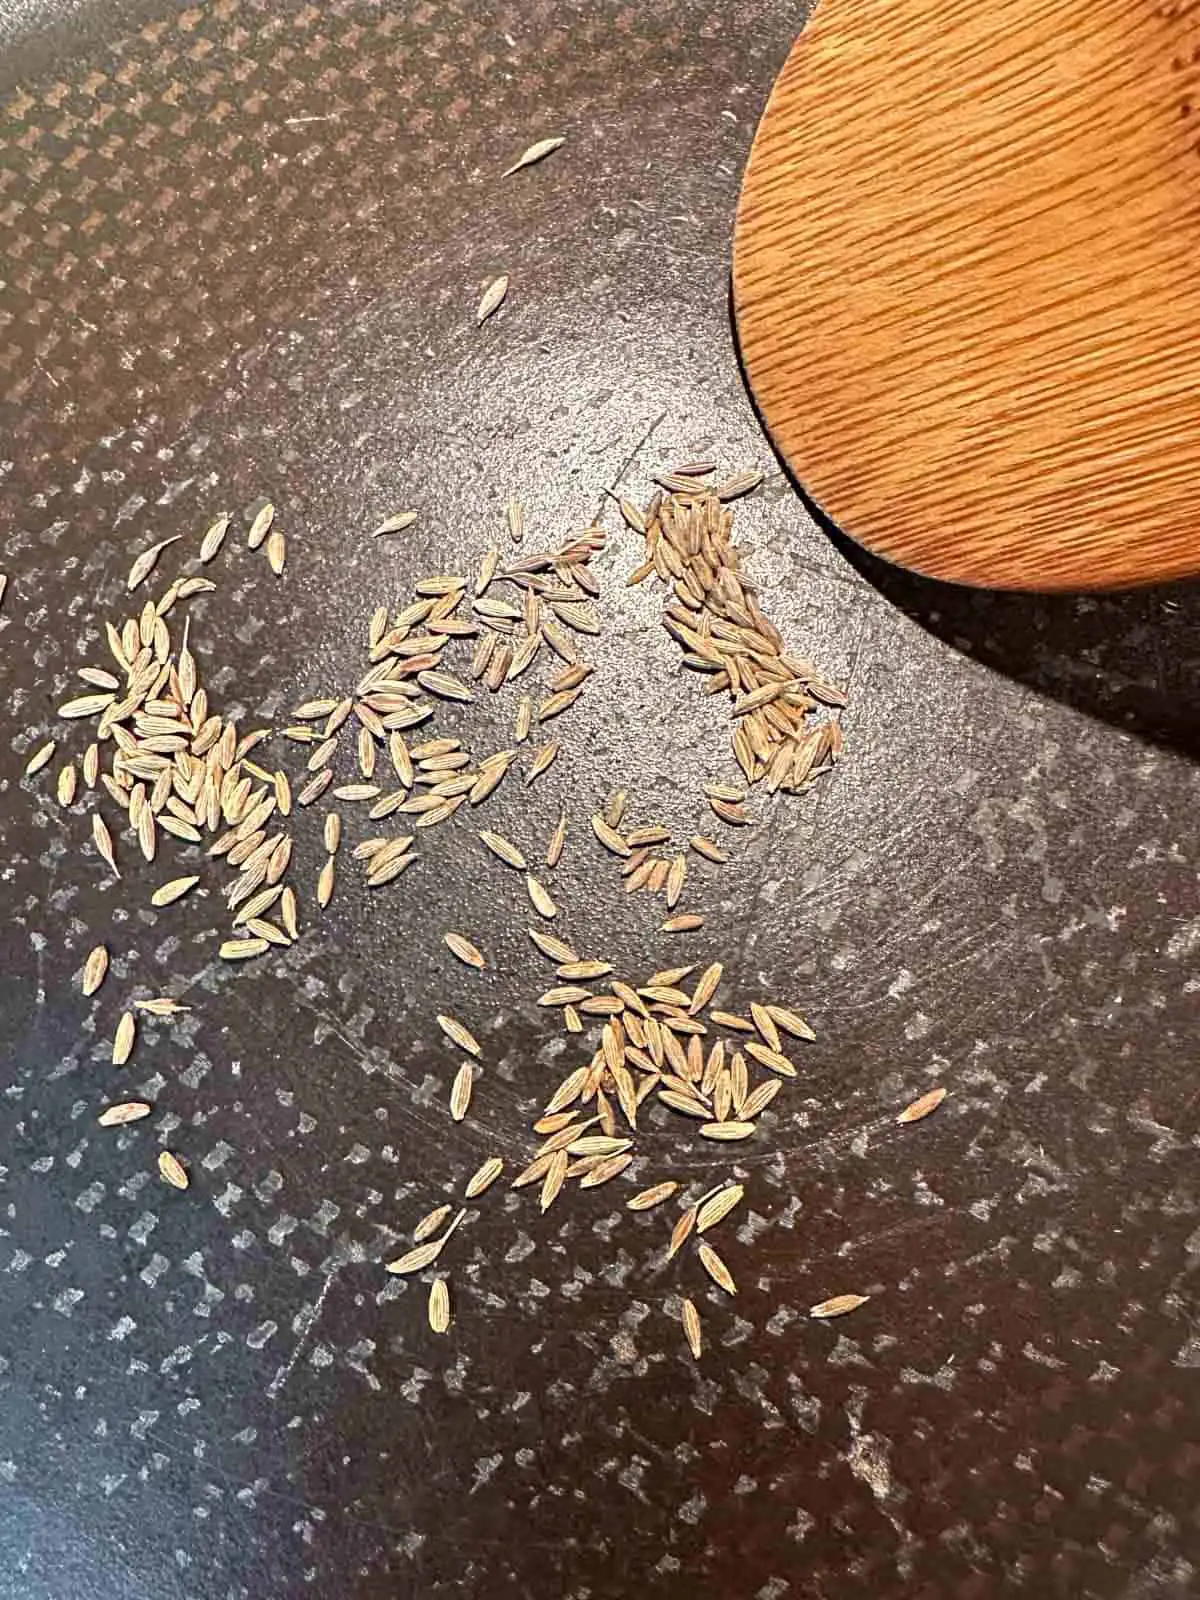
While the carrots are boiling , set your skillet or frying pan on medium low heat, and dry roast the cumin seeds for around 5 minutes, or until the seeds become a lovely shade of brown.
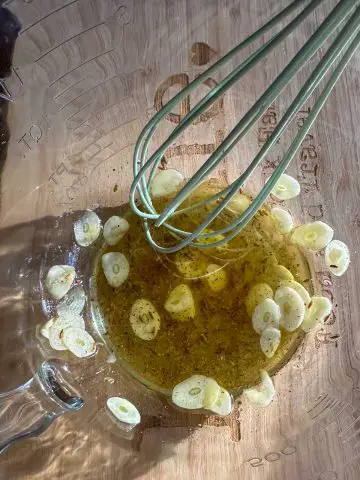
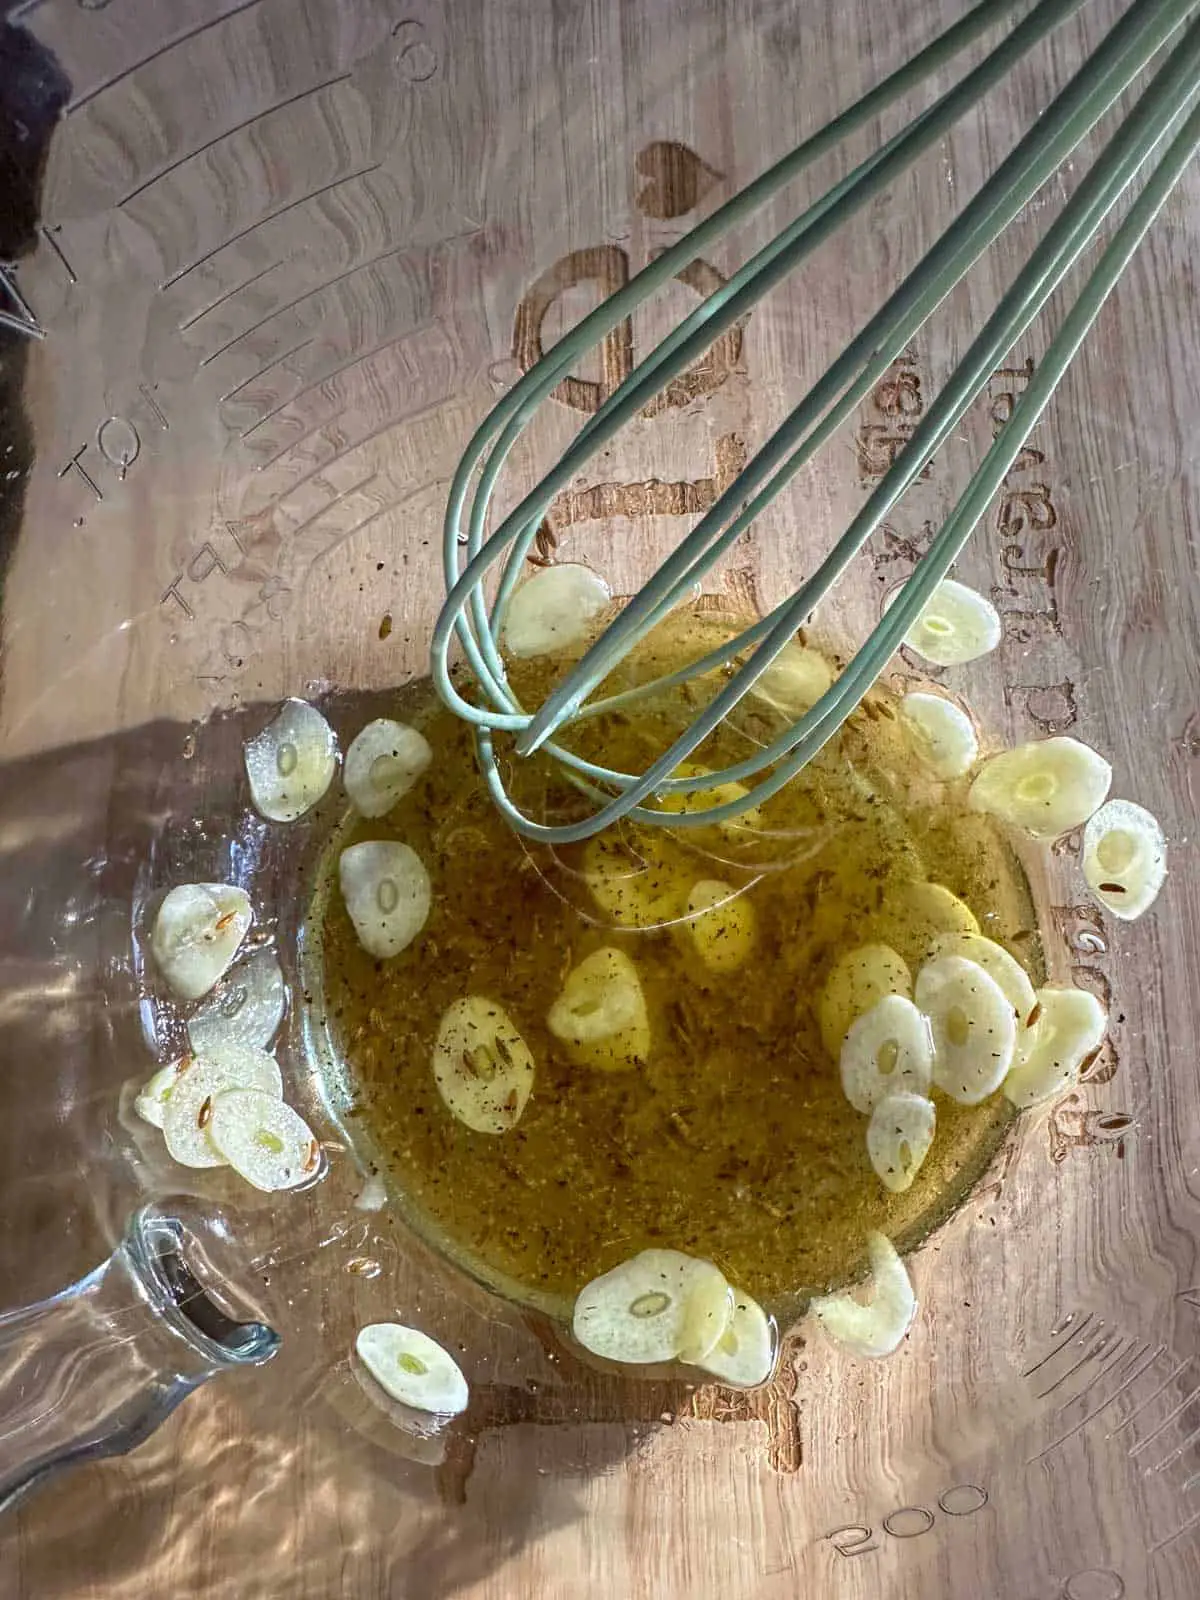
Whisk the oil and vinegar in a mixing bowl. Then add the dry roasted cumin seeds, salt, pepper, and garlic and stir to combine.
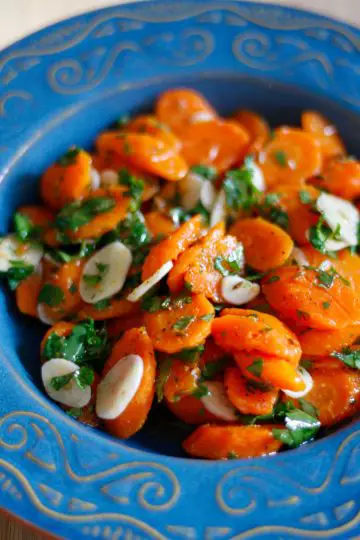
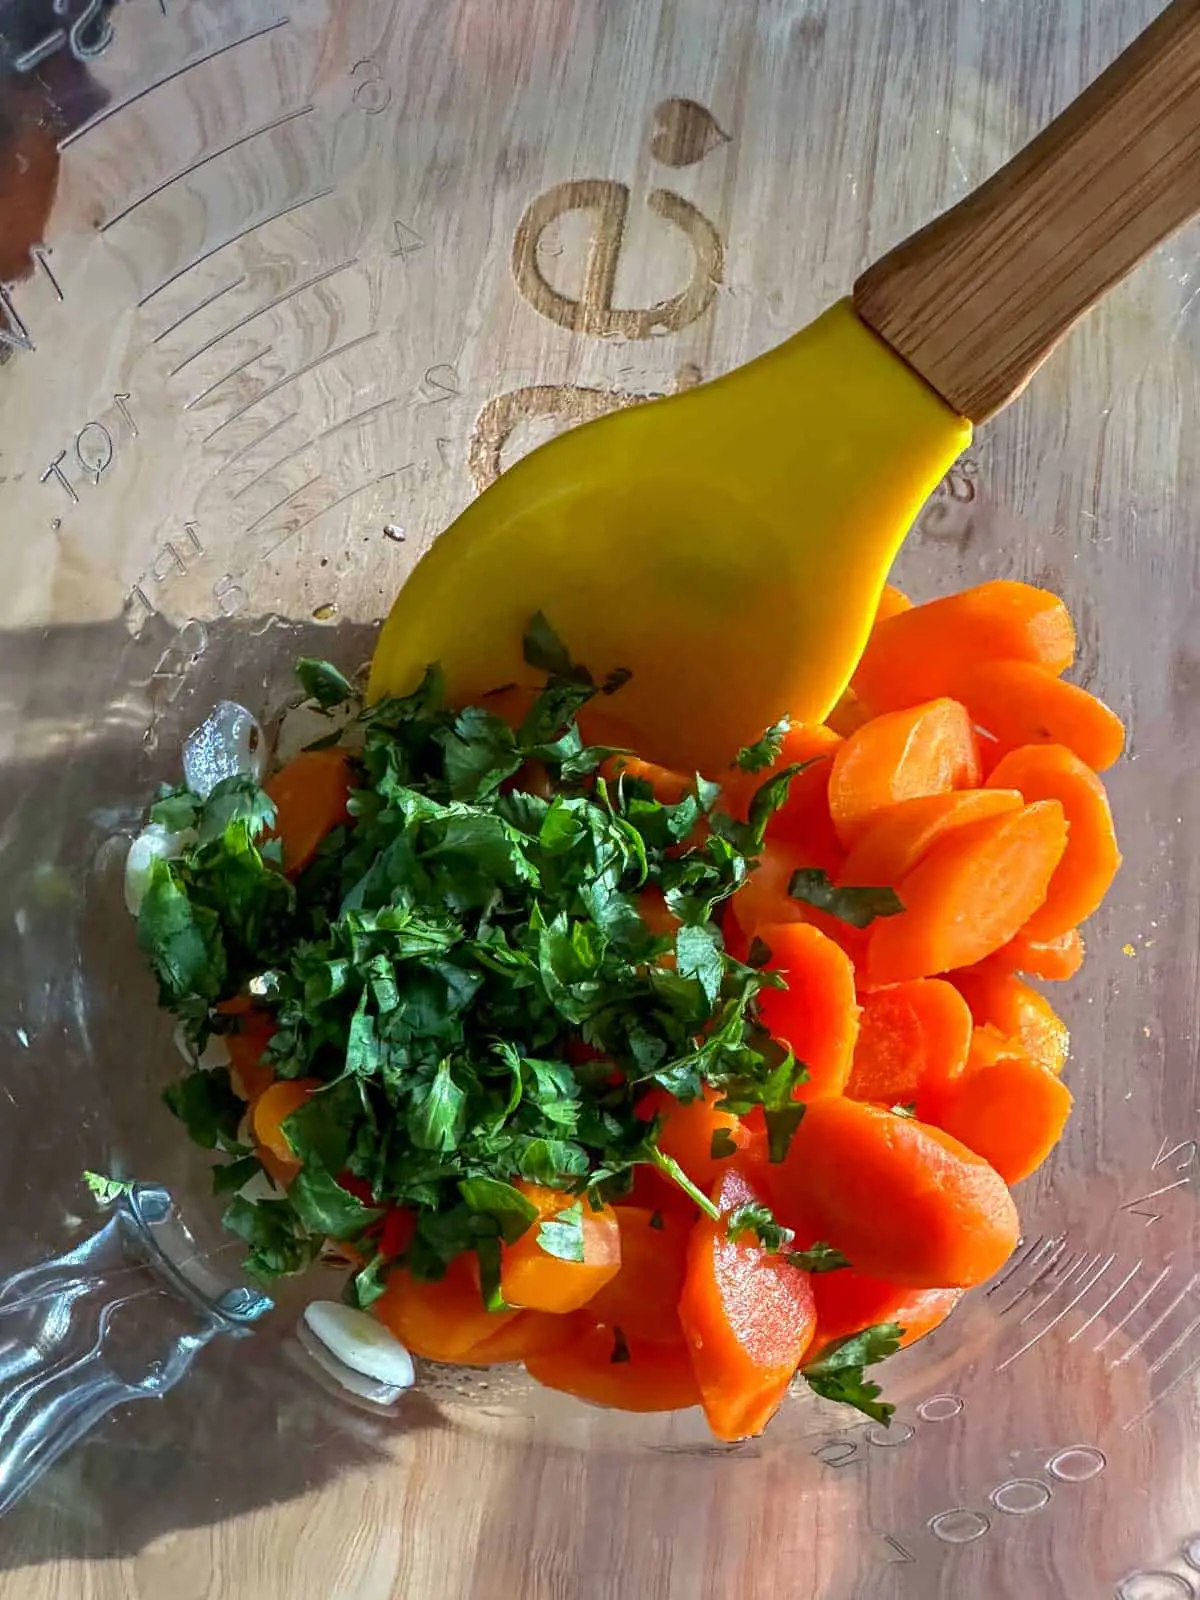
Add the drained cooked carrots to the mixture, along with the finely chopped cilantro, and stir to combine well. Taste and add additional salt and/or pepper if you like.
You can have these right away, but they are best served after refrigerating the carrots for a couple of hours. Place them in an airtight container in the fridge for a bit, and then dream of taking your first bite a short time from now!
Suggestions For Serving
It's time to enjoy this great side dish with a favorite main dish. Or treat it as an appetizer or as a salad if you wish!
This healthy side dish would be perfect served alongside roast chicken or pork chops, along with some crusty bread.
It's also special enough to be part of a treasured holiday meal. Your family and guests are sure to rave about this delicious recipe!
The full recipe card with printable instructions can be found below.
I hope you will indulge in this Portuguese carrot recipe time and time again!
FAQ
Although I haven't made this recipe with baby carrots, I am confident they would work very well! Just adjust the cooking time (if needed) for baby-cut carrots to cook until they are tender.
You should boil the sliced carrots for this recipe for about 10 minutes, or until the carrots are crisp tender. Avoid mushy carrots by not boiling them for too long.
Some Other Great Recipes You May Enjoy!
Here are some other great recipes that you may enjoy:
Join Me On A Fun Food Journey!
Finally, I invite you to come along on this food journey with me! Please sign up to get the latest recipes and inspiration for you to expand your food comfort zone! It's an incredible journey, please join me by signing up here.
Cheers!
Grace
How To Make Perfect Portuguese Marinated Carrots
Equipment
- mixing bowl for combining all ingredients
- large pot for boiling the carrots
- Small skillet for dry roasting the cumin seeds
Ingredients
- 4 carrots peeled and cut into discs at an angle
- 1 bay leaf
- 3 tablespoon olive oil try a Portuguese olive oil for additional authenticity!
- 1 tablespoon red wine vinegar can sub white wine vinegar
- 2 cloves garlic sliced thinly
- ½ cup cilantro chopped finely
- ½ ts cumin seeds
- ⅛ ts salt plus additional for salting the water
- ⅛ ts black pepper
Instructions
- Add peeled and sliced carrots and a bay leaf to a large pot of salted boiling water. Boil for about 10 minutes until the carrots are tender but not too soft or mushy. Drain, discard bay leaf, and set aside to cool.

- While the carrots are boiling , set your skillet on medium low heat, and dry roast the cumin seeds for around 5 minutes, or until the seeds become a lovely shade of brown.
- Whisk the oil and vinegar in a mixing bowl. Then add the dry roasted cumin seeds, salt, pepper, and garlic and stir to combine.
- Add the drained carrots to the mixture, along with the finely chopped cilantro, and stir to combine well. Taste and add additional salt and/or pepper if you like.
- You can have these right away, but they are best served after refrigerating the carrots for a couple of hours. Enjoy your PERFECT Portuguese Marinated Carrots!