This page may contain affiliate links. So, I receive a small commission at no cost to you when you make a purchase using my link. This post is about a Korean daikon recipe for a Korean Style Radish salad!
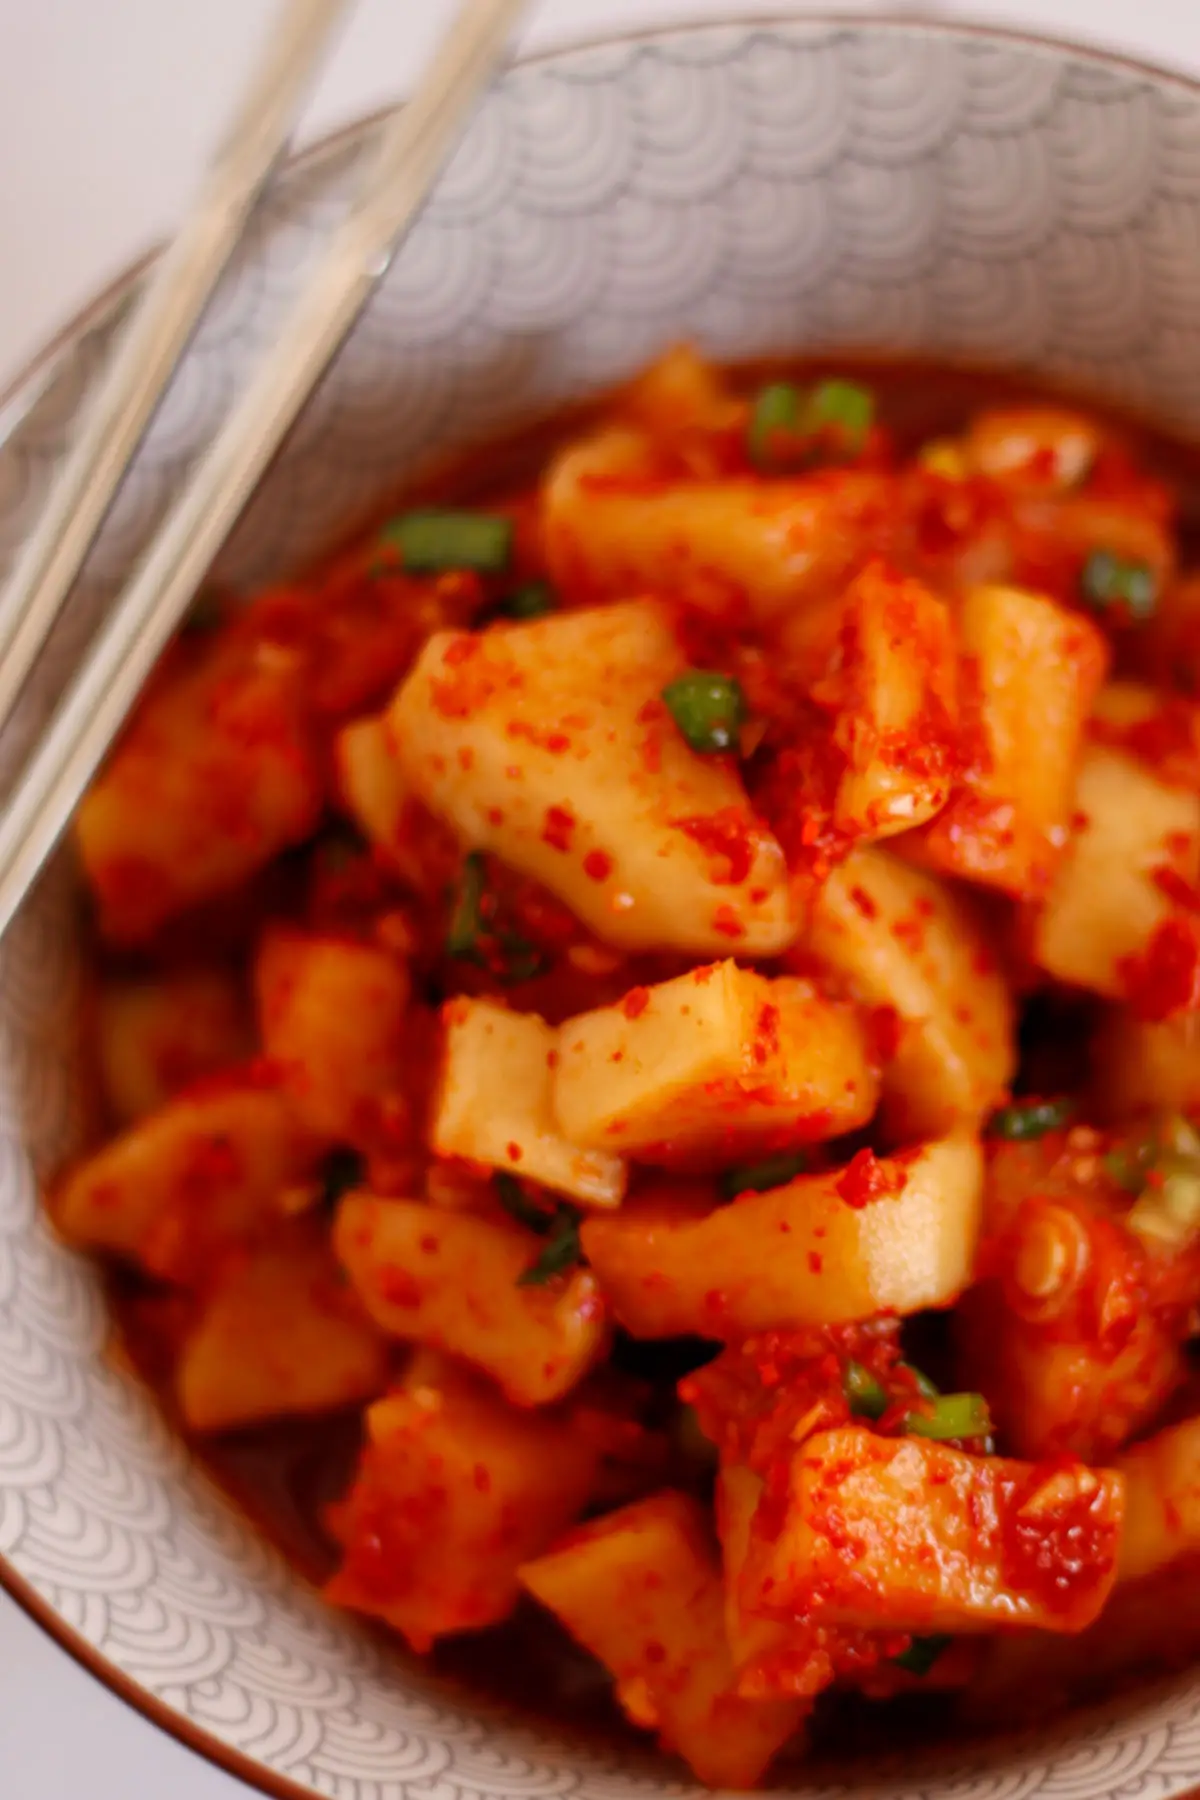
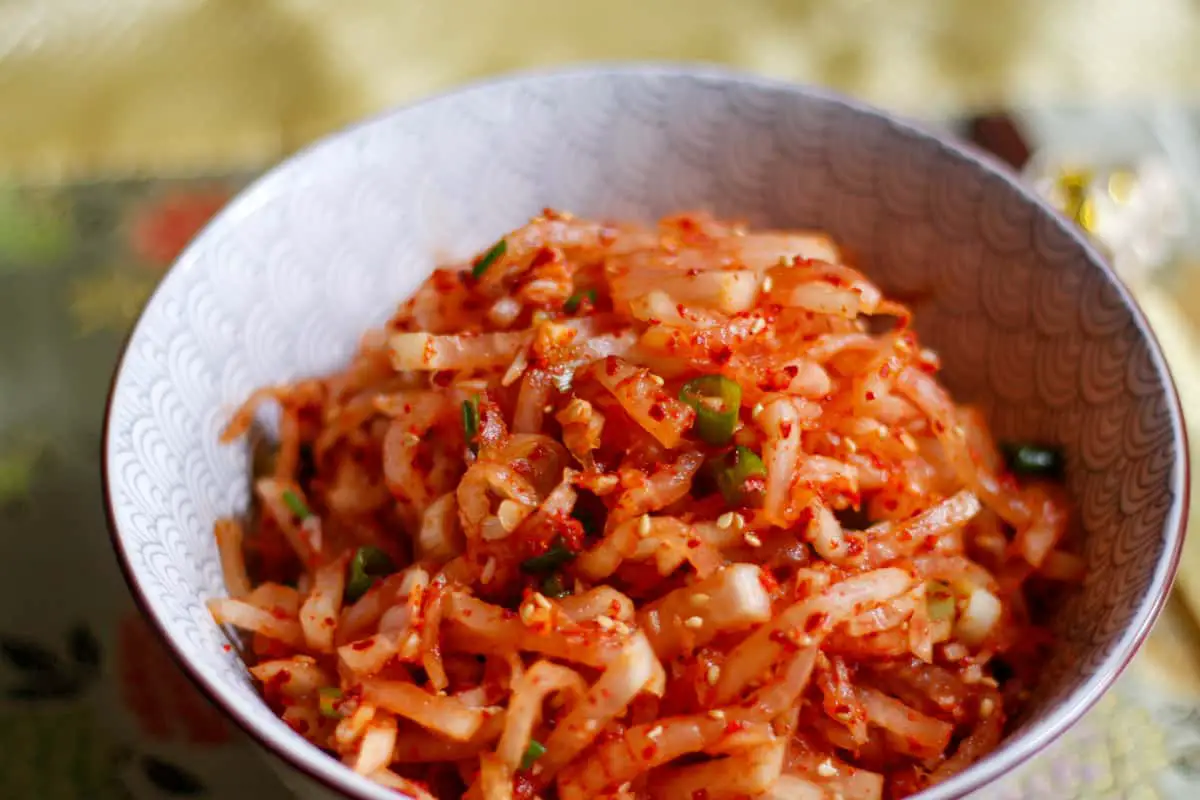
Korean cuisine includes delicious banchan, or Korean side dishes! Korean style radish salad, also known as musaengchae, is one of the easiest and most delicious banchan to make and enjoy!
Allow me to tell you a little bit about this delicious and refreshing Korean radish side dish!
[feast_advanced_jump_to]What is Korean Radish Salad?
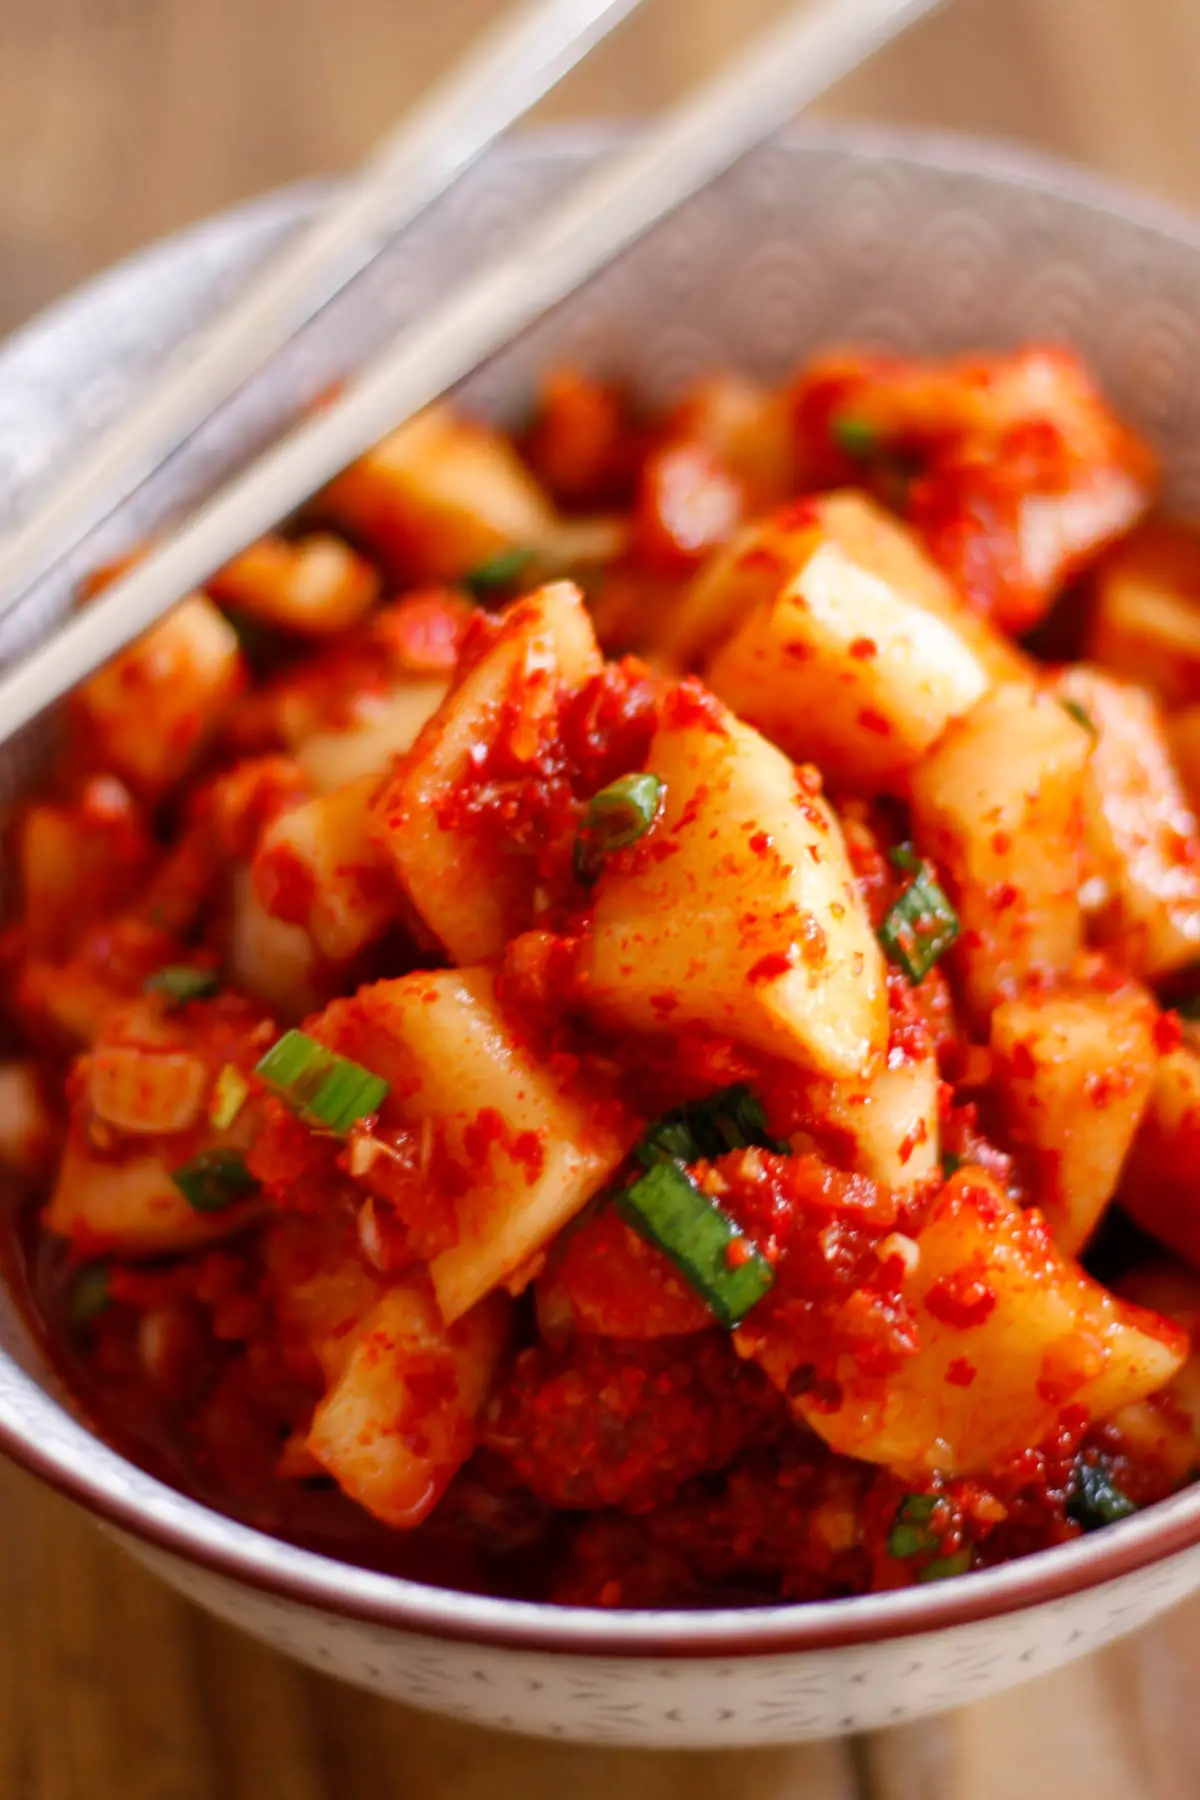
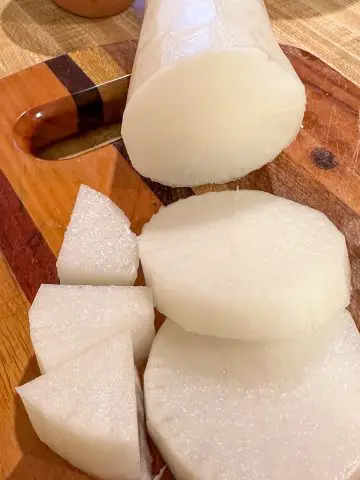
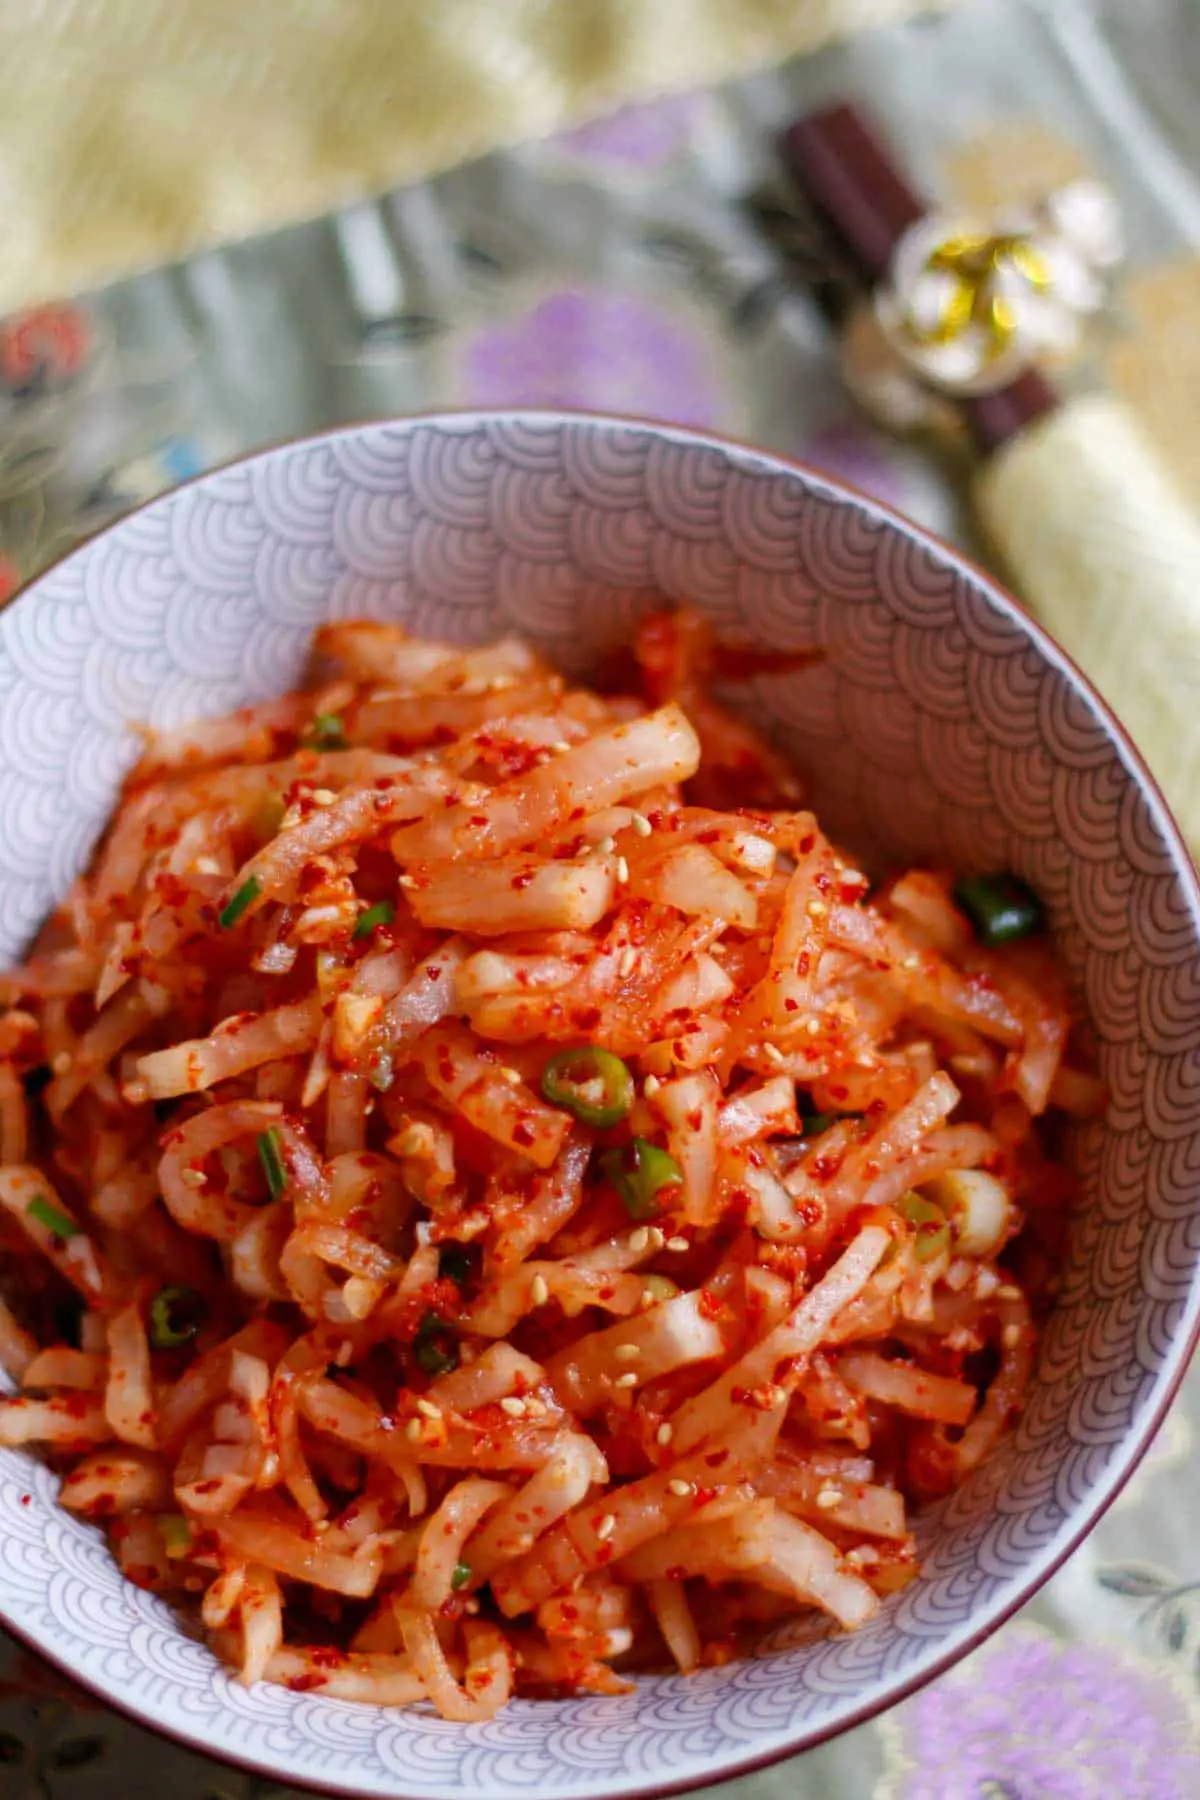
Korean radish salad is made with white radish, namely Korean mu or daikon radish.
This dish is called musaengchae in Korean. "Mu" means radish, and "saengchae" means salad.
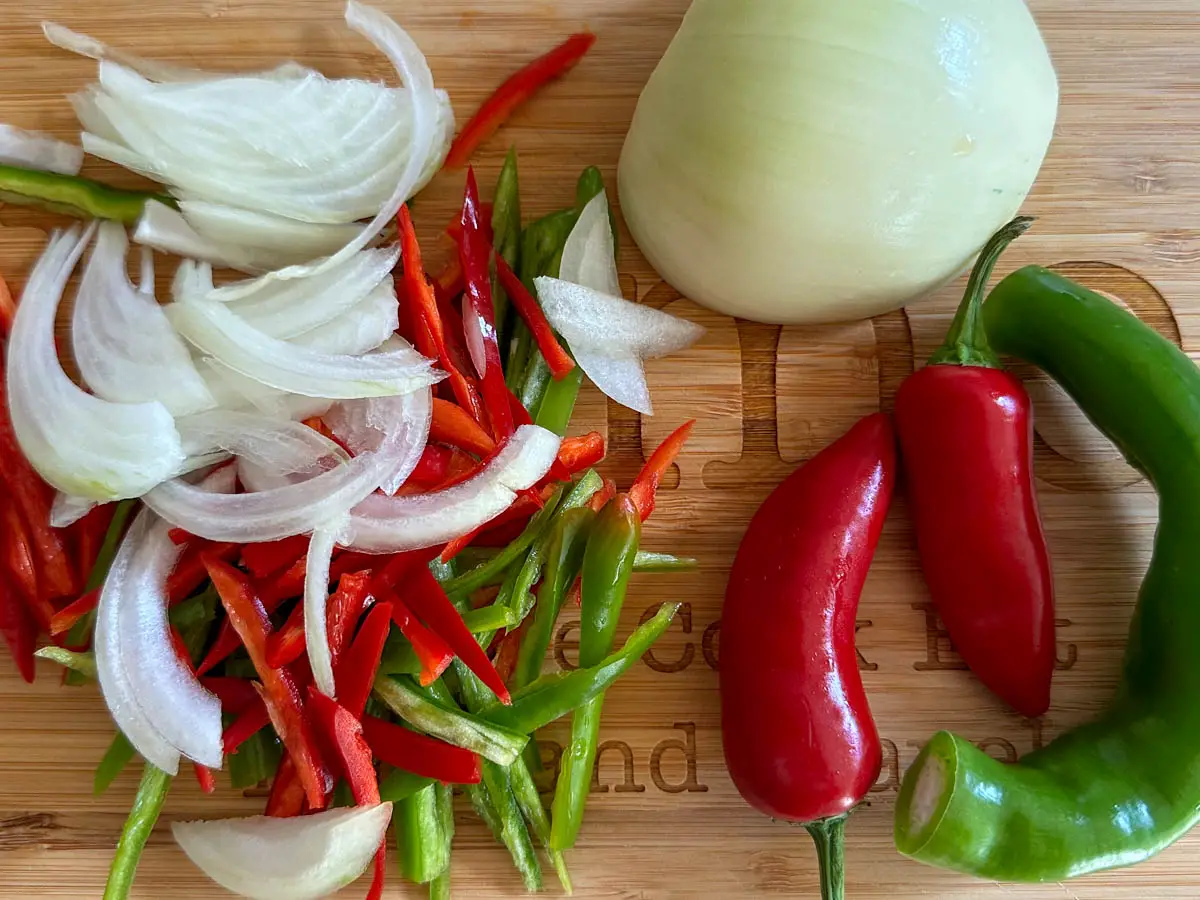
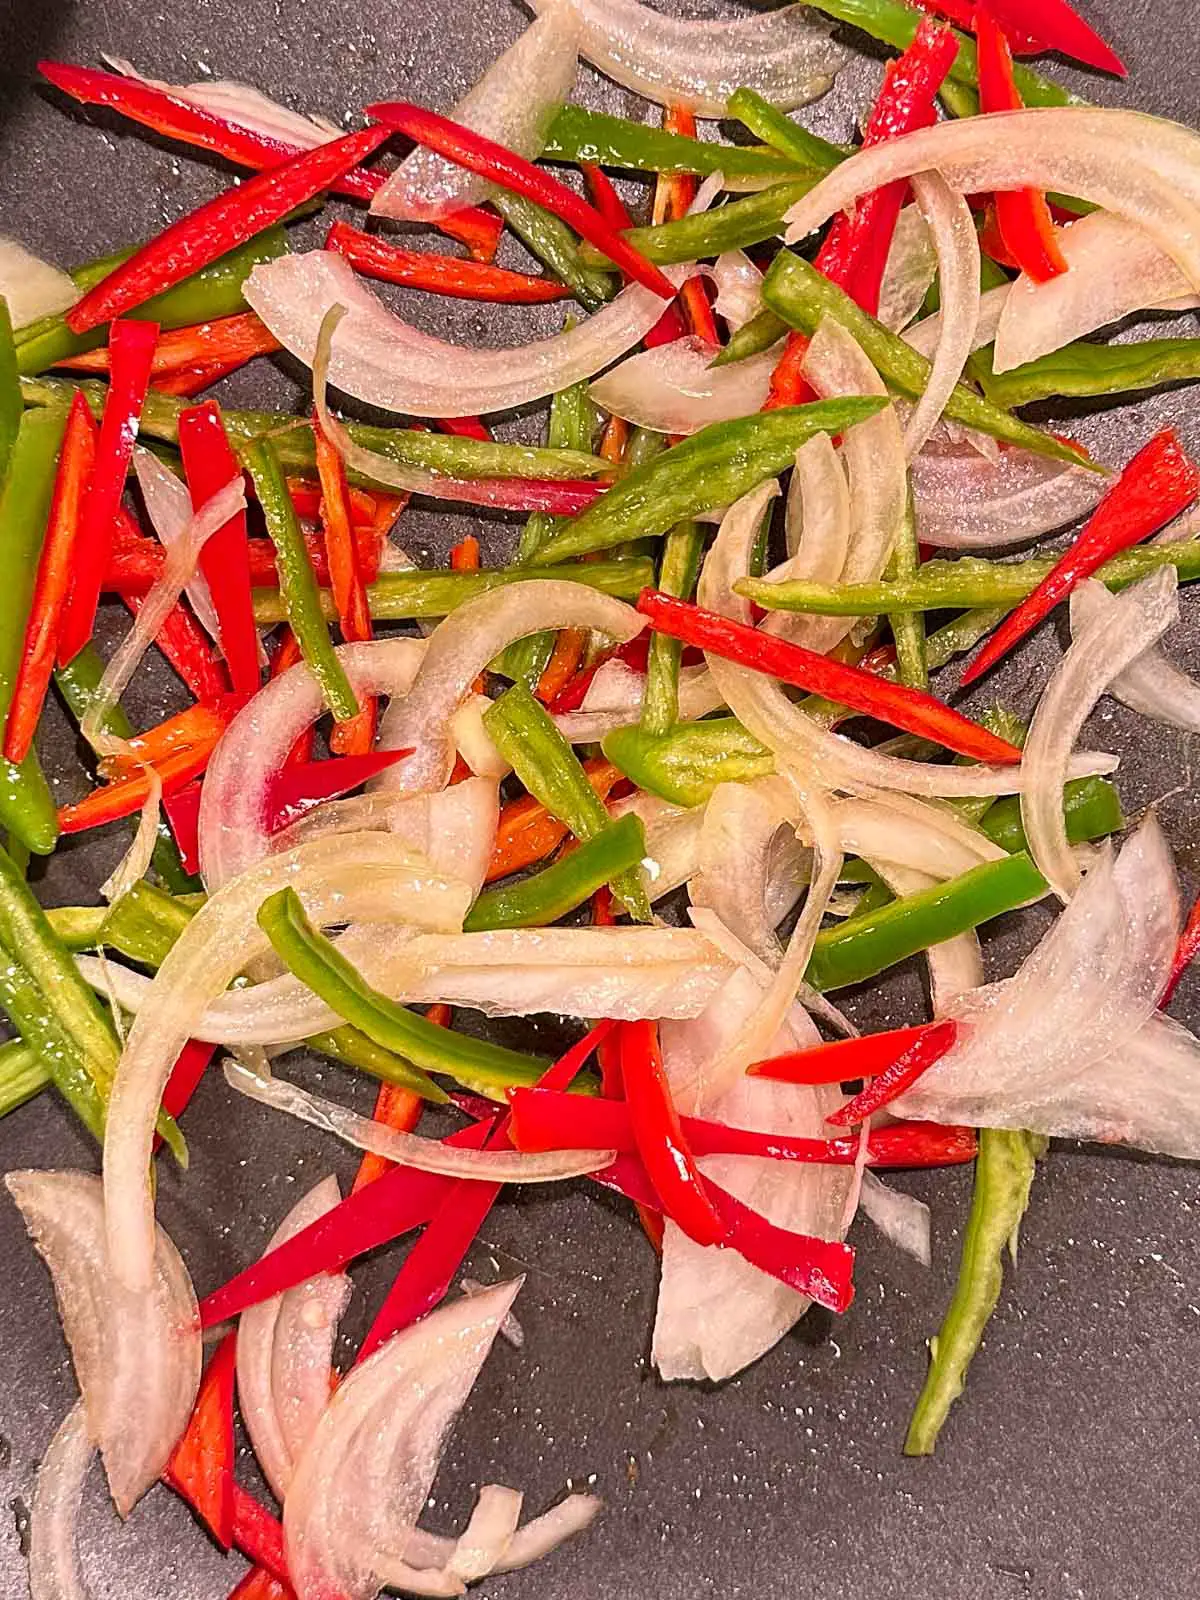
The radish is julienned (cut into thin strips like matchsticks), and then dressed with a sweet, tangy, savory, and slightly spicy sauce.
Sounds like heaven? It is! Do yourself a favor and spend a few minutes making this wonderful dish!
Let me now show you what ingredients you will need!
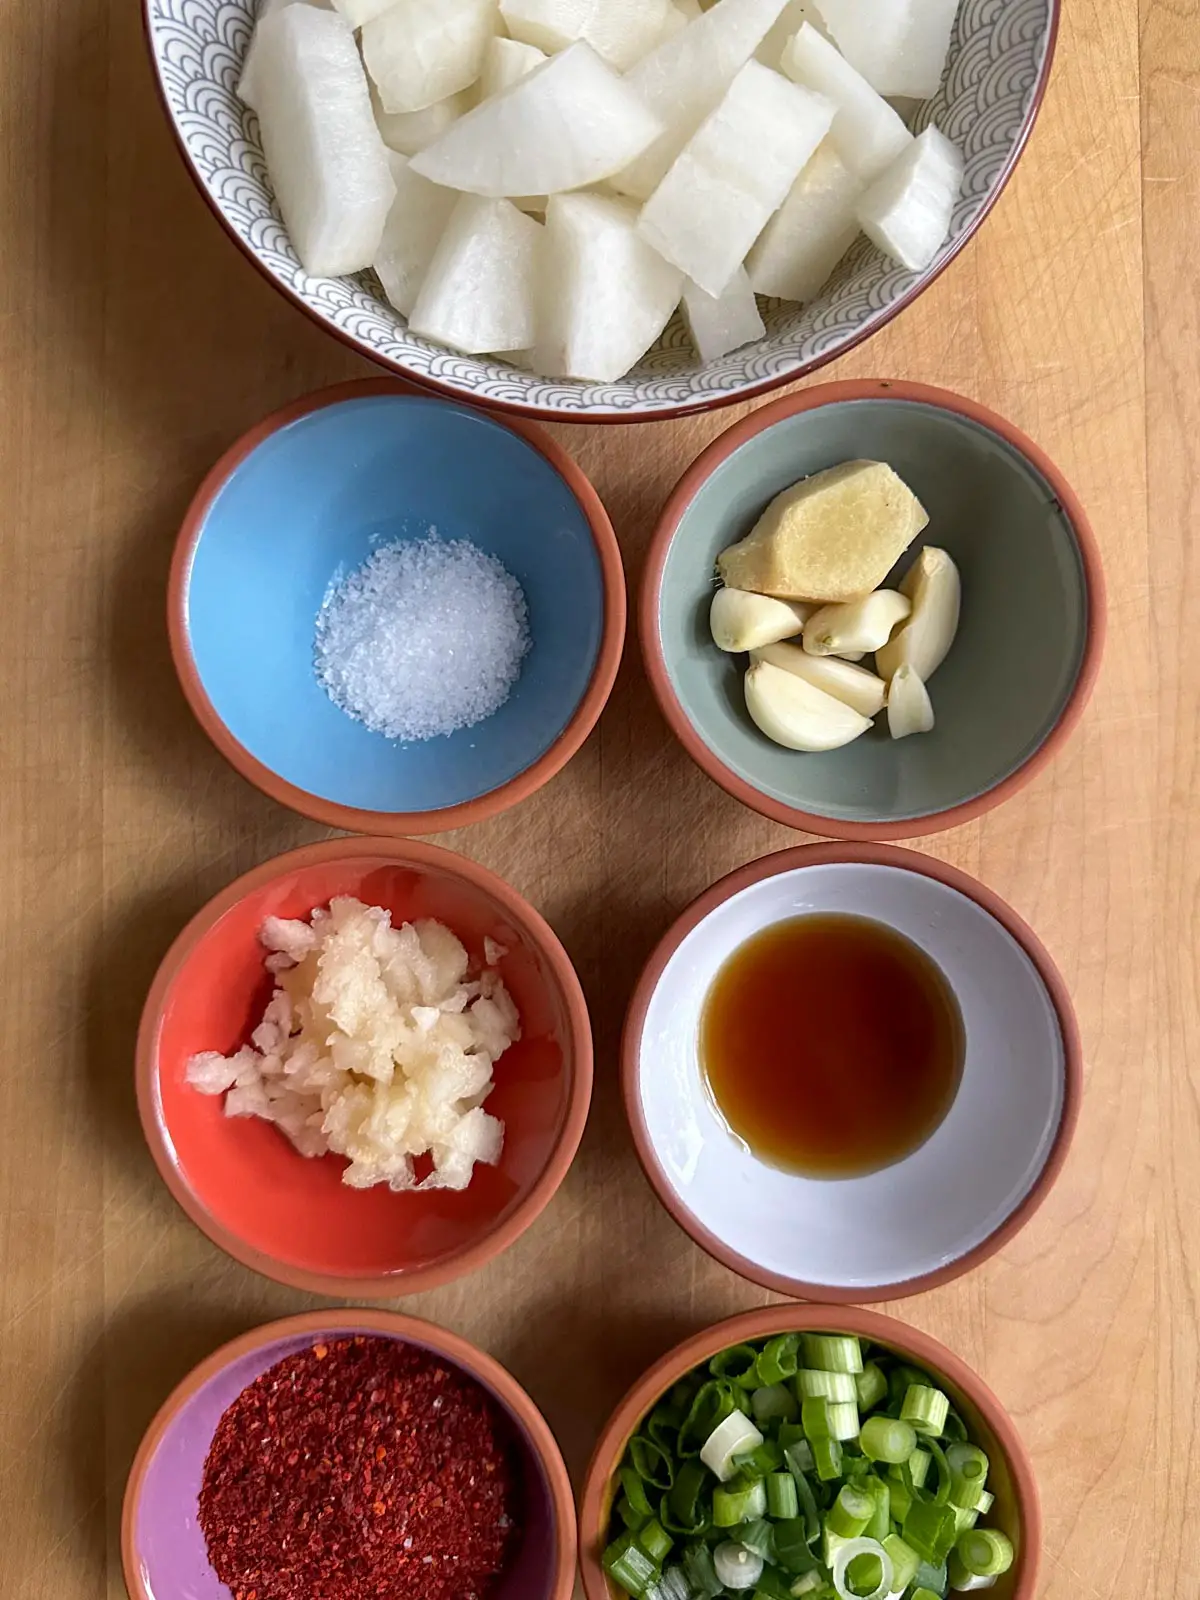
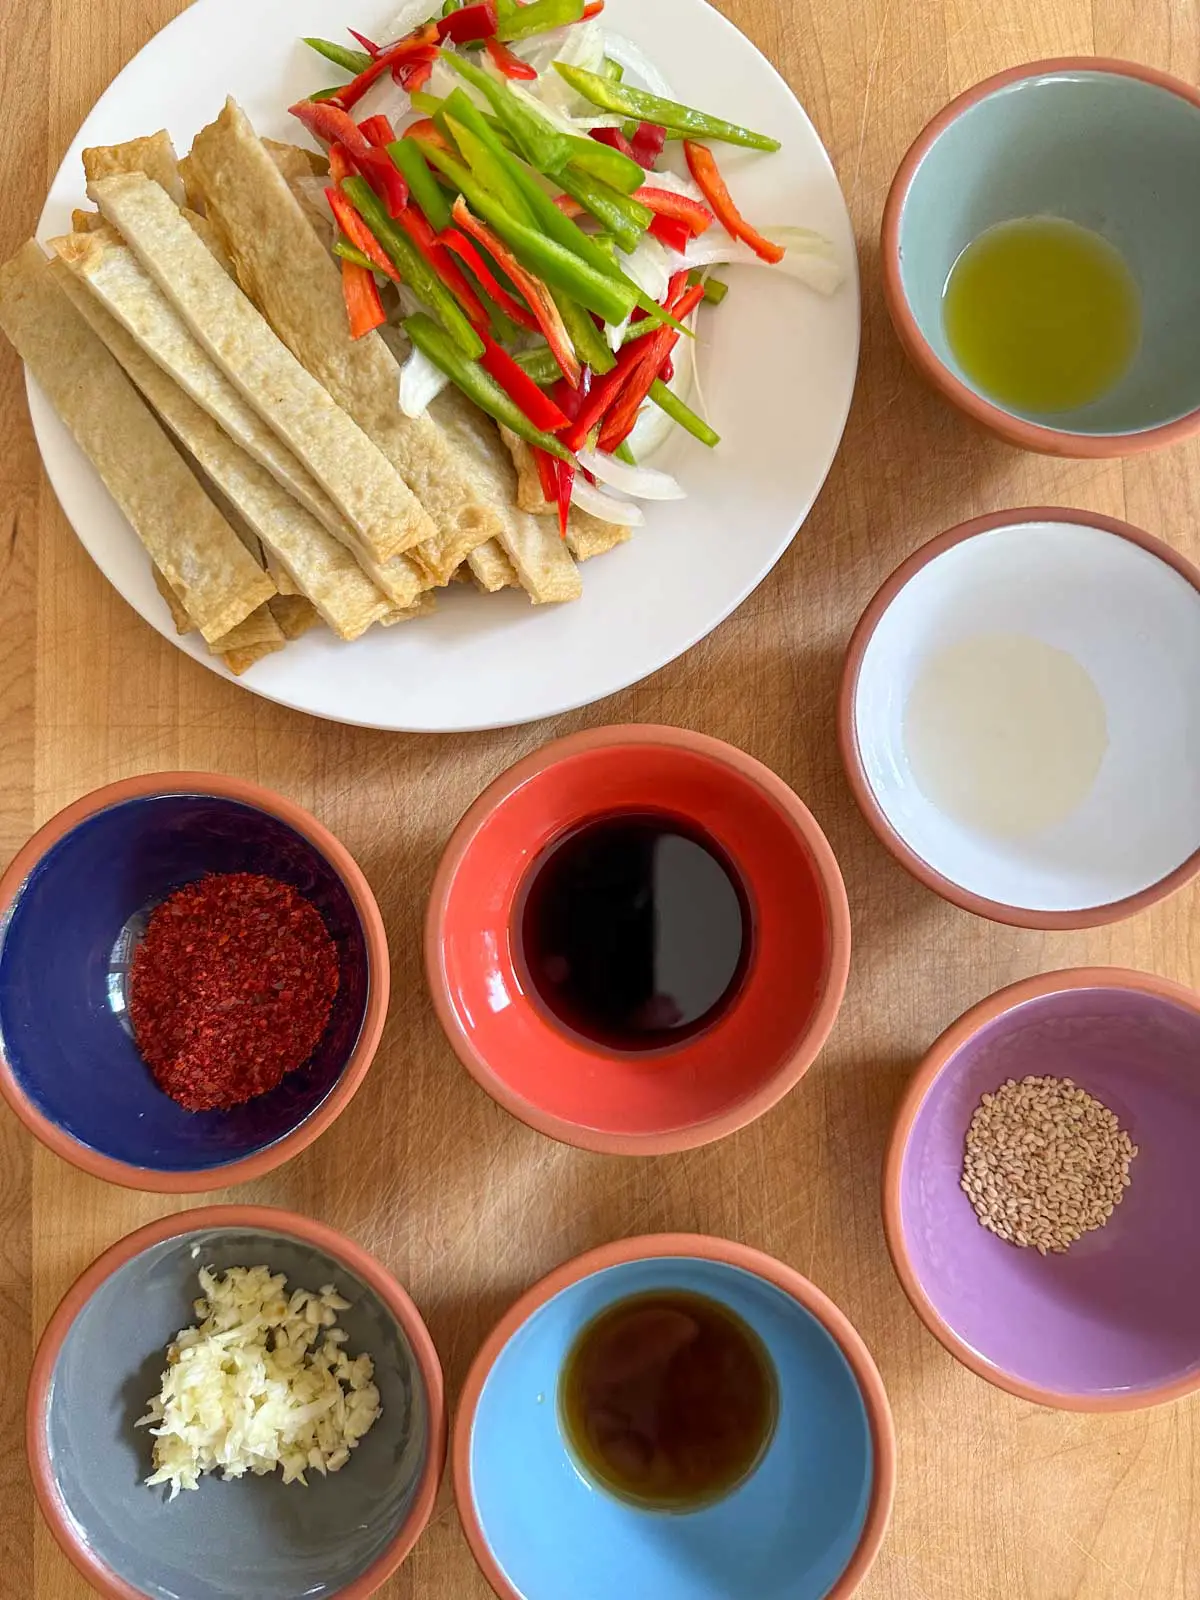
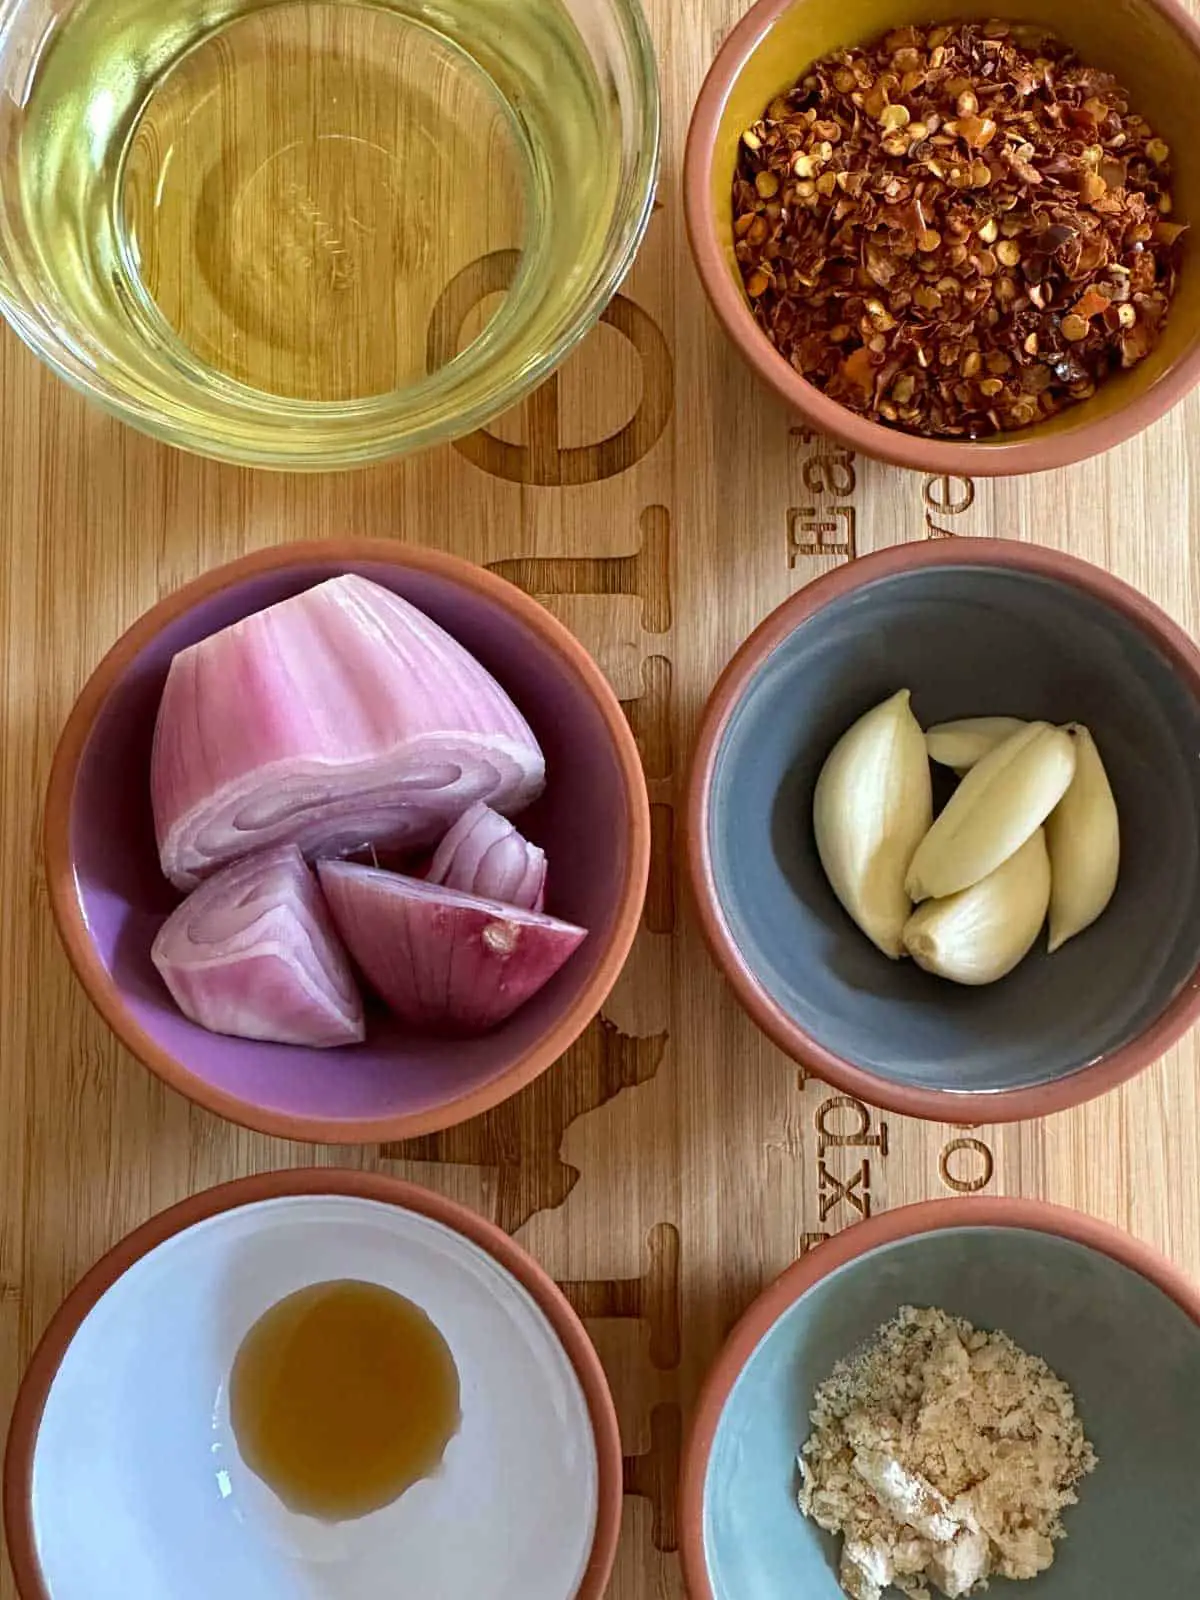
🥘 Ingredients
So here are the amazing ingredients you will need to make this dish:
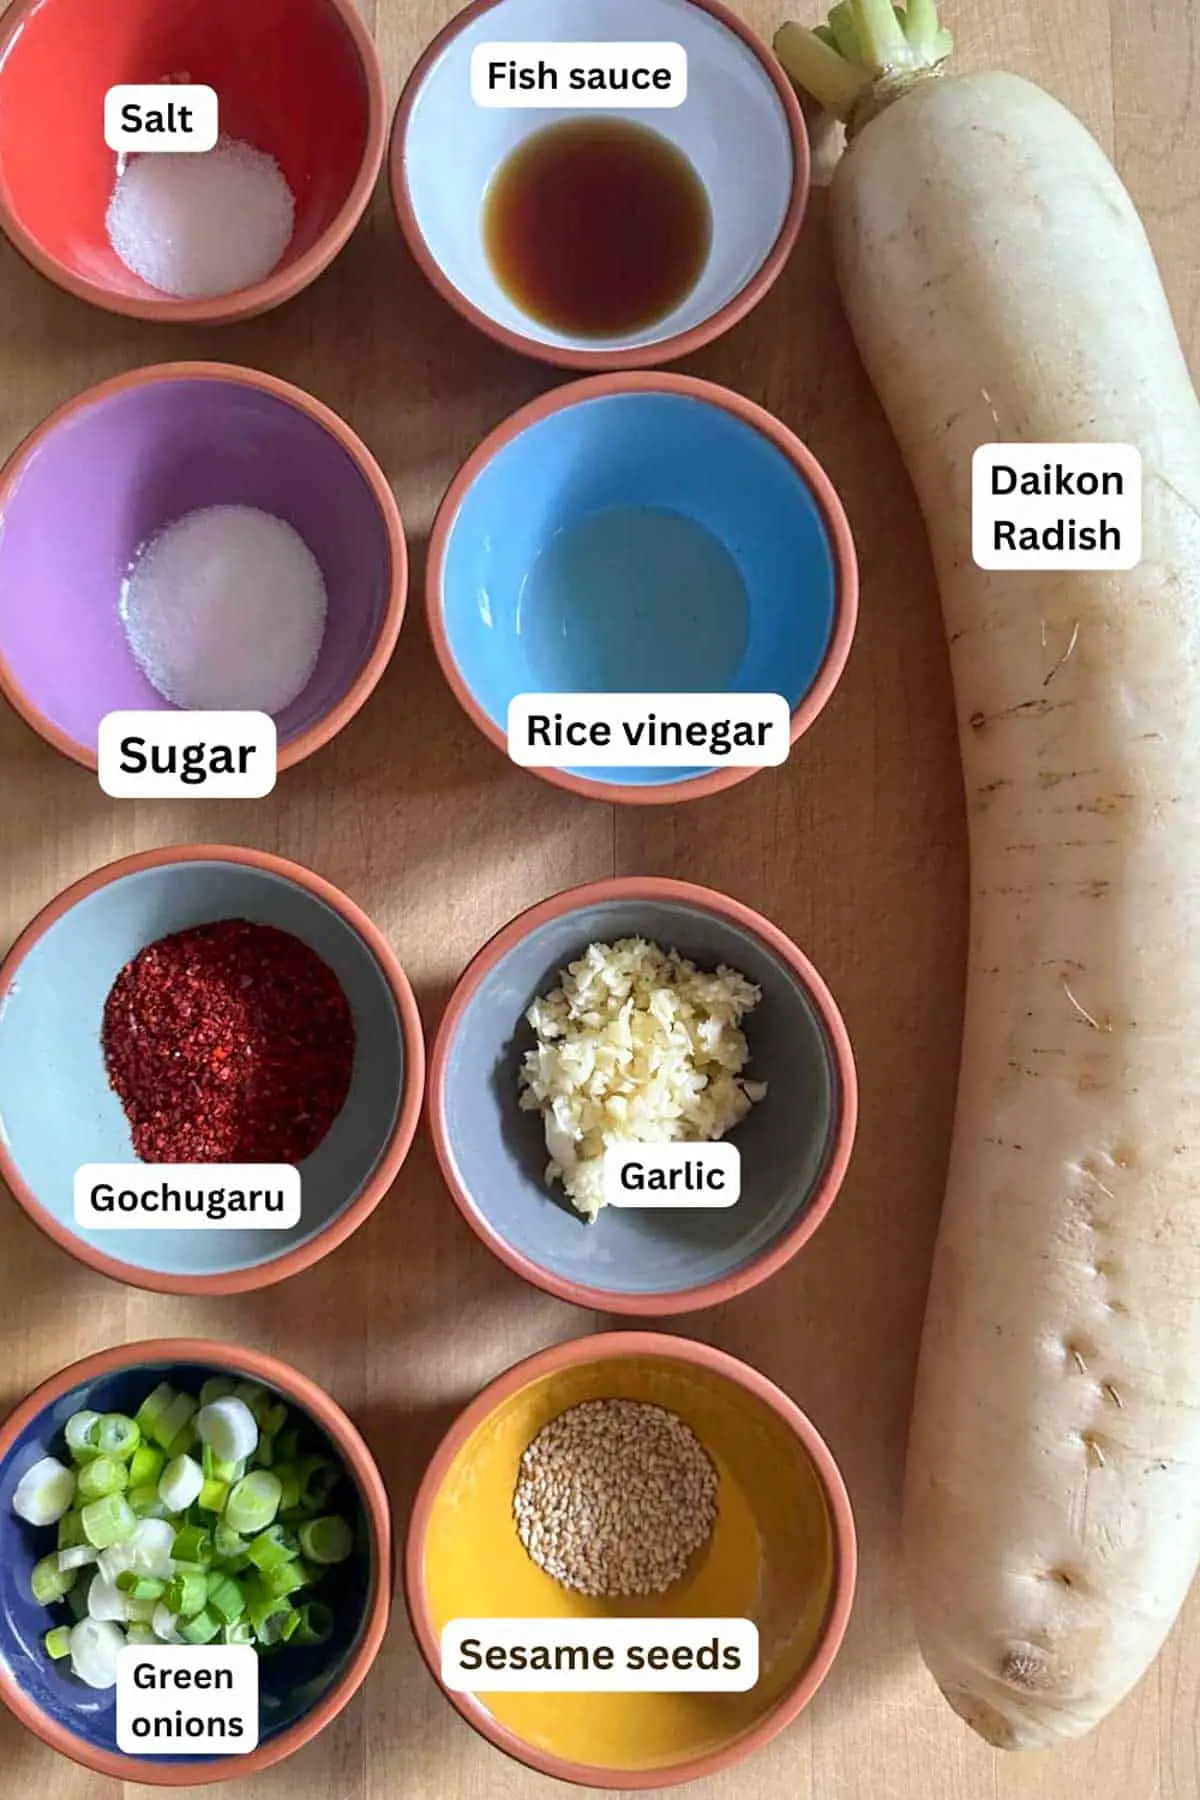
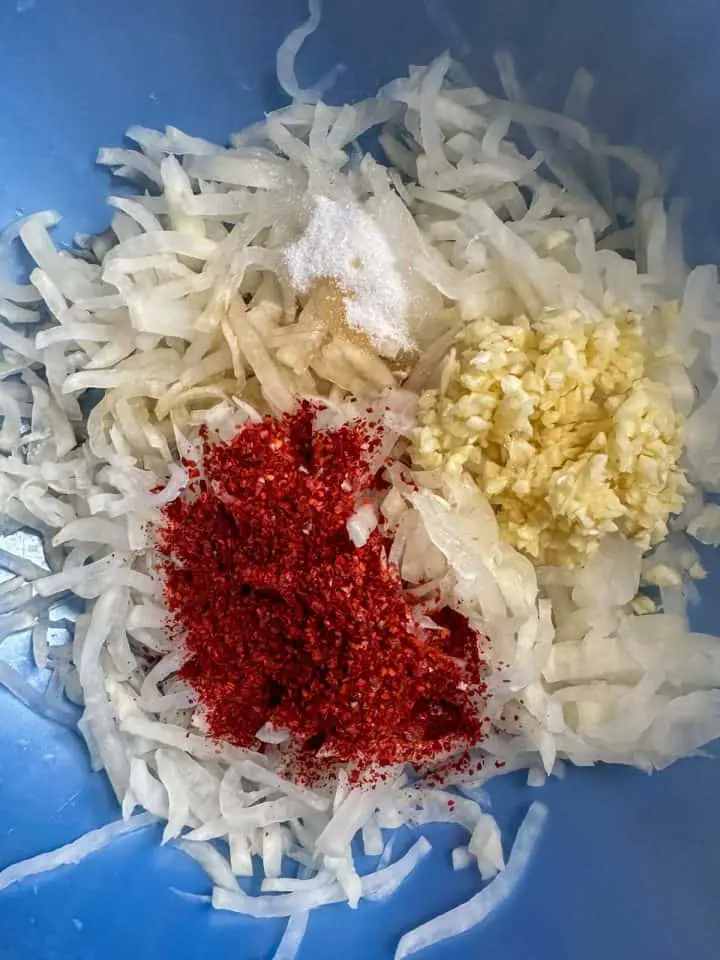
- Daikon radish (of course you can sub Korean mu radish if you like!)
- Salt
- Fish sauce
- Rice vinegar
- Sugar
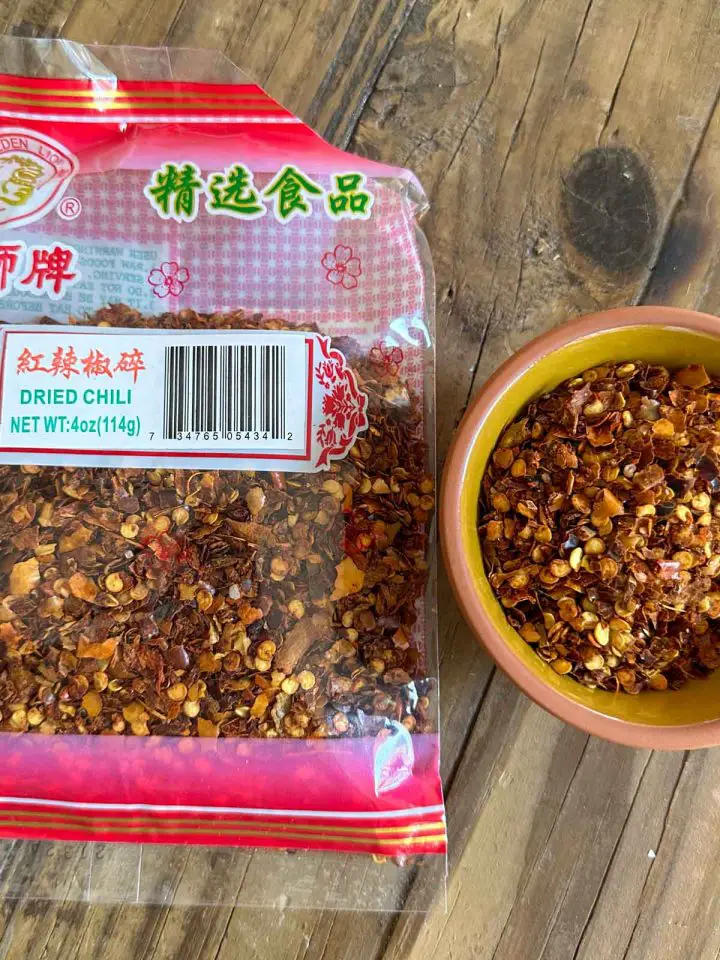
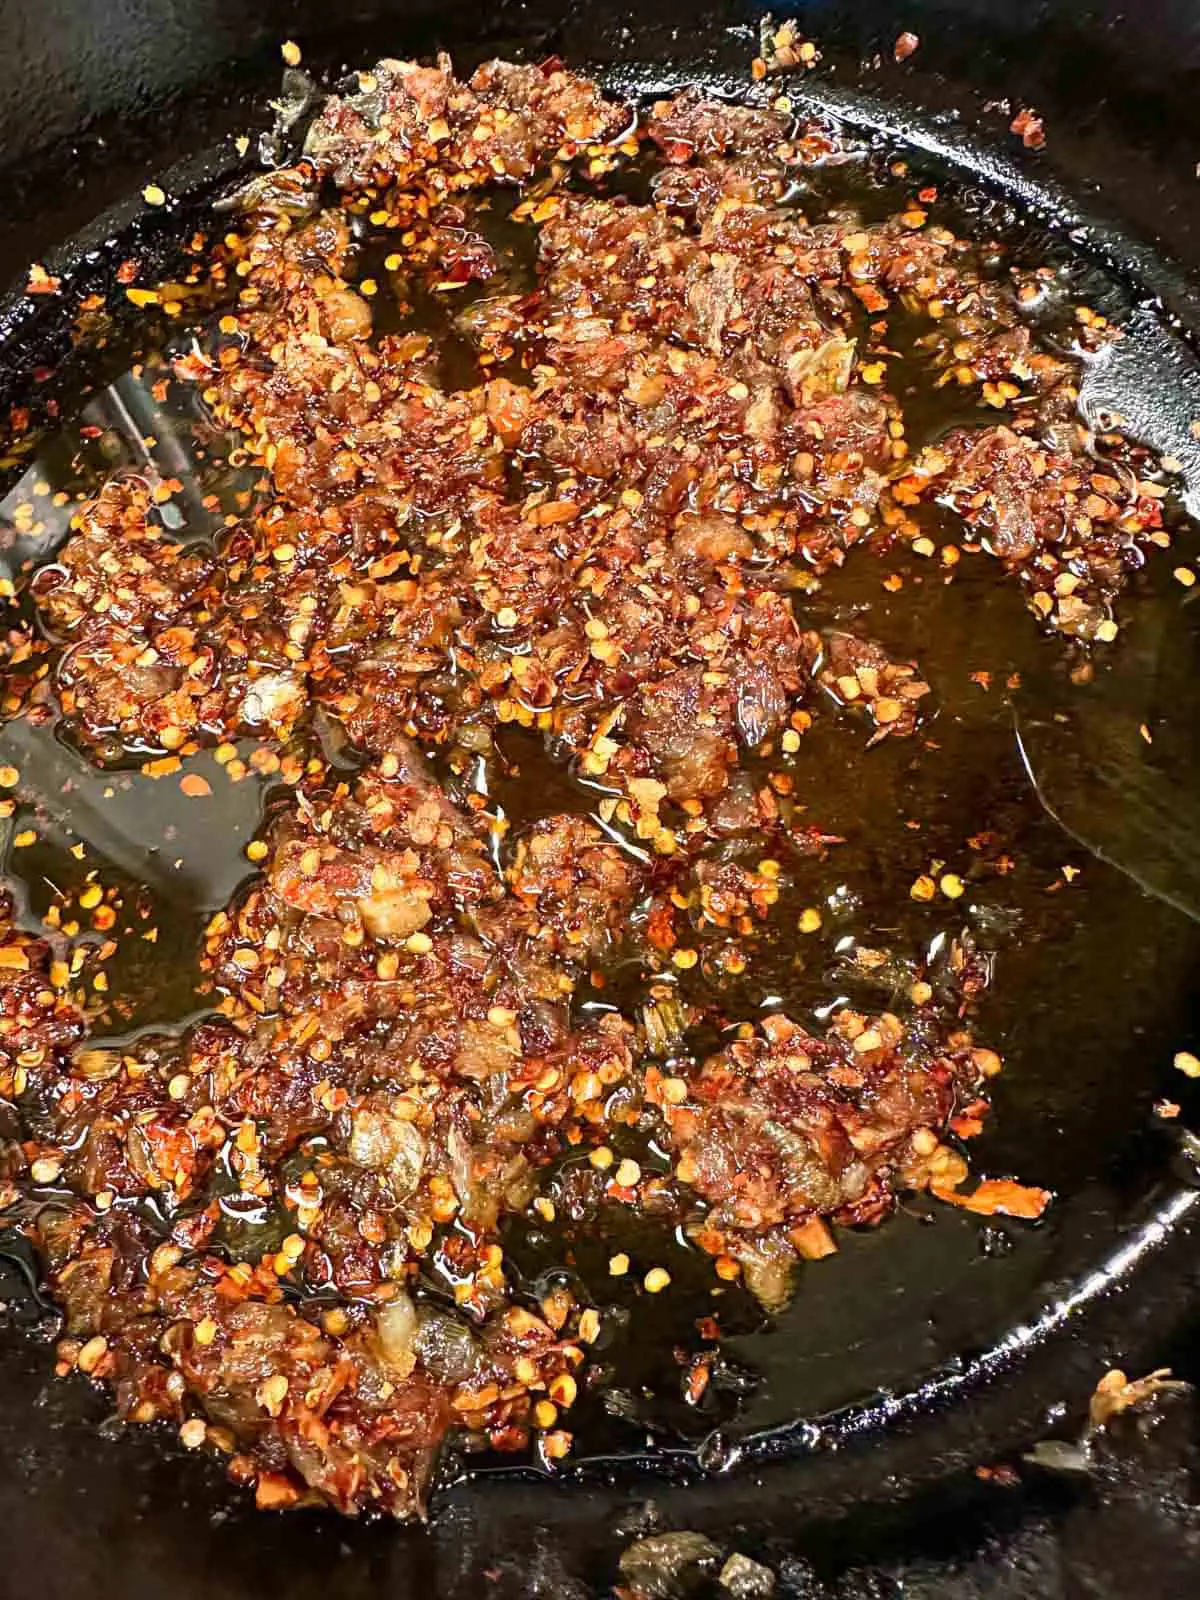
- Goghugaru (Korean red pepper flakes)
- Fresh garlic
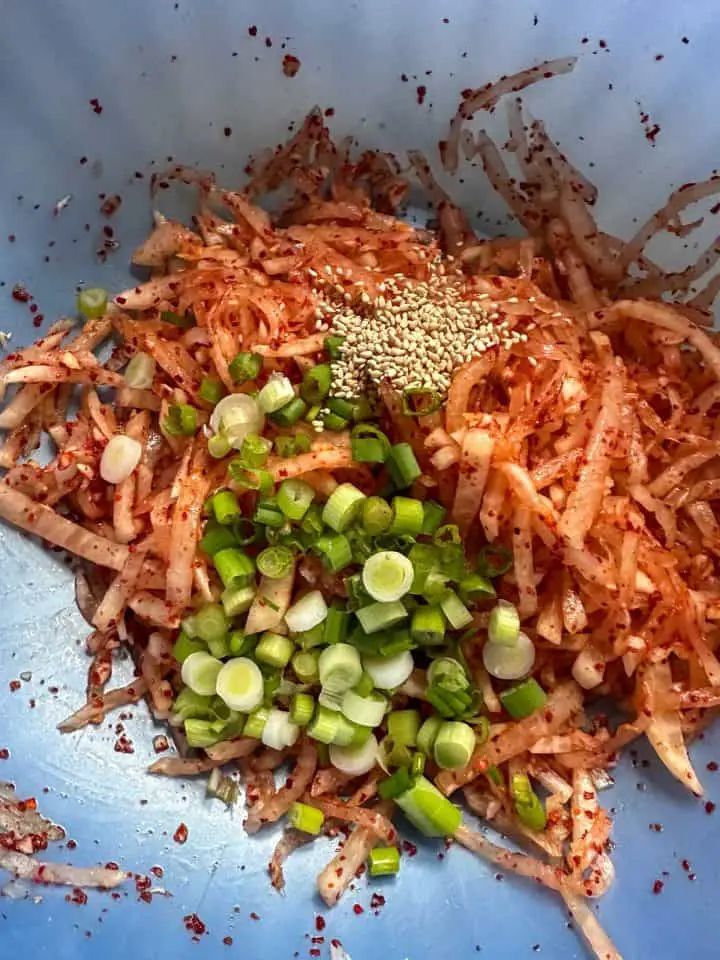
- Green onion
- Sesame seeds
You should be able to find most if not all of these ingredients at a well stocked grocery store. If not, Asian markets should carry these items and I have linked to Amazon for a few of the ingredients for convenience sake.
🔪 Instructions
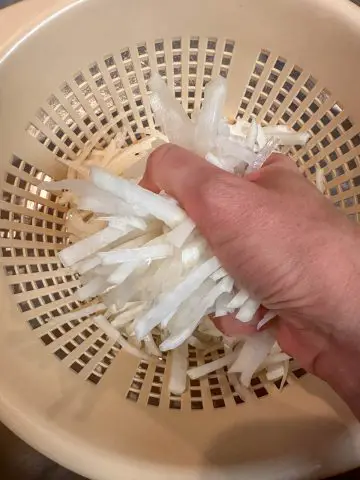
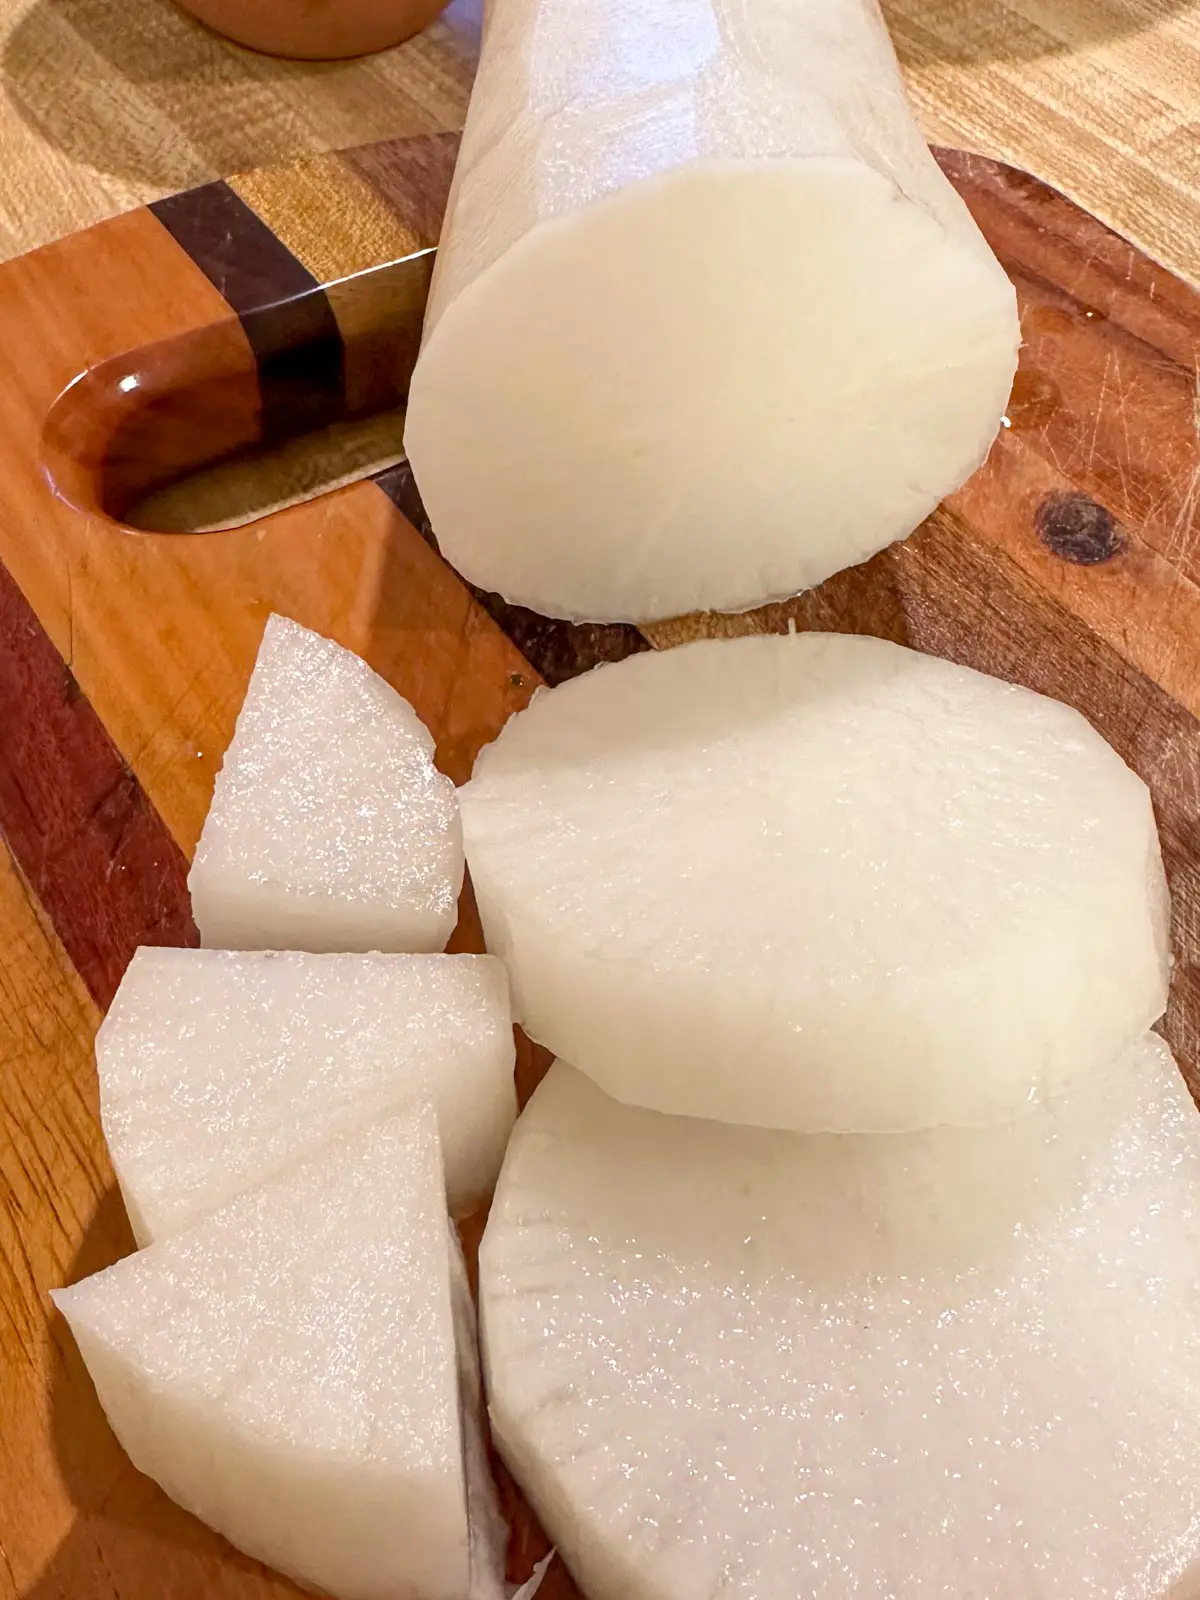
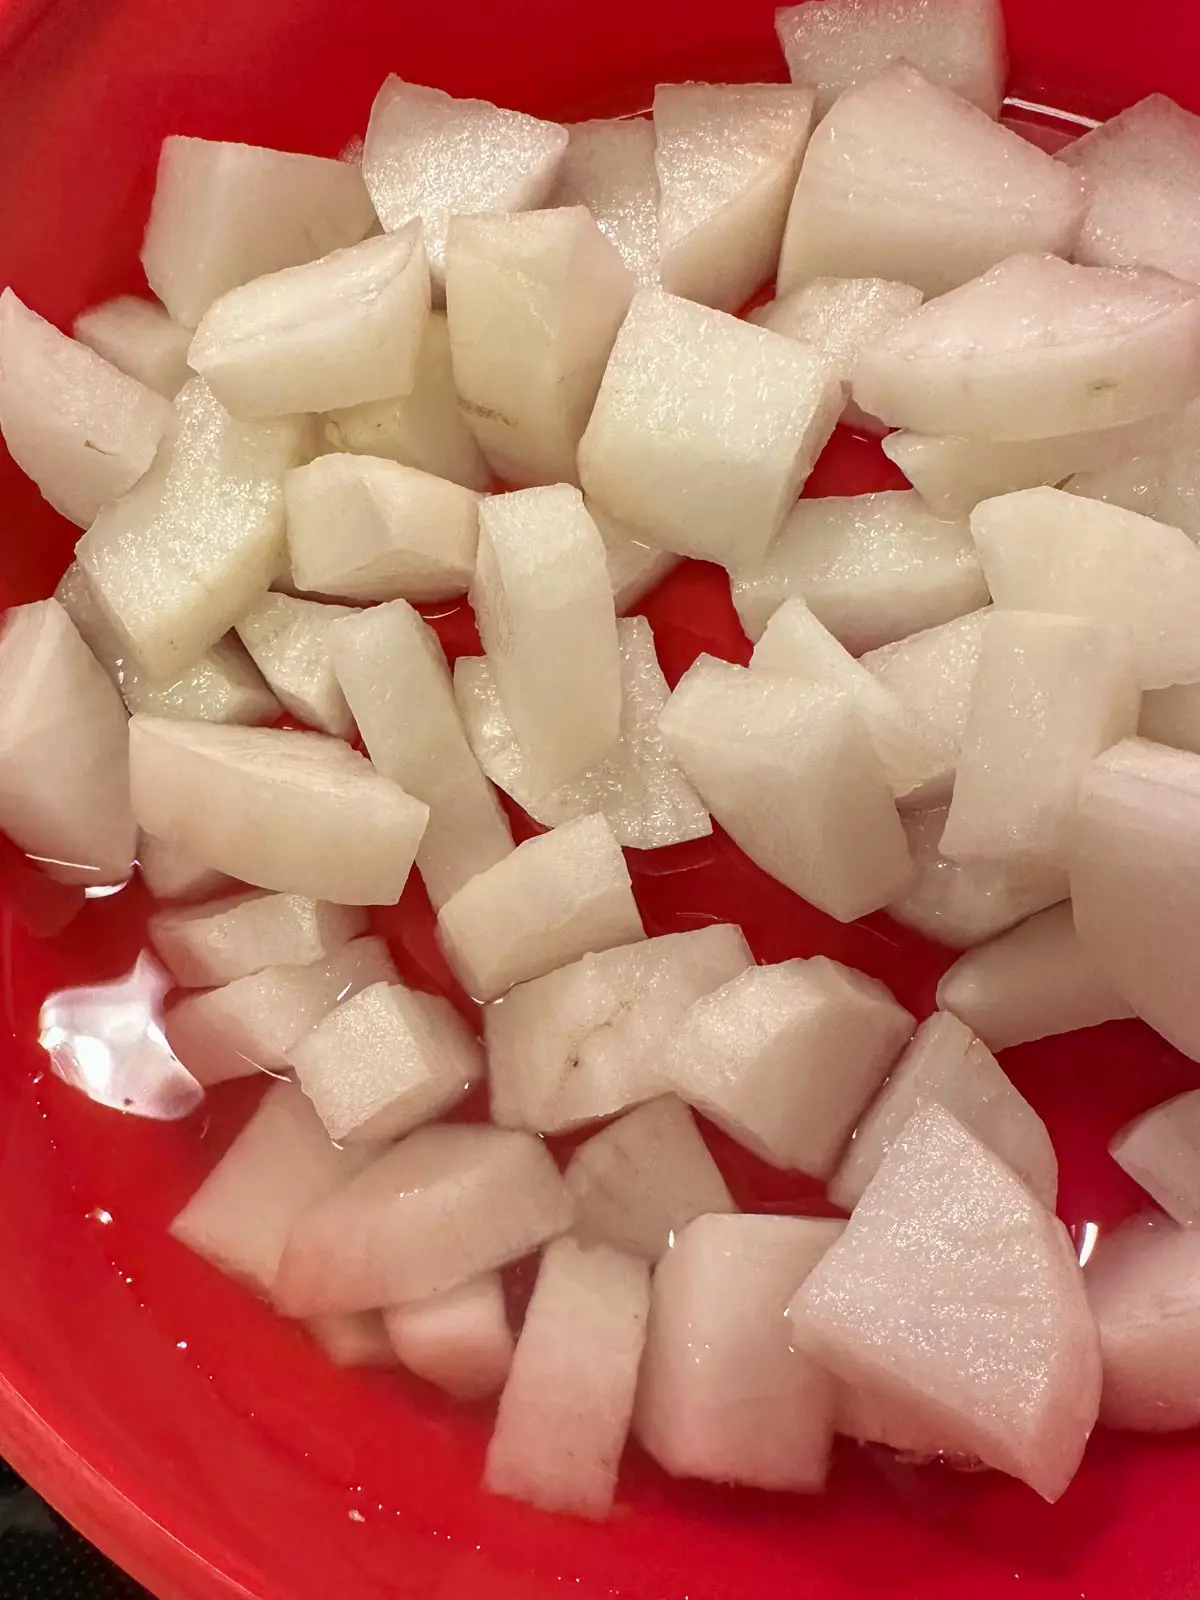
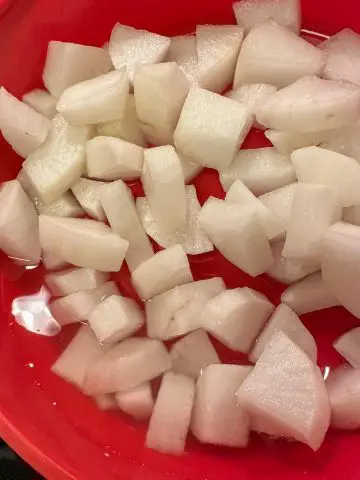
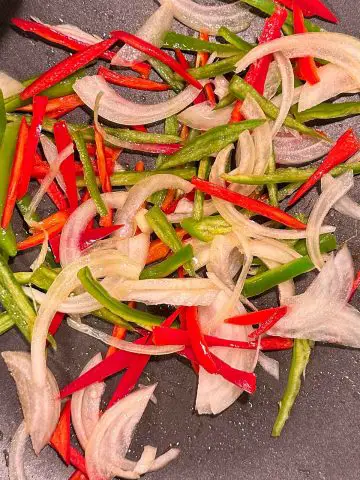
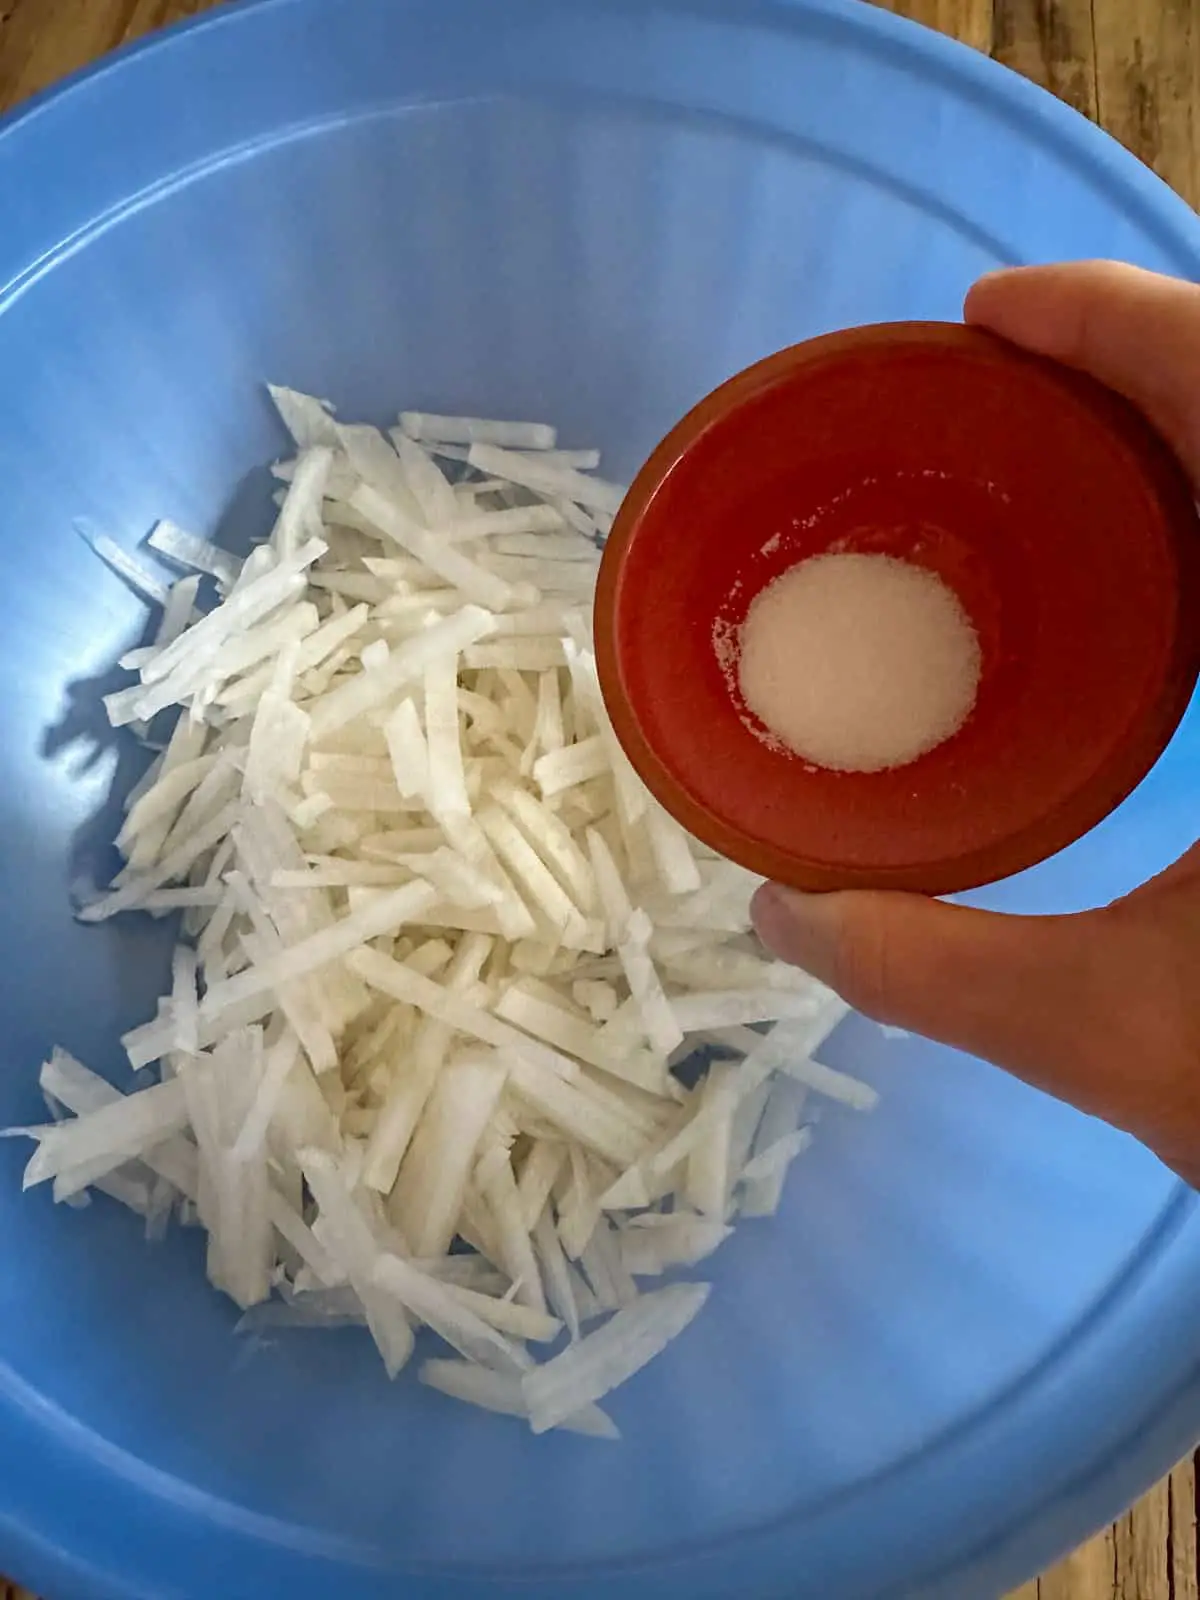
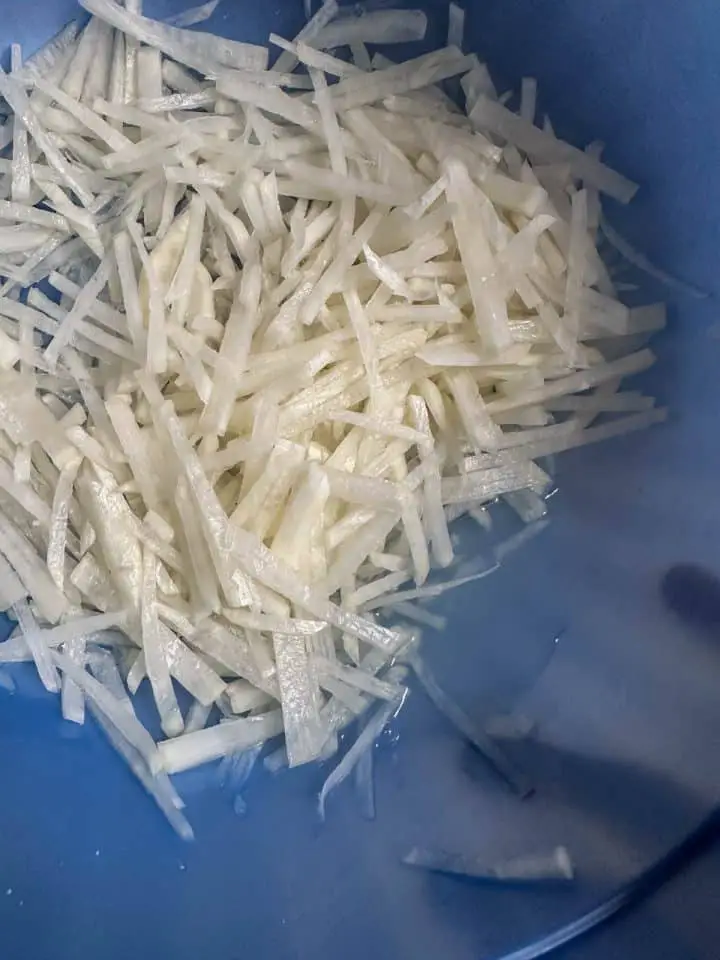
Peel and then julienne the daikon radish. You can use a mandoline or knife. Place the julienned radish in a large bowl and add the 1 ts of salt. Mix the salt with the radish and leave it for 15 minutes, during which time water will be extracted from the radish.
Drain off the excess water, and then squeeze the radish to get rid of even more water. No need to rinse the daikon.

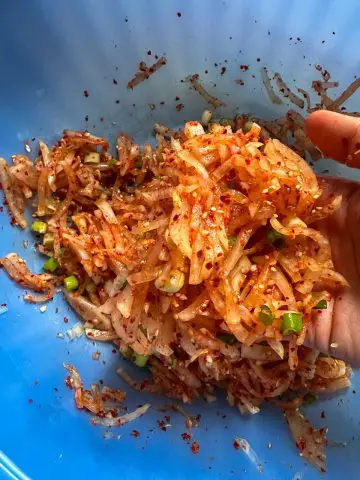
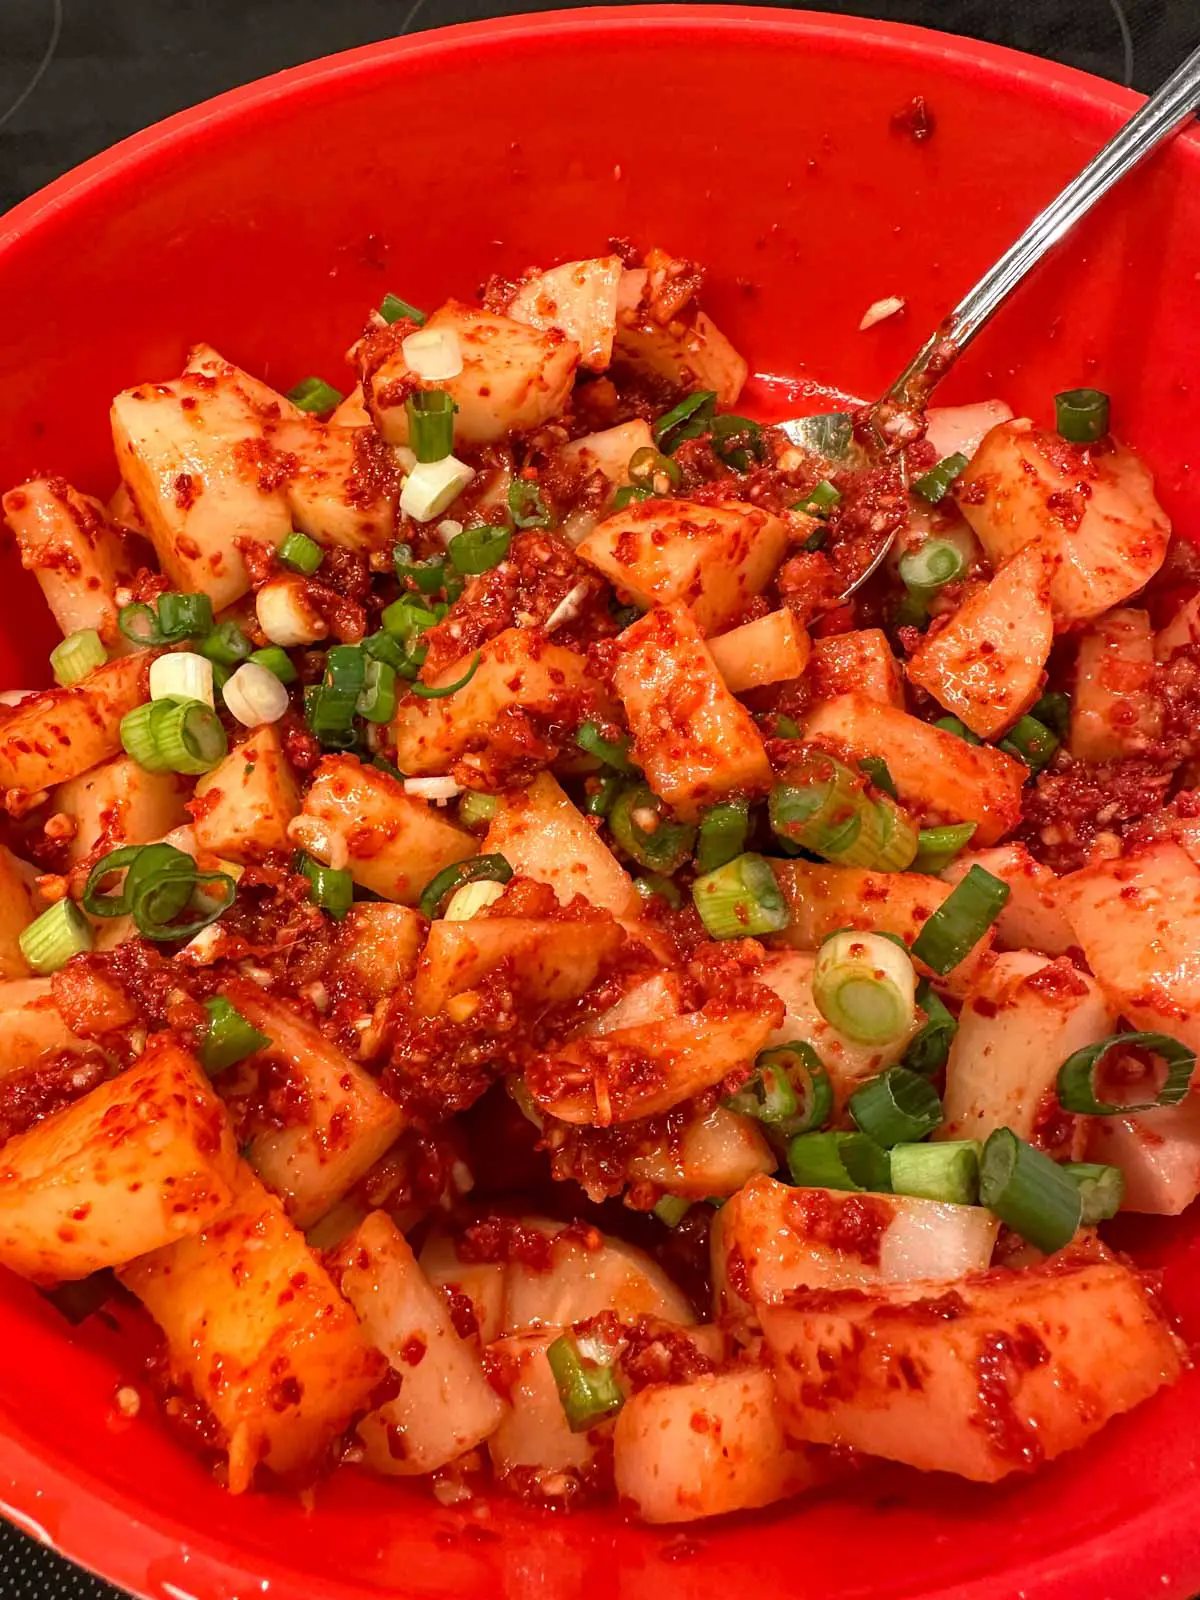
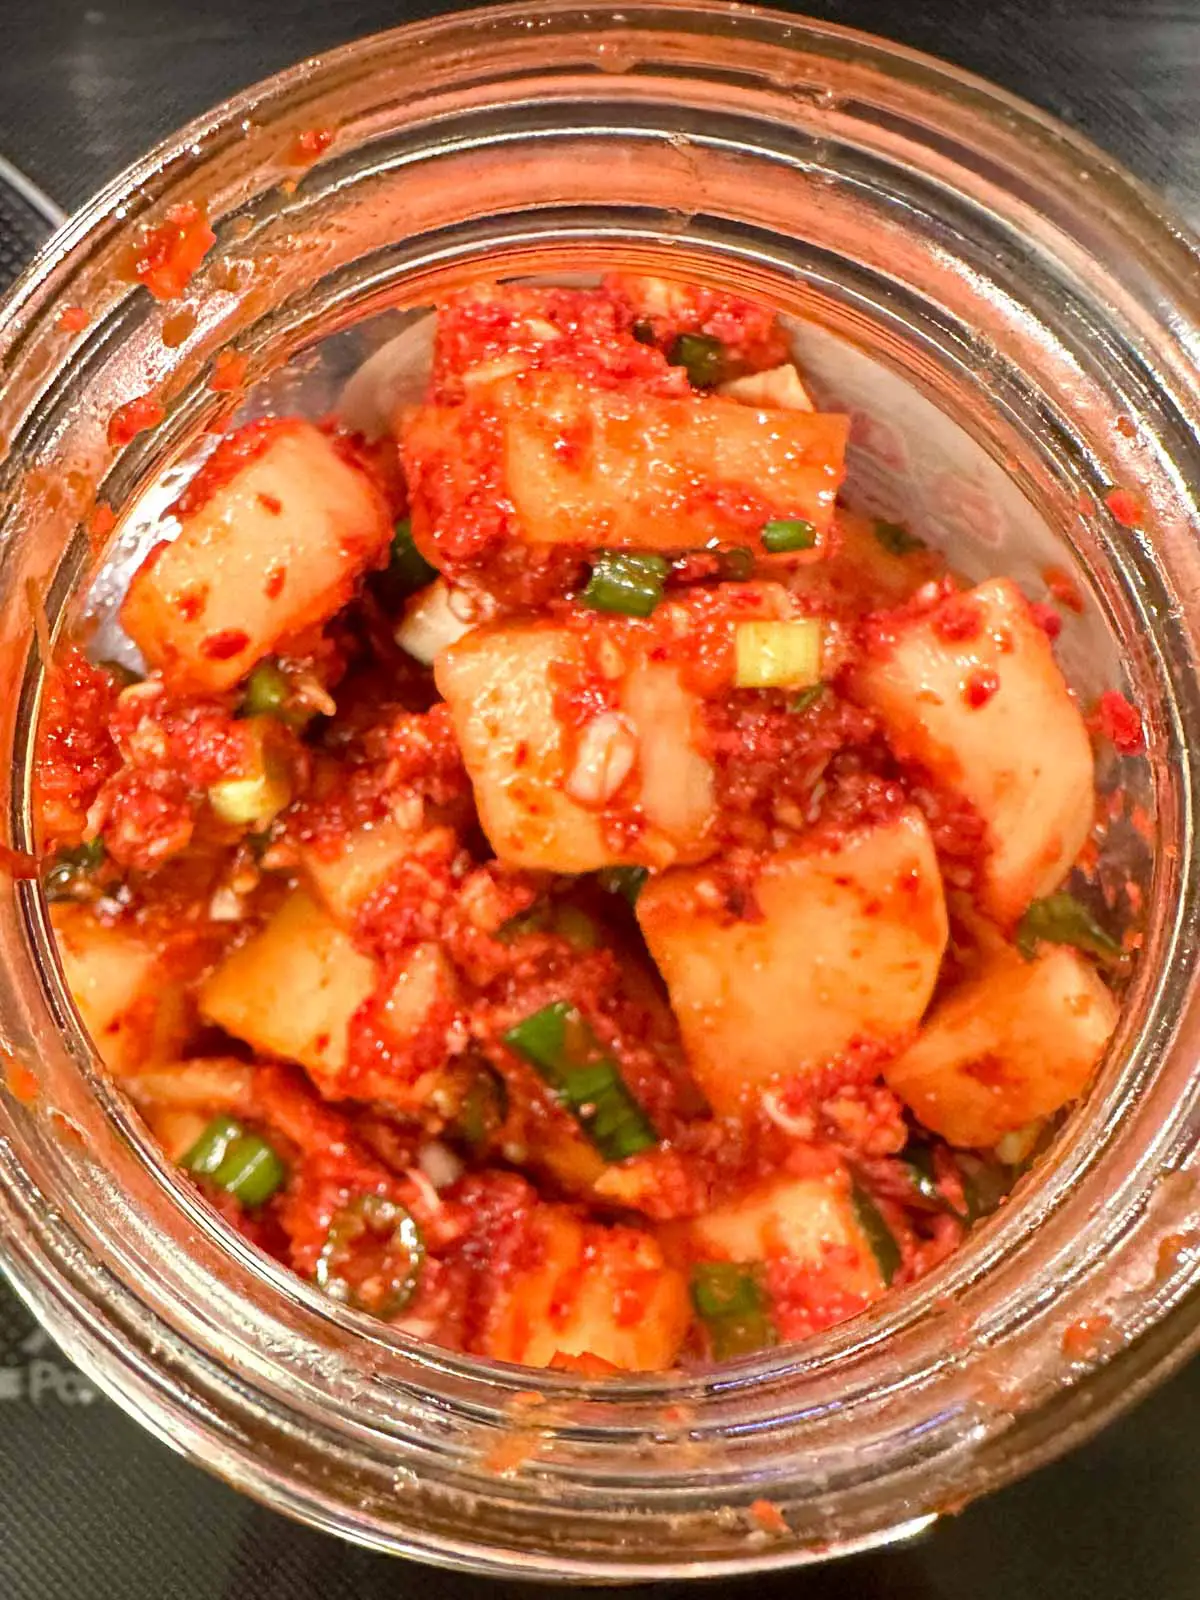
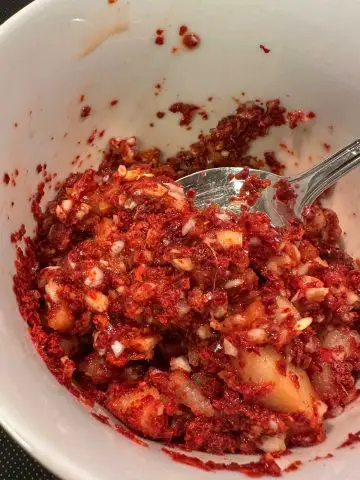
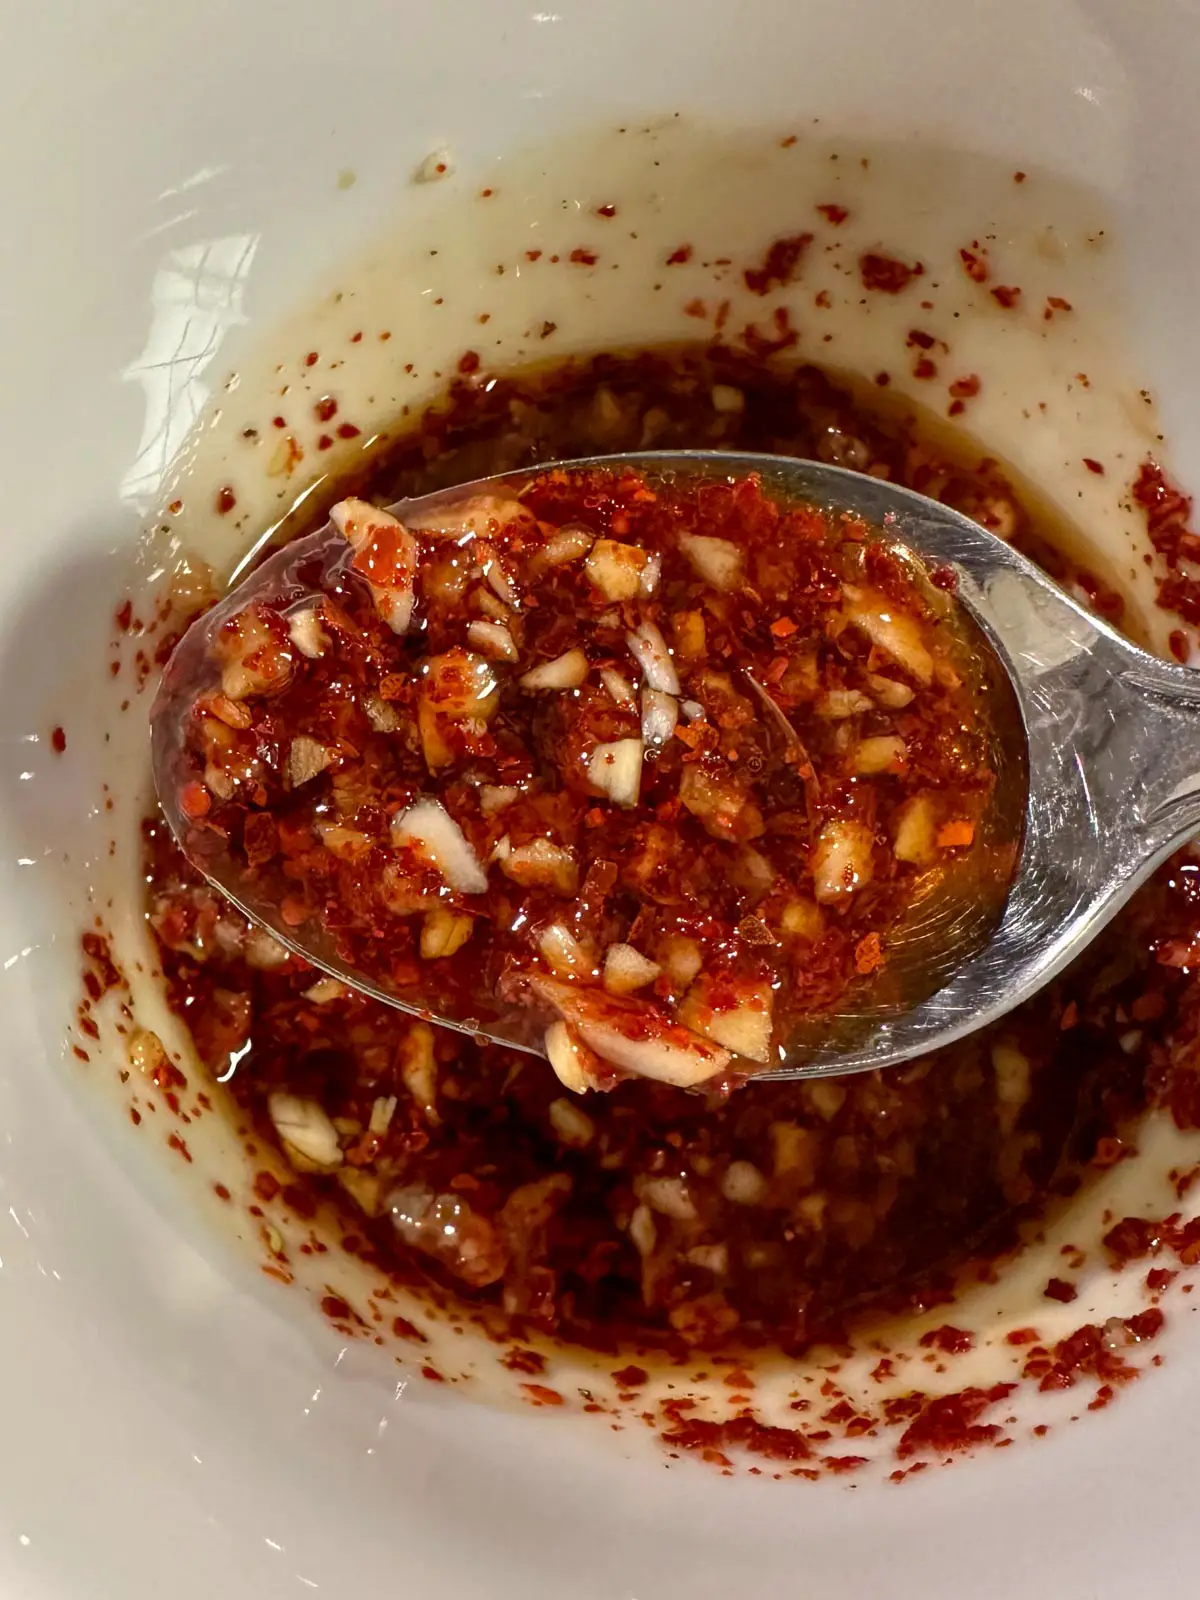
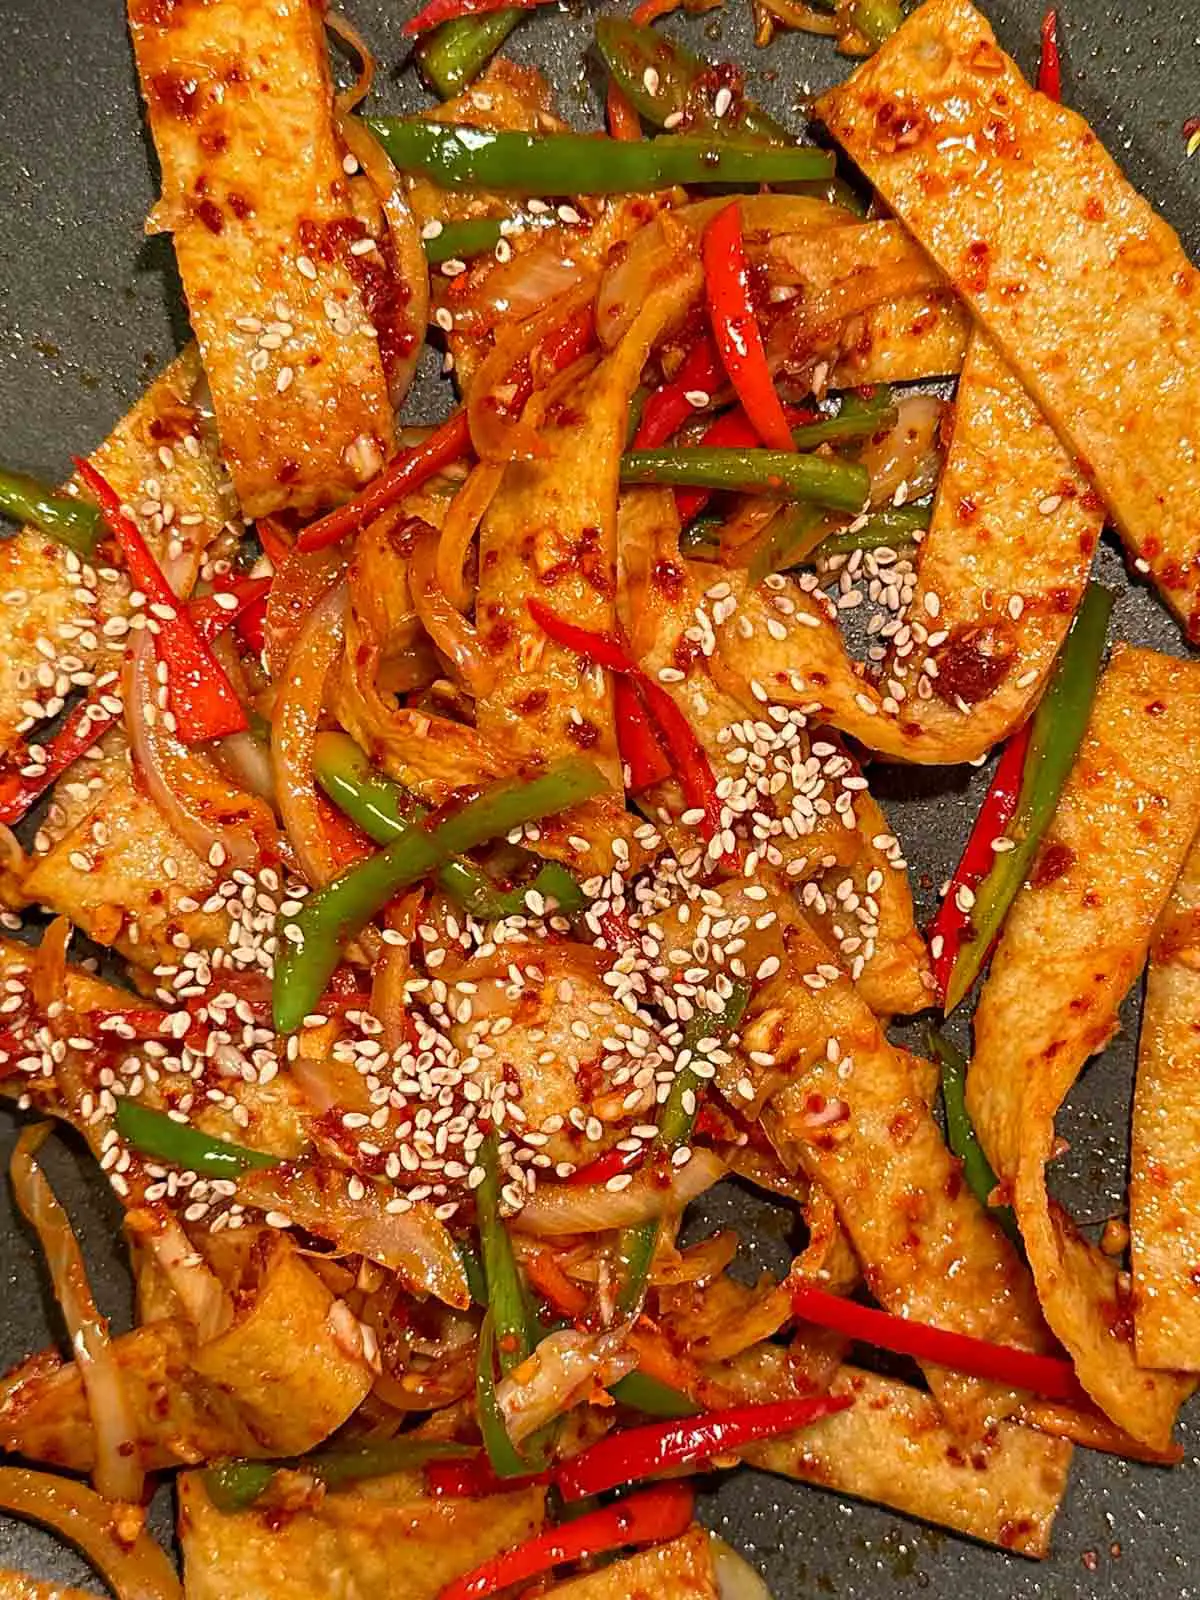
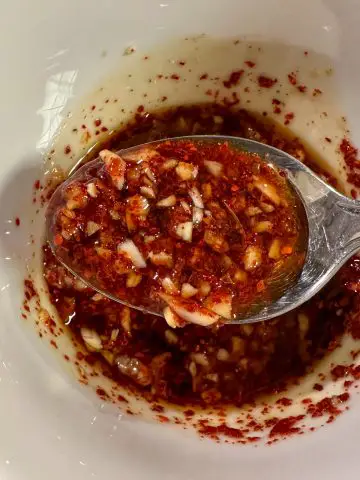
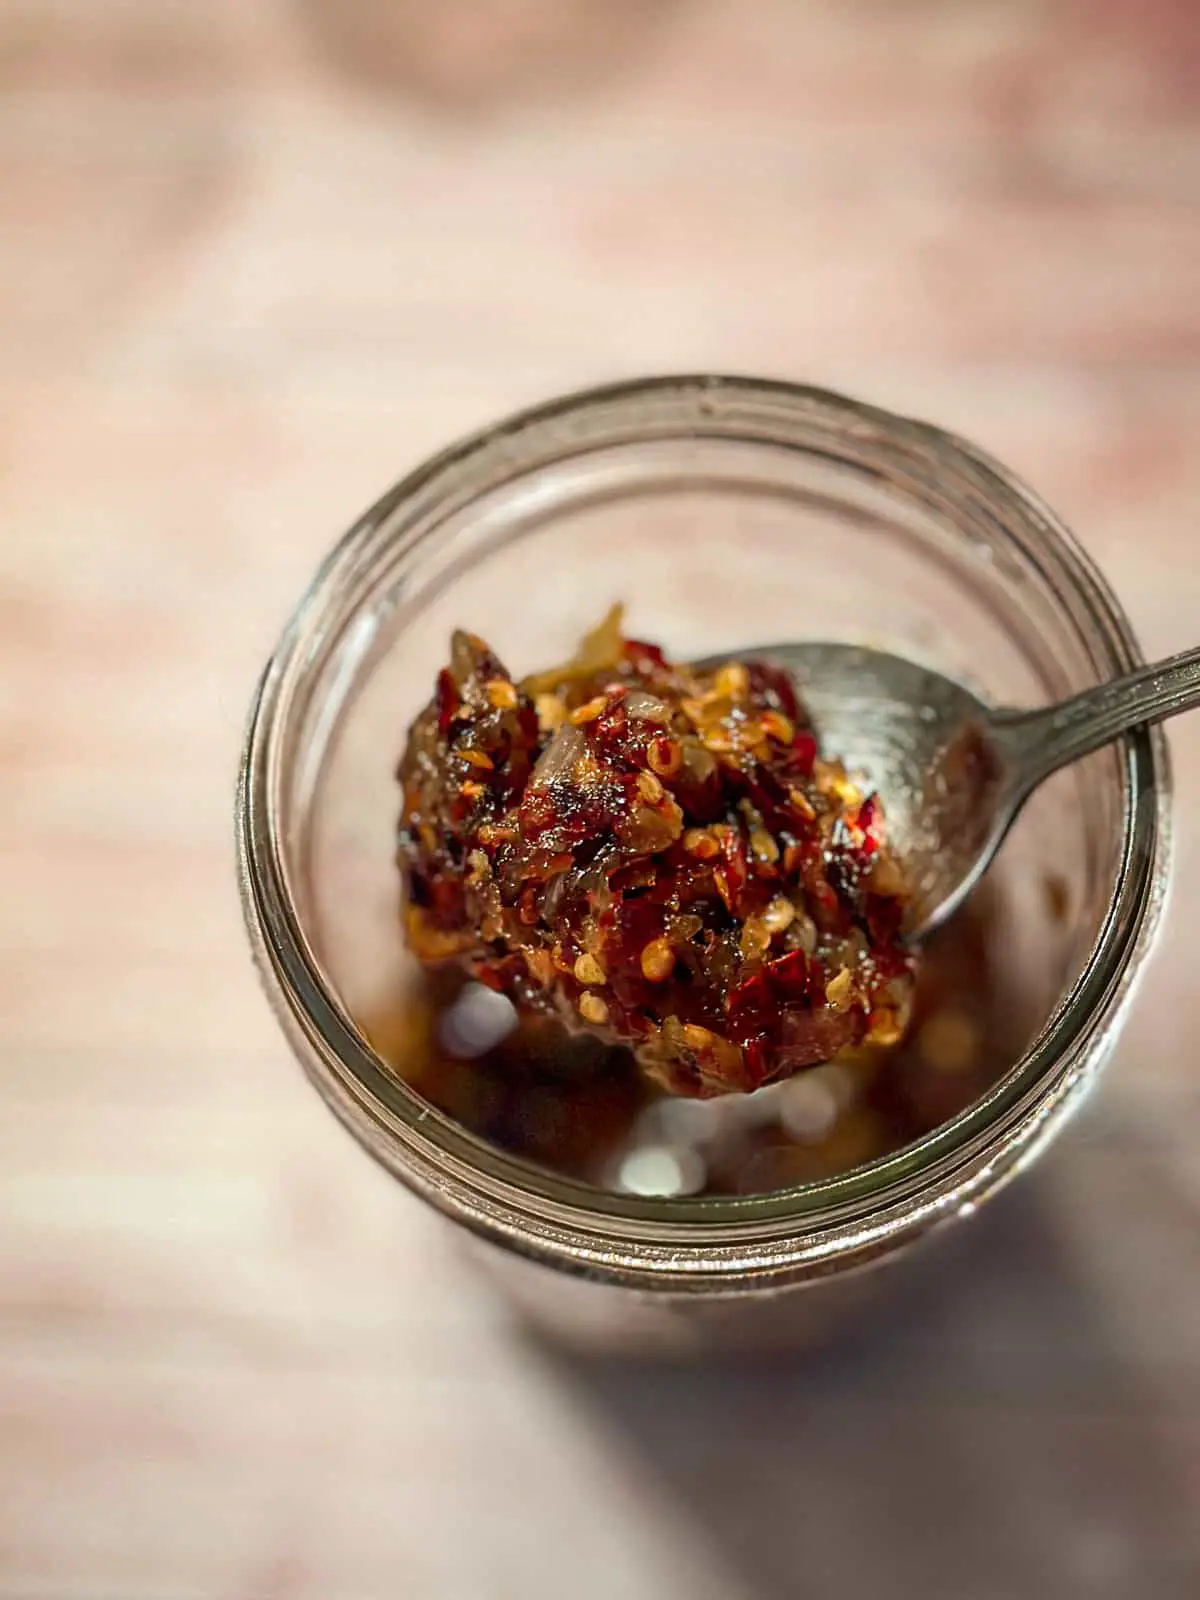
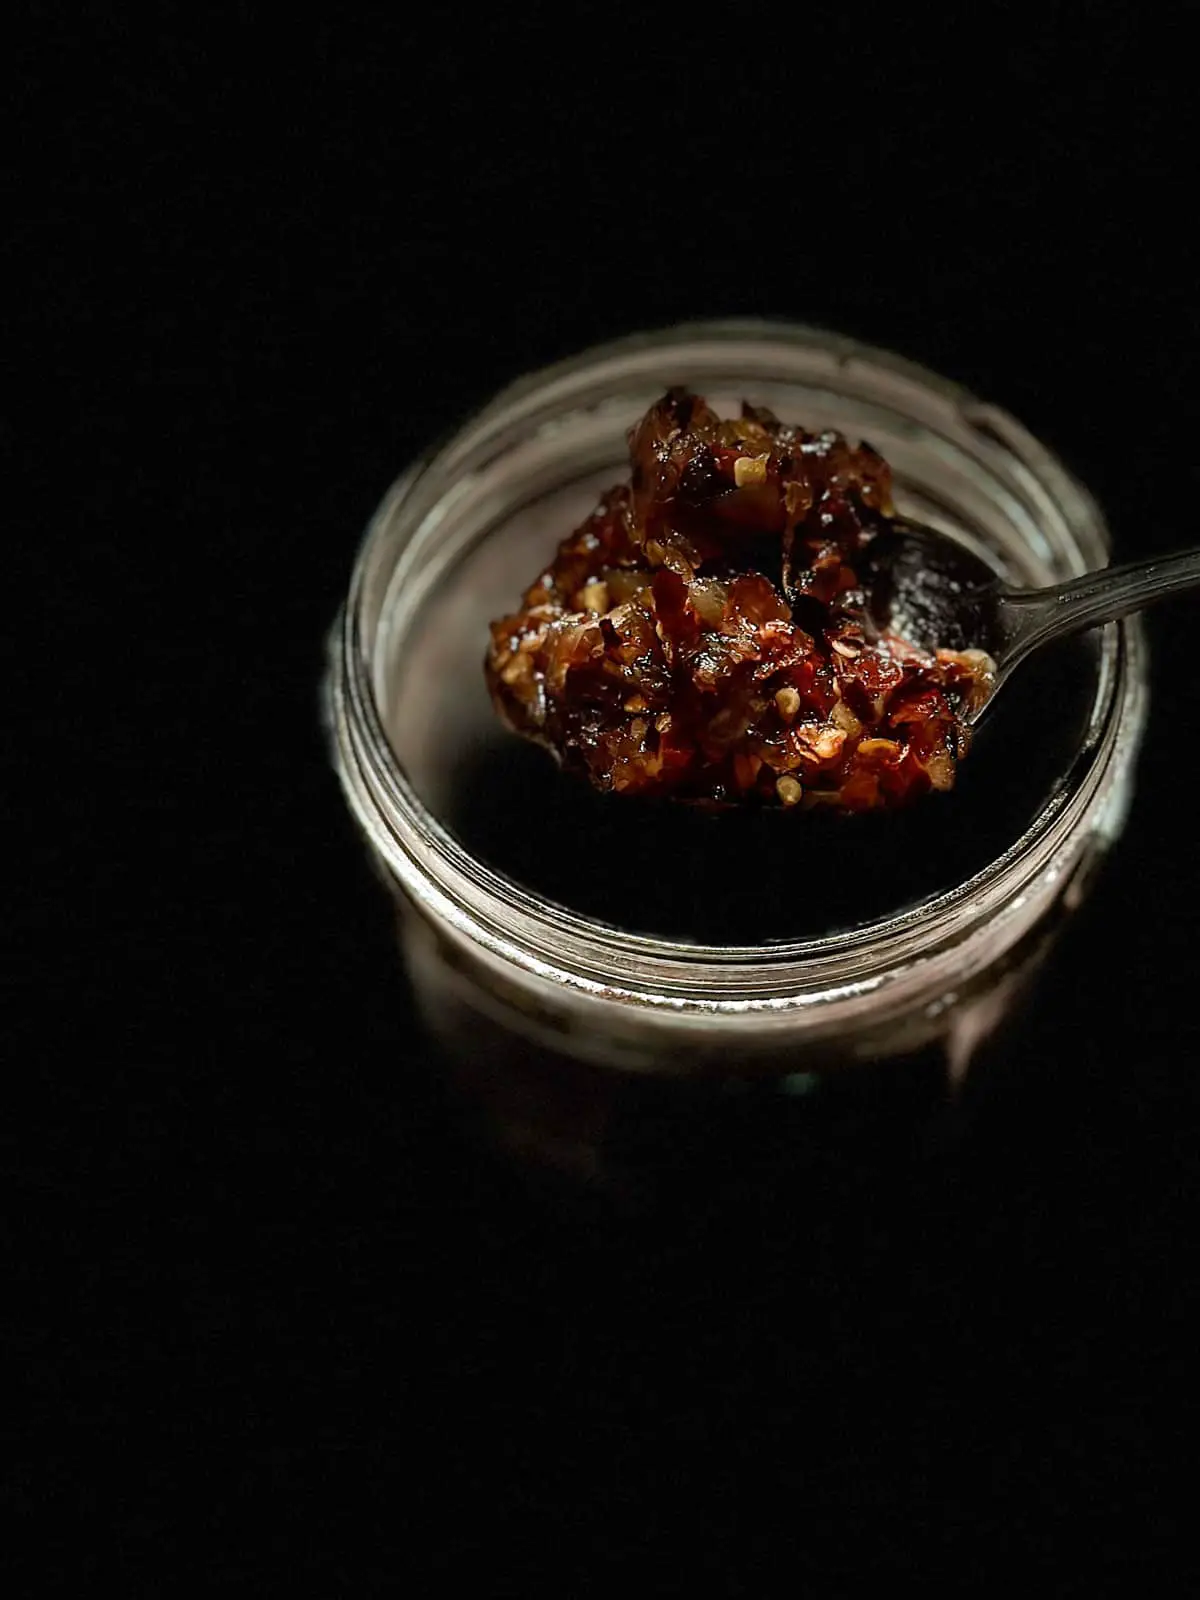
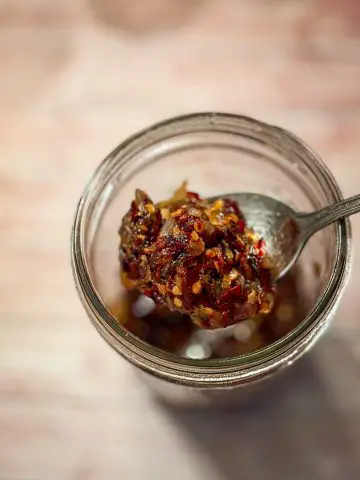
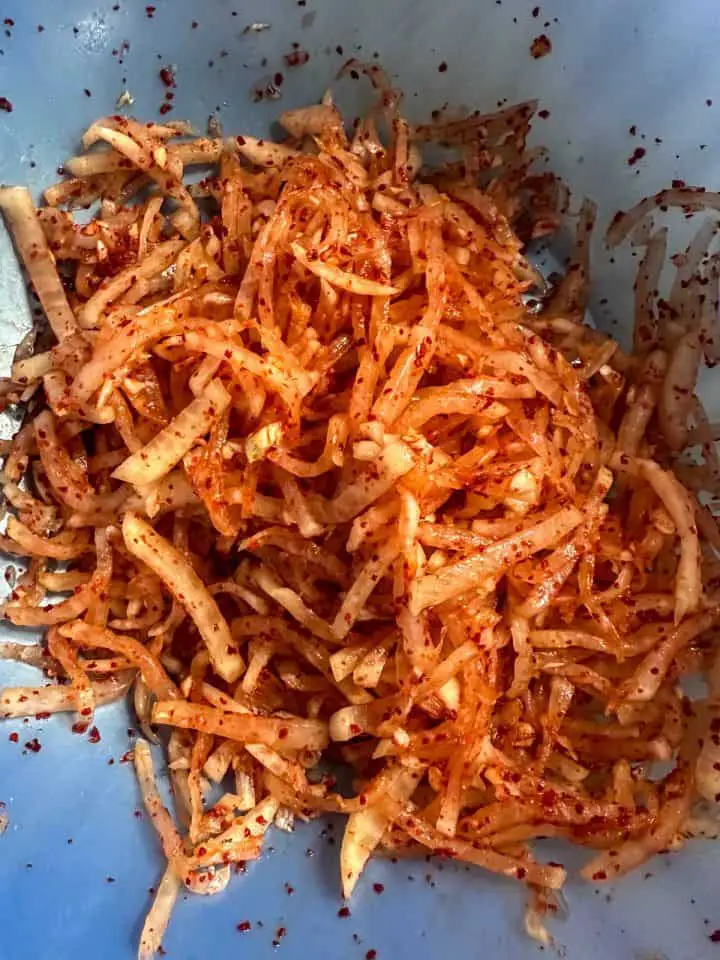
Add all of the ingredients (except for the green onions and sesame seeds) to the radish, and mix by hand. Be sure to thoroughly combine all the ingredients.
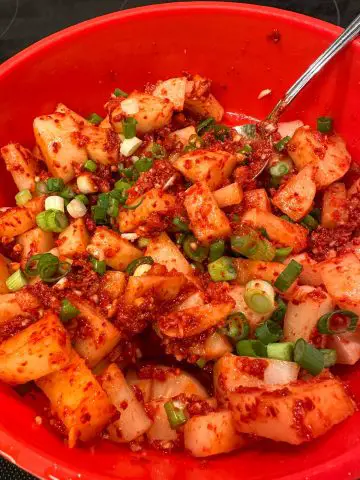
Lastly add the green onions and sesame seeds, and mix these ingredients in by hand.

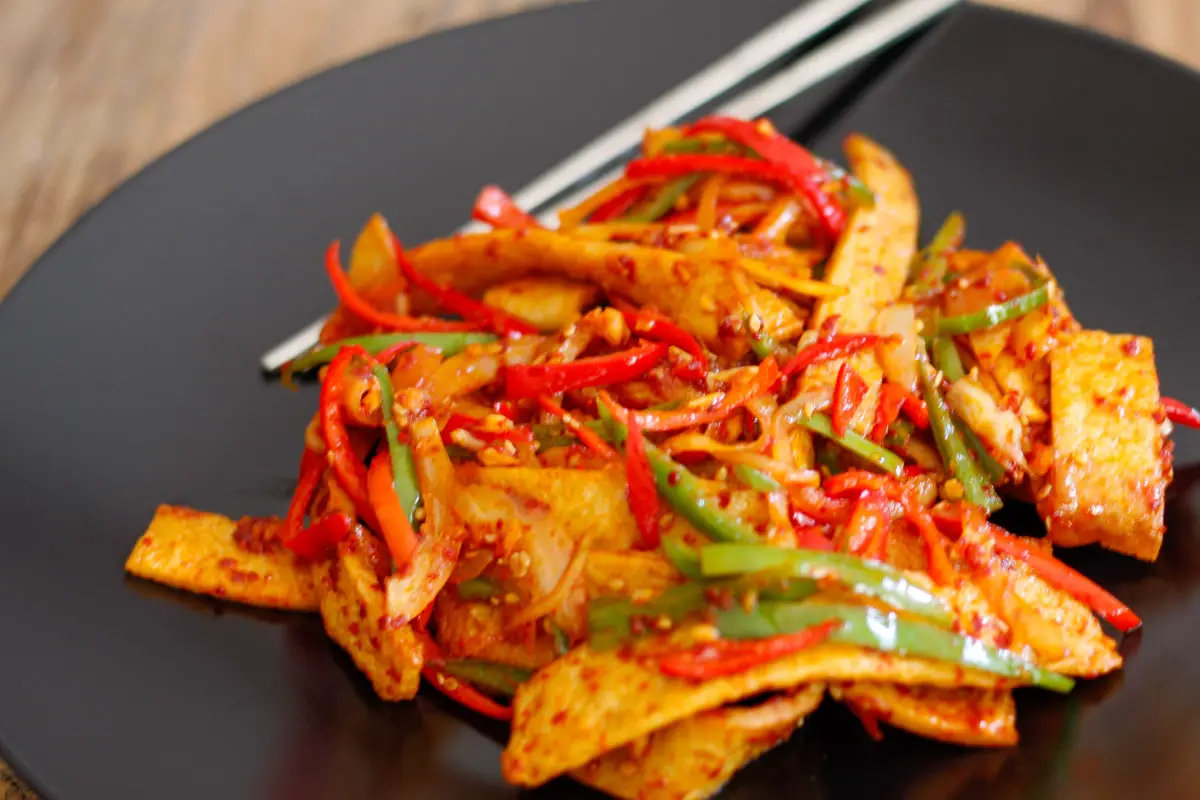
You can enjoy this straight away served at room temperature, or refrigerate in an airtight container for a few hours and then enjoy!
Suggestions For Serving
This wonderful Korean side dish is perfect served with your favorite Korean main dishes!
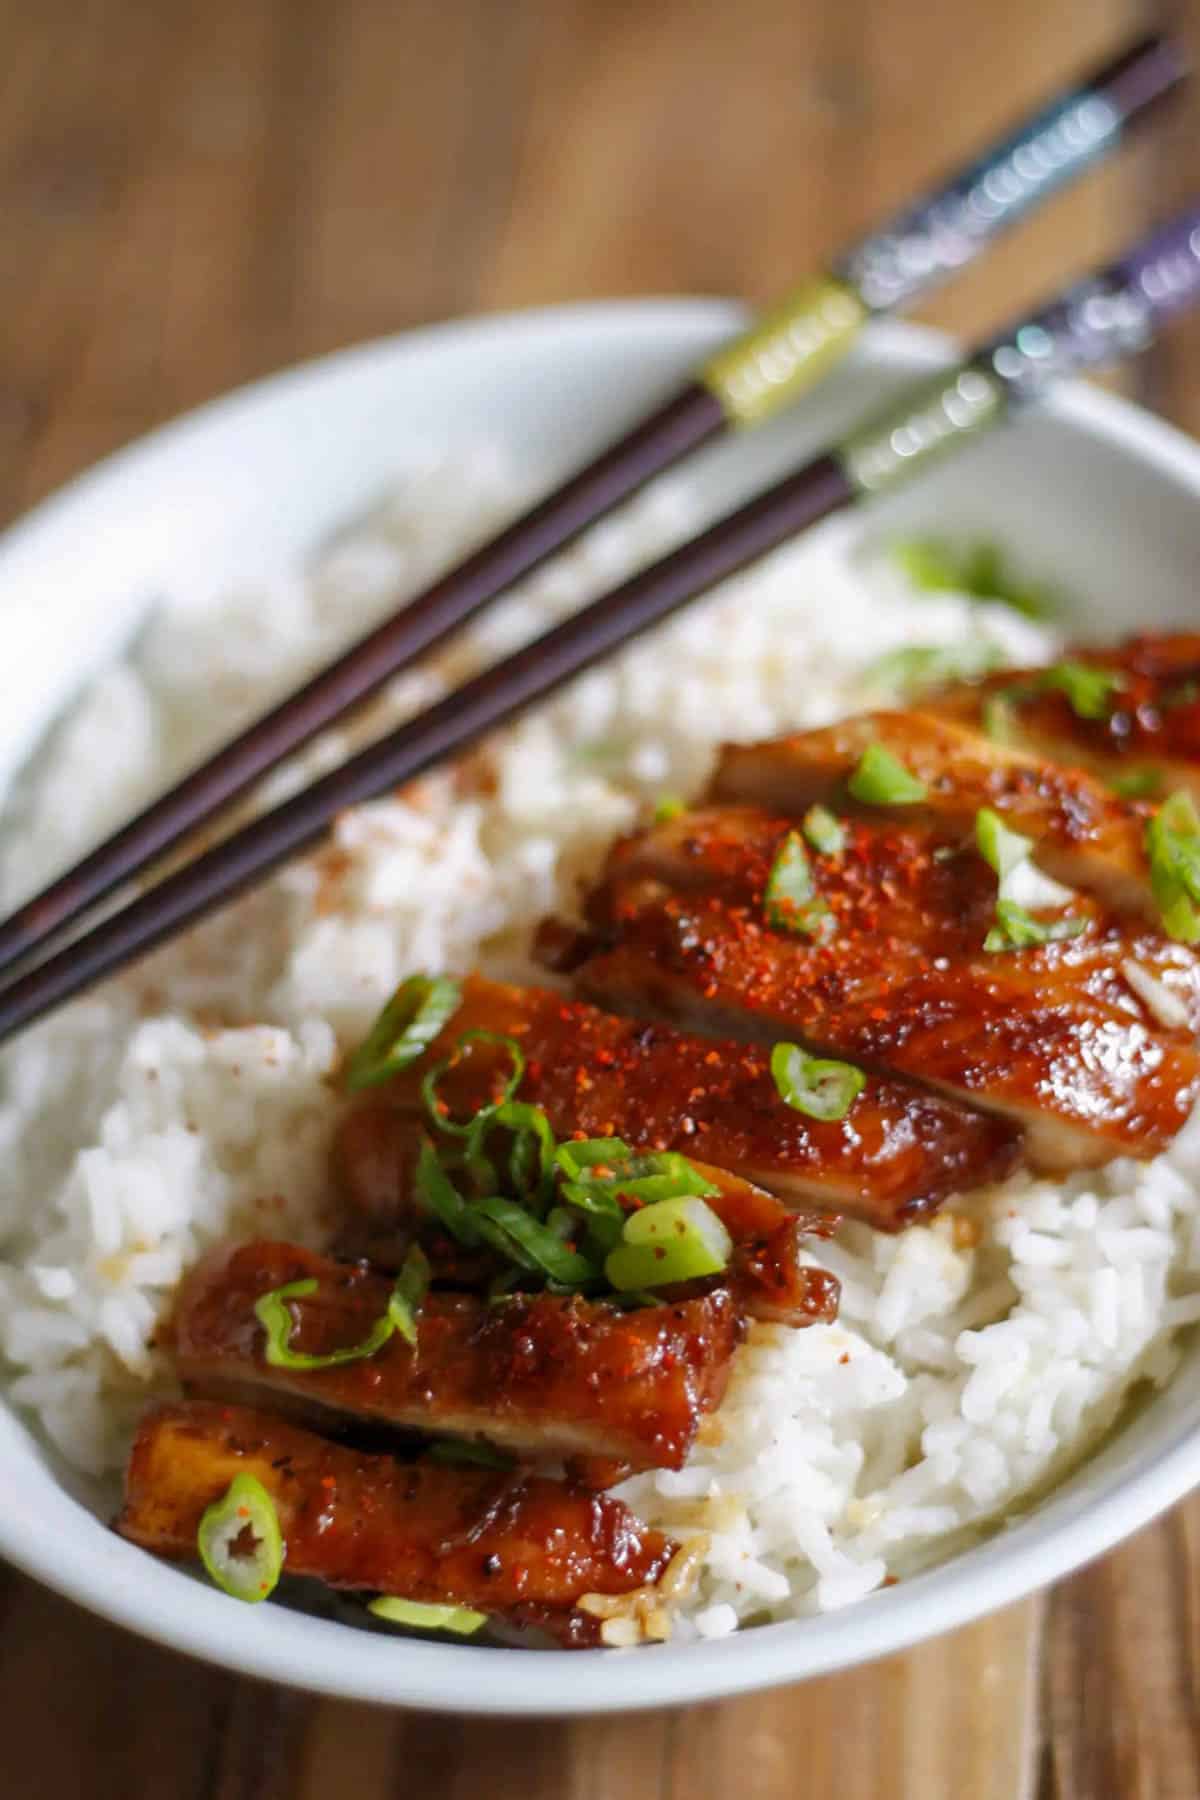
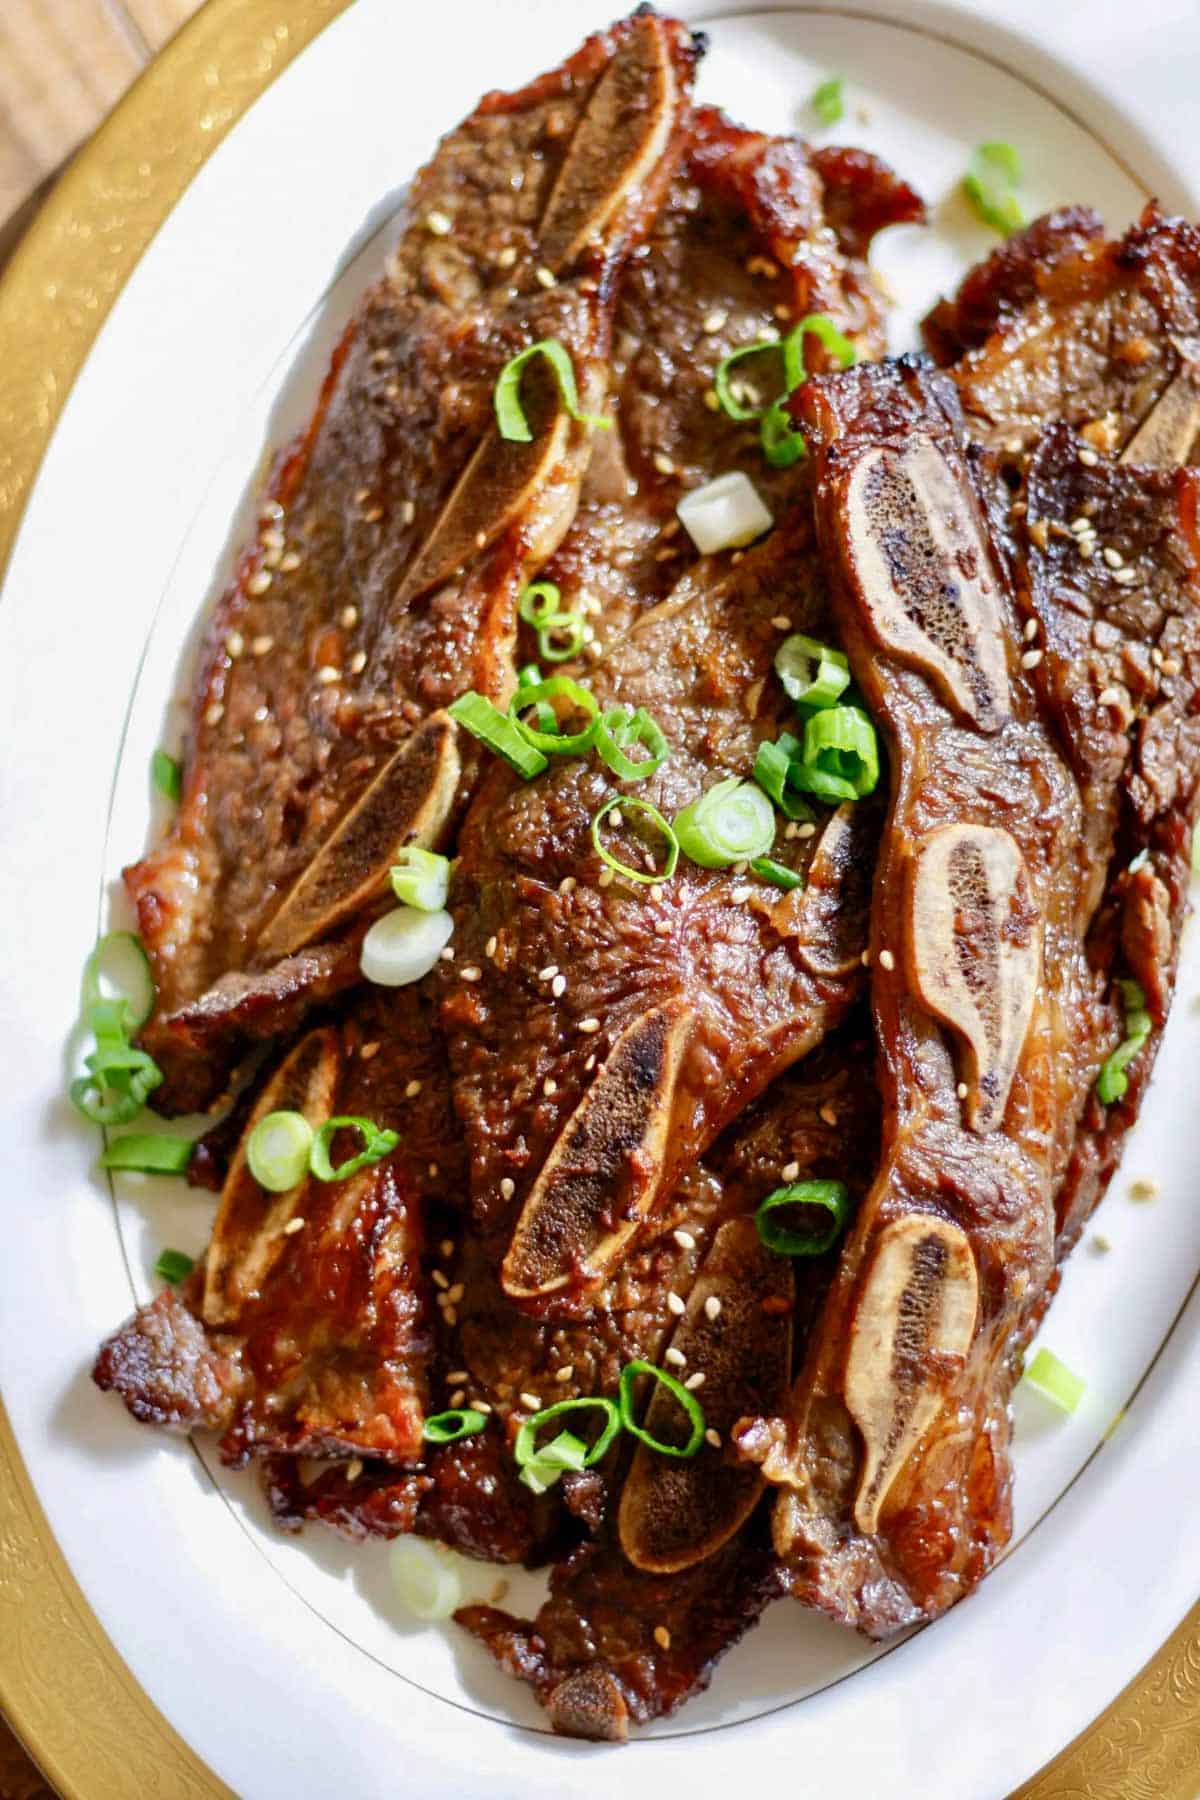
I love serving musaengchae with Korean fried chicken, and it's especially delicious with Korean short ribs!
This refreshing radish salad can be served as part of any meal that you want to spice up a bit.
I hope you will enjoy making this great recipe soon!
FAQ
You can absolutely use Korean radishes, called mu, in this recipe.
Visit Healthline.com for nutrition information and additional information about daikon radish.
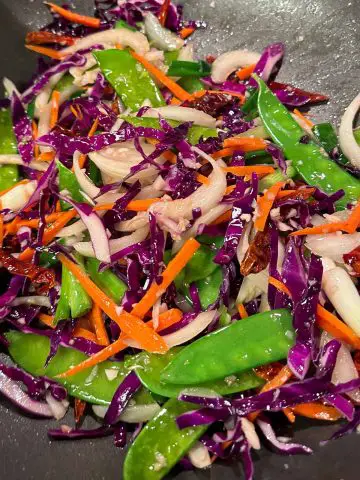
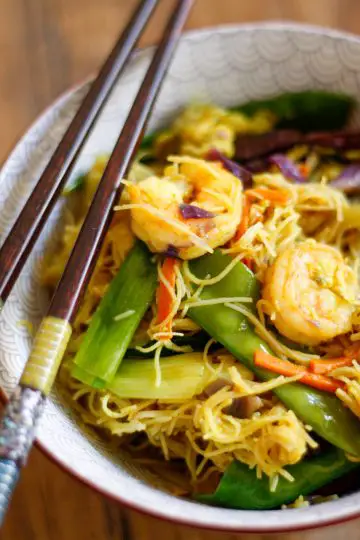
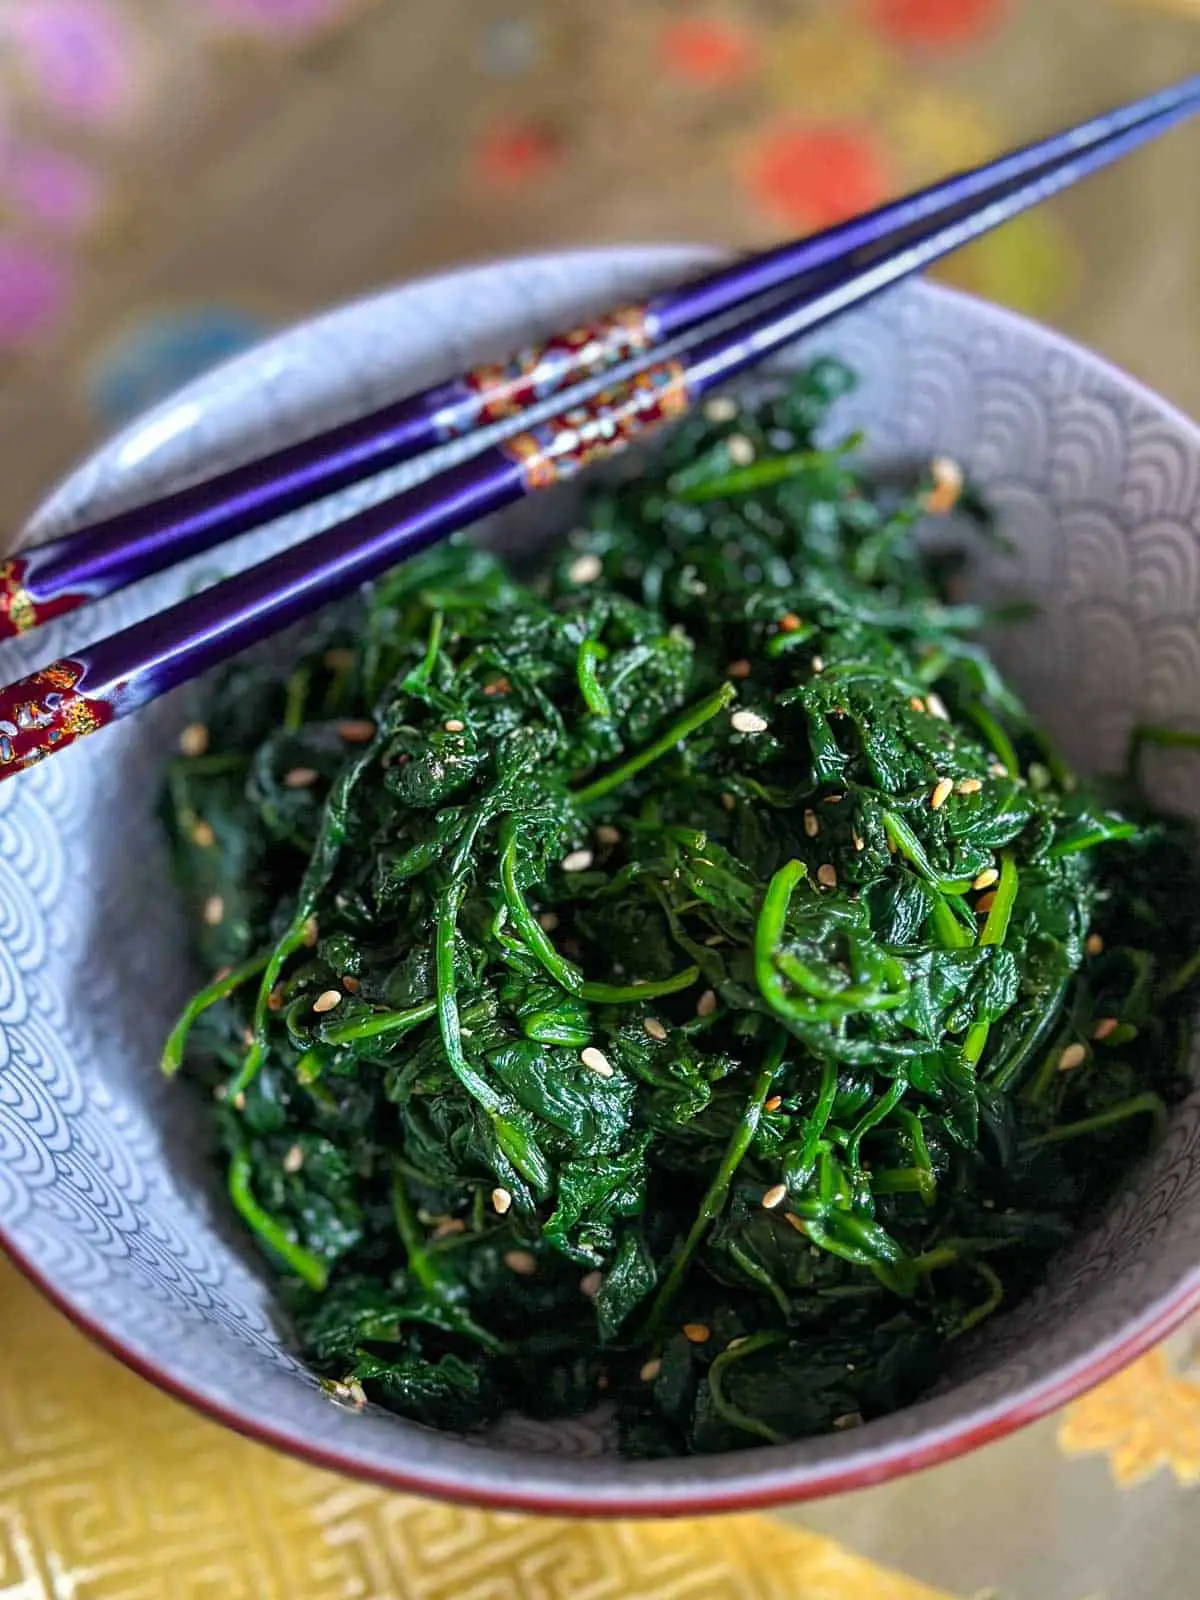
Some Other Great Recipes You May Enjoy!
Here are some other great recipes for Korean side dishes that you may enjoy:
Join Me On A Fun Food Journey!
Finally, I invite you to come along on this food journey with me! Please sign up to get the latest recipes and inspiration for you to expand your food comfort zone! It's an incredible journey, please join me by signing up here.
Cheers!
Grace
How To Make Korean Style Radish Salad With Daikon
Equipment
- mandoline optional, but it does help with the julienning part!
- large bowl
Ingredients
- 1 lb daikon radish julienned (cut into small matchsticks)
- 1 ts salt for salting the daikon
- 1 tablespoon fish sauce
- 1 tablespoon rice vinegar
- 1.5 ts sugar
- 1.5 tablespoon gochugaru Korean red pepper flakes
- 3 cloves fresh garlic minced
- 2 green onions sliced thinly
- 1 ts sesame seeds
Instructions
- Peel and julienne the daikon radish. You can use a mandoline or knife. Place the julienned radish in a large bowl and add the 1 ts of salt. Mix the salt with the radish and leave it for 15 minutes, during which time water will be extracted from the radish.

- Drain off the excess water, and then squeeze the radish to get rid of even more water. No need to rinse the daikon.
- Add all of the ingredients (except for the green onions and sesame seeds) to the radish, and mix by hand. Be sure to thoroughly combine all the ingredients.
- Lastly add the green onions and sesame seeds, and mix these ingredients in by hand.
- You can enjoy this straight away, or refrigerate in an airtight container for a few hours and then enjoy!