This page may contain affiliate links. So, I receive a small commission at no cost to you when you make a purchase using my link. This post is about an Easy Louisiana Cajun Garlic Butter Sauce Recipe!
If you want a great way to add a zesty buttery sauce to your favorite dishes, then you have come to the right place!
Here you will find a recipe for an Easy Cajun Butter Sauce that will take your favorite seafood dishes to the next level.
Allow me to begin by telling you why you will LOVE this recipe!
[feast_advanced_jump_to]Why You Will LOVE This Recipe!
Seafood lovers will absolutely adore this delicious Cajun butter sauce because:
- The flavor of the sauce is incredible! The bold Cajun seasoning paired with lots of garlic will make your taste buds very very happy!
- You only need 5 simple and basic ingredients to make this buttery Cajun sauce.
- It's super easy and quick to make this recipe! It's pretty much a matter of combining all of the ingredients on a low heat and takes less than 10 minutes!
- This is the perfect sauce to pair with your favorite and best seafood boil recipe, or any of your favorite seafood dishes!
🥘 Ingredients

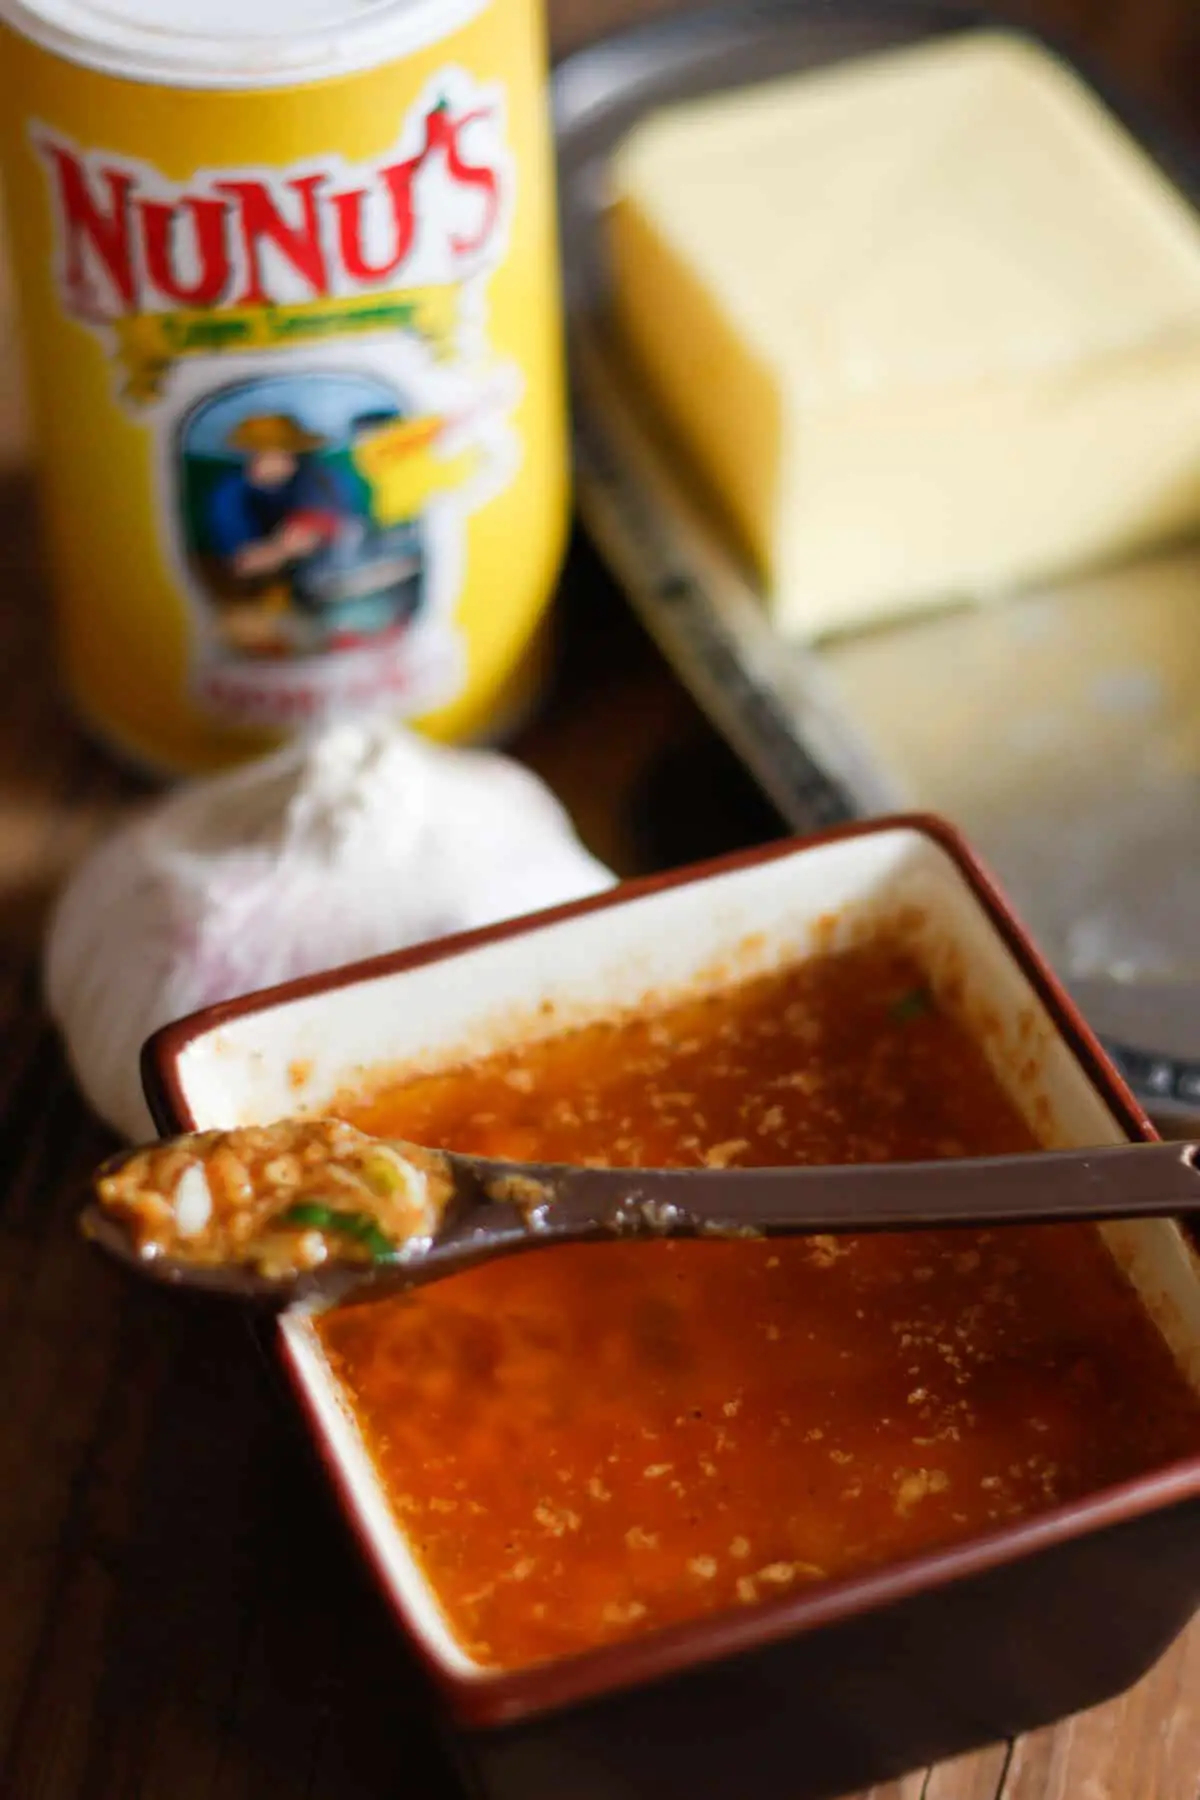
So here are the simple ingredients that you will need for this AMAZING Cajun garlic butter sauce:
- Unsalted butter
- Fresh garlic cloves
- Cajun seasoning - I used Nunu's
- Fresh lemon Juice
- Green onion - you could sub fresh parsley if you prefer
🔪 Instructions
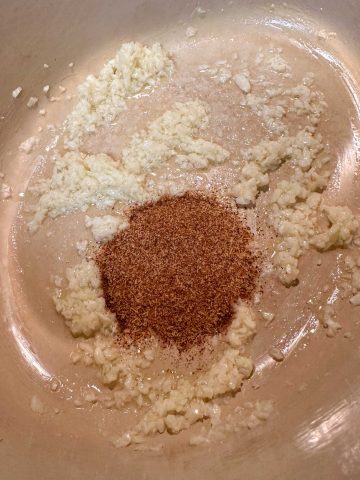
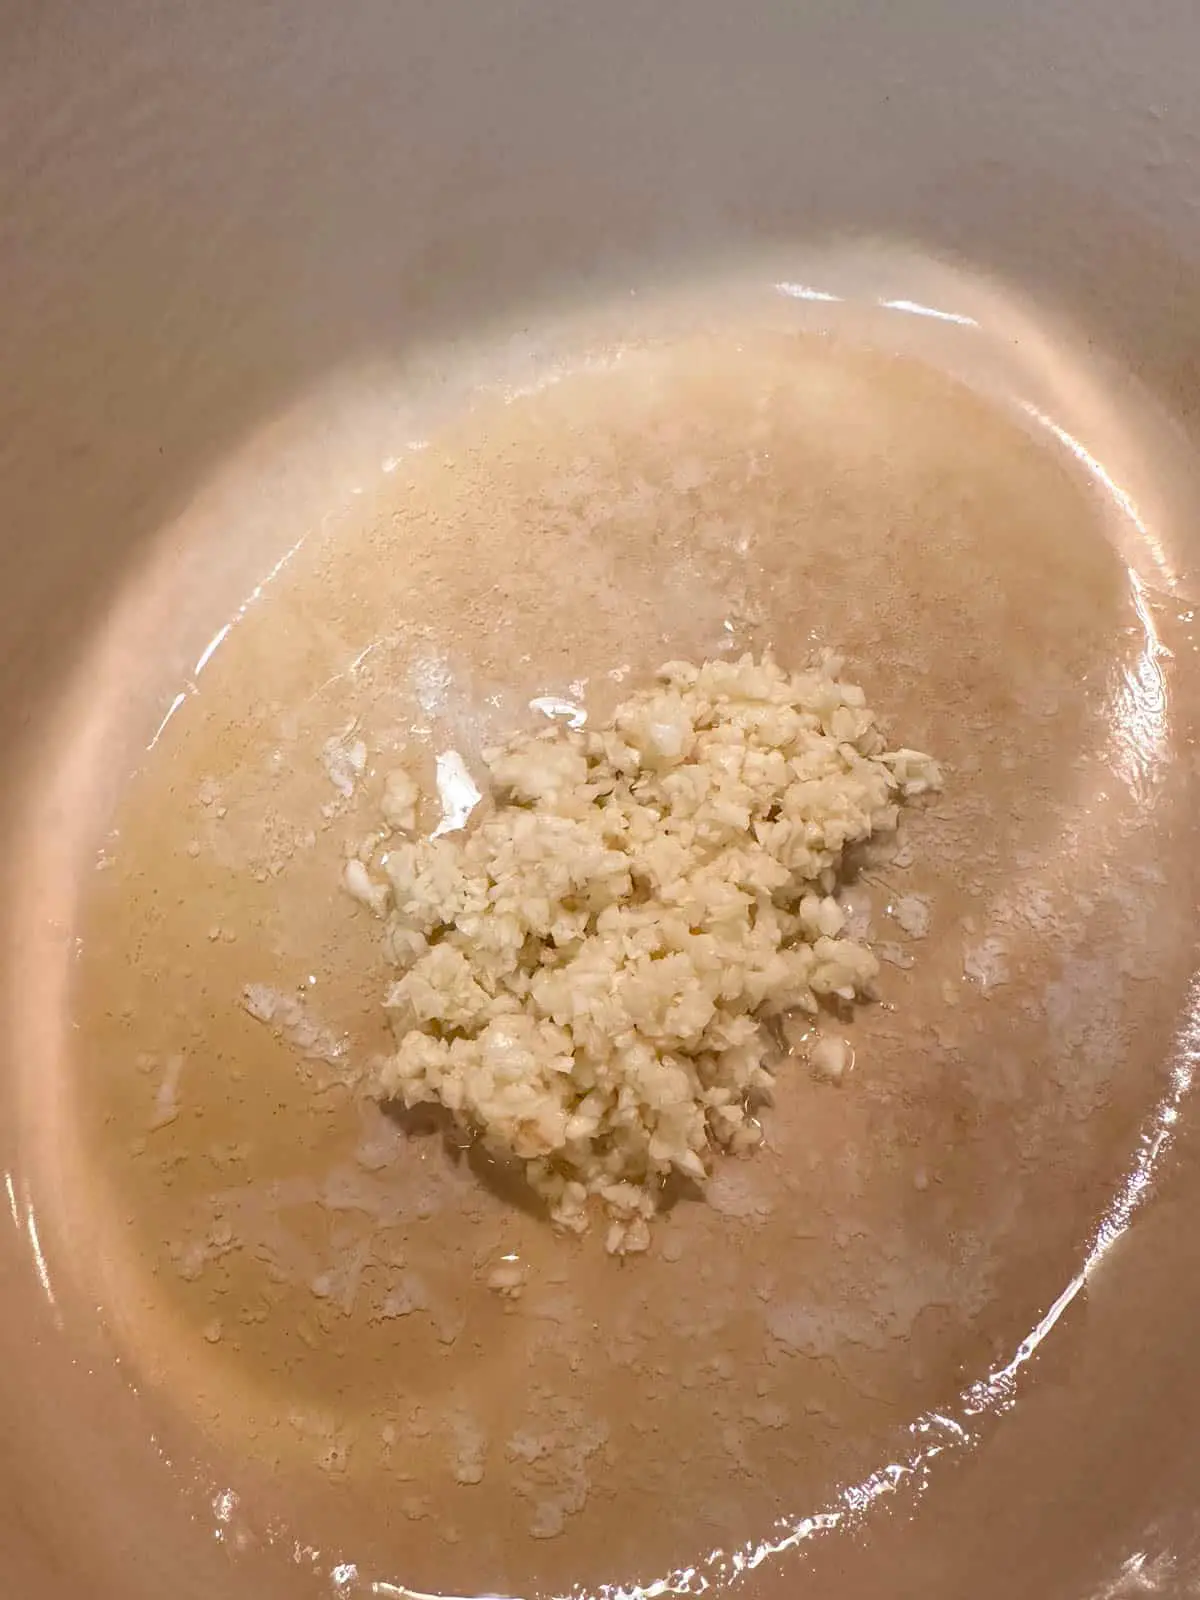
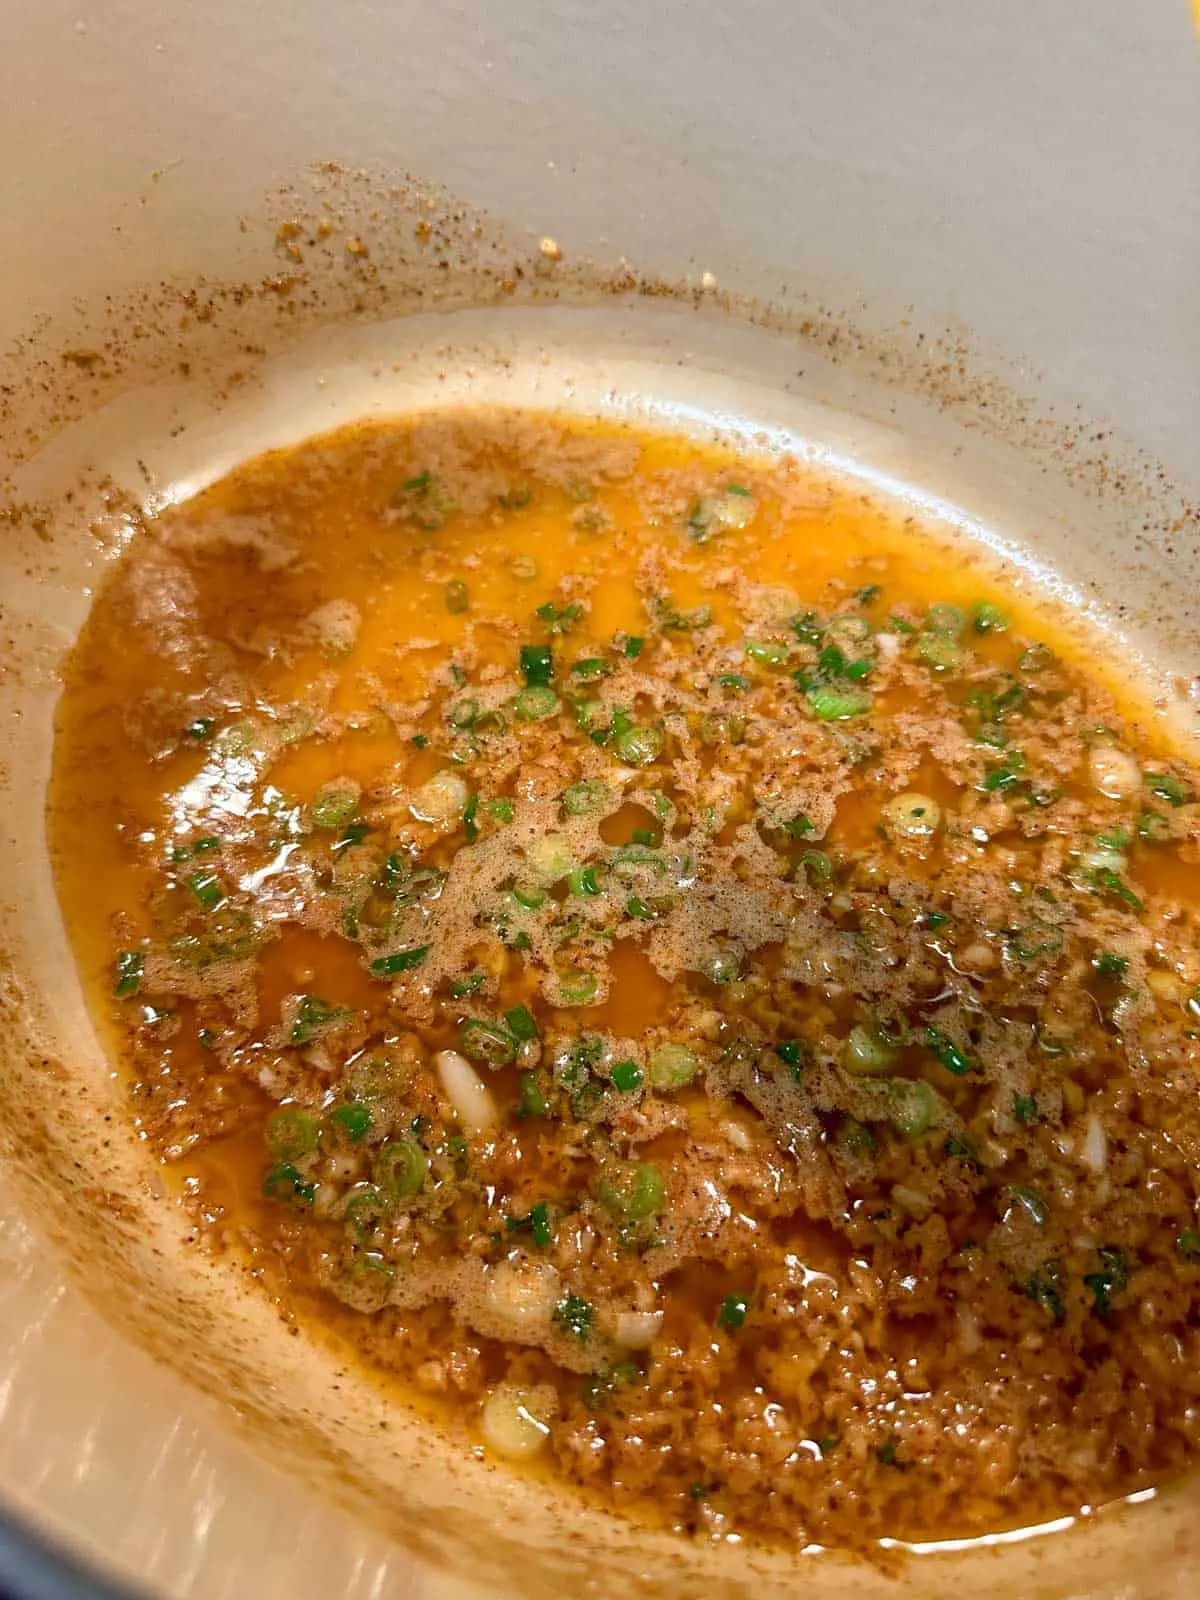
Melt 2 tablespoon of the butter in a small saucepan on medium low heat. Now add the garlic to the melted butter, and saute for about 1 minute until it's fragrant.
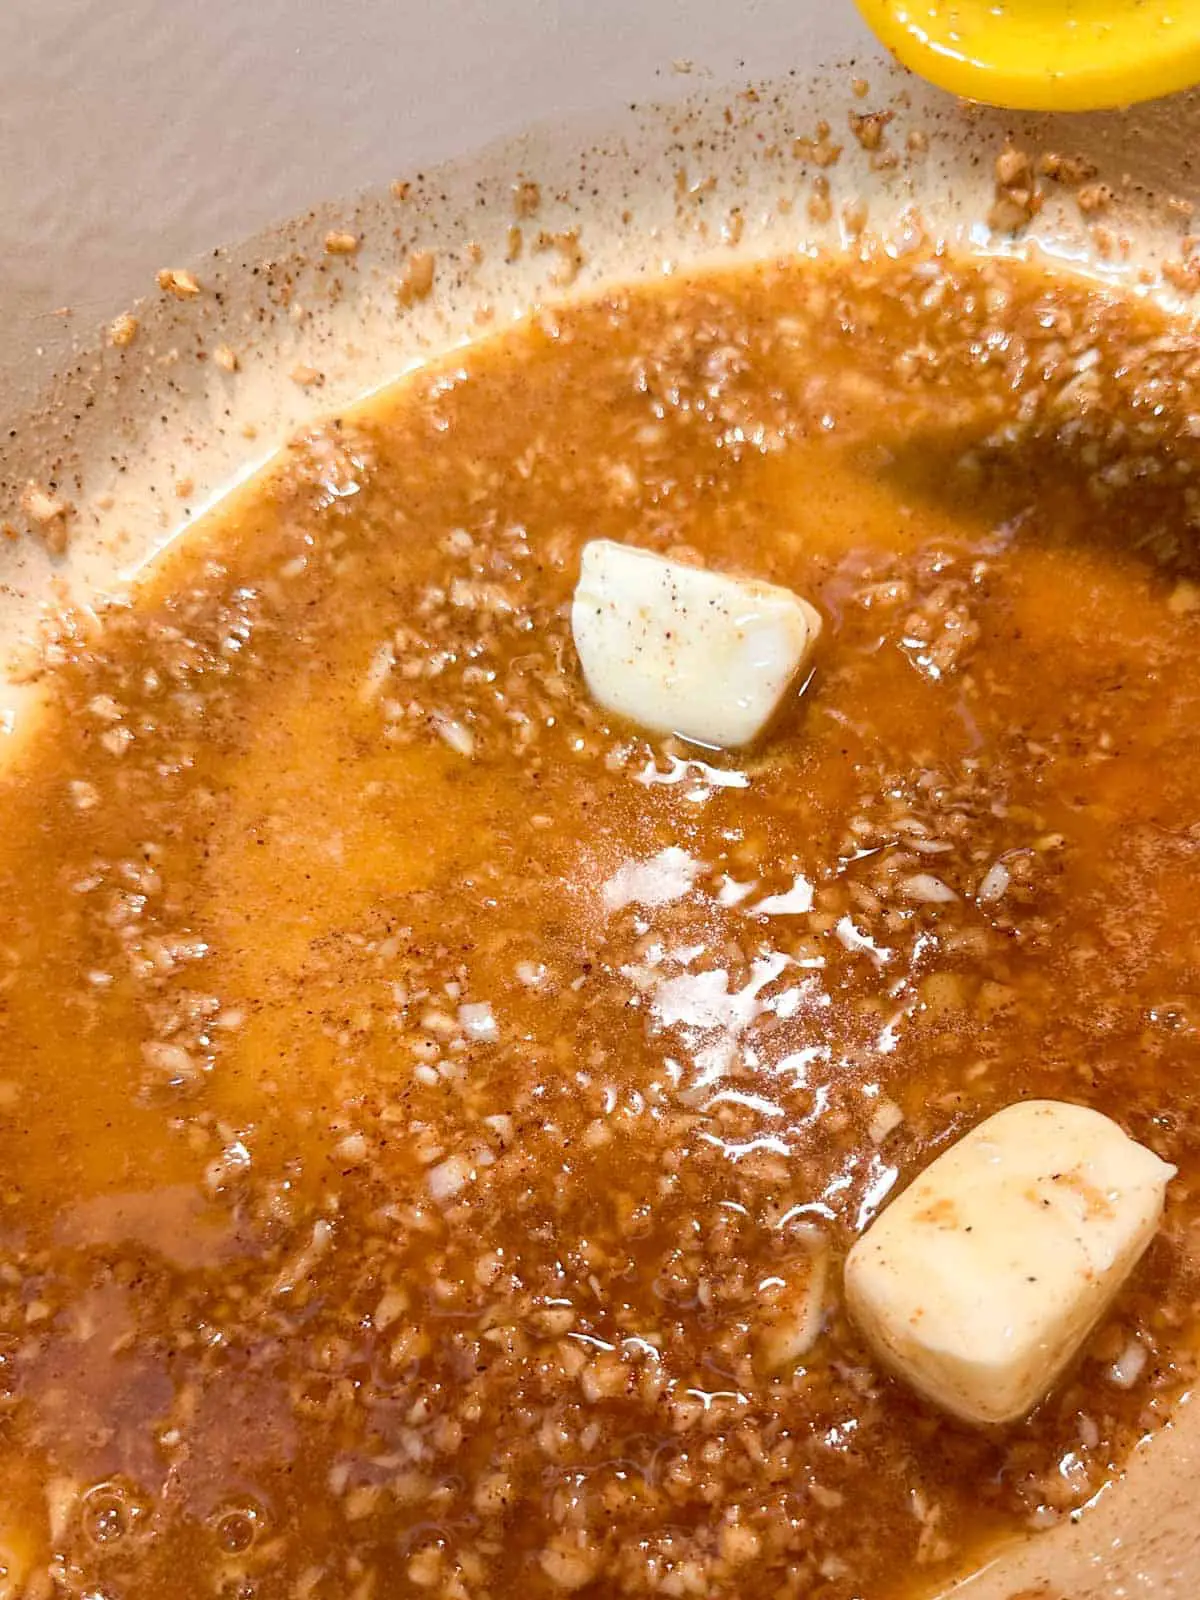
Now add the Cajun seasoning, and stir it into the garlic butter mixture for 30 seconds.

Throw in the rest of the butter (6 tbsp) and stir it constantly for 1 minute or until the butter is melted.
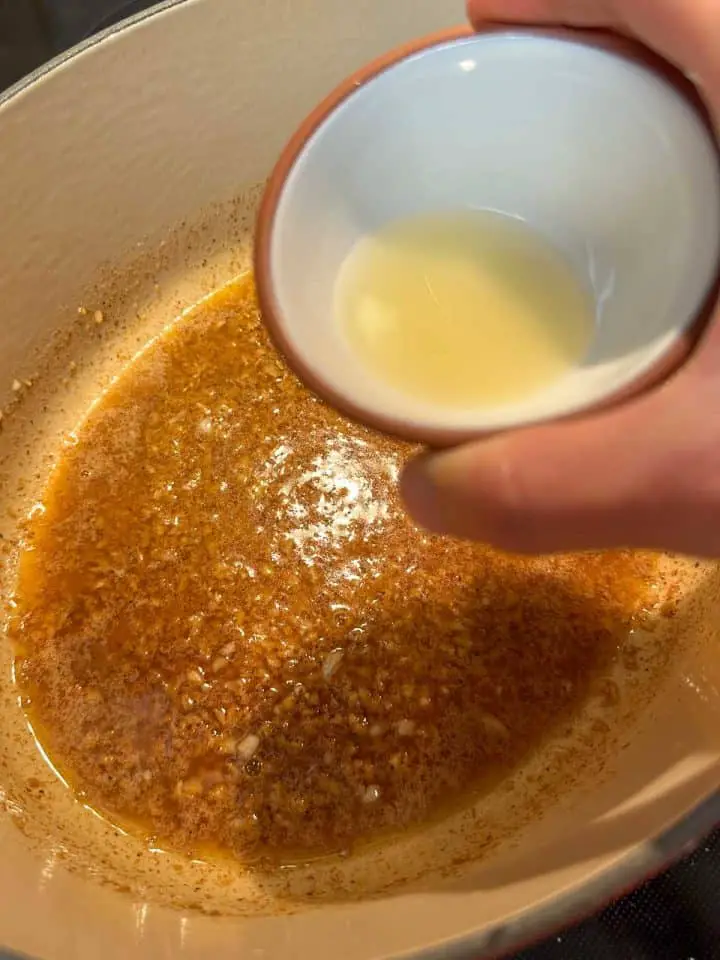
Last but not least, add the lemon juice and the green onions and stir these to combine (this will only take a few seconds).
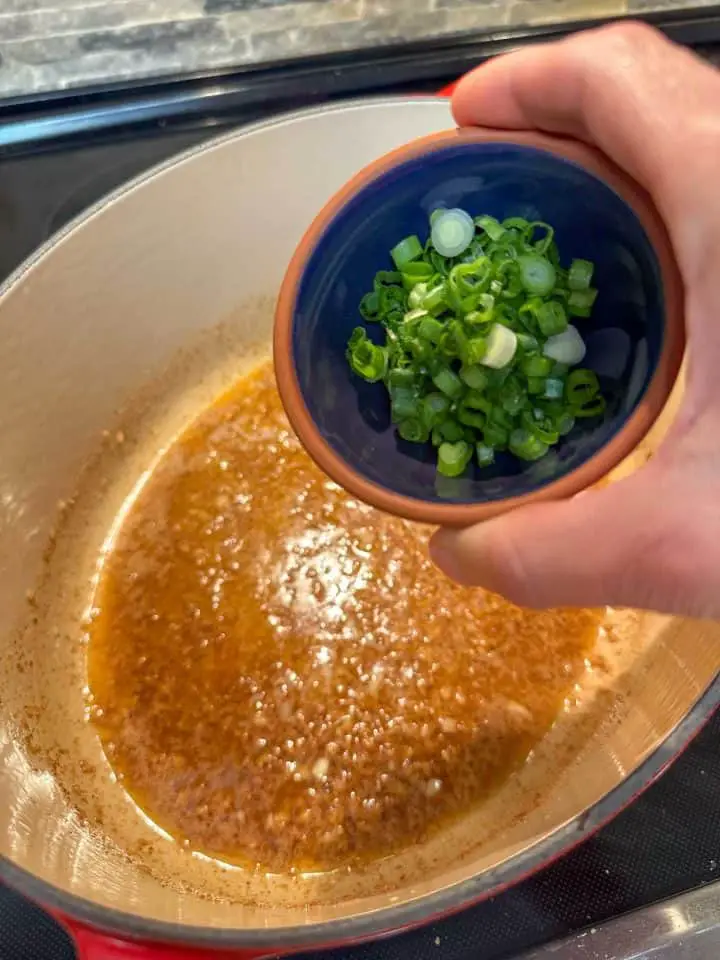
Your delicious Cajun Garlic Butter Sauce is now ready to enjoy!
Suggestions For Serving
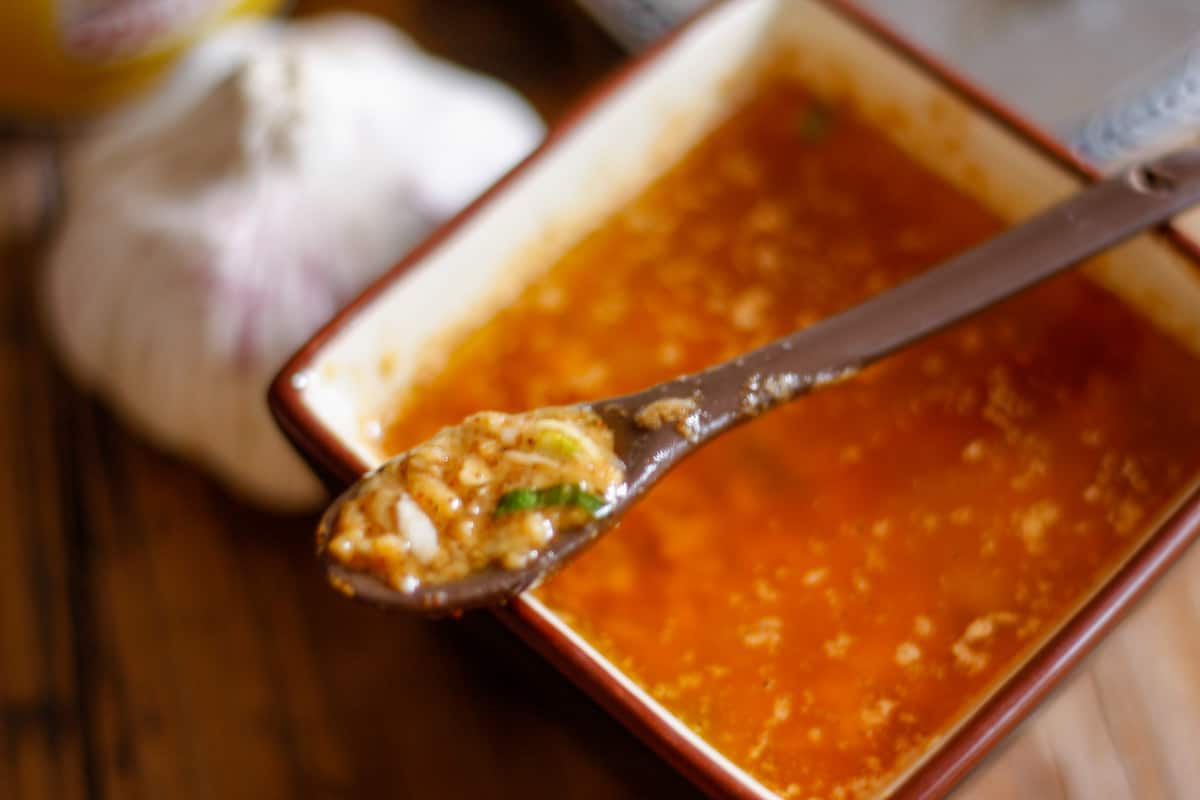
There are so many ways to enjoy this delicious sauce! It's absolutely fantastic with fresh seafood and great drizzled over veggies.
Here are some suggestions:
- Classic Cajun seafood boil which could include lobster tails, snow crab legs or king crab legs, sweet corn, red potatoes, and andouille sausage
- Crawfish boil
- Shrimp boil
- Your favorite fish
- Roasted veggies like potatoes, carrots, cauliflower or broccoli
- Add it to steak
- Stir it into pasta or rice
Really this buttery sauce pairs perfectly with almost anything that you would enjoy with butter!
My favorite way to use this spicy sauce is to add it to some uncooked jumbo shrimp and bake at 350F for around 10 minutes or until the shrimp is cooked. I'm telling you this sauce has SO MUCH FLAVOR and will take your shrimp to the next level!
I know your entire family will love this flavorful sauce! You'll find the full printable recipe card below!
FAQ
Allow any leftover sauce to cool, and then store it in an airtight container in your refrigerator.
This sauce can be enjoyed so many ways! It's perfect paired with your favorite seafood, seafood boils, stirred into pasta or rice, drizzled over veggies, or added to steak!
Some Other Great Recipes You May Enjoy!
Here are some other great recipes that you may enjoy:
- New Orleans Style Red Beans and Rice Using Camellia Brand
- Easy Cajun Crawfish Sauce
- New Orleans Yakamein Recipe
Join Me On A Fun Food Journey!
Finally, I invite you to come along on this food journey with me! Please sign up to get the latest recipes and inspiration for you to expand your food comfort zone! It's an incredible journey, please join me by signing up here.
Cheers!
Grace

Easy Louisiana Cajun Garlic Butter Sauce Recipe
Equipment
- small saucepan
Ingredients
- ½ cup unsalted butter this is 8 tablespoons of butter
- 10 cloves garlic minced
- 1.5 tablespoon Cajun seasoning I used Nunu's
- 1 tablespoon lemon juice
- 1 each green onion thinly sliced
Instructions
- Melt 2 tablespoon of the butter in a small saucepan on medium low heat. Now add the garlic to the melted butter, and saute for about 1 minute until it's fragrant.

- Now add the Cajun seasoning, and stir it into the garlic butter mixture for 30 seconds.
- Throw in the rest of the butter (6 tbsp) and stir it constantly for 1 minute or until the butter is melted.
- Last but not least, add the lemon juice and the green onions and stir these to combine (this will only take a few seconds).
- Your delicious Cajun Garlic Butter Sauce is now ready to enjoy!