This page may contain affiliate links. I receive a small commission at no cost to you when you make a purchase using my link. This post is about a Crispy Garlicky Roast Chicken Recipe!
Roast chicken is one of my favorite dishes. It's a humble dish that can be prepared in so many delicious ways. And roasting the chicken with garlic is one of my best-loved ways of preparing this wonderful bird.
Jump to:
Why You Will Love This Easy Roast Chicken Recipe
I'm confident you will love this easy roast chicken recipe because:
- It's truly delicious. The meat turns out tender and juicy and when drizzled with the mouthwatering drippings it's heavenly!
- You'll get a crispy chicken skin which your family will be fighting over. 😅
- We include quite a bit of garlic which when roasted with the chicken gives it a lovely garlicky flavor. AND the garlic cloves will melt in your mouth once roasted it's sooo good!
- Simple ingredients and simple instructions make this garlicky roast chicken recipe pretty fuss free and we all could use a bit of that more often. 😊
- You'll enjoy the most delicious of aromas when this chicken is cooking!
I hope you are ready to create this crispy roast chicken with garlic in your kitchen. Let's get to it!
🥘 Ingredients
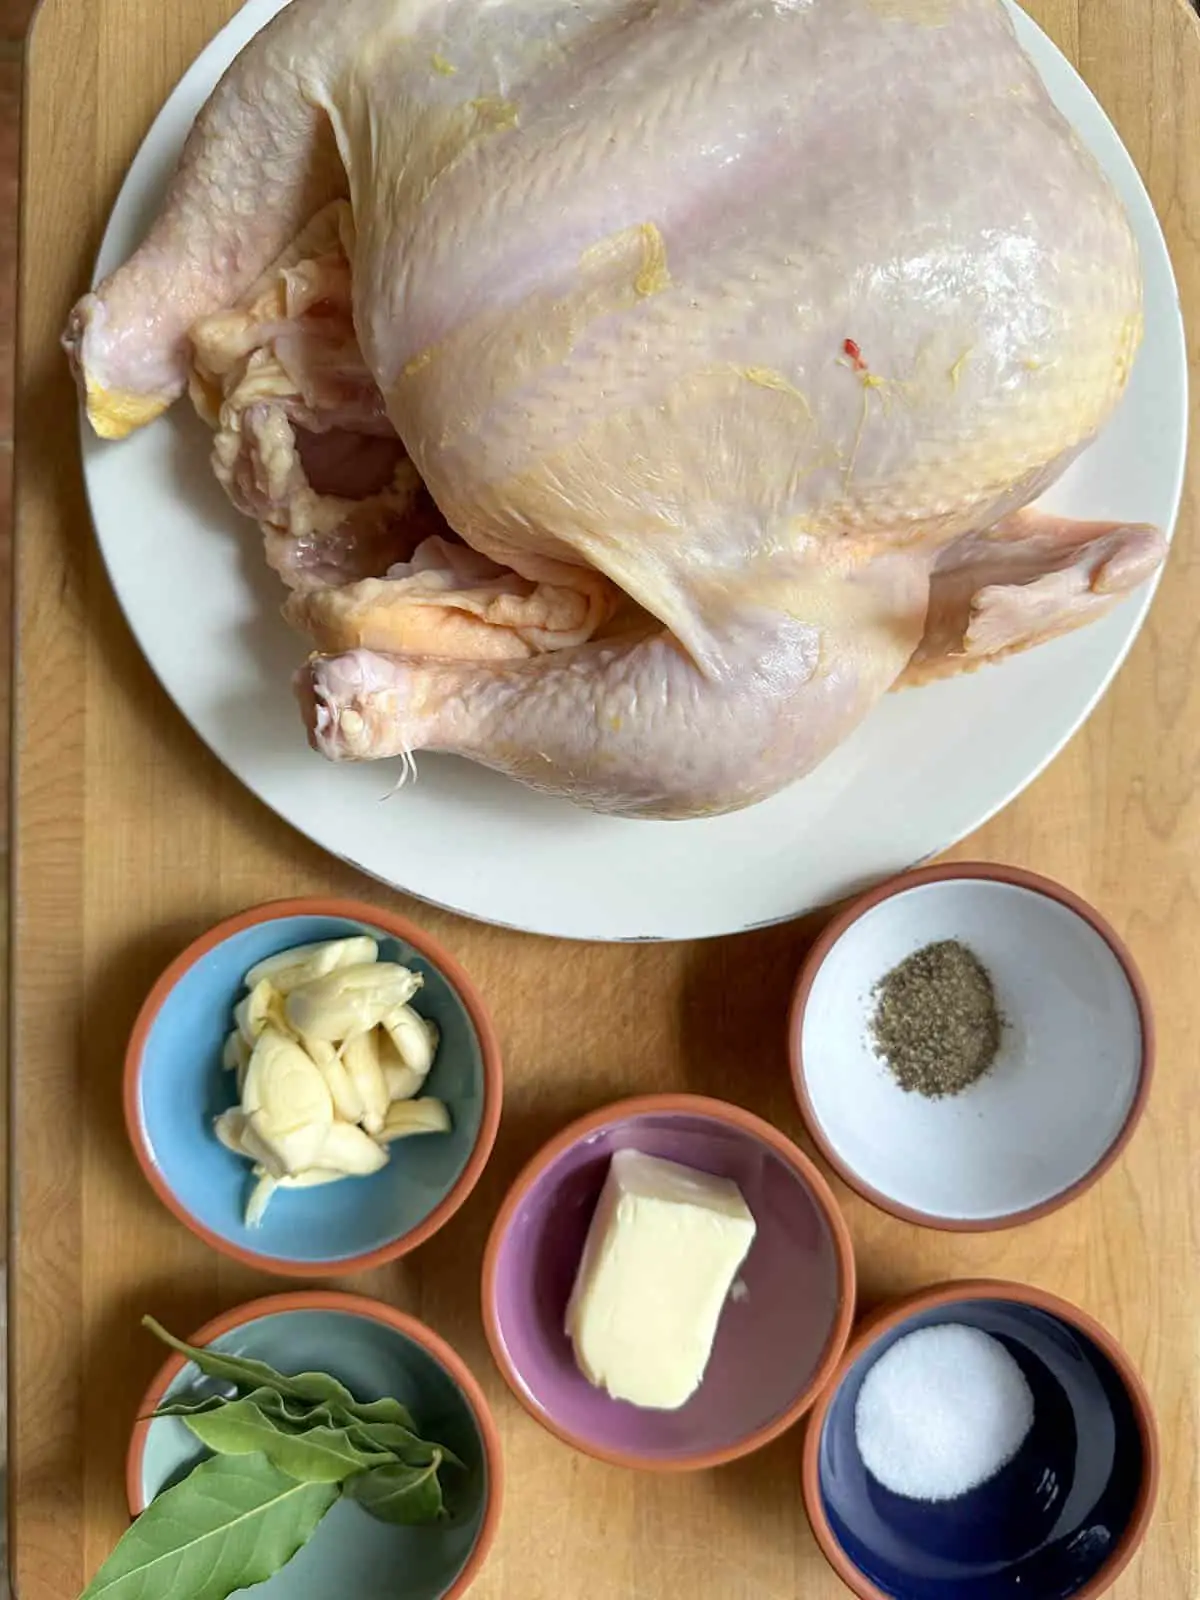
This simple roast chicken recipe only requires a few ingredients which are easily found in your grocery store:
- Whole chicken - select a chicken approximately 5 pounds in weight. This recipe was developed using a 5 pound chicken.
- Butter (you could sub olive oil, but I just love butter for this recipe!)
- Bay leaves
- Salt
- Black pepper
- Fresh garlic cloves - crush them prior to roasting
Now I will guide you step by step to making a garlicky and perfect roast chicken with crispy skin!
🔪 Instructions
Remove the chicken from your fridge and allow to sit out on your counter for 1 hr prior to roasting.
In this recipe we are going to start off roasting the chicken at 400F, and will increase the heat to 450F for the last 20 minutes or so of roasting.
So, begin by preheating your oven to 400F and then we'll prep the chicken.
Prepping The Chicken
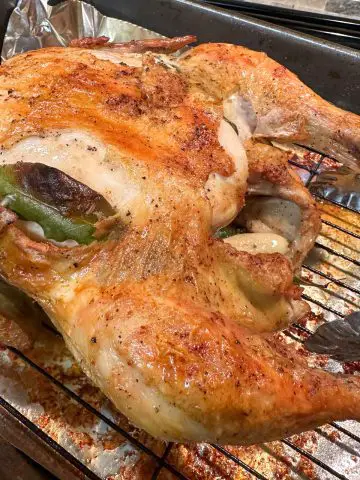
Pat the chicken dry using paper towels. Place the chicken on a wire rack in a roasting tray that is lined with aluminum foil for easier cleanup.
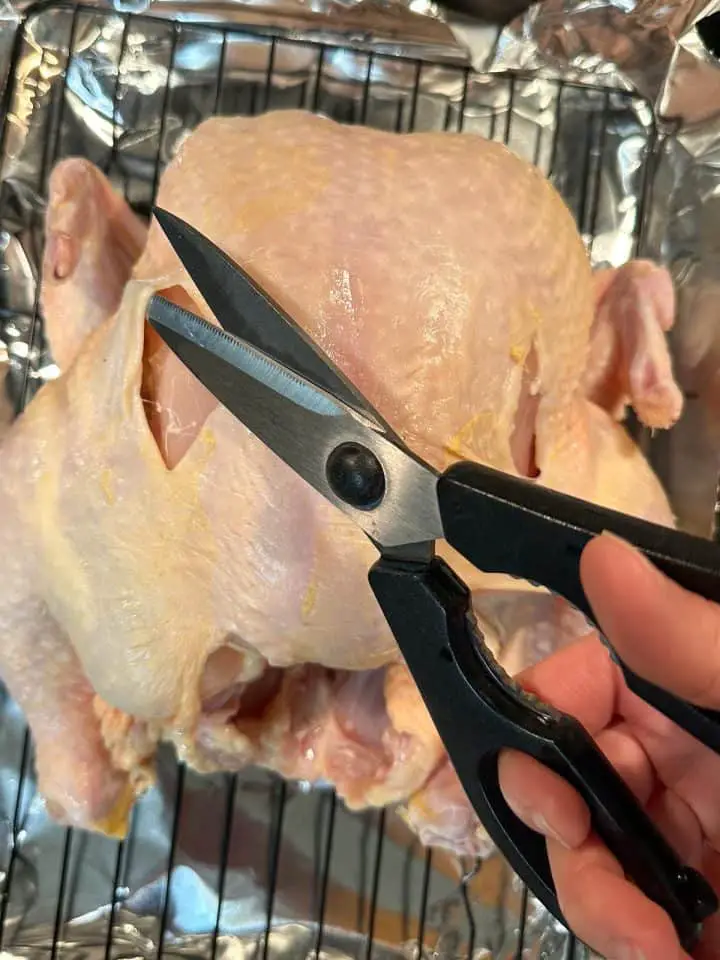
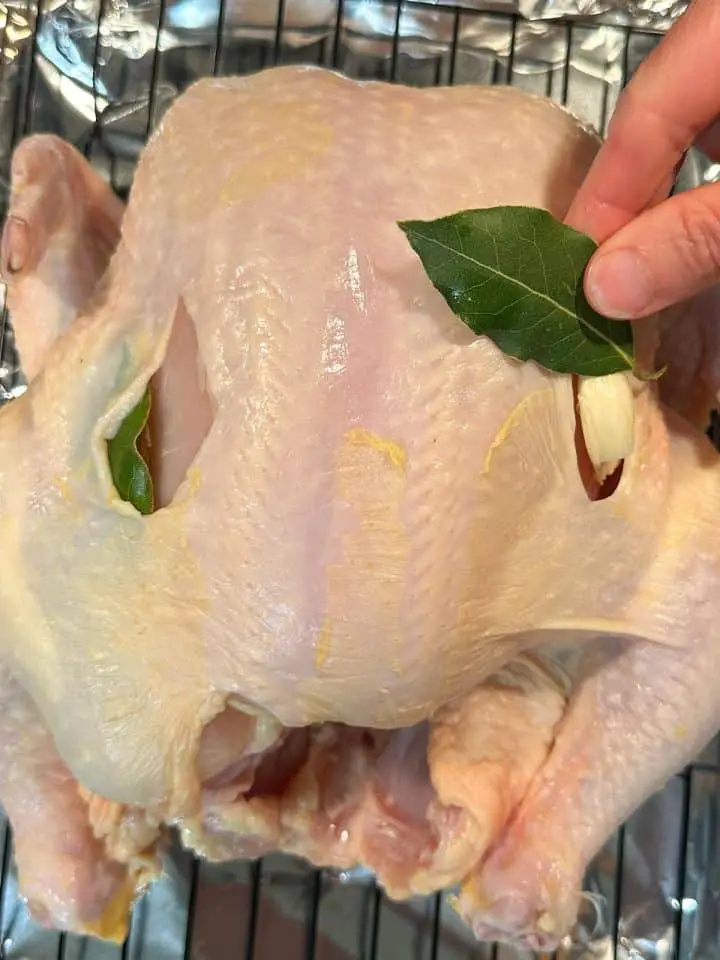
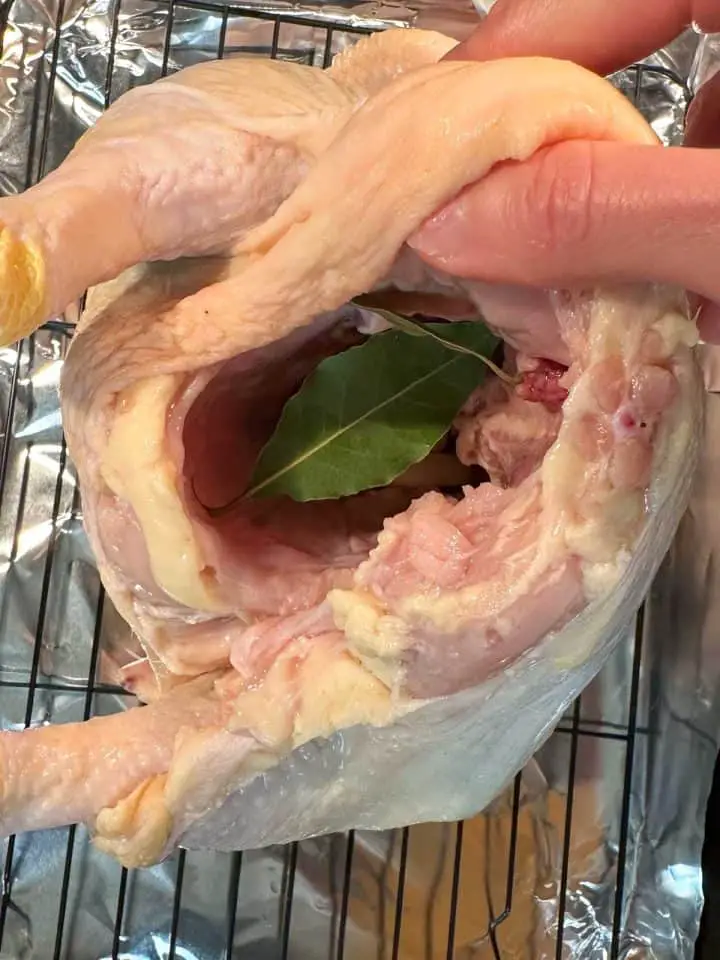
Then insert crushed garlic cloves both under the skin and into the cavity. To insert under the skin, cut a slit into the skin. You'll want to do this both on top and underneath the chicken (on both the right and left sides) and insert 2 garlic cloves and a bay leaf into each side (total of 8 cloves and 4 bay leaves) and place the remaining garlic and bay leaves in the cavity.
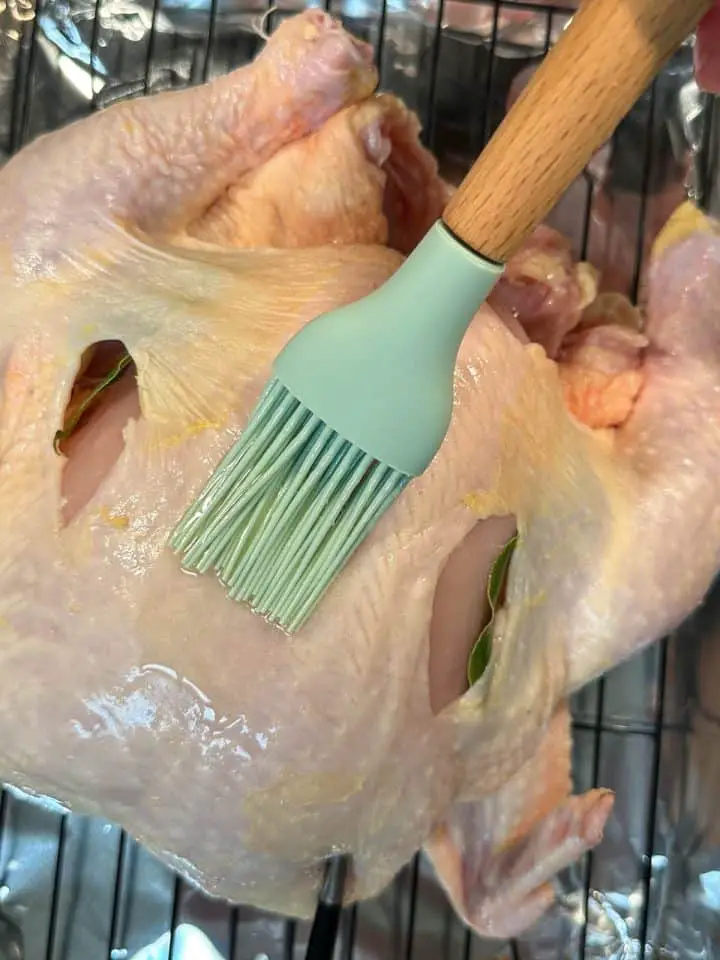
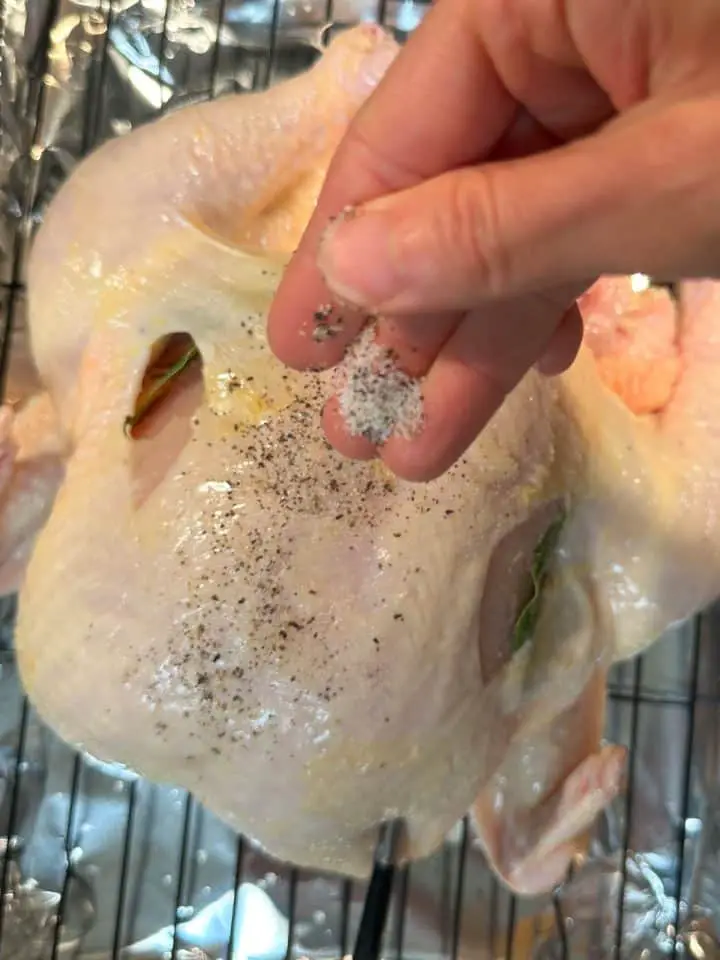
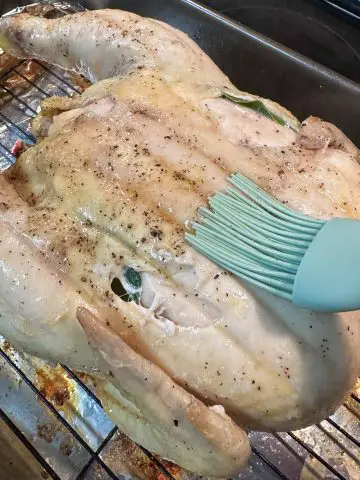
Now baste the chicken with melted butter and then sprinkle liberally with salt and pepper. Be sure to add salt and pepper to the cavity and pour a bit of the melted butter into the cavity of the chicken as well.
Insert your wireless or bluetooth meat thermometer if you are using one at this time (more about this below).
Roasting The Chicken
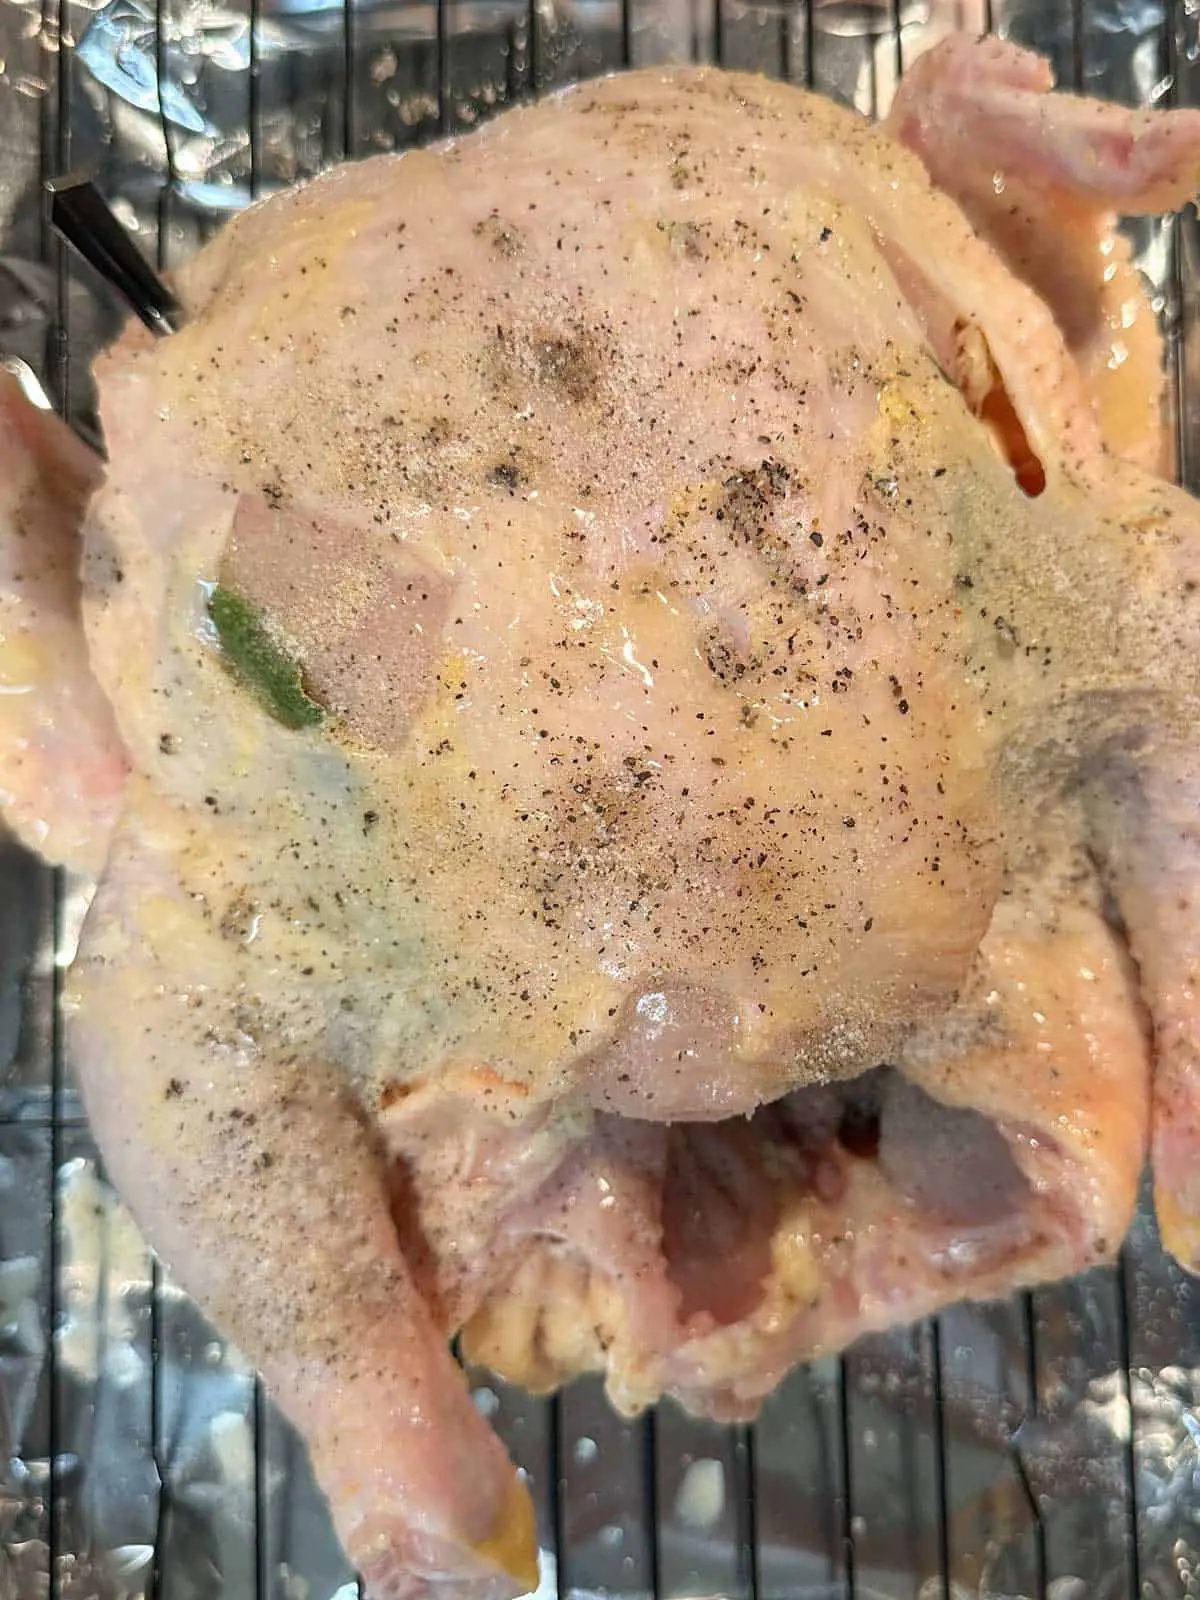
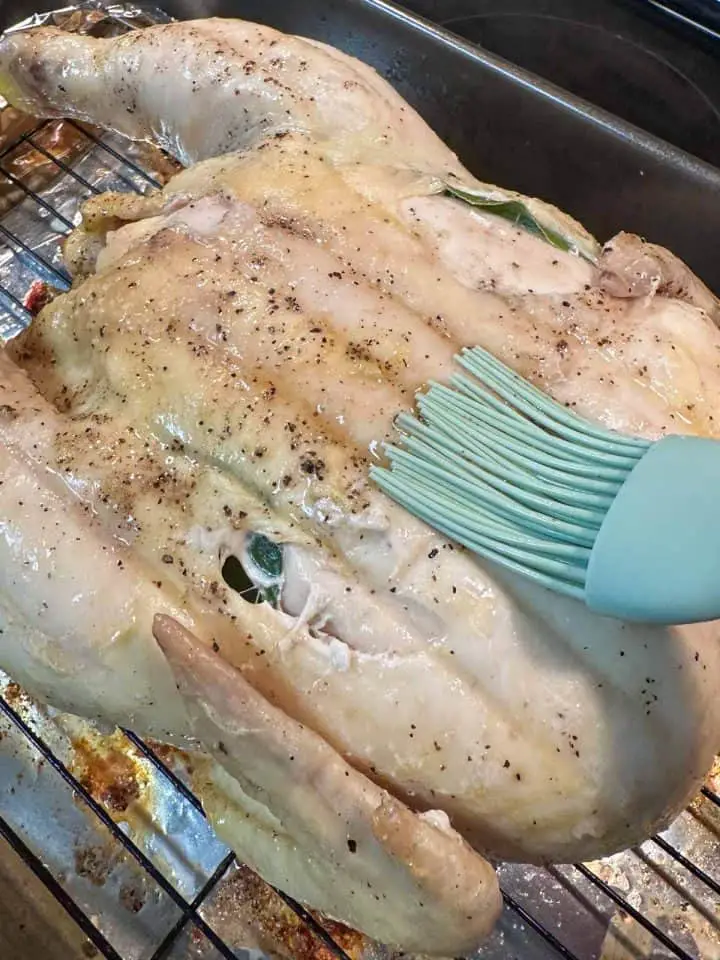
Place the chicken breast side down on the wire rack to begin roasting. Roast the chicken breast side down in a 400F oven for around 30 minutes.
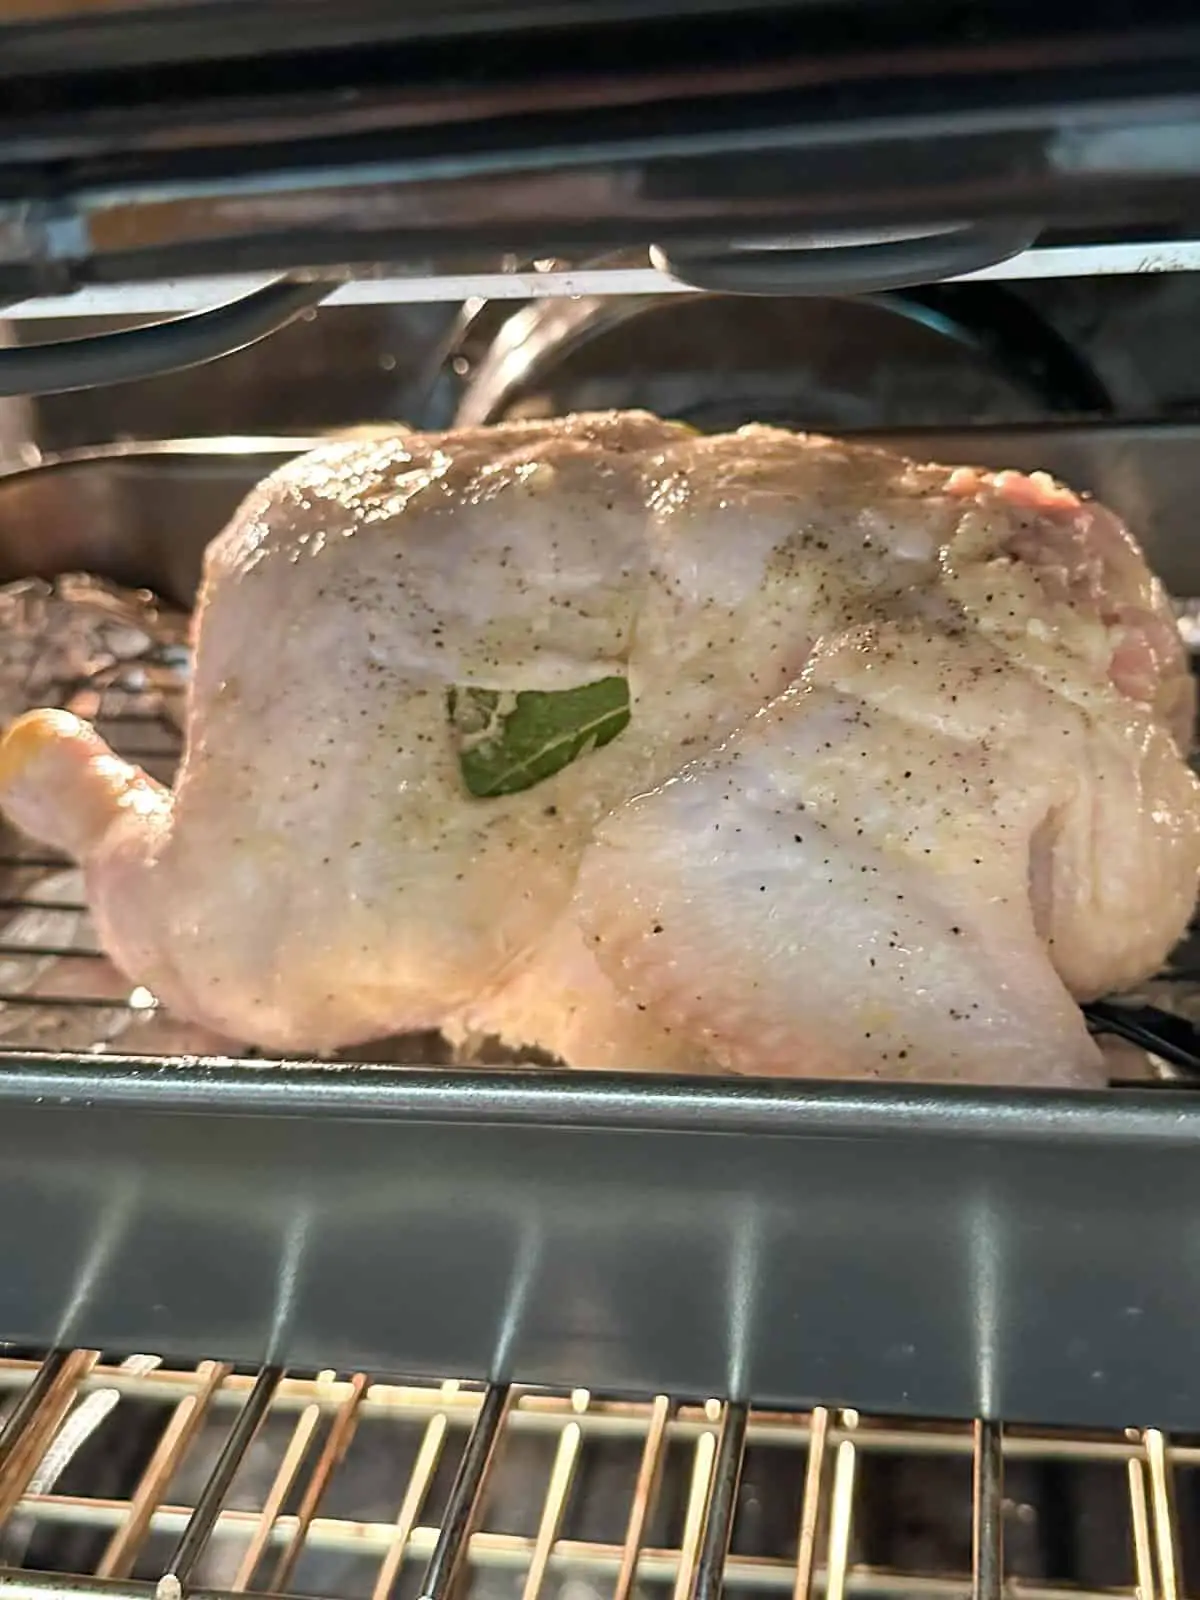
Remove the roasting tray after 30 minutes and turn the chicken over so that it is breast side up. By this time, the underside of the chicken should be lovely and crispy. Baste with some of the drippings, and then turn the chicken so that it is breast side up. Now baste this side with the drippings.
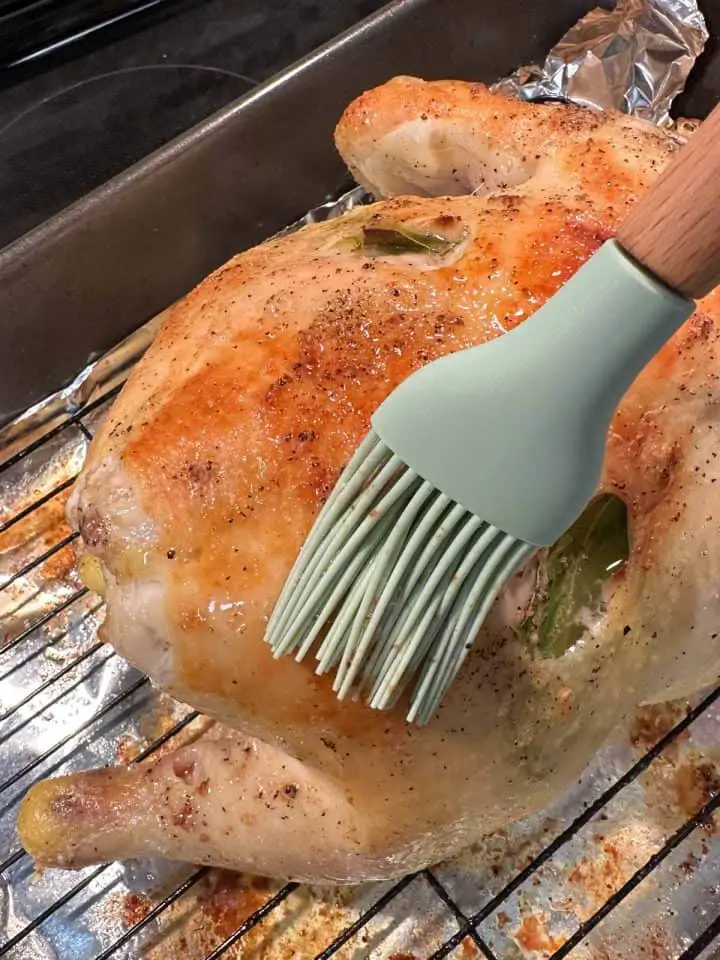
Return the chicken to the oven with the breast side up. We're going to continue roasting until the internal temperature of the chicken reaches 165F (more about this below).
Continue to baste the chicken occasionally during the remainder of the roasting time.
Increase the heat to 450F for the last 20 minutes or so of roasting. This increase will help to crisp up the skin even more and shorten the cooking time. Keep a close eye on your chicken during this time to ensure it doesn't burn.
The total roasting time for my 5 pound chicken was around 1.5 hrs. This was 1 hr and 10 minutes roasted at 400F, and 20 minutes roasted at 450F.
This does not include approximately 10 minutes of resting time. After you are finished roasting your chicken, allow it to rest for around 10 minutes so that the juices in the chicken reabsorb and redistribute back into and through the meat. This will ensure a lovely juicy and moist chicken!
Target Internal Temperature and MEATER + Meat Thermometer
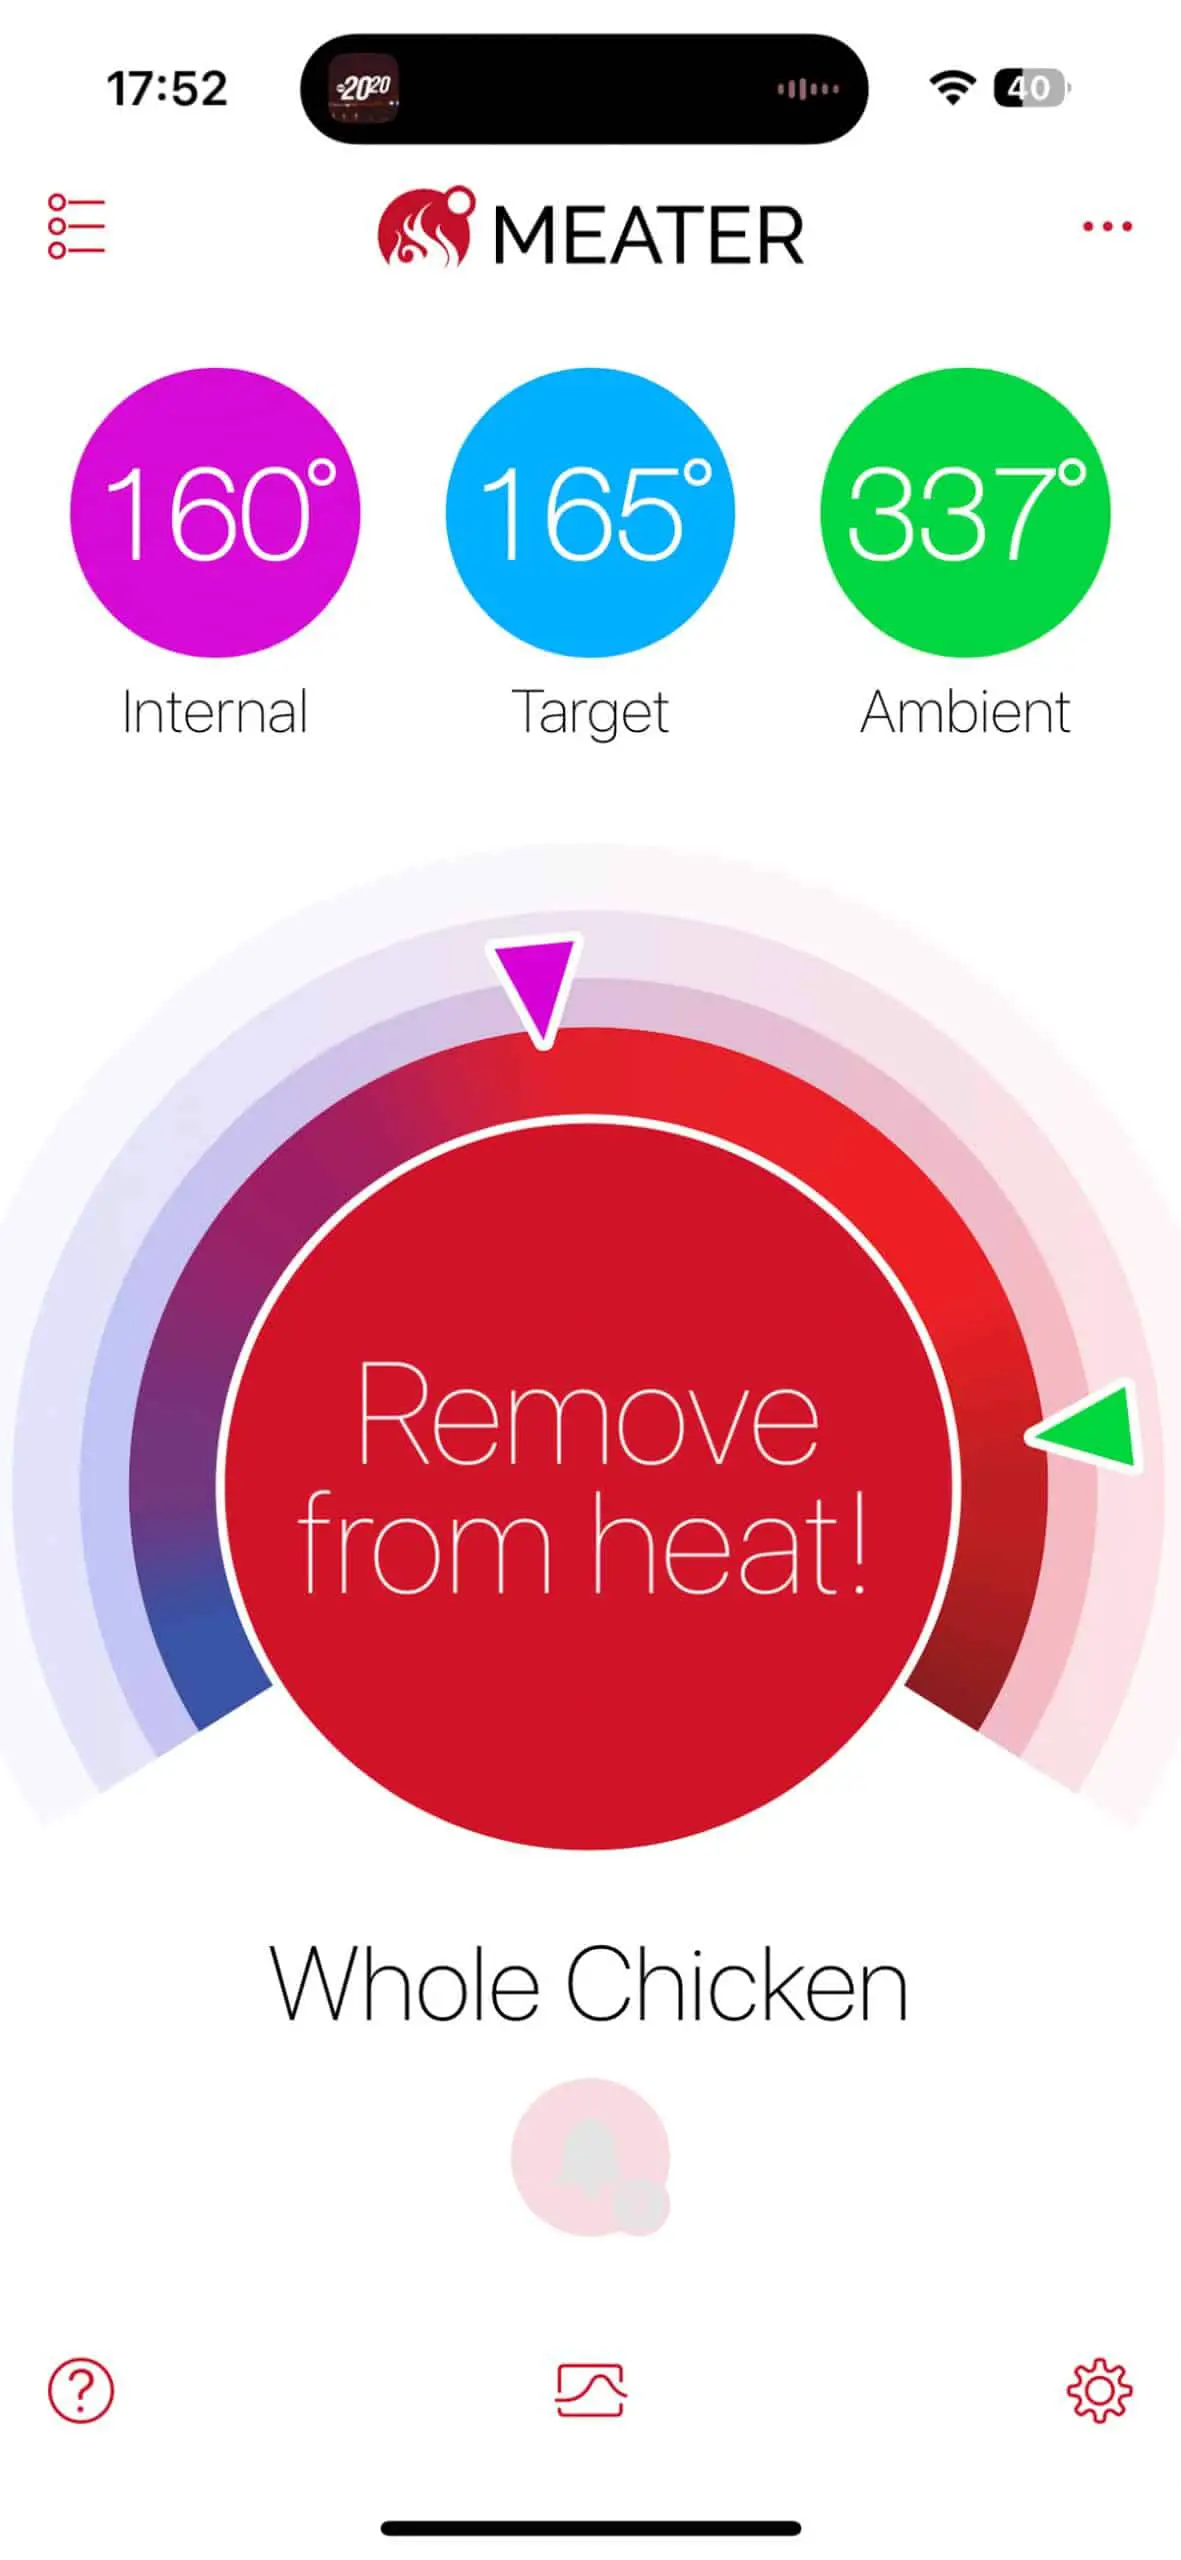
As previously mentioned, our target internal temperature of the chicken is 165F and it took me 1.5 hrs of roasting to achieve this for my roast chicken.
Ovens vary in performance so your total roasting time may vary. So how can you get a better handle on exactly how long you will need to cook your chicken?
I highly recommend the use of a meat thermometer such as MEATER + to help you determine your roasting time. The MEATER + wireless meat thermometer will guide you as to how long you actually need to cook the chicken to get your desired results. If you are using a MEATER + thermometer then insert it prior to cooking and use it as a guideline to fine tune your cooking time.
Honestly I can't live without my MEATER + it is completely indispensable when I cook meat!
If you don't have a wireless meat thermometer no worries, an instant-read thermometer will do as well.
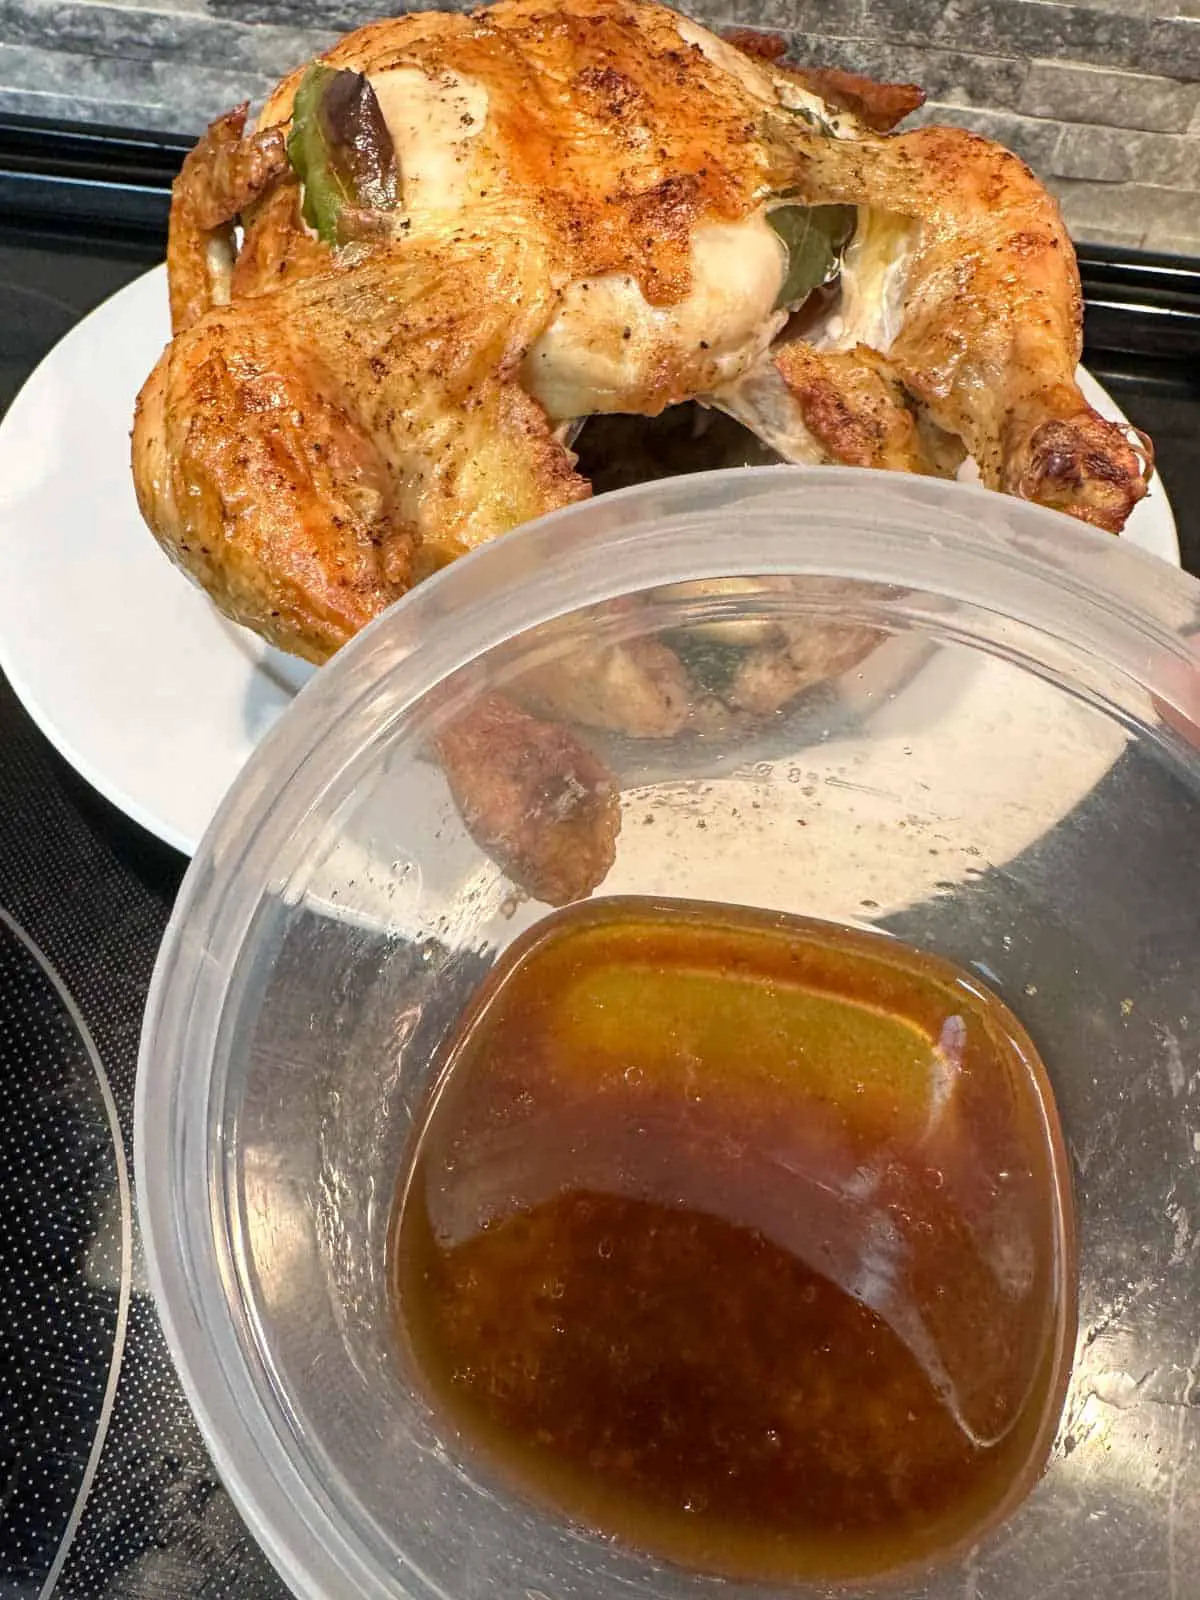
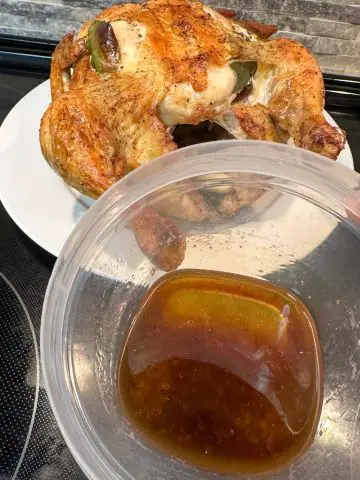
Be Sure To Use The Delectable Drippings!
The drippings from the roast chicken are absolutely delectable! I love to pour some of the drippings over my chicken once it's sliced and served for extra indulgence!
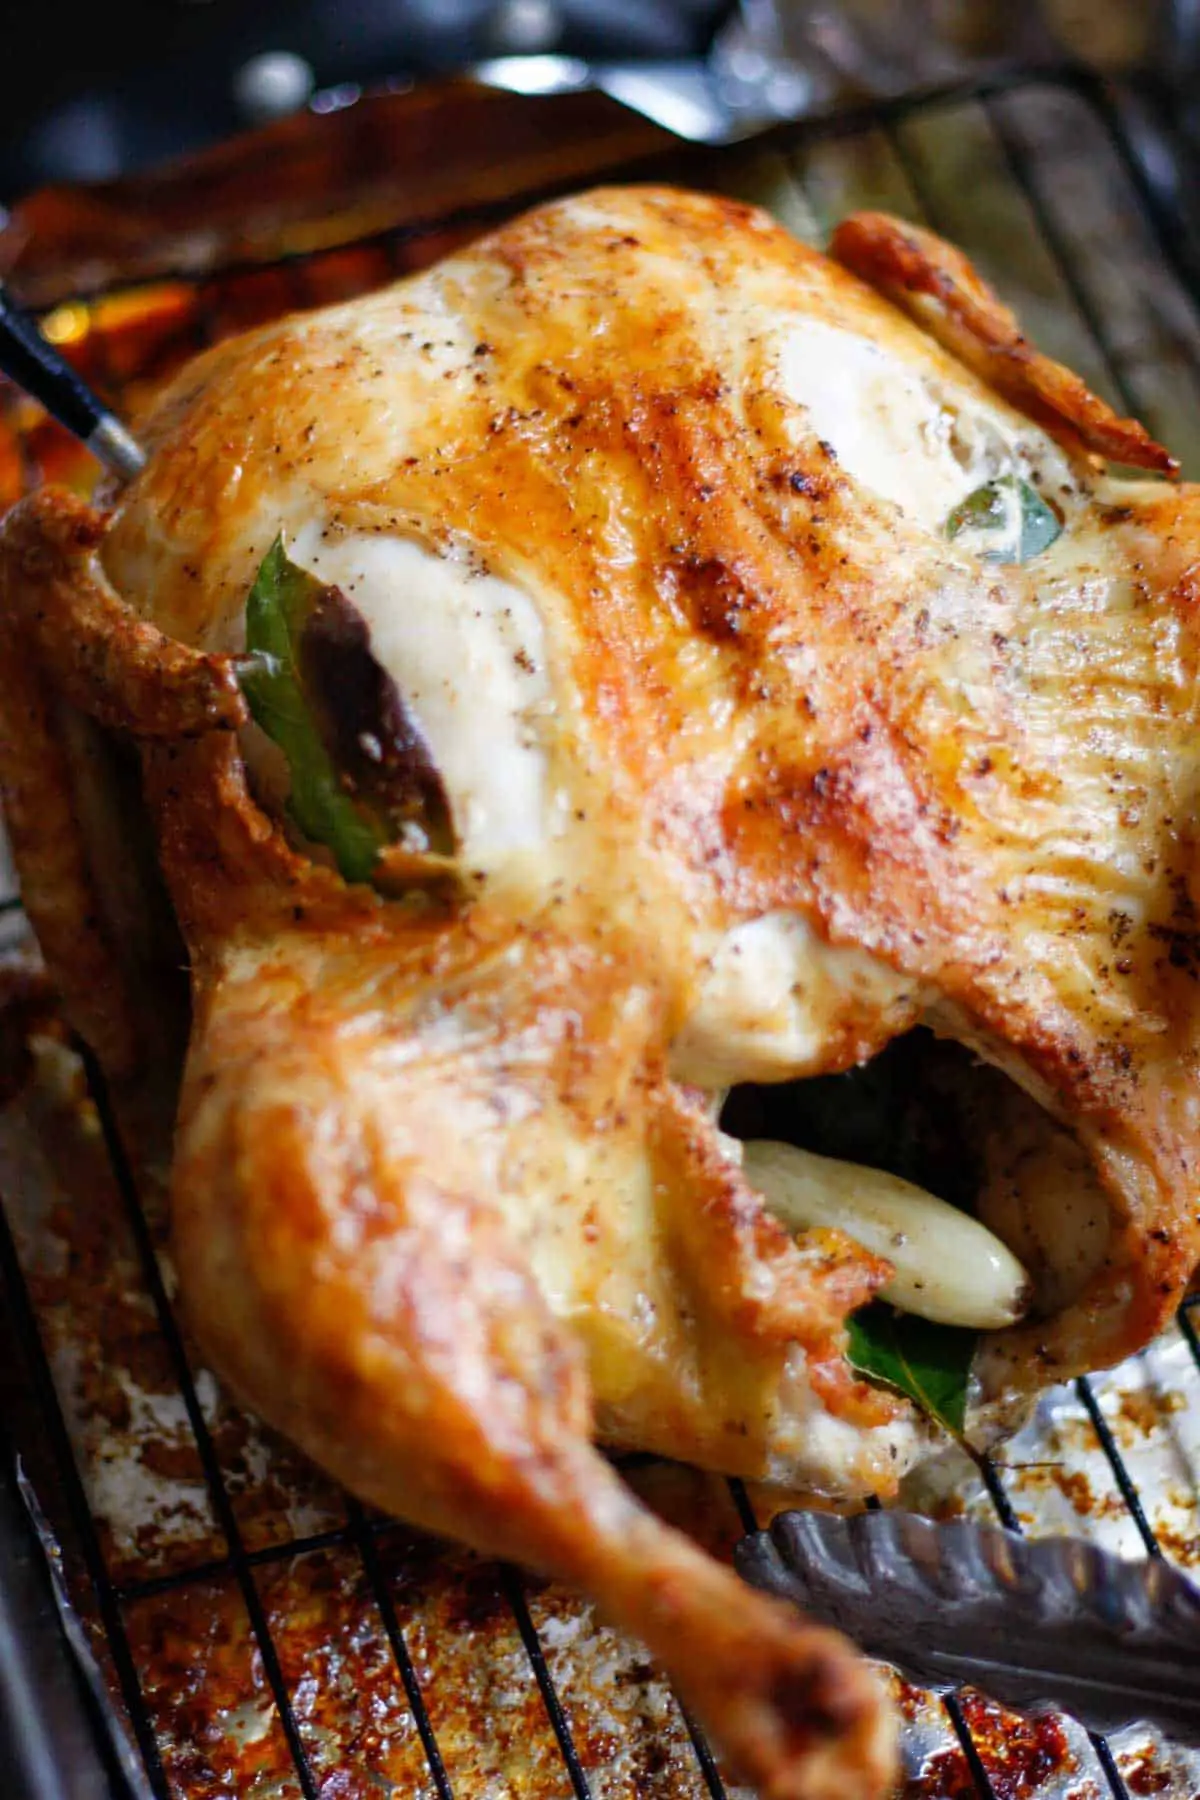
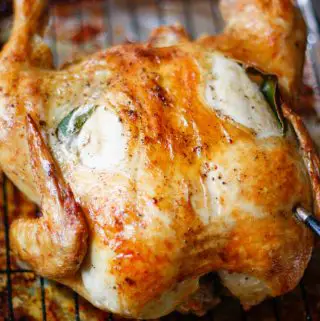
Enjoy Your Delicious Crispy and Garlicky Roast Chicken!
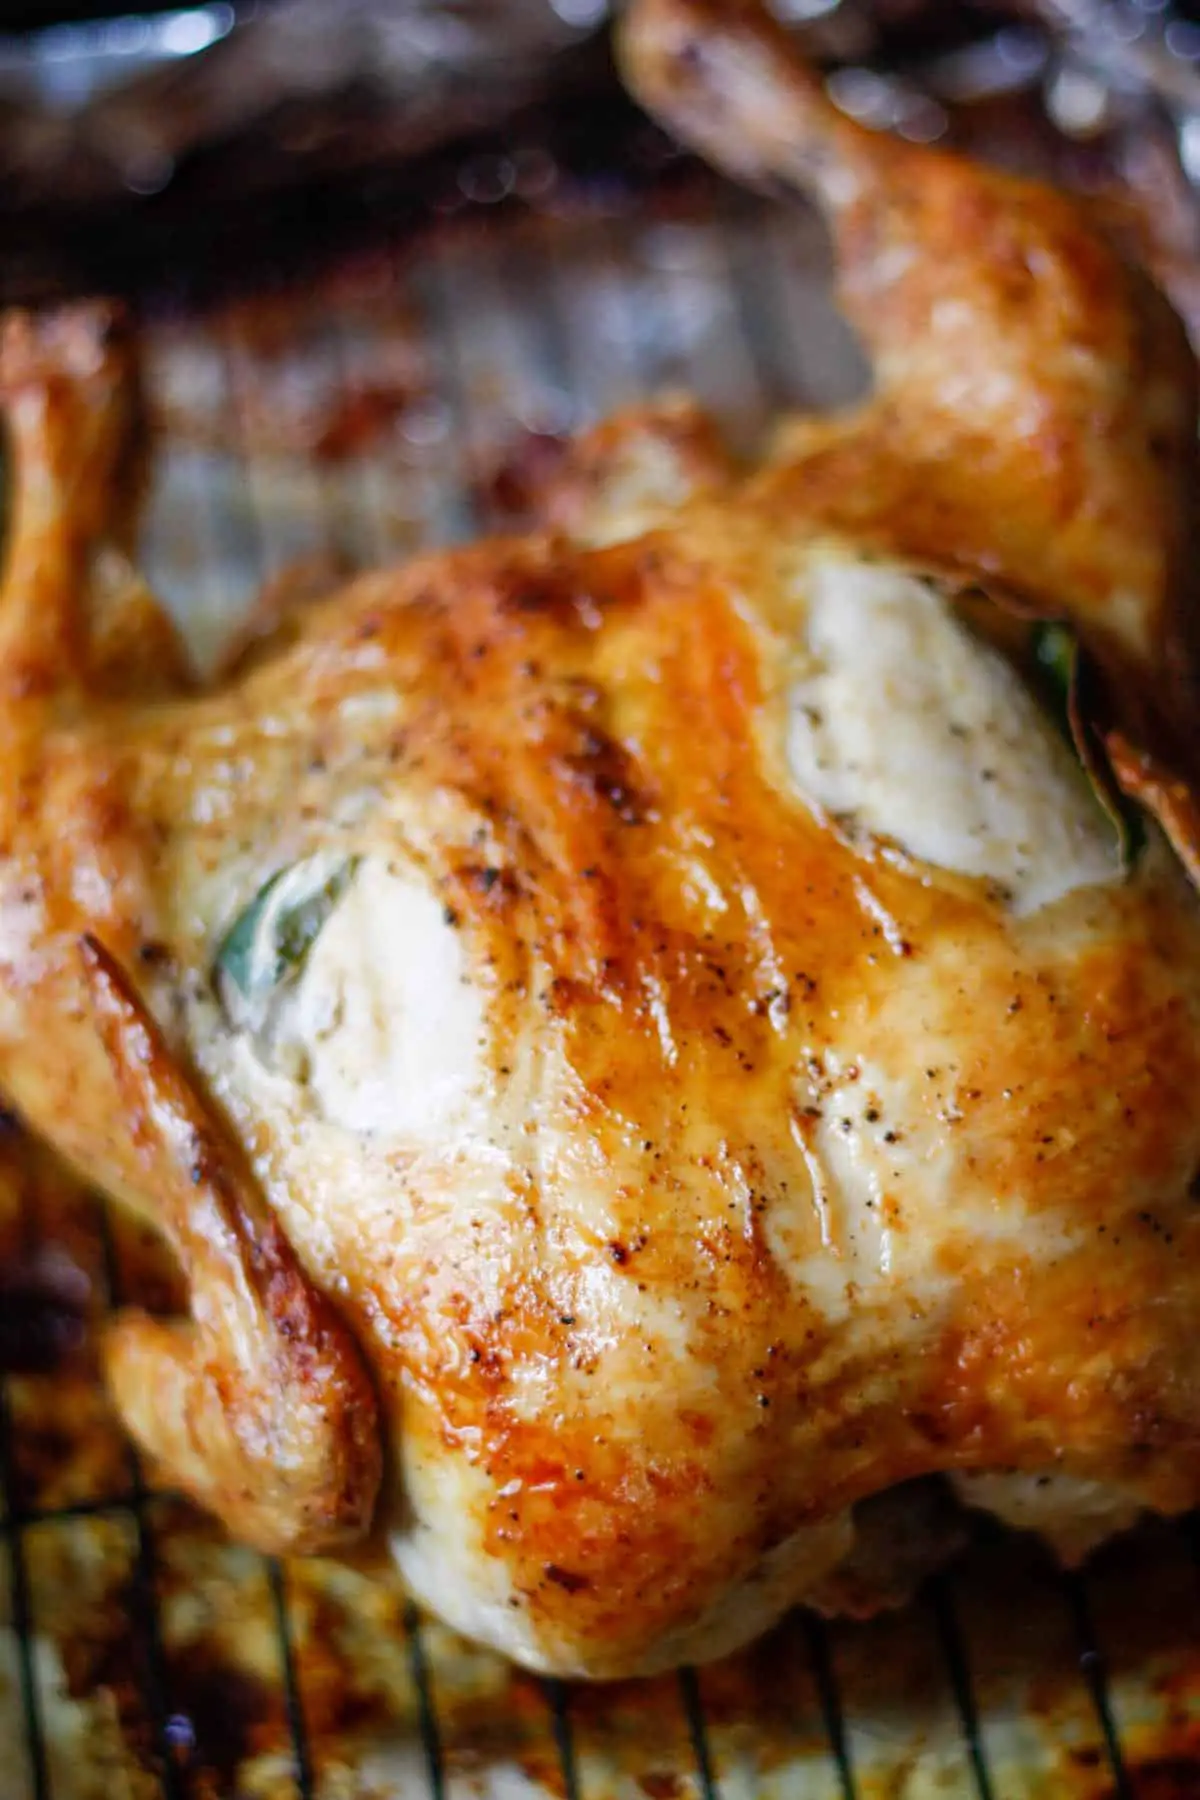
It's a bit difficult for me to to stop from just ripping off the crispy skin from my tender and juicy roast chicken once it comes out of the oven and gobble it up 😅. But I do restrain myself and end up carving the chicken and serving it in a civil manner accompanied by sides to include mashed sweet potatoes and broccoli with garlic and lemon.
Also be sure to share the delicious roasted garlic cloves with others, and don't forget to drizzle some of the mouthwatering drippings over your chicken...I promise you'll be in heaven. 😊
FAQ
Store leftover roast chicken in an airtight container in your refrigerator and consume within 3-4 days.
Roast chicken uncovered for best results in this recipe.
The secret to crispy chicken skin when roasting chicken in the oven is to roast the chicken at a high temperature. In this recipe we start roasting at 400F and increase the heat to 450F for the last 20 minutes.
Some Other Great Recipes You May Enjoy!
Here are some other great recipes you may enjoy:
Join Me On A Fun Food Journey!
If you'd like to come along on this food journey with me, please sign up to get the latest recipes and inspiration for you to expand your food comfort zone! It's an incredible journey, please join me by signing up here.
Cheers!
Grace
Crispy Garlicky Roast Chicken Recipe
Equipment
- Roasting tray with wire rack
- meat thermometer can use an instant read meat thermometer or my favorite which is the MEATER +
Ingredients
- 5 lb whole chicken
- 3 tablespoon butter melted
- 6 bay leaves
- 12 cloves garlic crushed; feel free to increase the amount of garlic if you like!
- ½ tablespoon salt
- 1 ts black pepper
Instructions
- Remove the chicken from your fridge and allow to sit out on your counter for 1 hr prior to roasting and preheat your oven to 400F a few minutes before you start prepping your chicken.
- Pat the chicken dry using paper towels. Place the chicken on a wire rack in a roasting tray that is lined with aluminum foil for easier cleanup. Then insert crushed garlic cloves both under the skin and into the cavity. To insert under the skin, cut a slit into the skin. You'll want to do this both on top and underneath the chicken (on both the right and left sides) and insert 2 garlic cloves and a bay leaf into each side (total of 8 cloves and 4 bay leaves) and place the remaining garlic and bay leaves in the cavity.

- Now baste the chicken with melted butter and then sprinkle liberally with salt and pepper. Be sure to add salt and pepper to the cavity and pour a bit of the melted butter into the cavity of the chicken as well. Insert your wireless or bluetooth meat thermometer if you are using one at this time.
- Place the chicken breast side down on the wire rack to begin roasting. Roast the chicken breast side down in a 400F oven for around 30 minutes.
- Remove the roasting tray after 30 minutes and turn the chicken over so that it is breast side up. By this time, the underside of the chicken should be lovely and crispy. Baste with some of the drippings.
- Then turn the chicken so that it is breast side up. Now baste this side with the drippings. Return the chicken to the oven with the breast side up.
- We're going to continue roasting until the internal temperature of the chicken reaches 165F. Baste the chicken occasionally during the remainder of the roasting time. the heat to 450F for the last 20 minutes or so of roasting. This increase will help to crisp up the skin even more and shorten the cooking time. Keep a close eye on your chicken during this time to ensure it doesn't burn.
- After you are finished roasting your chicken, allow it to rest for around 10 minutes so that the juices in the chicken reabsorb and redistribute back into and through the meat. This will ensure a lovely juicy and moist chicken! Reserve the drippings from the roast chicken which is absolutely delectable! I love to pour some of the drippings over my chicken once it's sliced and served for extra indulgence!


Leave a Reply