This page may contain affiliate links. I receive a small commission at no cost to you when you make a purchase using my link. This post is about an Easy Air Fryer Korean Galbi Beef Short Ribs Recipe!
If you love Korean short ribs STOP RIGHT HERE! I'll show you how to make these flavorful short ribs in your air fryer.
You'll love this easy air fryer recipe which is so incredibly convenient!
[feast_advanced_jump_to]Why Cook Korean Beef Ribs In An Air Fryer?
Most often Korean short ribs are grilled, or even baked in the oven.
So you might ask why you should cook Korean-style beef short ribs, also known as galbi or kalbi, in your air fryer?
Here are some reasons to consider making air fryer ribs:
- For those without a grill, having the option to use an air fryer to make juicy ribs is great!
- If it's raining outside or you can't be bothered to set up your grill, never fear your air fryer is ready to get to work for you
- The total cooking time is between 6-8 minutes so you can have these ribs on your table in a flash!
- Using your air fryer is so easy and convenient so it's especially great for a busy weeknight
Why You Will LOVE This Korean Short Ribs Recipe!
You will love this recipe because:
- This is an easy recipe for these beef ribs which will turn out tender and juicy
- You'll enjoy an exceptional meal for special occasions or anytime you crave mouthwatering ribs
- The marinade is savory, a little sweet, and absolutely delicious! It includes Asian pear which will also help to tenderize the meat
Please read on to discover what you will need to make this incredible Korean-style air fryer beef rib recipe!
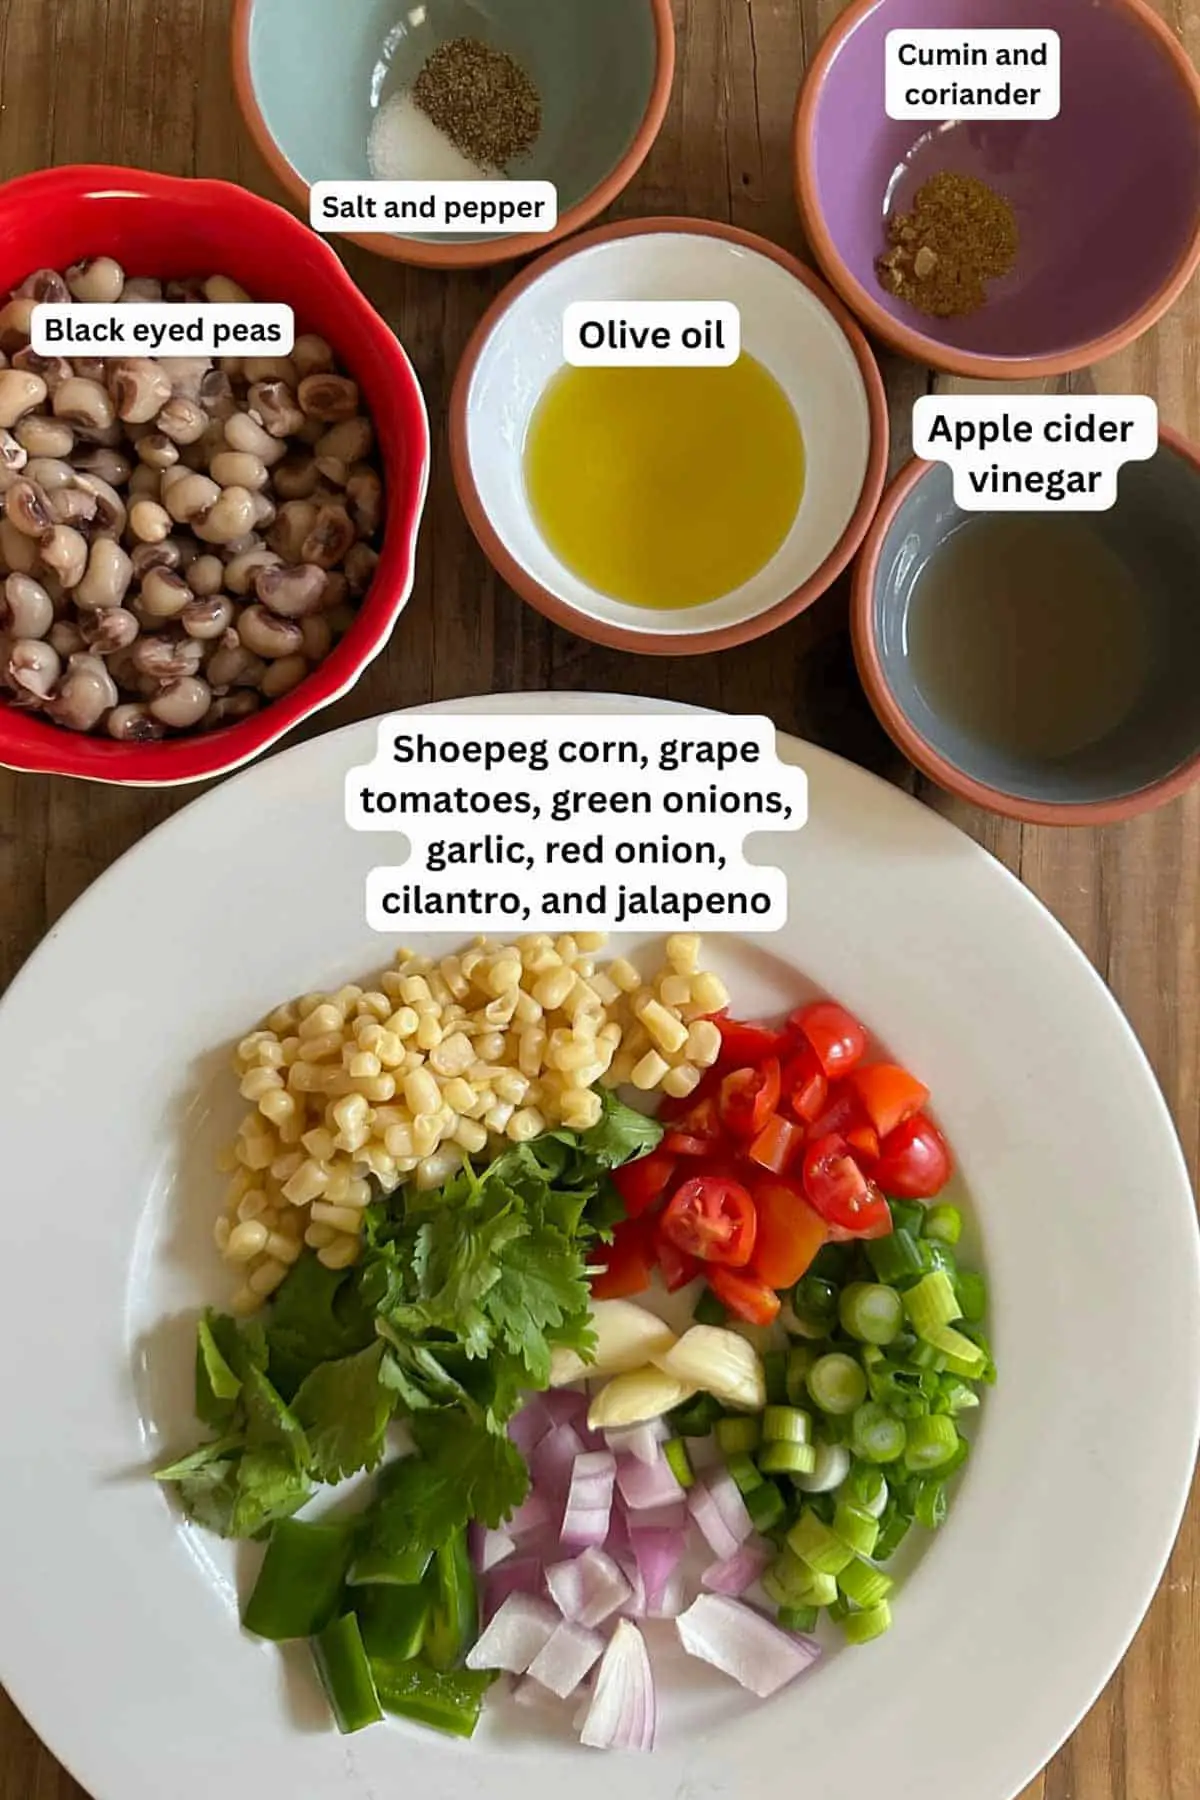
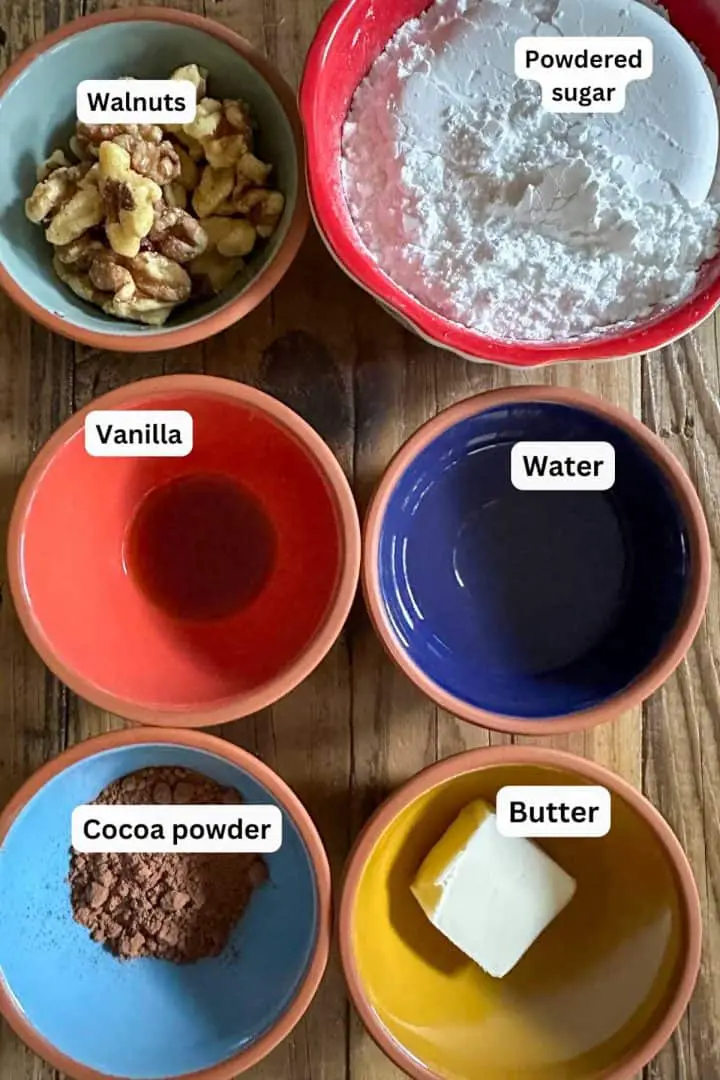
🥘 Ingredients
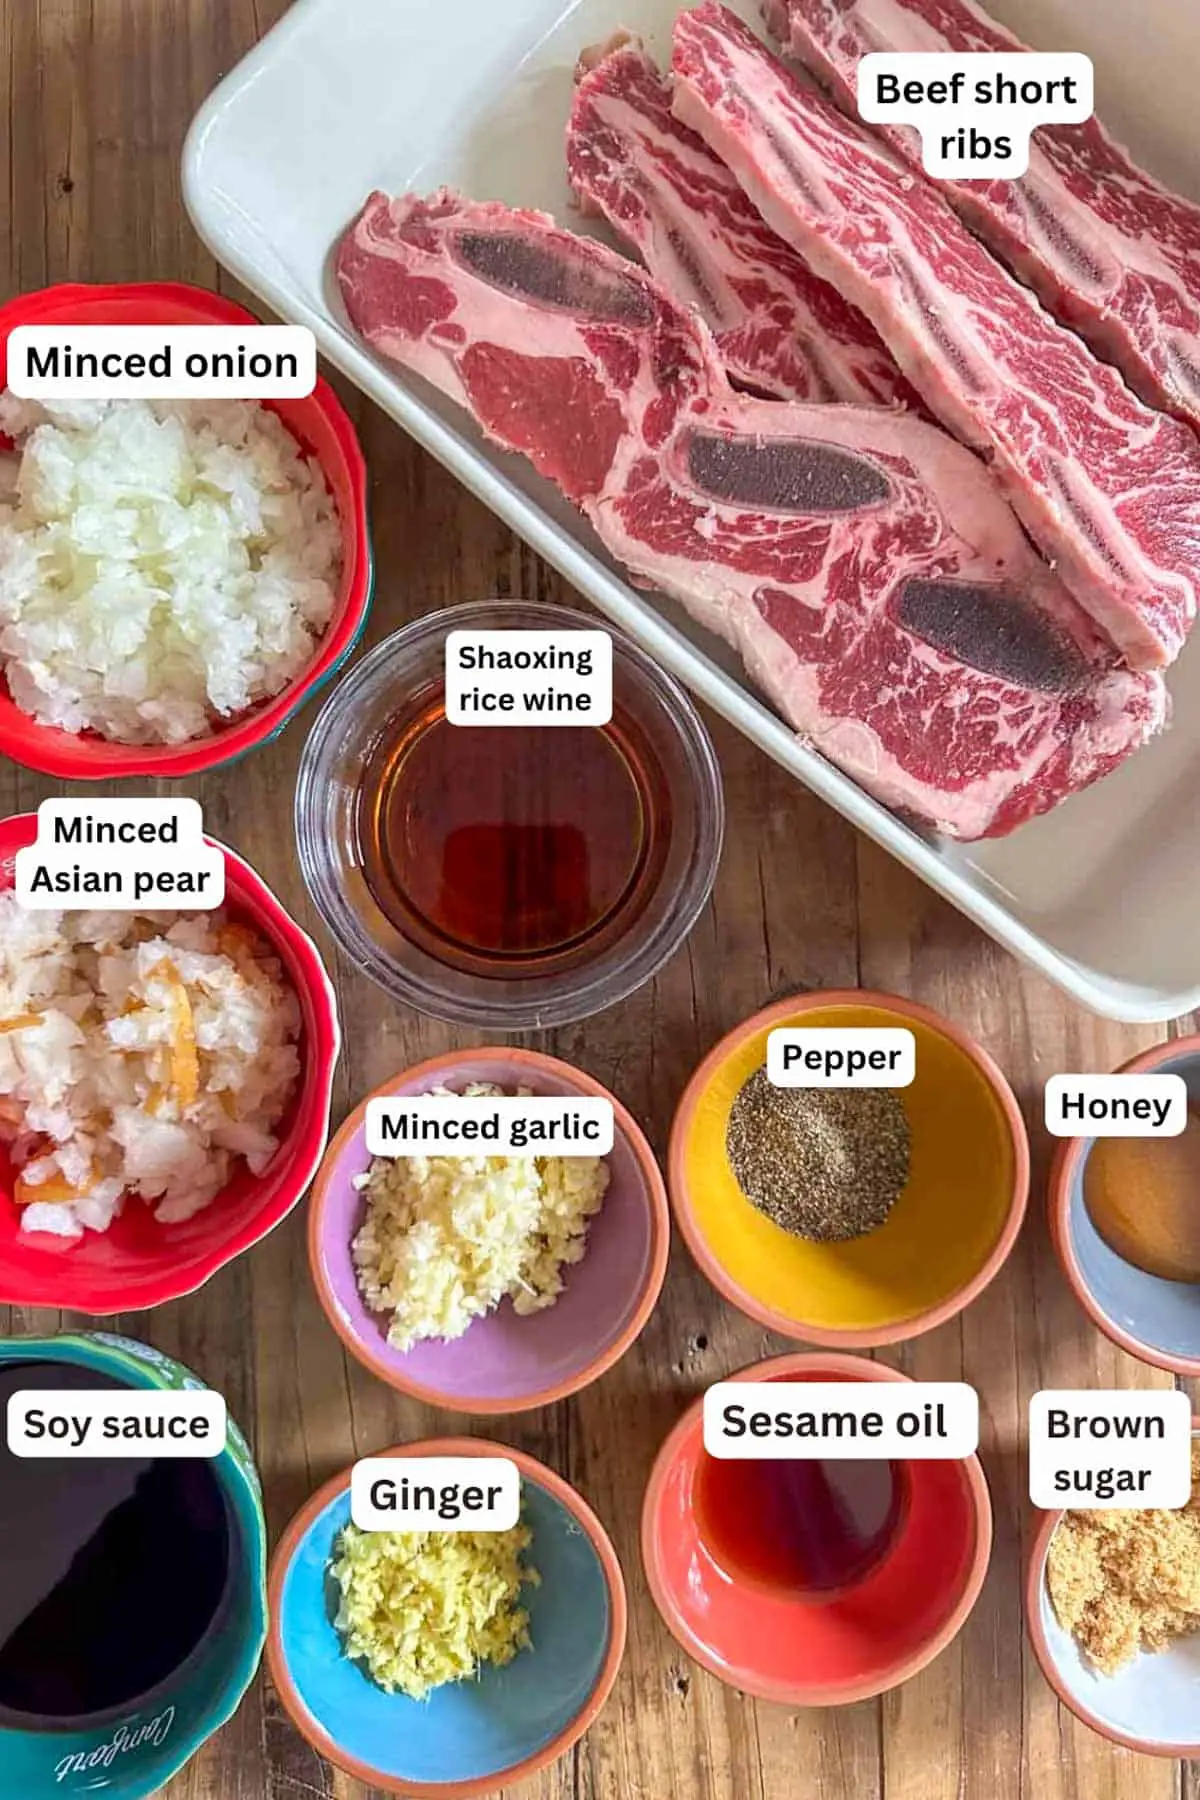
So here is what you will need to make these tender and juicy short ribs:
- LA galbi ribs (find this at your Asian grocery store; if you don't have an Asian grocery near you, ask your butcher for a flanken cut of beef)
- Brown sugar
- Soy sauce
- Asian pear (can sub apple or bosc pear) minced
- Shaoxing rice wine (can sub rice vinegar)
- Garlic minced
- Ginger minced
- Sesame oil or hot sesame oil
- Onion minced
- Honey
- Black pepper
- Sesame seeds for garnish
- Green onions for garnish
For this recipe, our main ingredient and the cut of meat we will use will be LA galbi, also known as flanken cut, which will help us cook this quickly even in the air fryer! Please don't use the english cut of short ribs for this recipe.
Regular grocery stores should carry most of these ingredients. Of course you should also be able to purchase everything at your local Korean or Asian market.
🔪 Instructions
Start by wiping off any blood that may be visible on the ribs. Also check for any possible bone fragments which may be present, and discard those. Set aside.
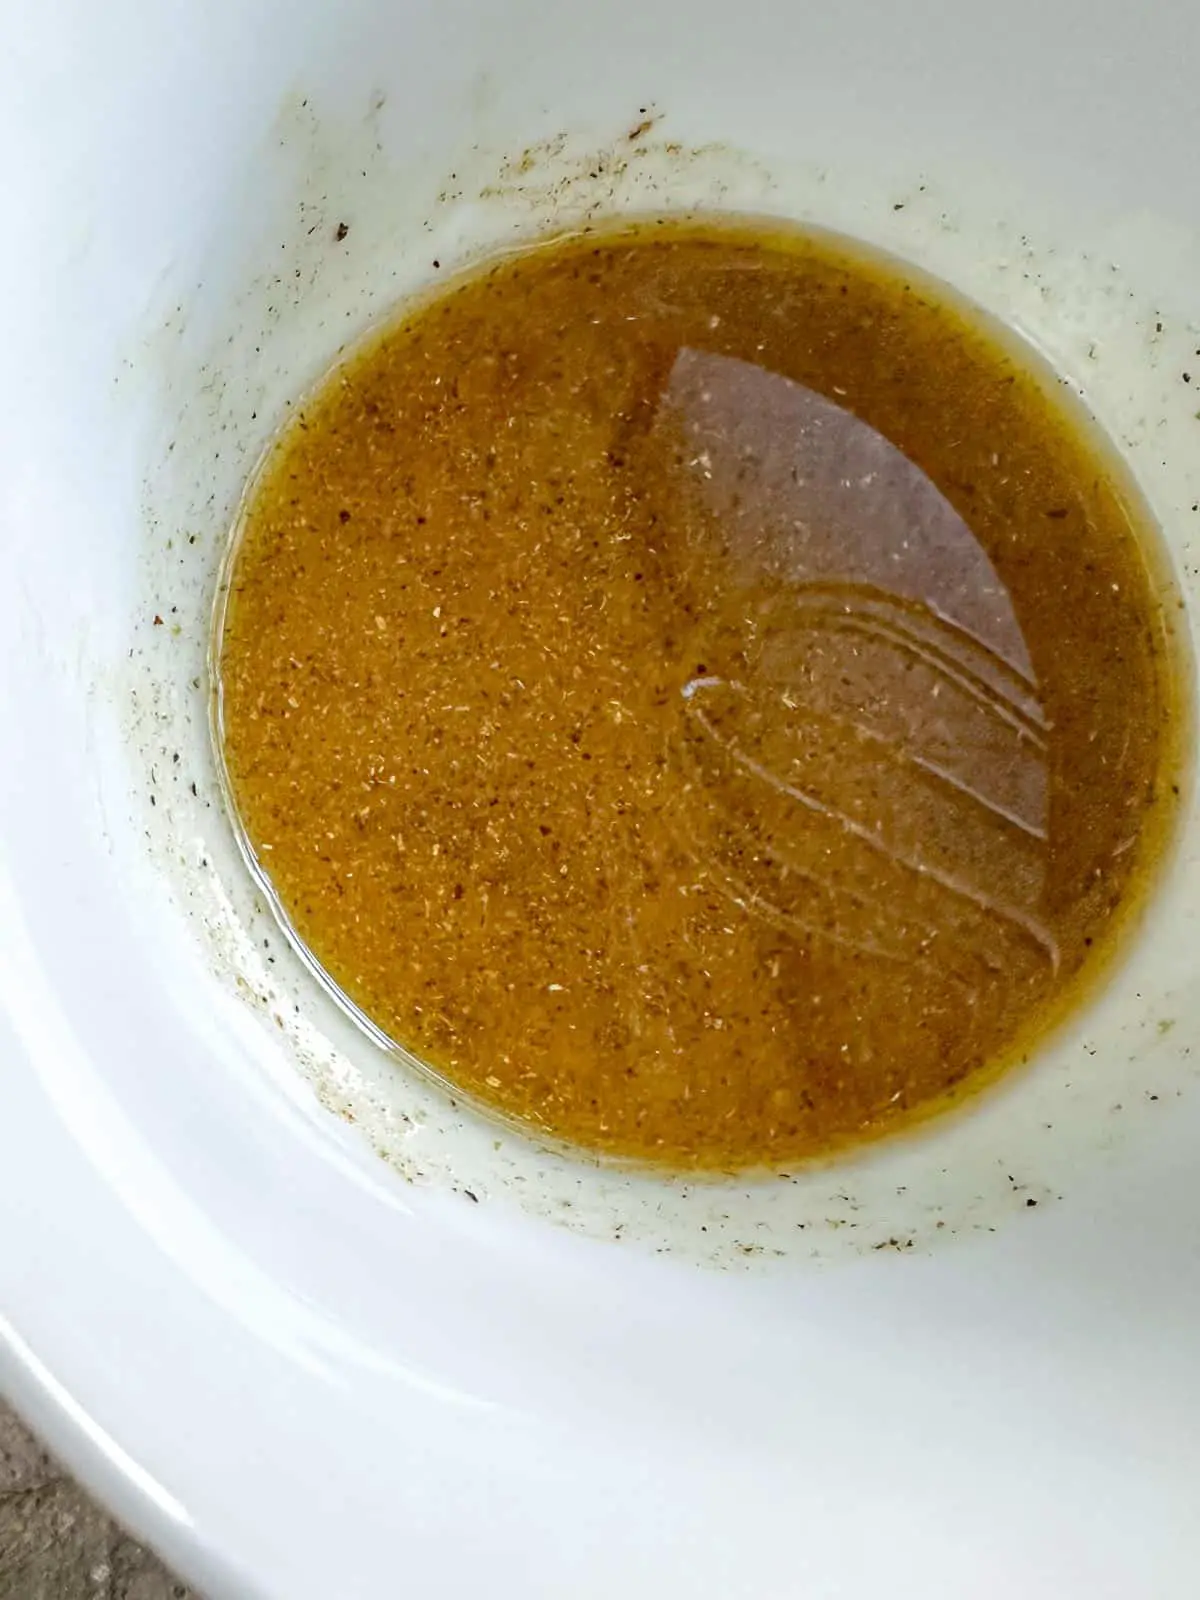
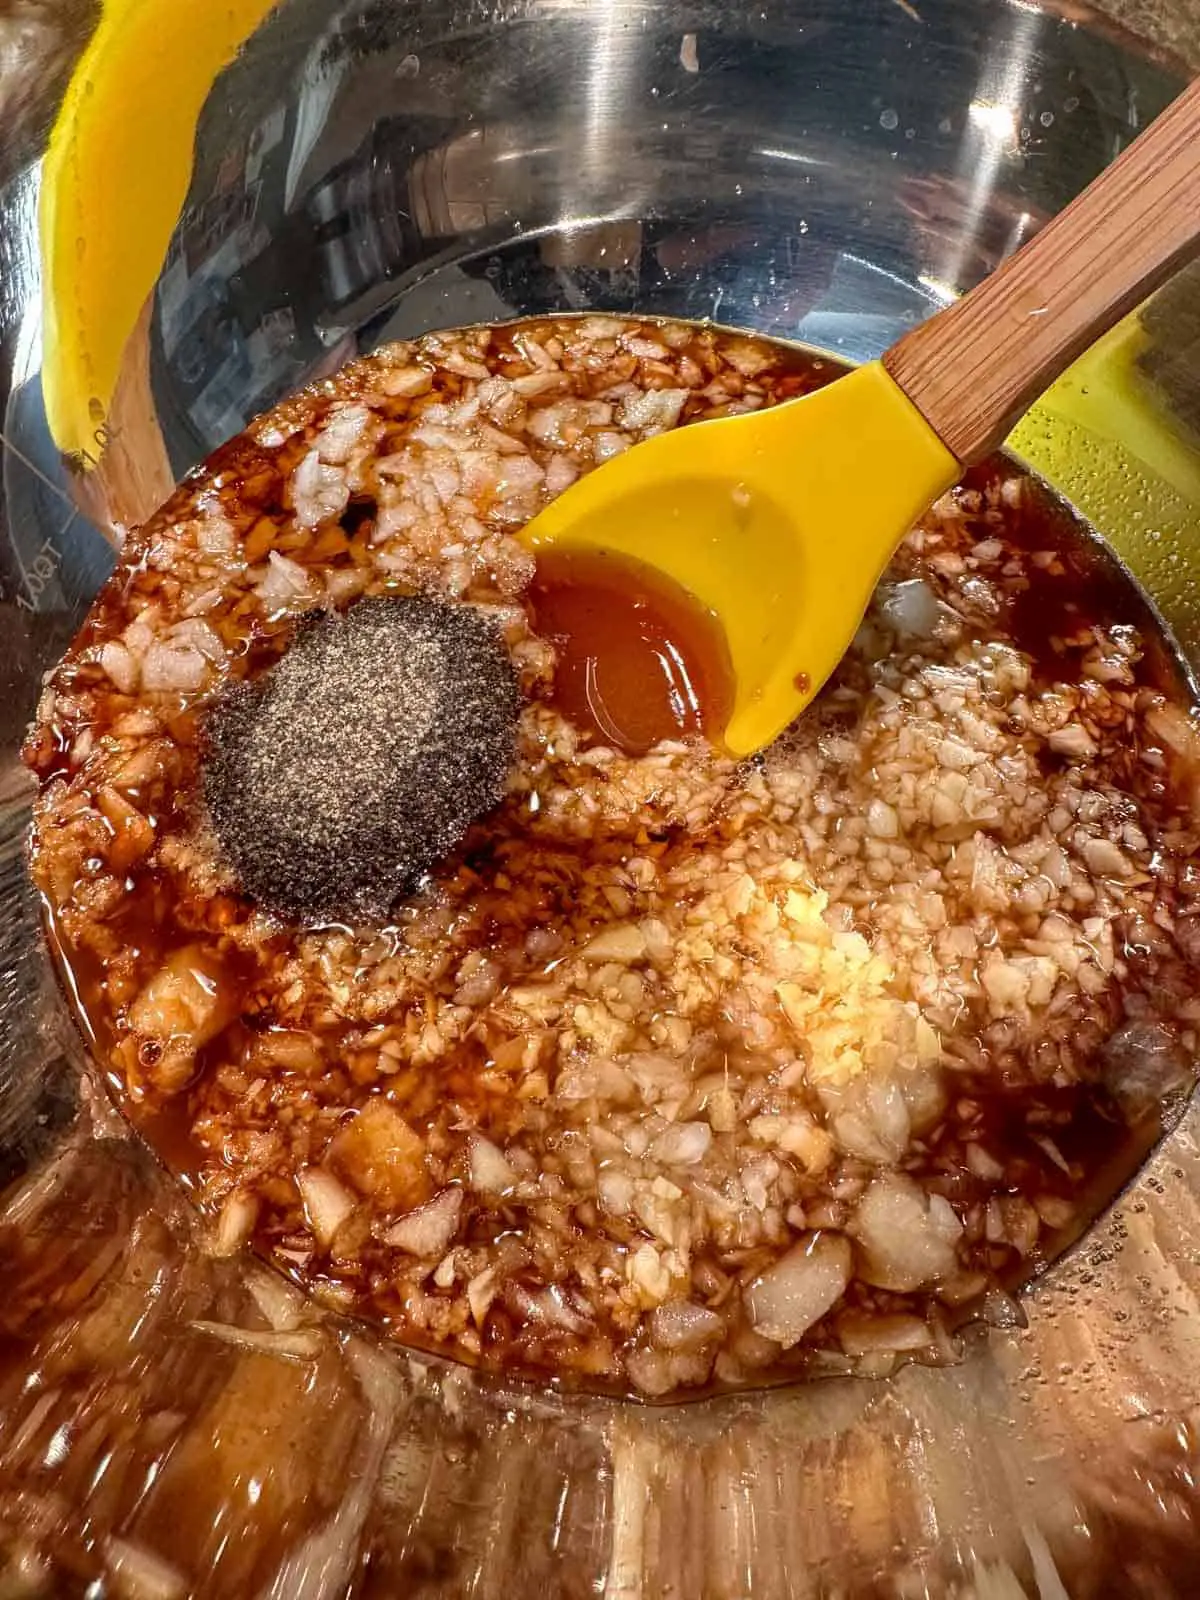
Preparing The Marinade
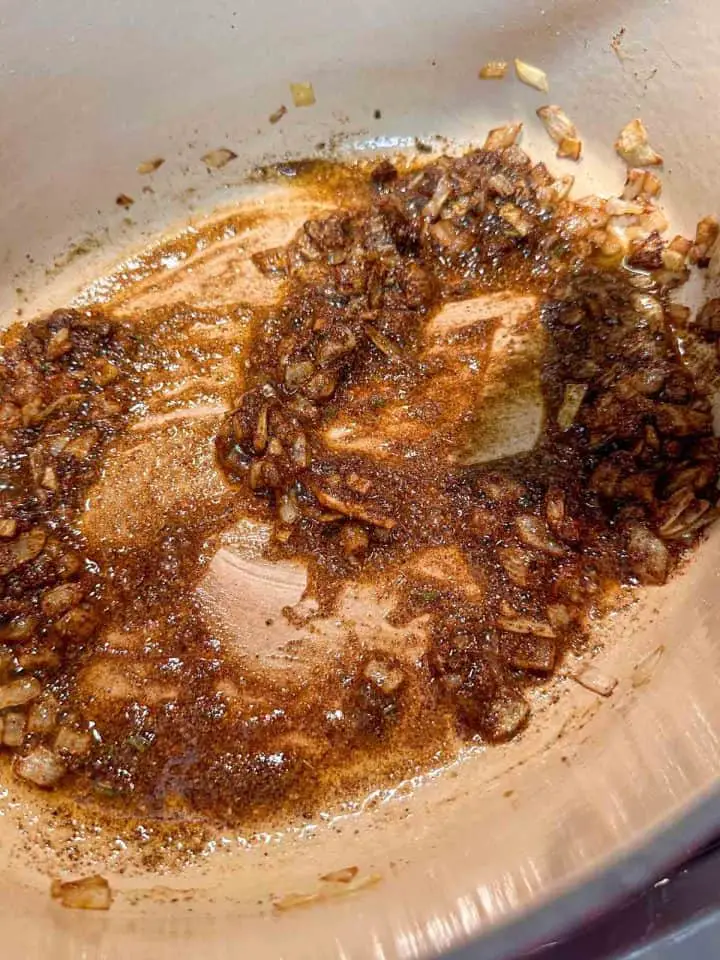
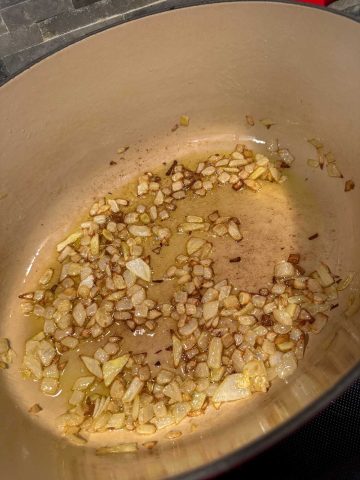
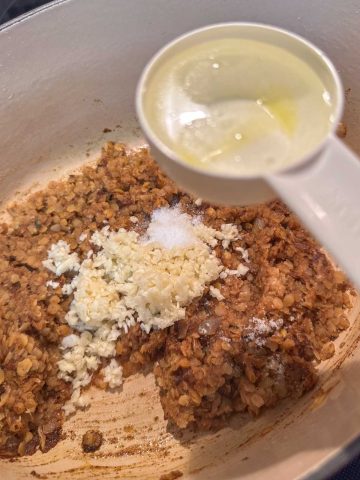
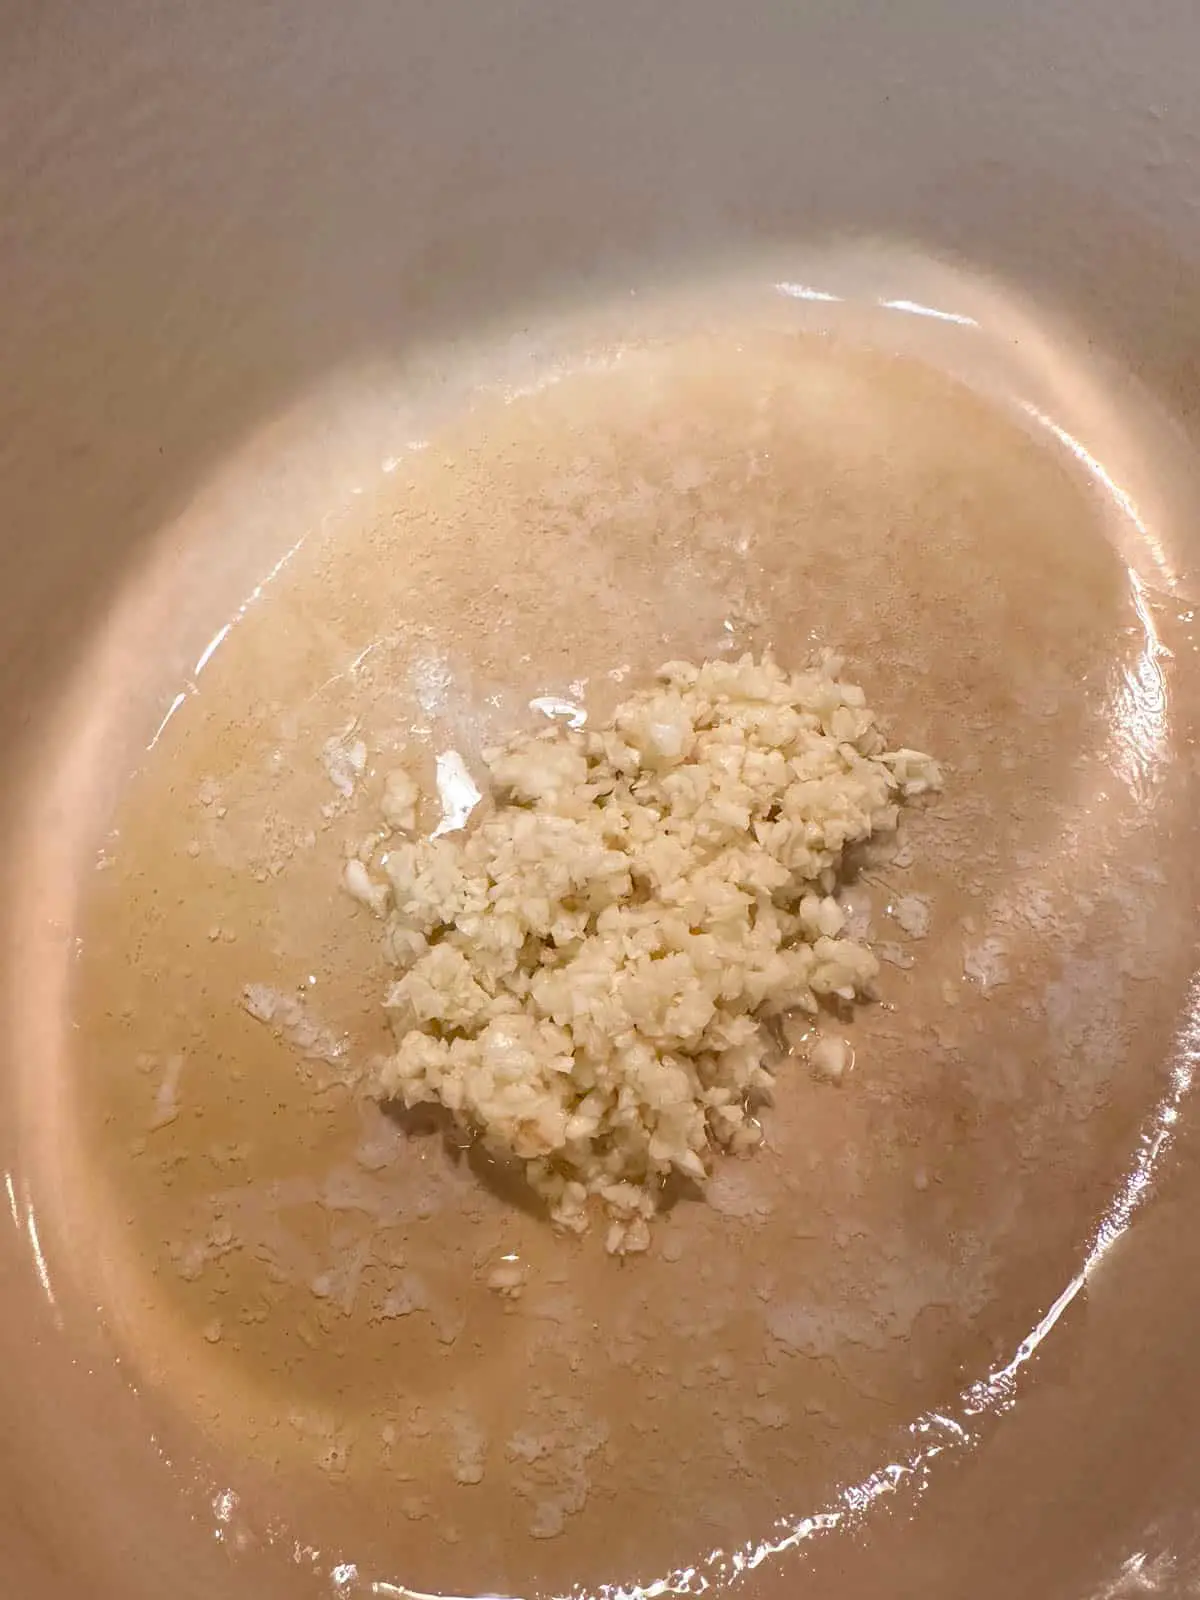
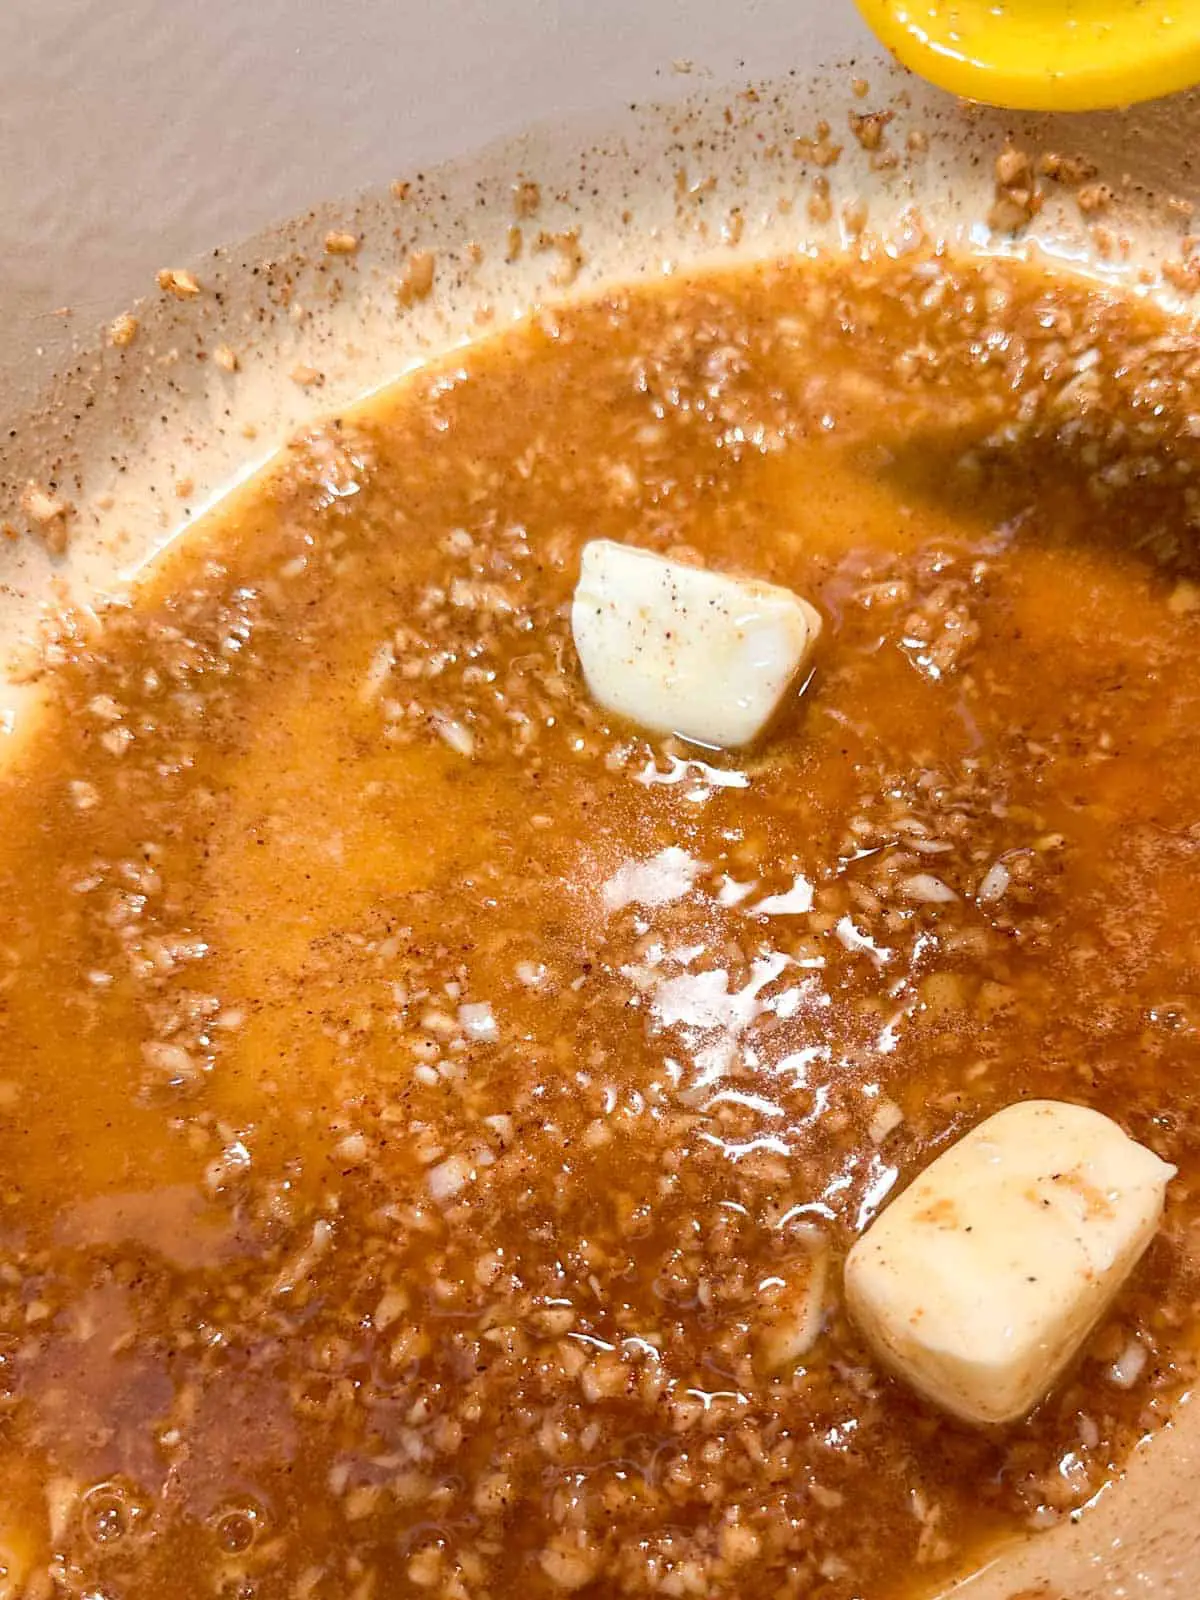
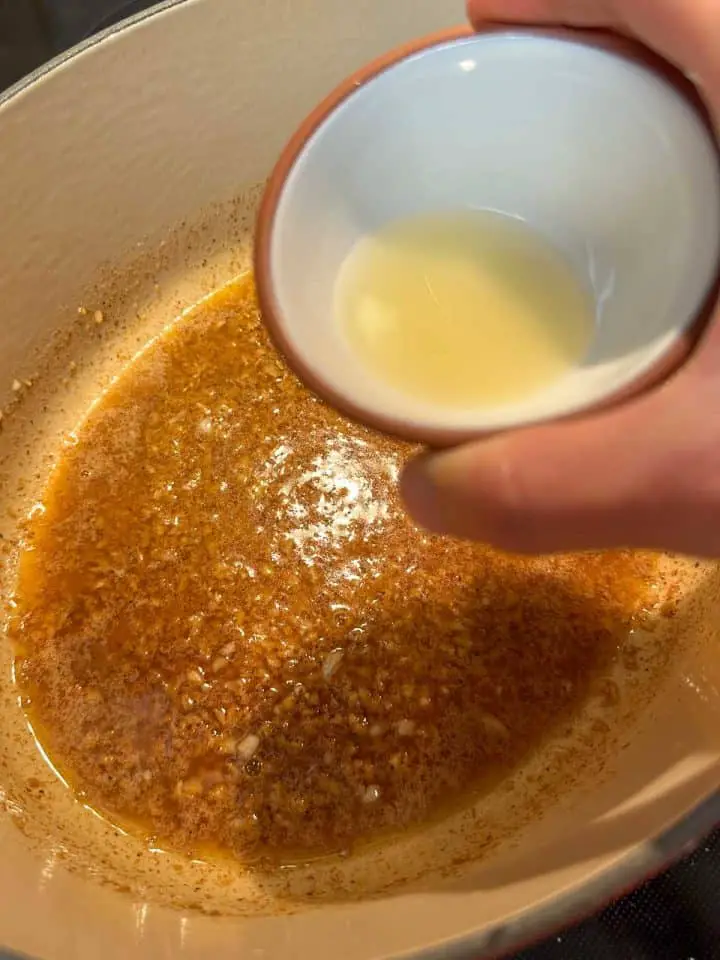
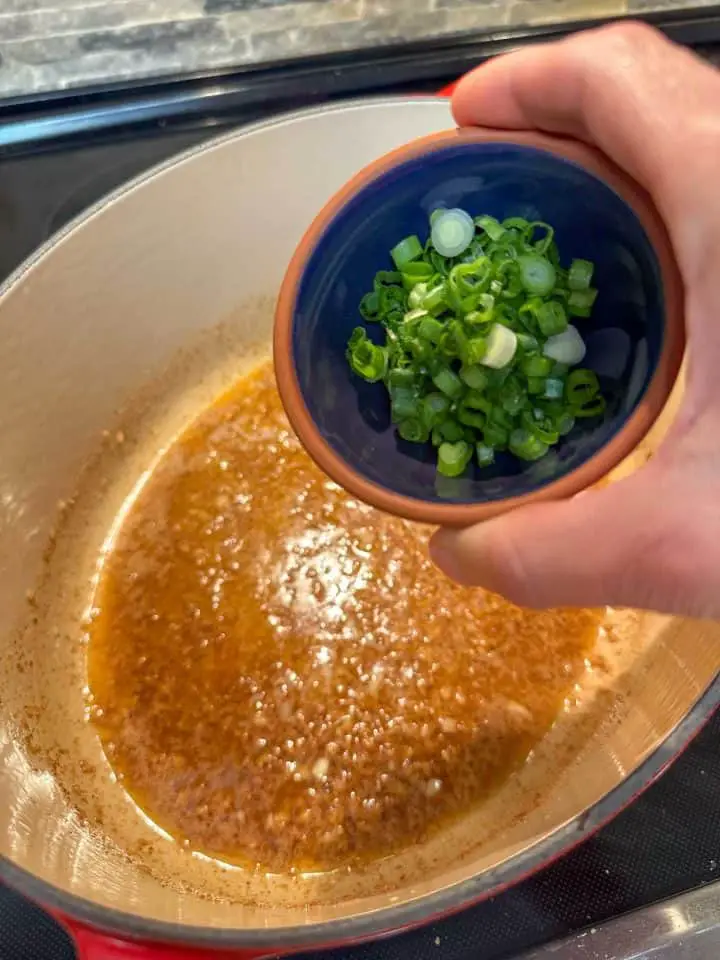
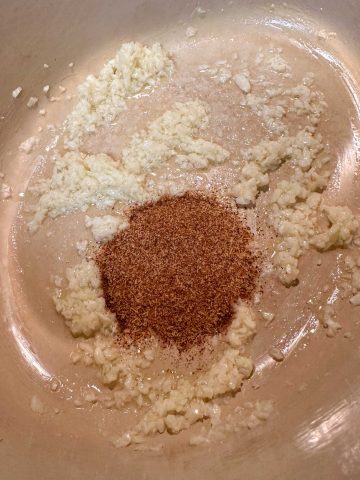
Combine soy sauce and the rest of the marinade ingredients in a small bowl. The marinade ingredients include everything except the garnishes and the beef ribs. Using a food processor helps make easy work of mincing the garlic, ginger, onion, and Asian pear and helps shorten your prep time.
Next, pour marinade over the ribs, and marinate in your fridge for a minimum 4 hrs or overnight. Using a large ziplock bag is perfect for this!

Get Ready To Air Fry!
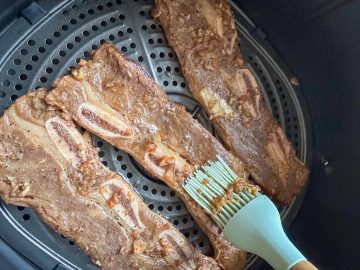
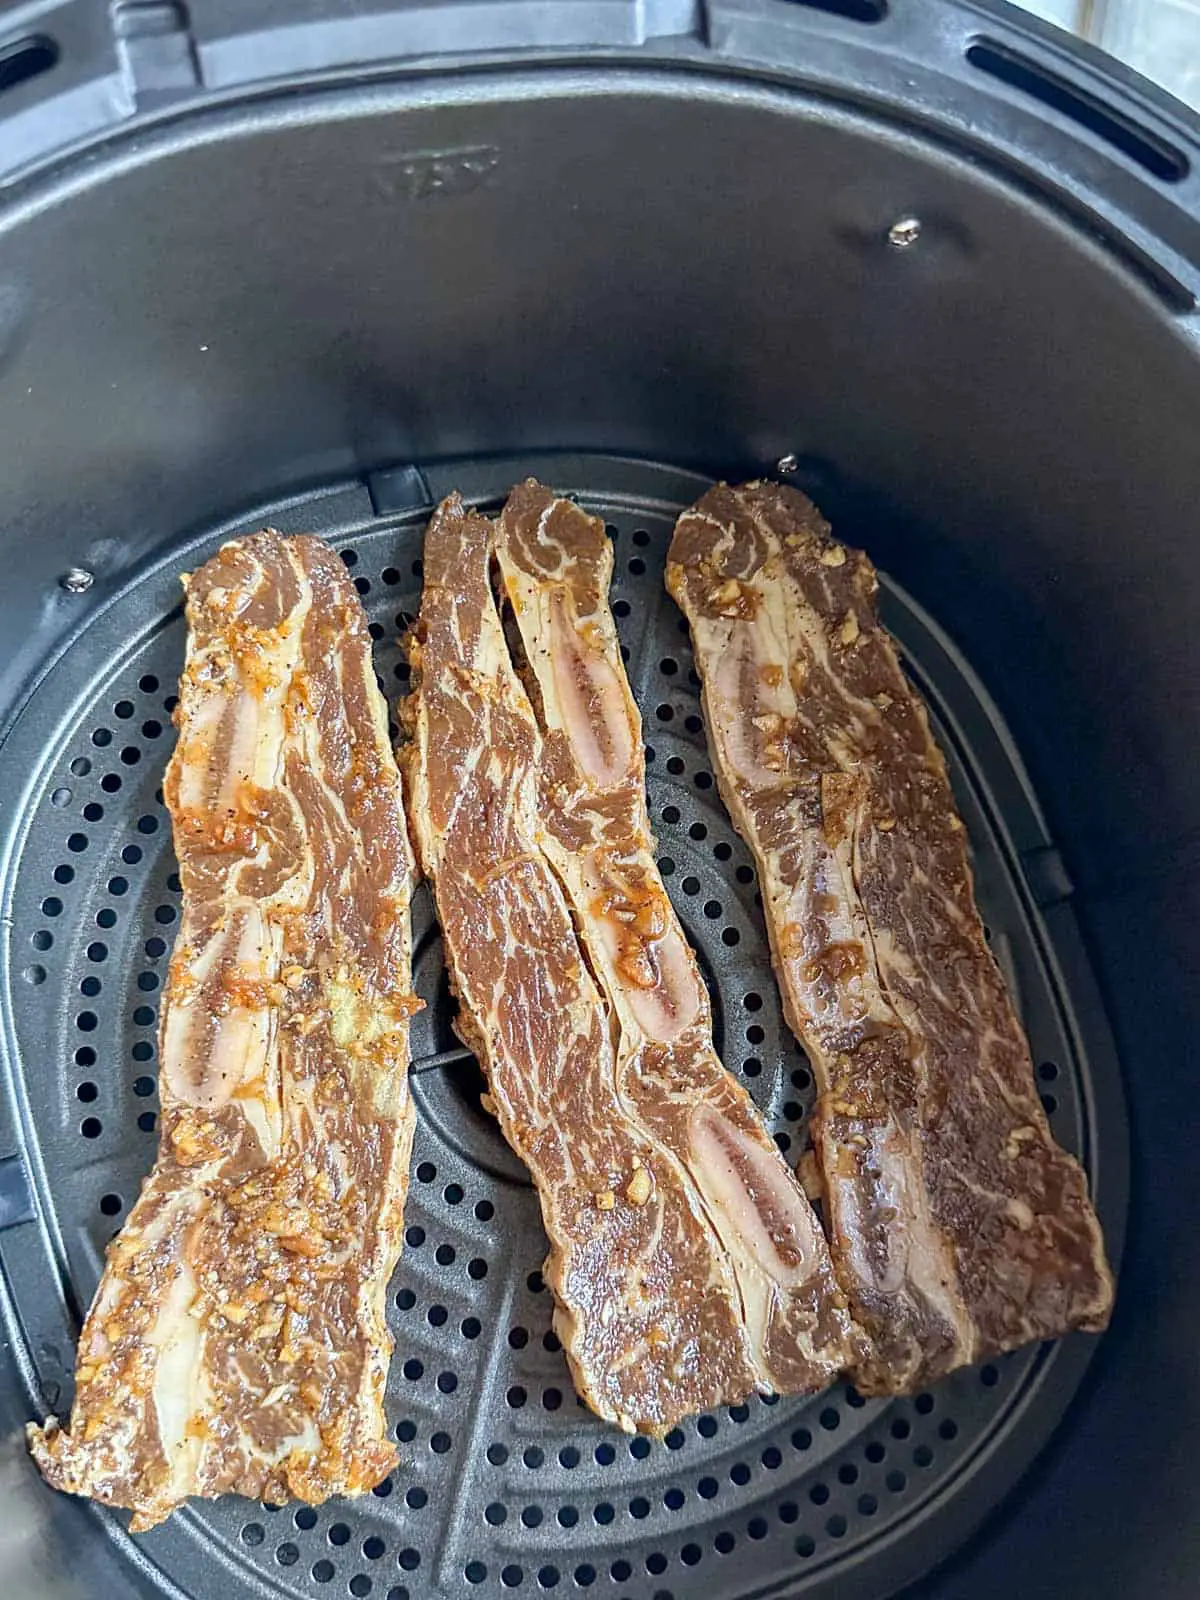
Take the ribs out of the fridge 30 minutes prior to cooking so that they can come to room temperature. Remove the ribs from the marinade, and keep 1 cup of the marinade on the side and discard the rest. Now place the ribs in your air fryer basket in a single layer without crowding each other (you may have to air fry your ribs in several batches).
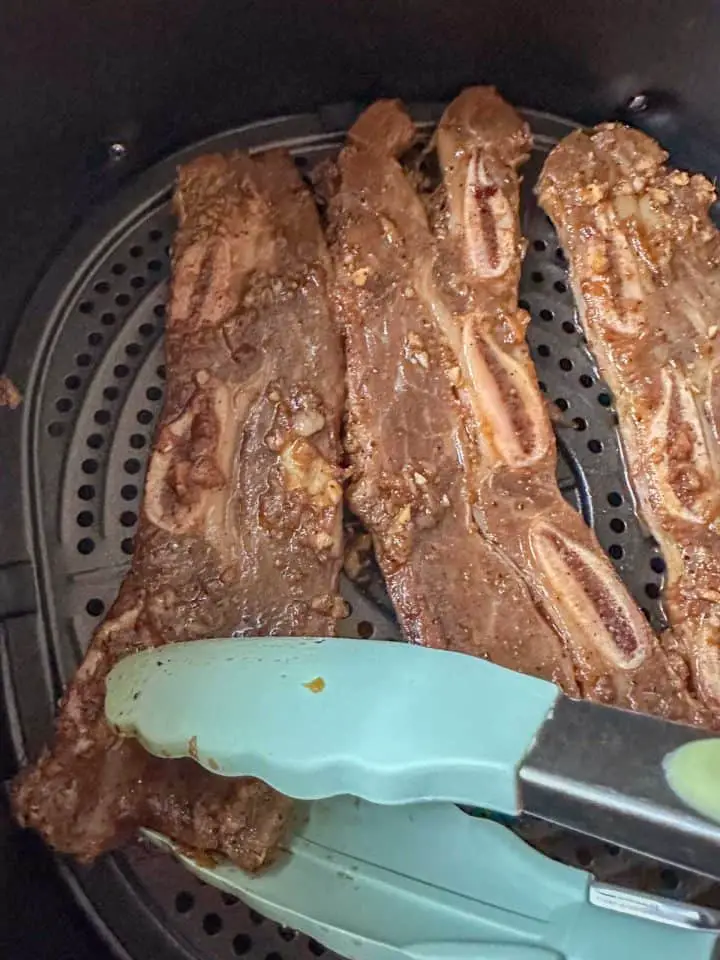
Air fry the ribs at 400F for 3-4 minutes. Open your air fryer basket, baste the ribs with some of the marinade, and turn the ribs over. Baste the other side of the ribs with the marinade, and then air fry for another 3-4 minutes at 400F. Total air frying time should be between 6-8 minutes or so.
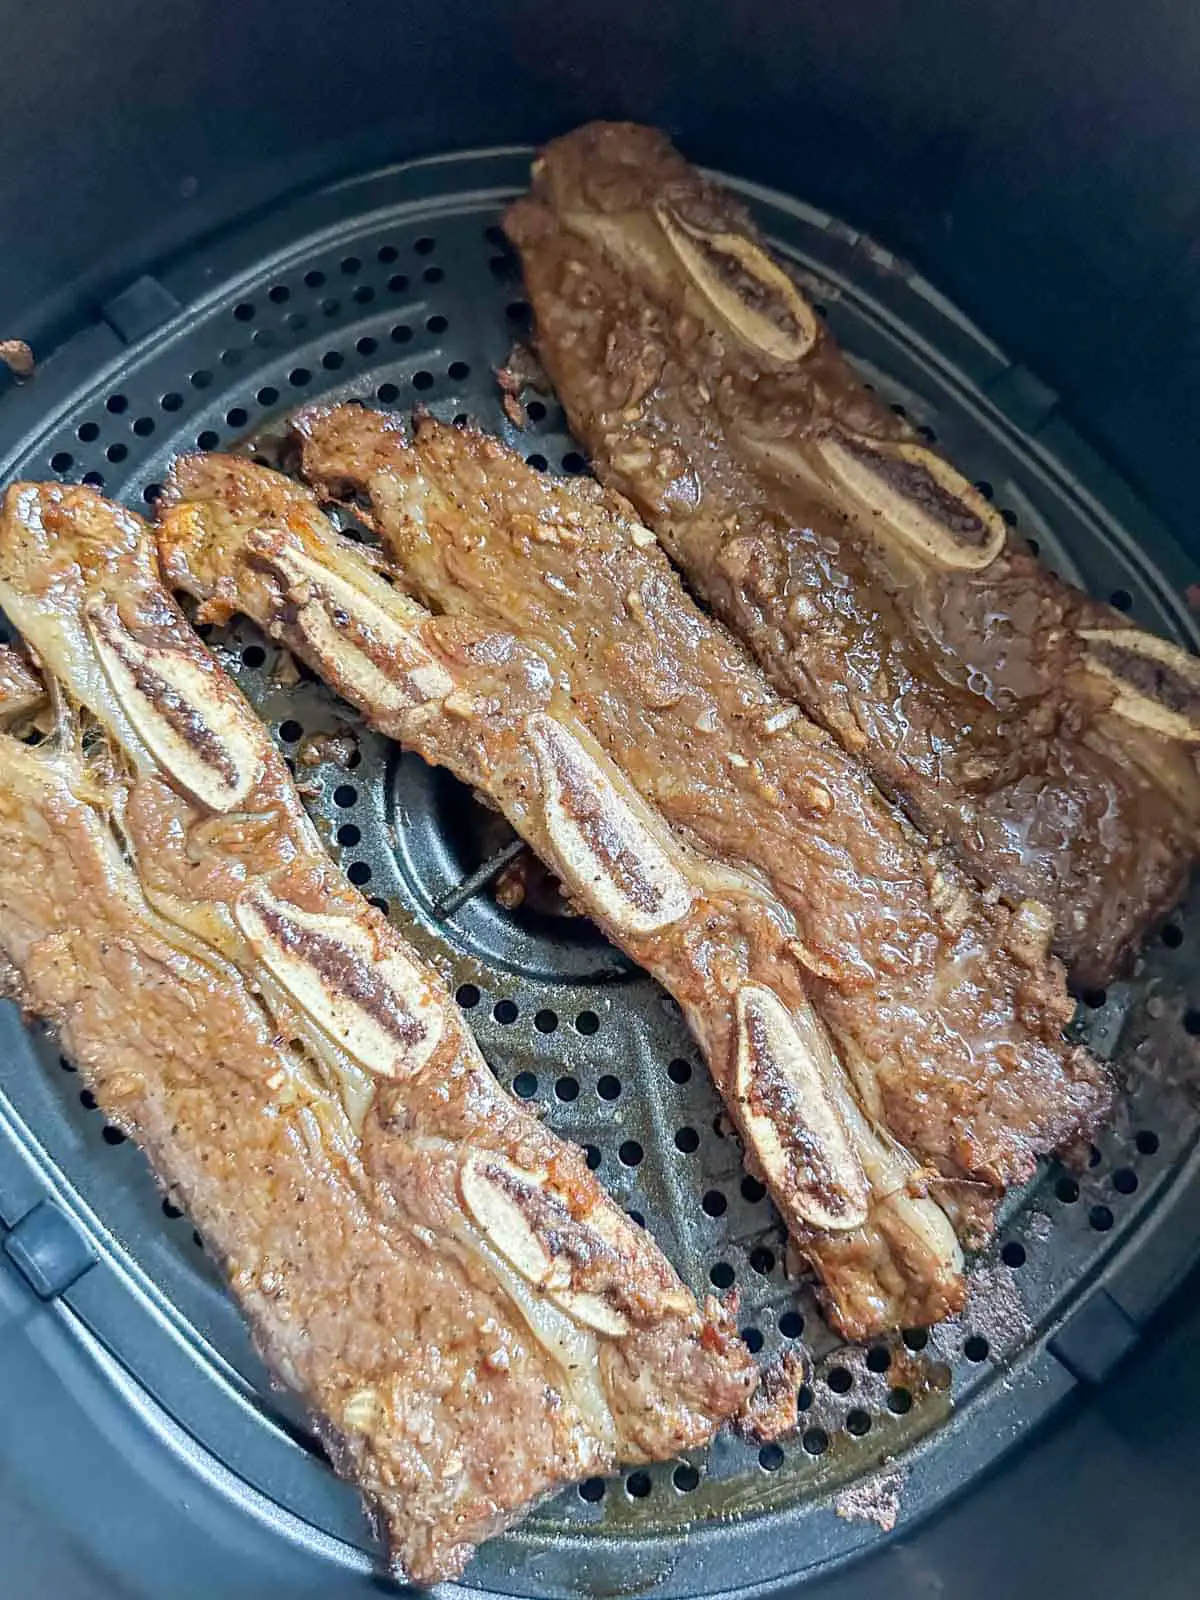
Air fry toward 8 minutes of cooking time if you like your meat well cooked, and a shorter time if you prefer your meat less cooked.
You'll want to cook your ribs to an internal temperature of somewhere between 135 degrees f - 145 degrees f. An instant read meat thermometer will help you determine the temperature quickly.

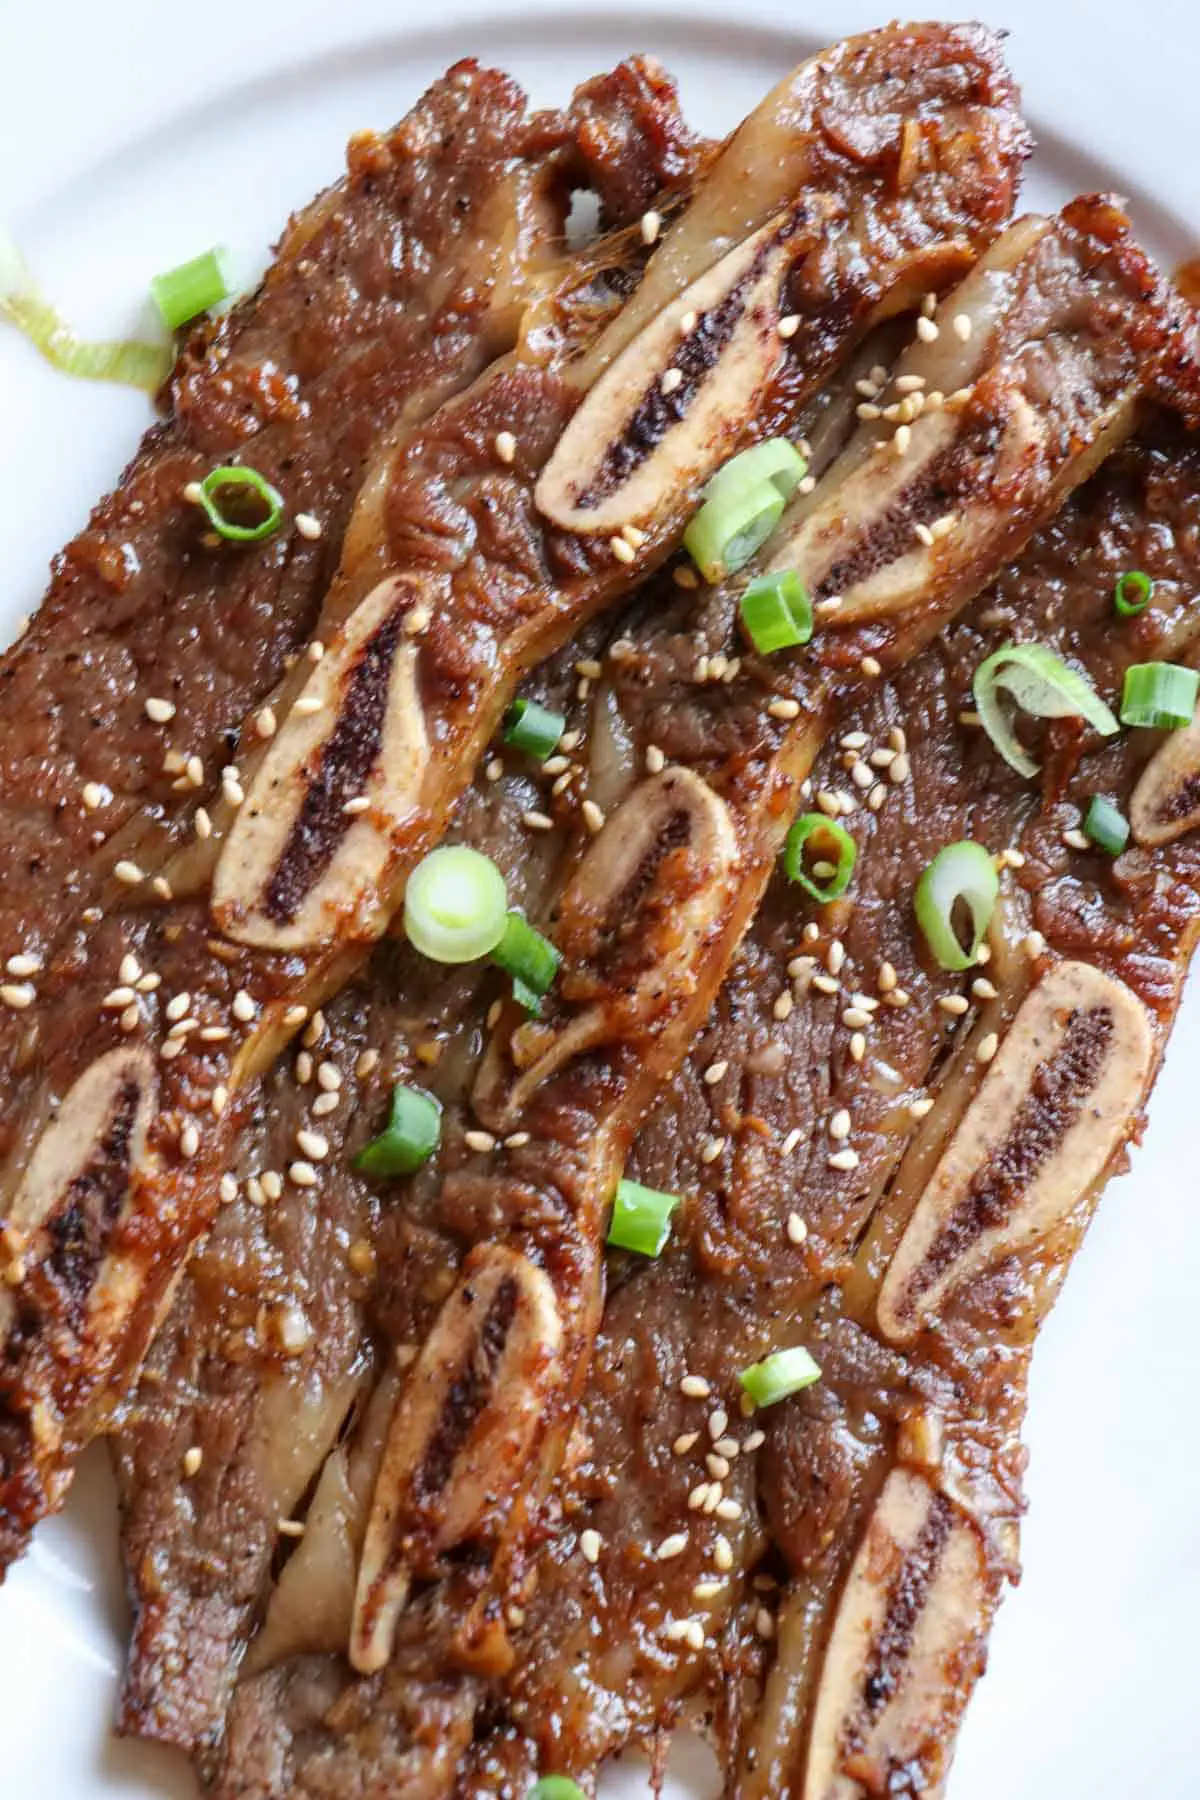
Your bone tender juicy galbi is now ready to enjoy!
Suggestions For Serving

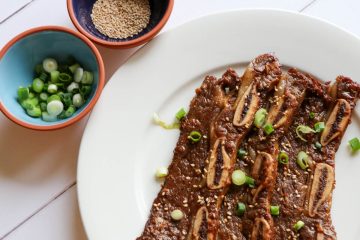
Ok it's time to enjoy your beautiful savory ribs! Garnish them with sesame seeds and green onions and serve with rice and some great Korean side dishes.
I hope you and your family will enjoy these air fryer short ribs time and time again!
You'll find the printable full recipe card below!
FAQ
Please use LA galbi, also known as flanken cut, which will help us cook this quickly even in the air fryer! Please don't use the english cut of short ribs for this recipe.
Typically it will take somewhere between 6-8 minutes to cook Korean short ribs in an air fryer. Air fry toward 8 minutes of cooking time if you like your meat well cooked, and a shorter time if you prefer your meat less cooked.
Some Other Great Recipes You May Enjoy!
Here are some other great recipes that you may enjoy:
- The 10 Best Side Dishes To Serve With Korean Short Ribs (Kalbi)!
- How To Cook Korean Short Ribs In The Oven
- Easy To Make Superb Spicy Chicken Bulgogi
- How To Make Korean Braised Spicy Chicken (Dak Doritang)
Join Me On A Fun Food Journey!
Finally, I invite you to come along on this food journey with me! Please sign up to get the latest recipes and inspiration for you to expand your food comfort zone! It's an incredible journey, please join me by signing up here.
Cheers!
Grace

Easy Air Fryer Korean Galbi Beef Short Ribs Recipe
Equipment
Ingredients
- 2 lbs LA galbi ribs
Marinade Ingredients
- 2 tablespoon brown sugar
- 1 cup soy sauce
- 1 cup Asian pear minced/grated (can sub apple or Bosc pear)
- ½ cup Shaoxing rice wine can sub rice vinegar
- 6 cloves garlic minced
- 2 inch ginger minced
- 2 tablespoon sesame oil
- 1 small onion minced
- 1 tablespoon honey
- ½ tablespoon black pepper
Garnishes
- ½ tablespoon sesame seeds
- 2 green onions sliced
Instructions
- Start by wiping off any blood that may be visible on the ribs. Also check for any possible bone fragments which may be present, and discard those. Set aside.
- Combine soy sauce and the rest of the marinade ingredients in a small bowl. The marinade ingredients include everything except the garnishes and the beef ribs. Using a food processor helps make easy work of mincing the garlic, ginger, onion, and Asian pear and helps shorten your prep time.

- Next, pour marinade over the ribs, and marinate in your fridge for a minimum 4 hrs or overnight. Using a ziploc bag is perfect for this!
- Take the ribs out of the fridge 30 minutes prior to cooking so that they can come to room temperature. Remove the ribs from the marinade, and keep 1 cup of the marinade on the side and discard the rest. Now place the ribs in your air fryer basket in a single layer without crowding each other (you may have to air fry your ribs in several batches).
- Air fry the ribs at 400F for 3-4 minutes. Open your air fryer basket, baste the ribs with some of the marinade, and turn the ribs over. Baste the other side of the ribs with the marinade, and then air fry for another 3-4 minutes at 400F. Total air frying time should be between 6-8 minutes or so.

- Place them on a plate and garnish with sesame seeds and green onions. Your ribs are now ready to enjoy!