This page may contain affiliate links. So, I receive a small commission at no cost to you when you make a purchase using my link. This post is about an Easy 3 Ingredient Miso Sauce With Butter Recipe!
You can do so much more with miso paste than just make miso soup. For starters, use it to create this delicious sauce with loads of umami flavor.
Read on for how to make this 3 Ingredient Miso Sauce With Butter Recipe. I promise you'll love how easy it is to make this versatile sauce which will delight your taste buds!
[feast_advanced_jump_to]What is Miso?
Miso is a fermented soybean paste used extensively in Japanese cuisine. It is made by fermenting soybeans with an ingredient called koji (a fungus called Aspergillus oryzae), and salt (source Wikipedia.org/wiki/miso).
There are different types of miso. Most commonly there is light miso and dark miso.
Light miso is also known as white miso, or shiro miso. We typically know dark miso as red miso, or aka miso (source FoodNetwork.com).
Miso Flavors
Each type of miso has a brilliant umami and salty flavor. However, bear in mind that the color of miso will indicate much about the flavor profile of the miso. Generally the dark (or red) miso has a much more bold and intense savory flavor than does the light miso. Shiro miso (white miso) is less salty and has a more sweet and light flavor, with a shorter fermentation process time than dark miso (source Wikipedia.org/wiki/miso).
Miso Health Benefits
Miso has a number of health benefits, which makes enjoying this delicious fermented paste all the better!
Healthline.com has an article called "Why Miso Is Incredibly Healthy" It mentions that amongst other benefits miso:
- Is nutrient rich
- Improves your digestion, so is good for your gut health
- May protect against certain types of cancers
- Might help to strengthen your immune system
So along with the delicious taste of miso, we may also benefit our health. That's all the more reason to eat more miso, starting with relishing this Japanese fermented soybean paste as part of this miso sauce recipe!
Why You Will Love This Homemade Miso Sauce Recipe!
You are going to love this Miso Sauce With Butter Recipe because:
- You only need 3 ingredients
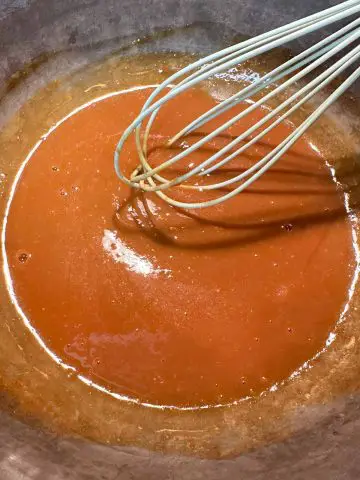
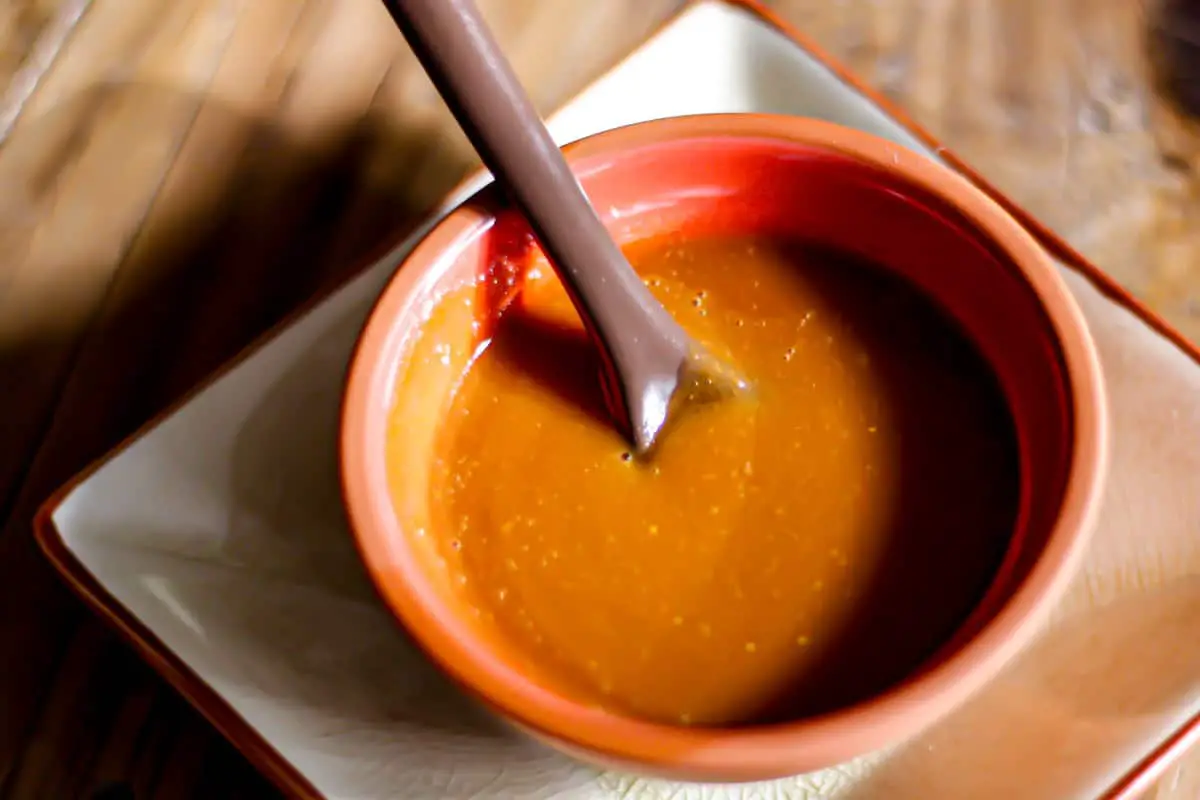
- It's super easy to make this great sauce! Simply combine in a saucepan and whisk until nice and smooth
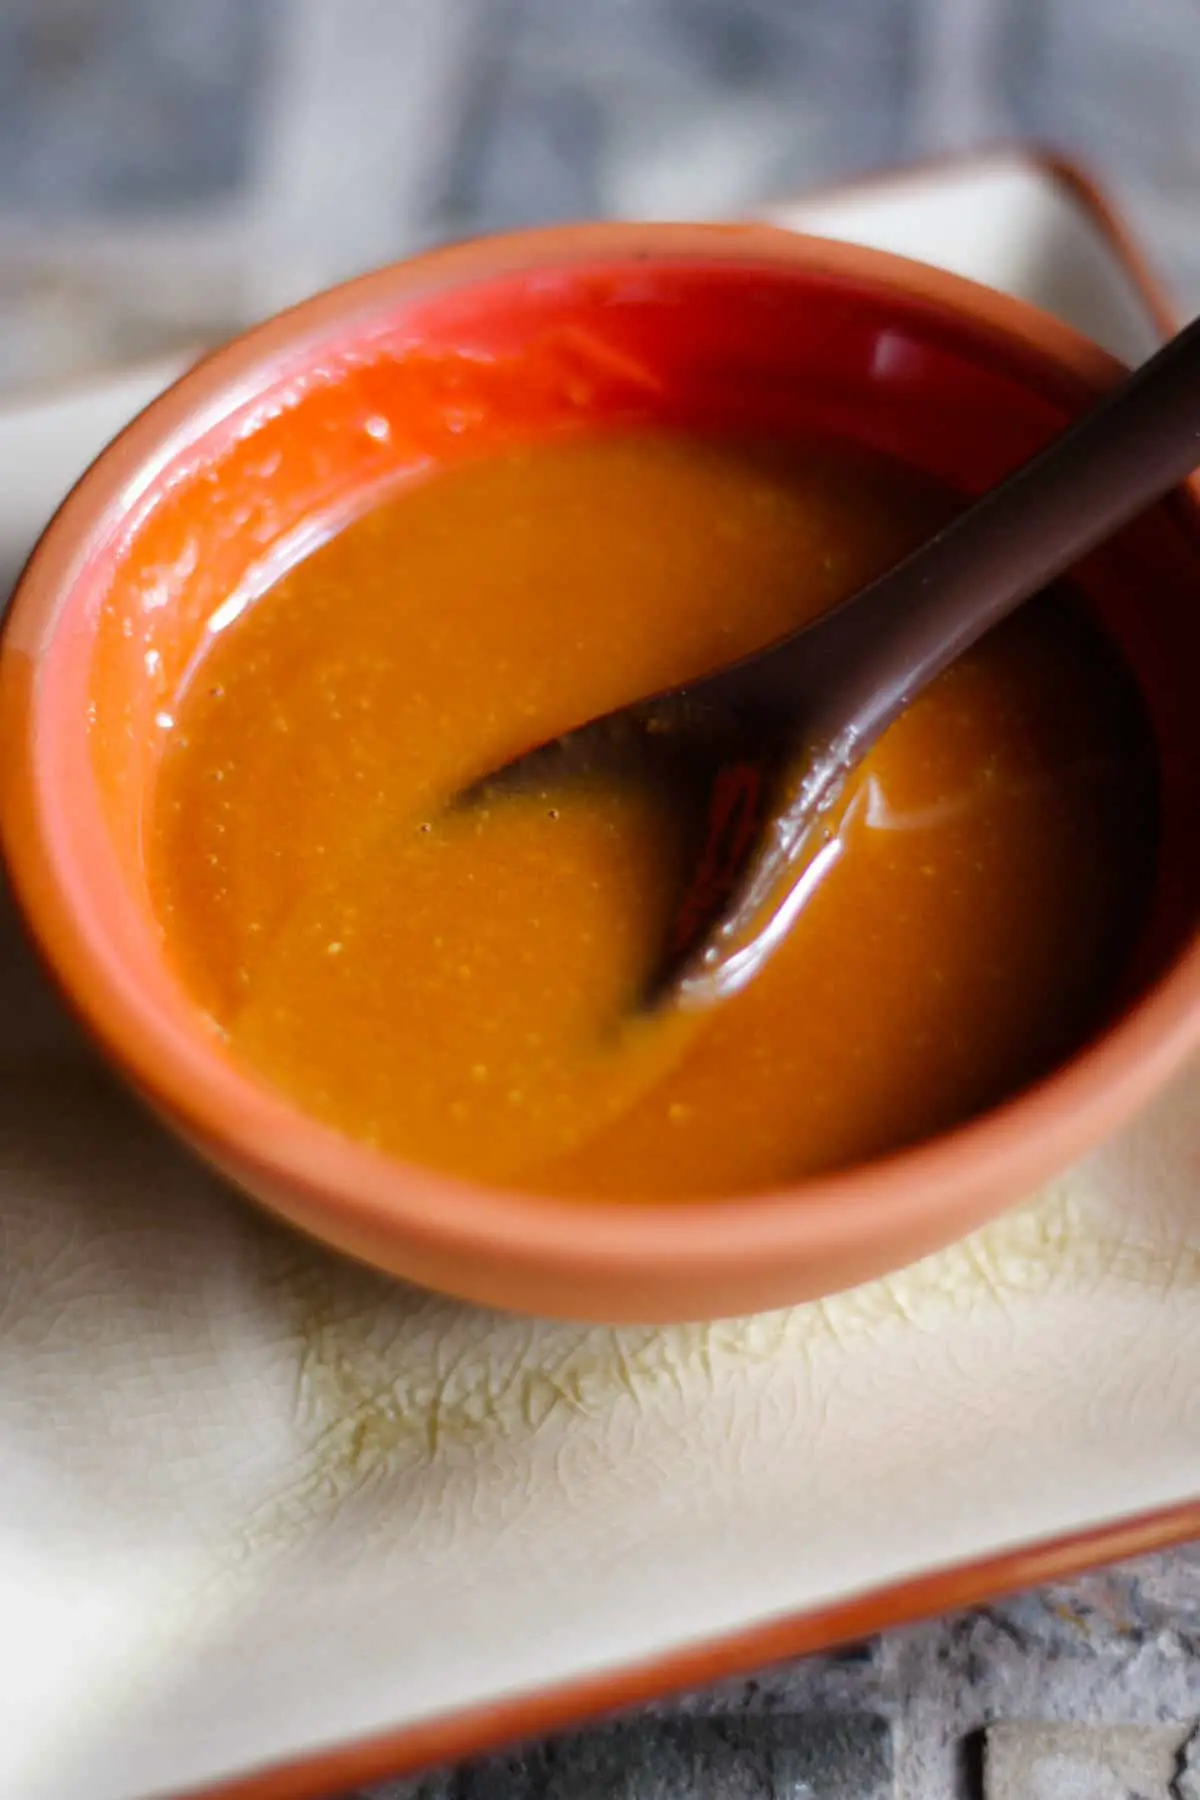
- This smooth delicious sauce with bold and salty flavors is so versatile, akin to an all purpose miso sauce. It's also got the rich taste and feel of butter!
Why not give it a try? First let me show you what you will need!
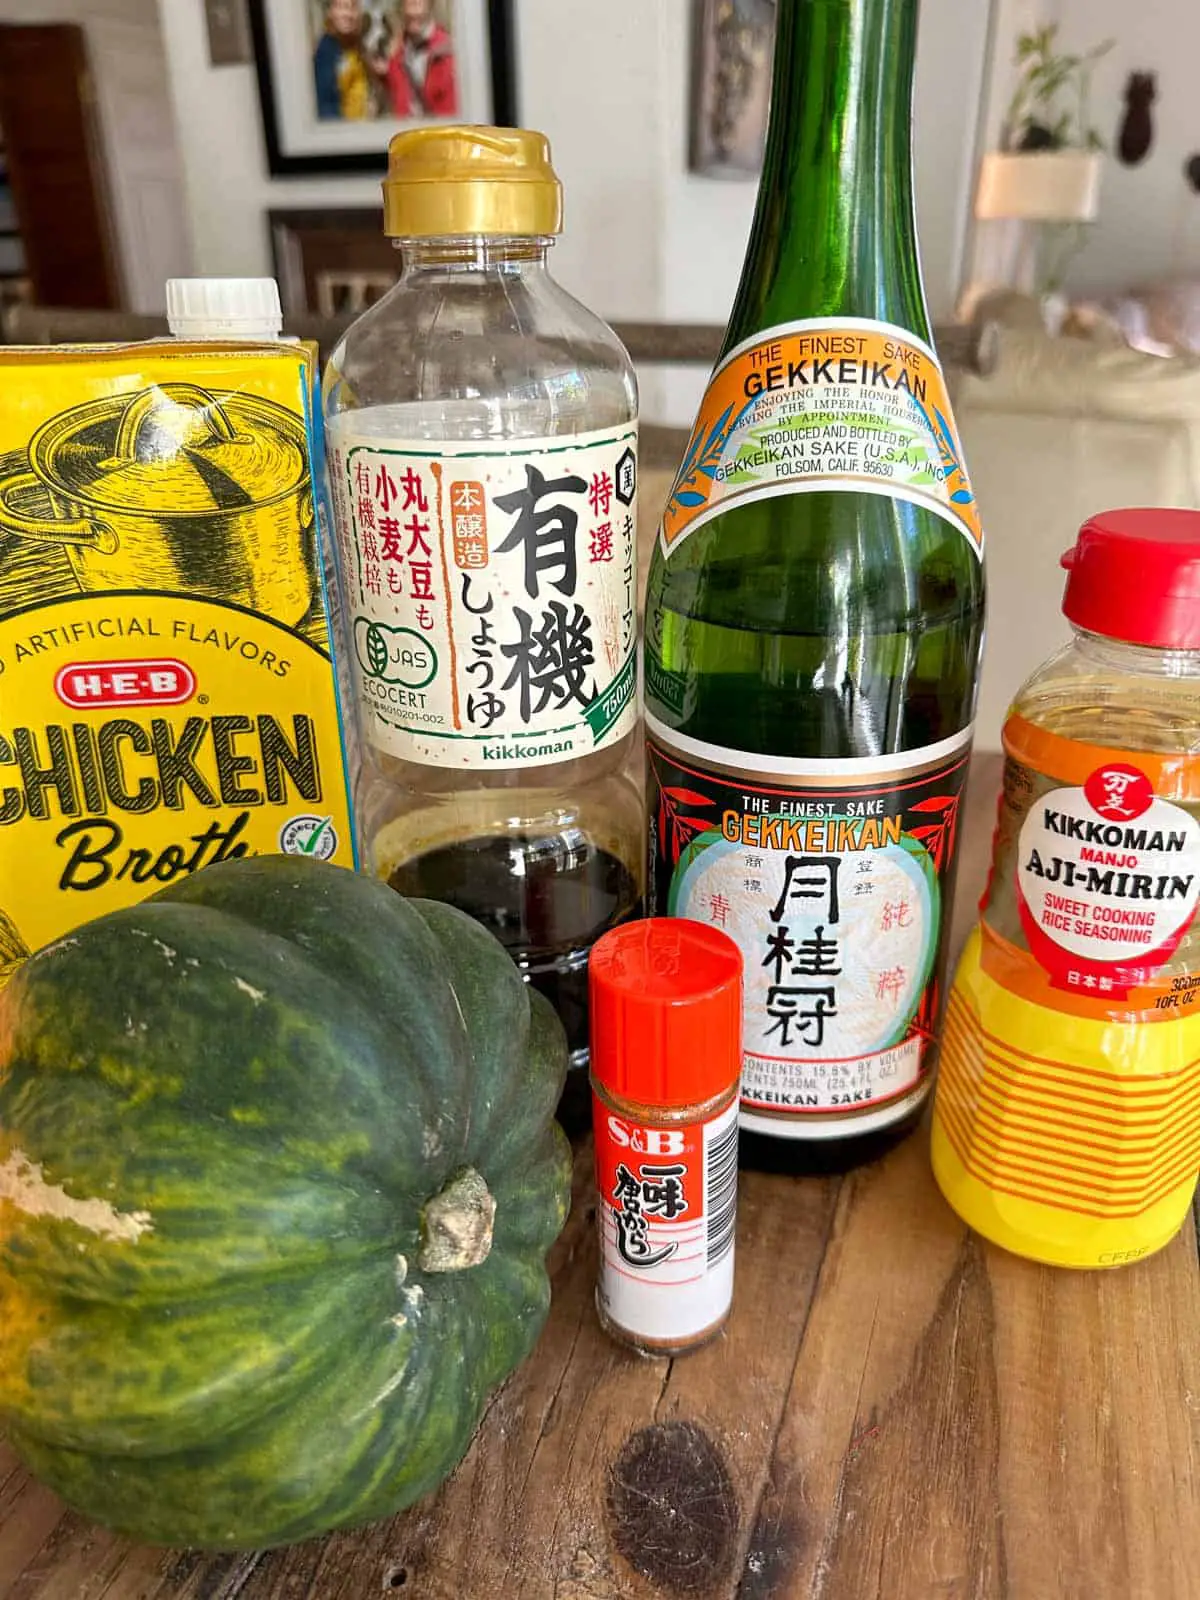
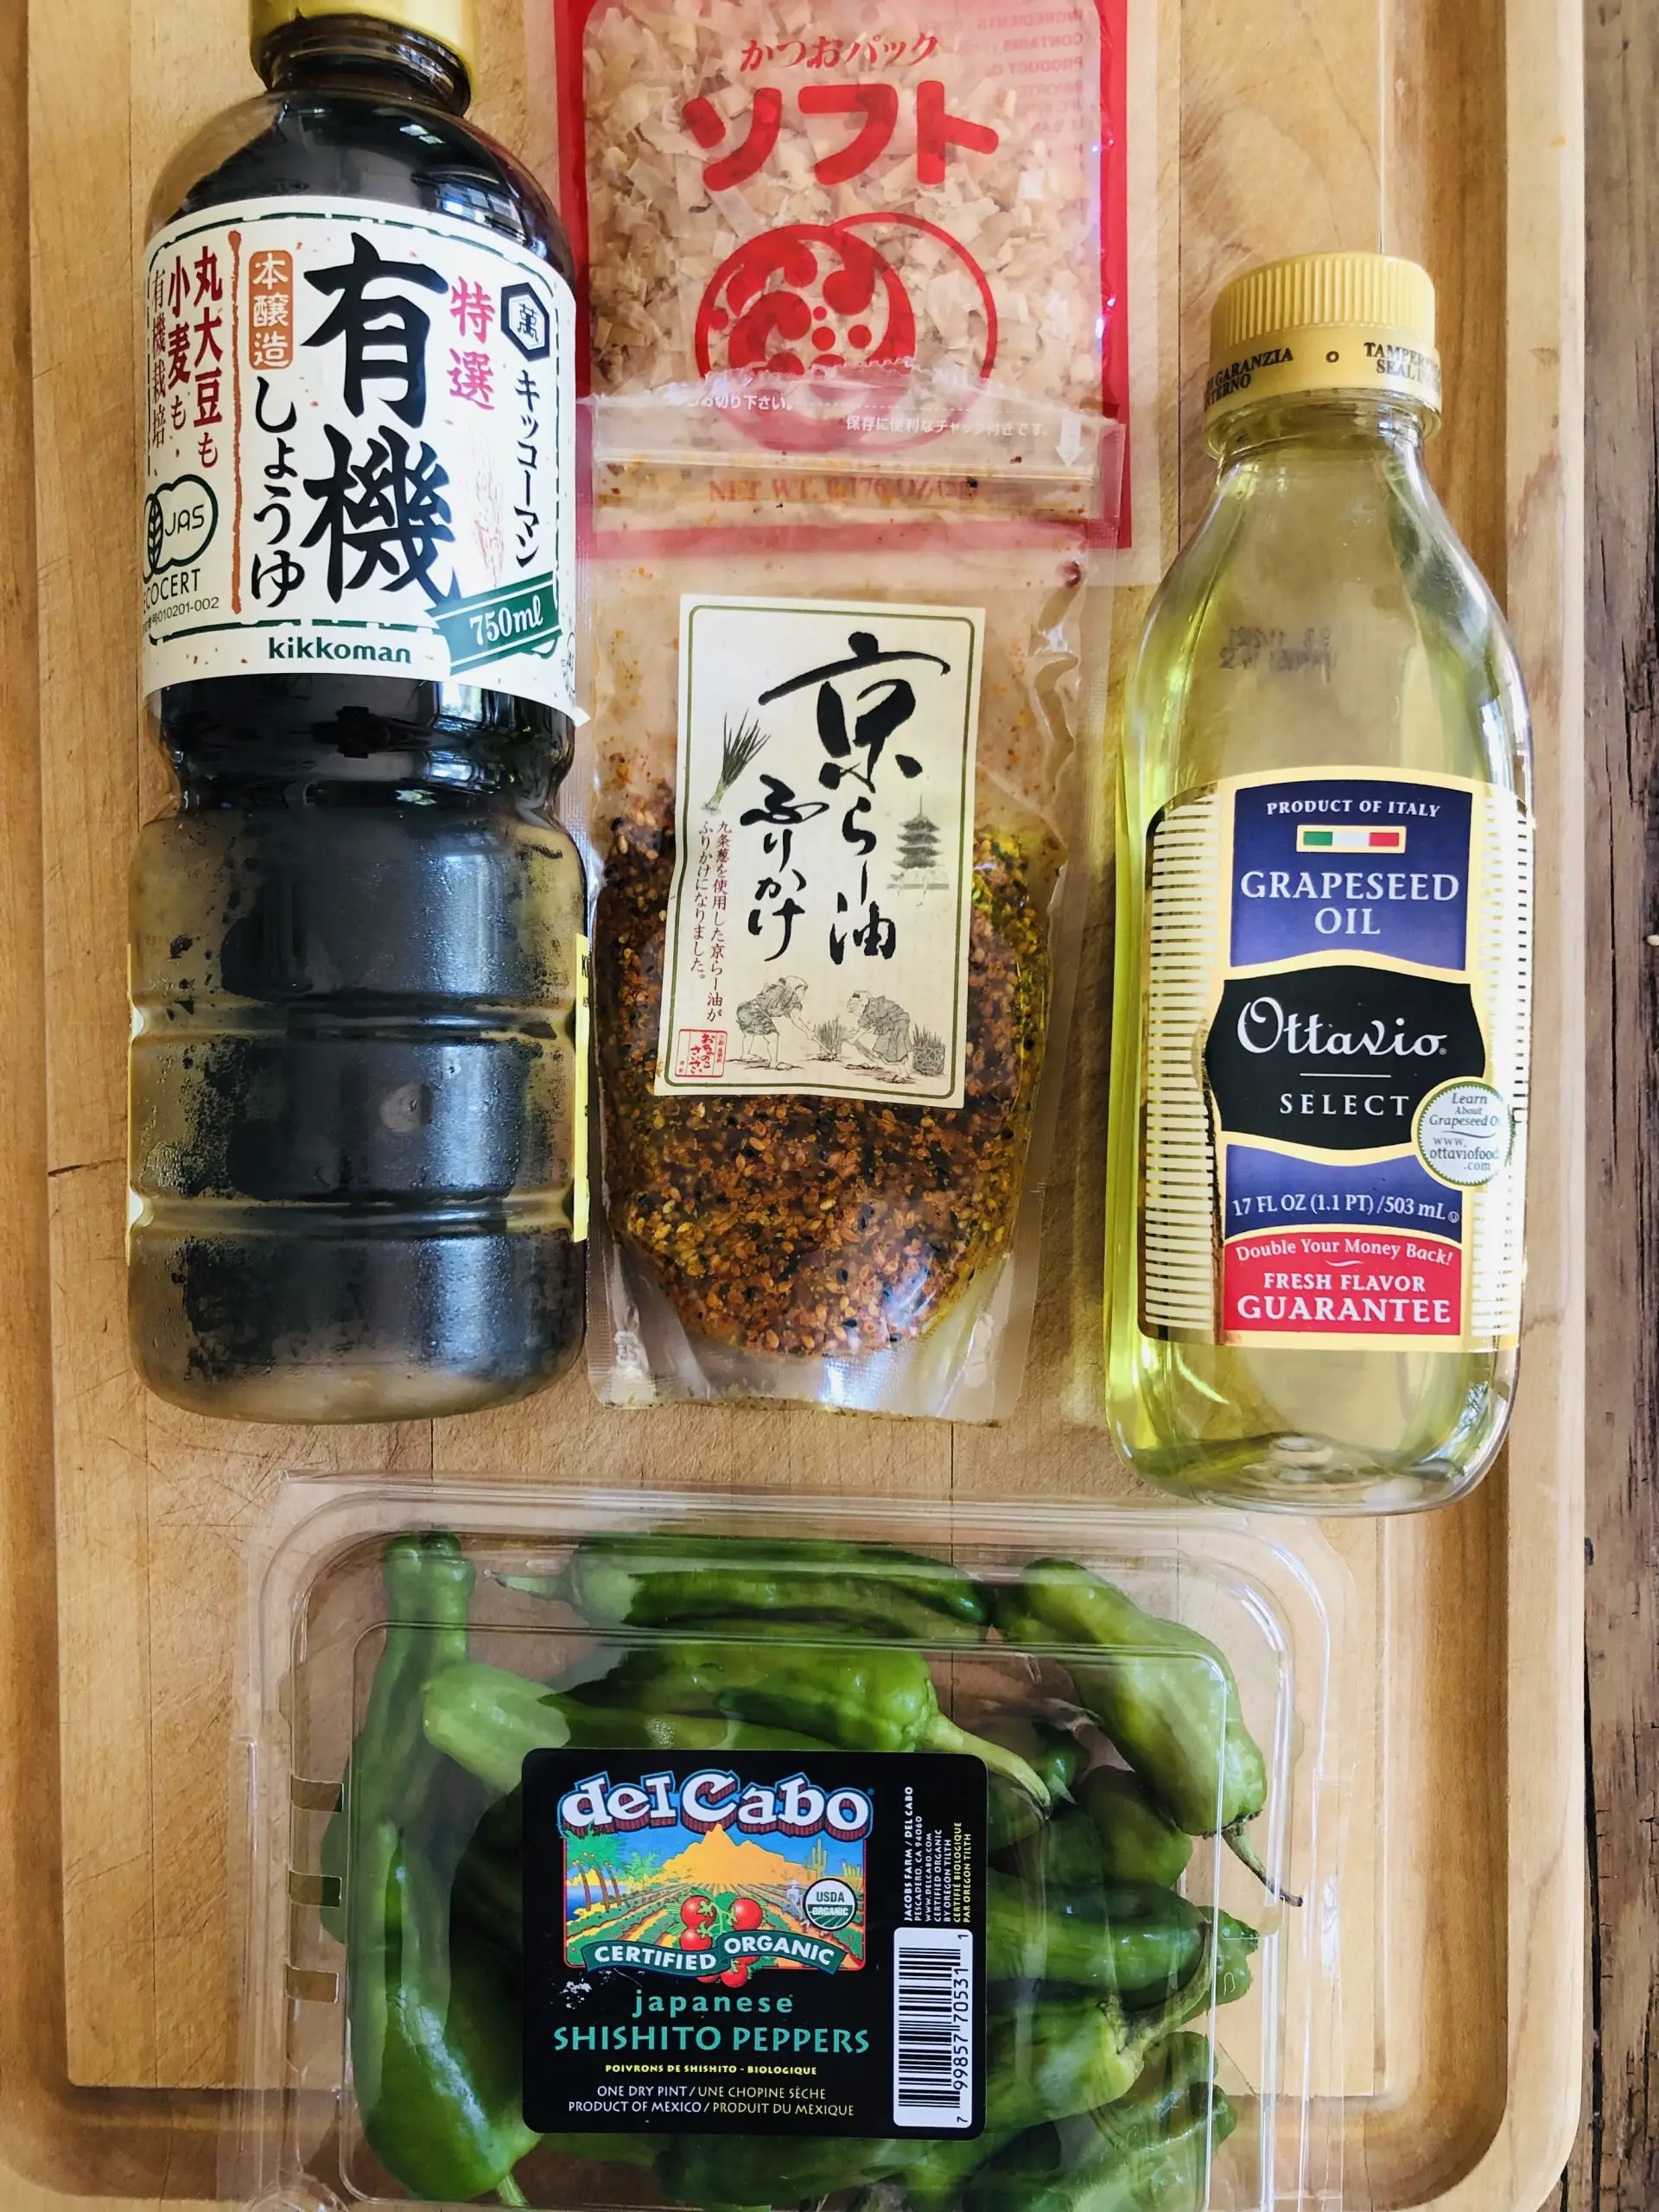
🥘 Ingredients
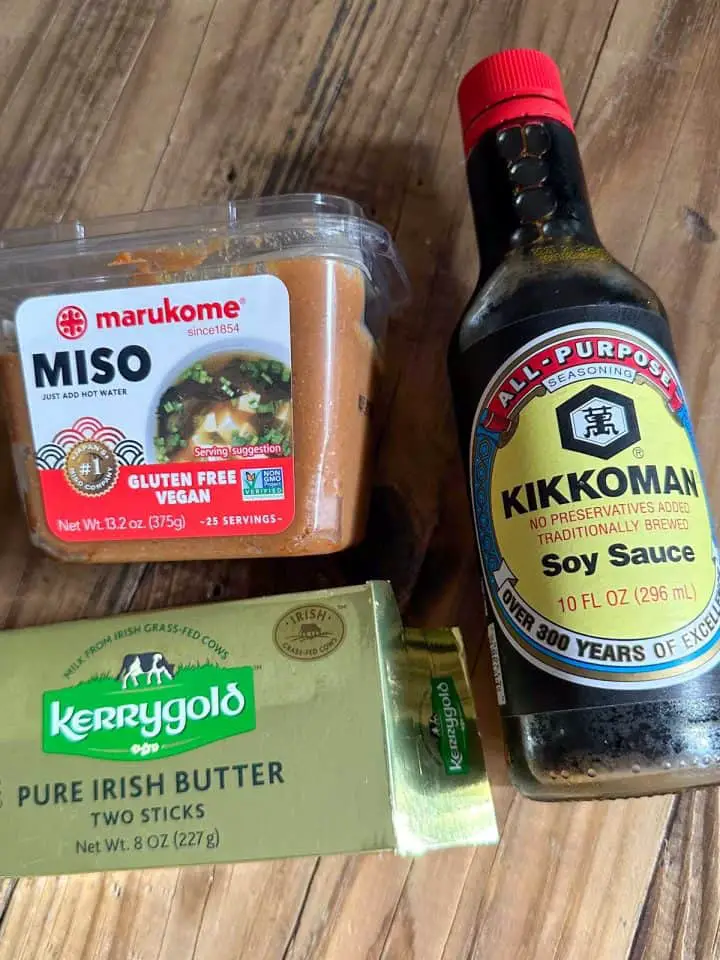
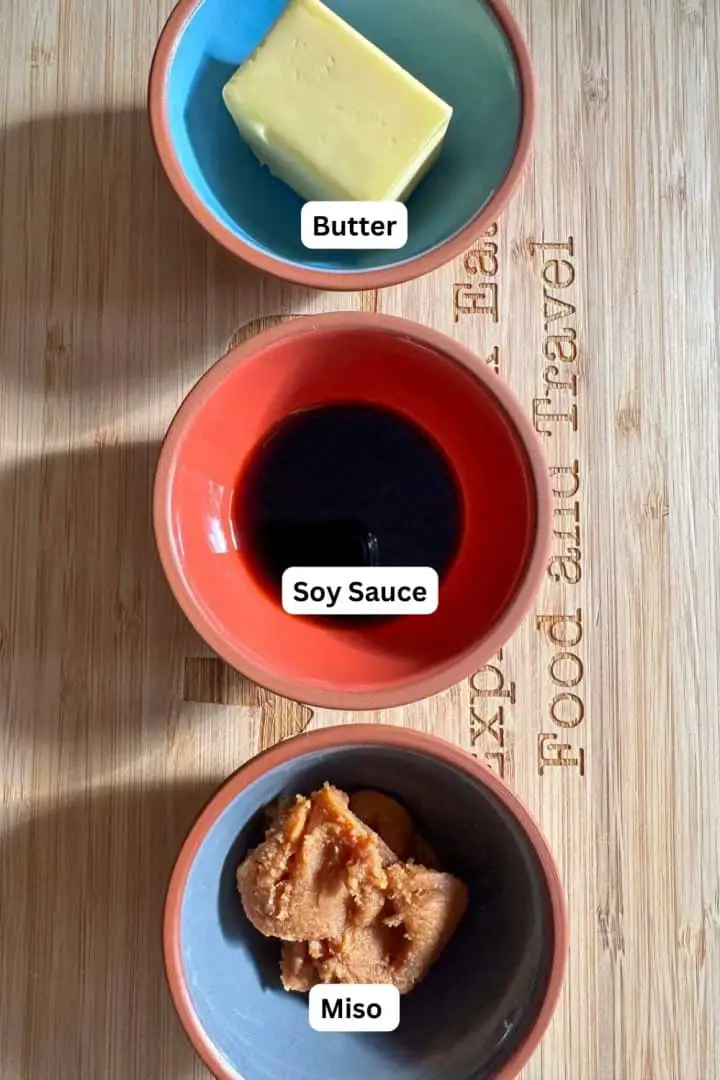
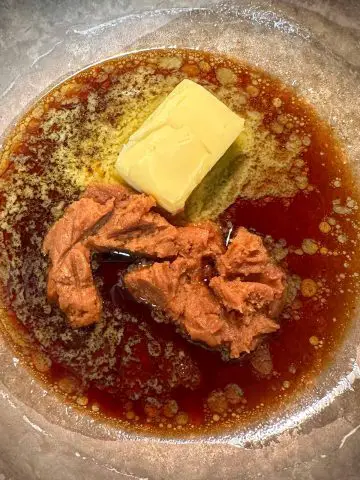
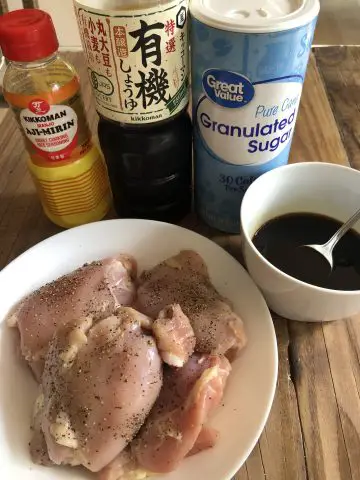
Here are the 3 simple ingredients that you will need to make this delicious homemade sauce:
- Miso paste - I used red miso, but feel free to experiment with white miso paste (shiro miso) if you prefer
- Butter - butter from grass-fed cows is highly recommended; I used salted butter, but you can use unsalted if you are watching your salt
- Soy sauce - I always recommend Kikkoman, which I think is the BEST soy sauce! If you are watching your salt, consider Kikkoman Lite Soy Sauce
You should be able to find these ingredients at most grocery stores. Look for miso paste and soy sauce in the international foods aisle.
I have also provided affiliate links to Amazon if you'd like to order from there (no extra cost to you).
🔪 Instructions
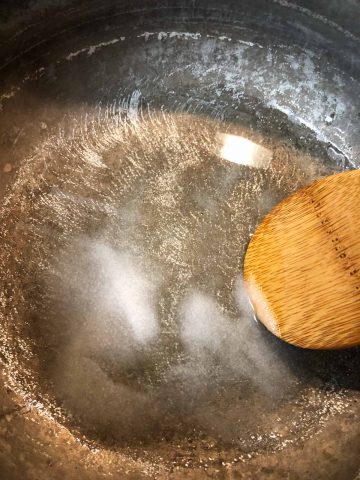
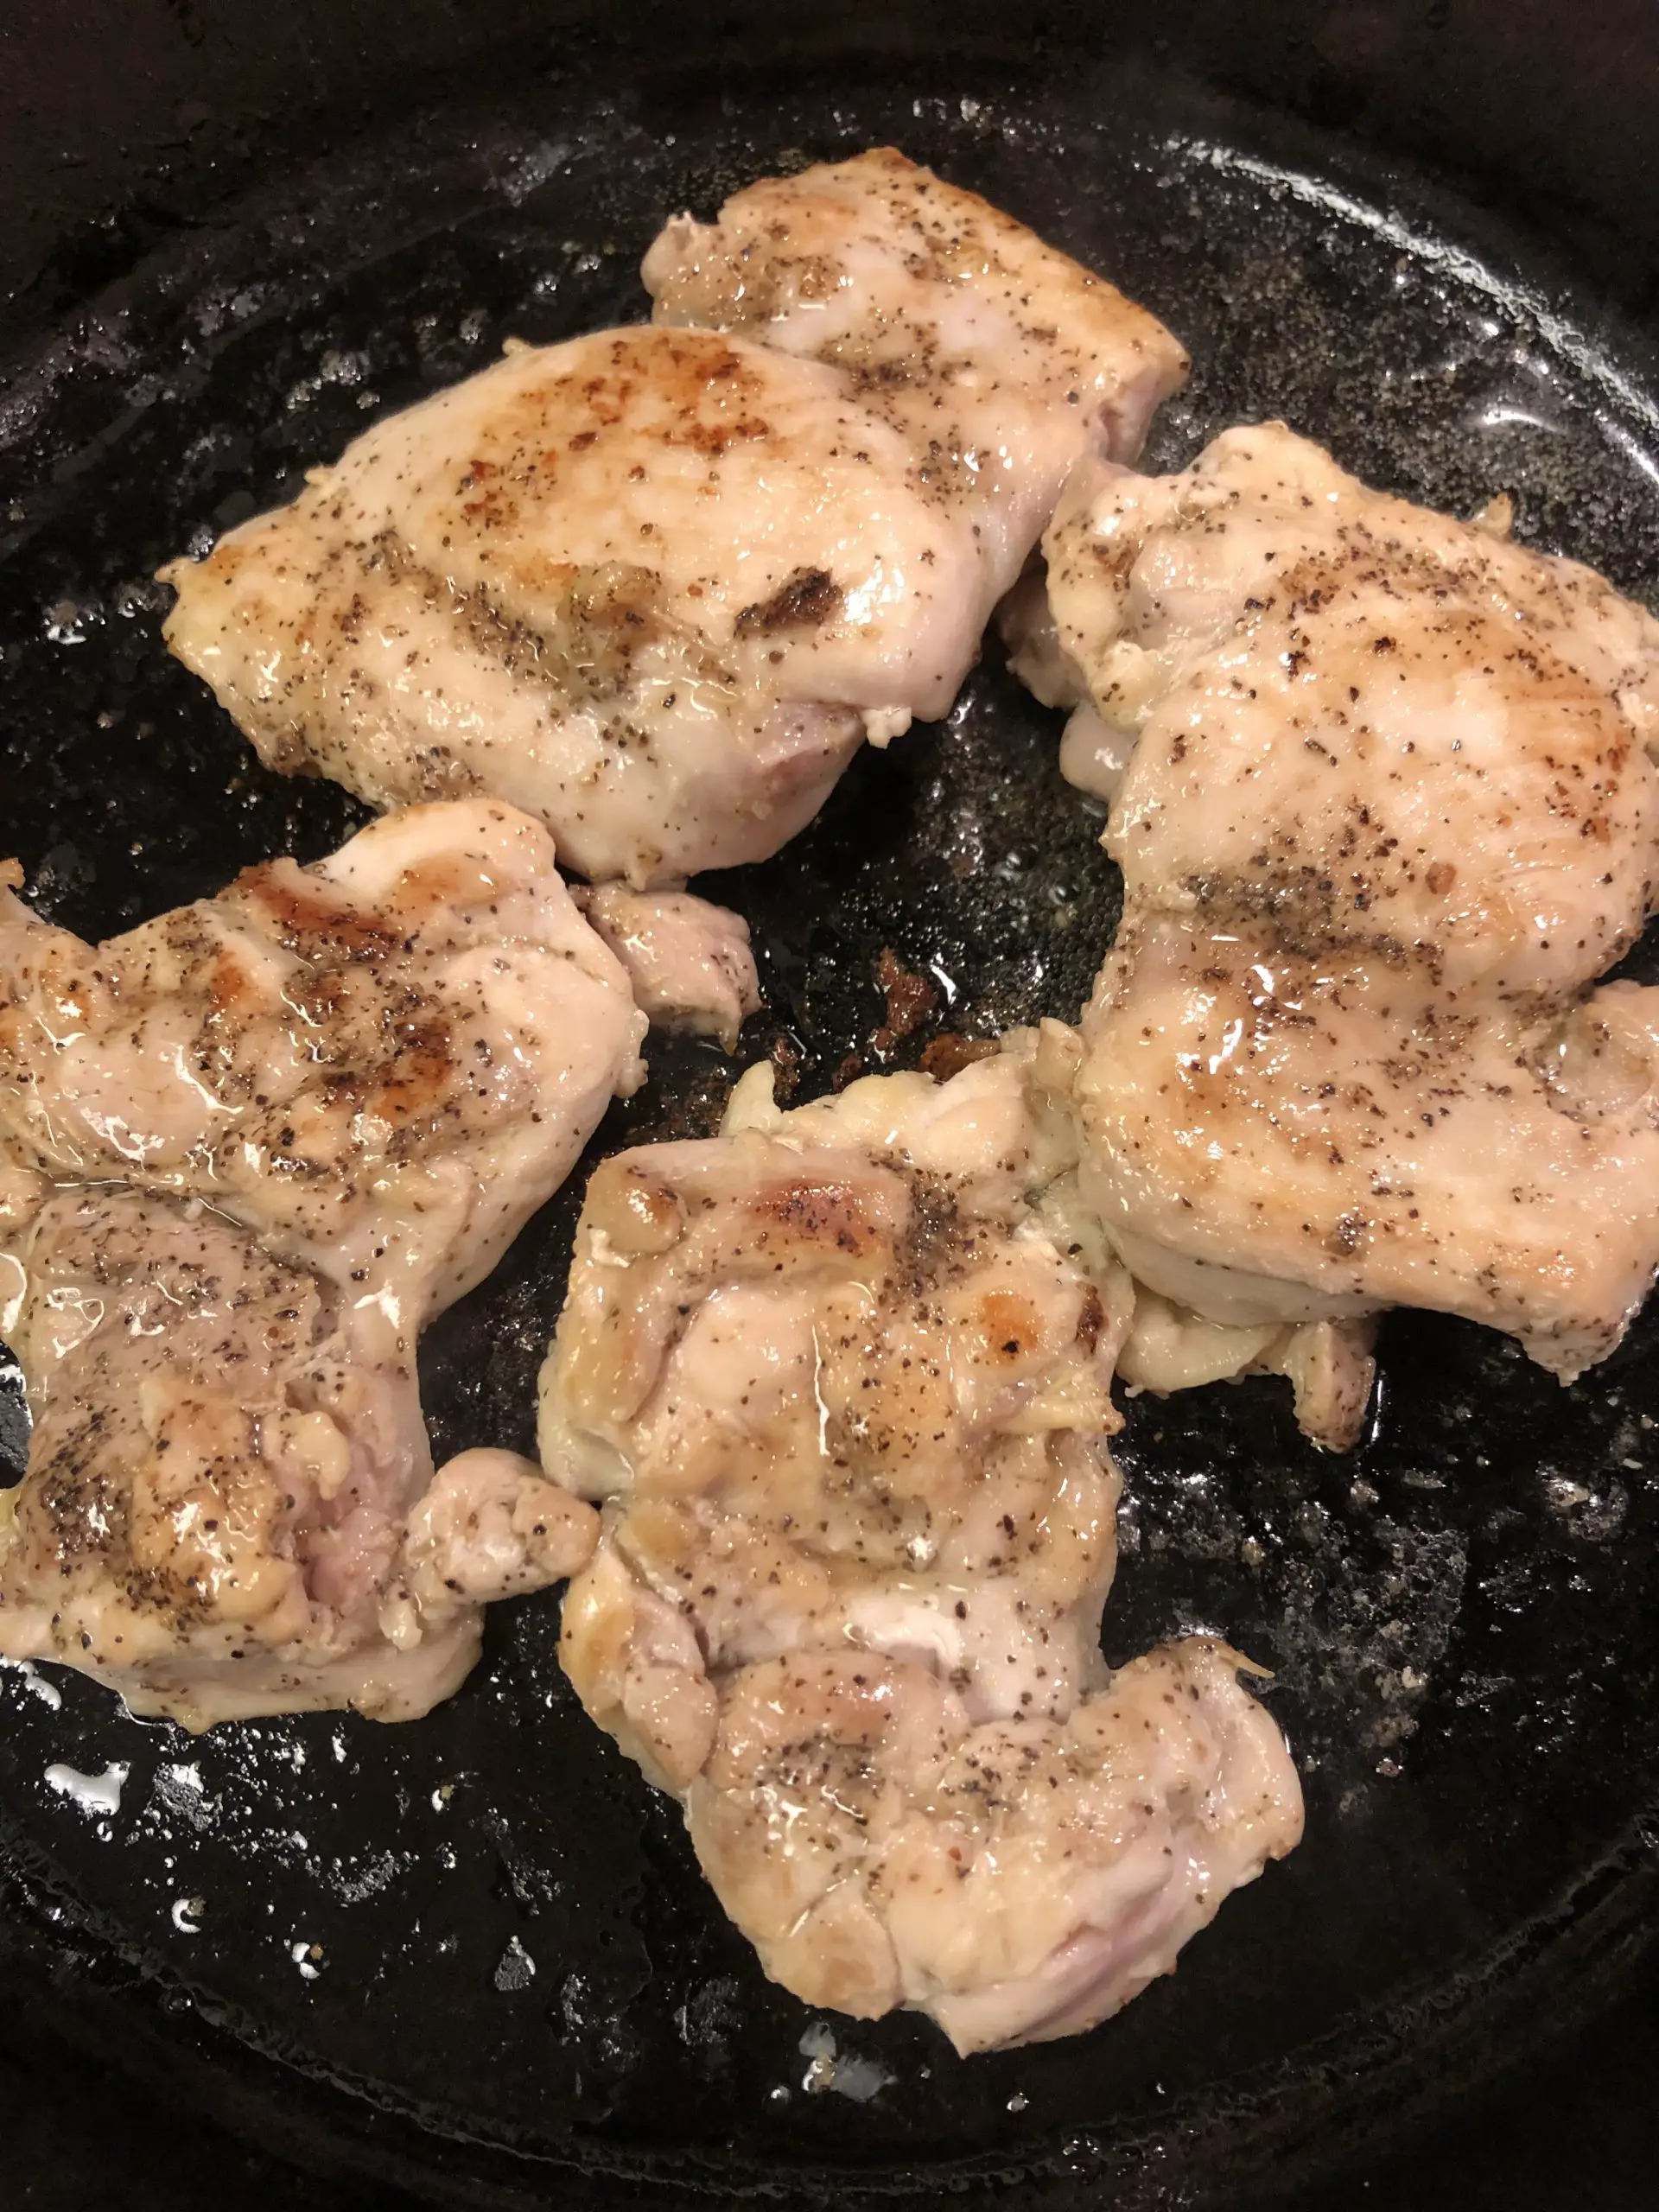
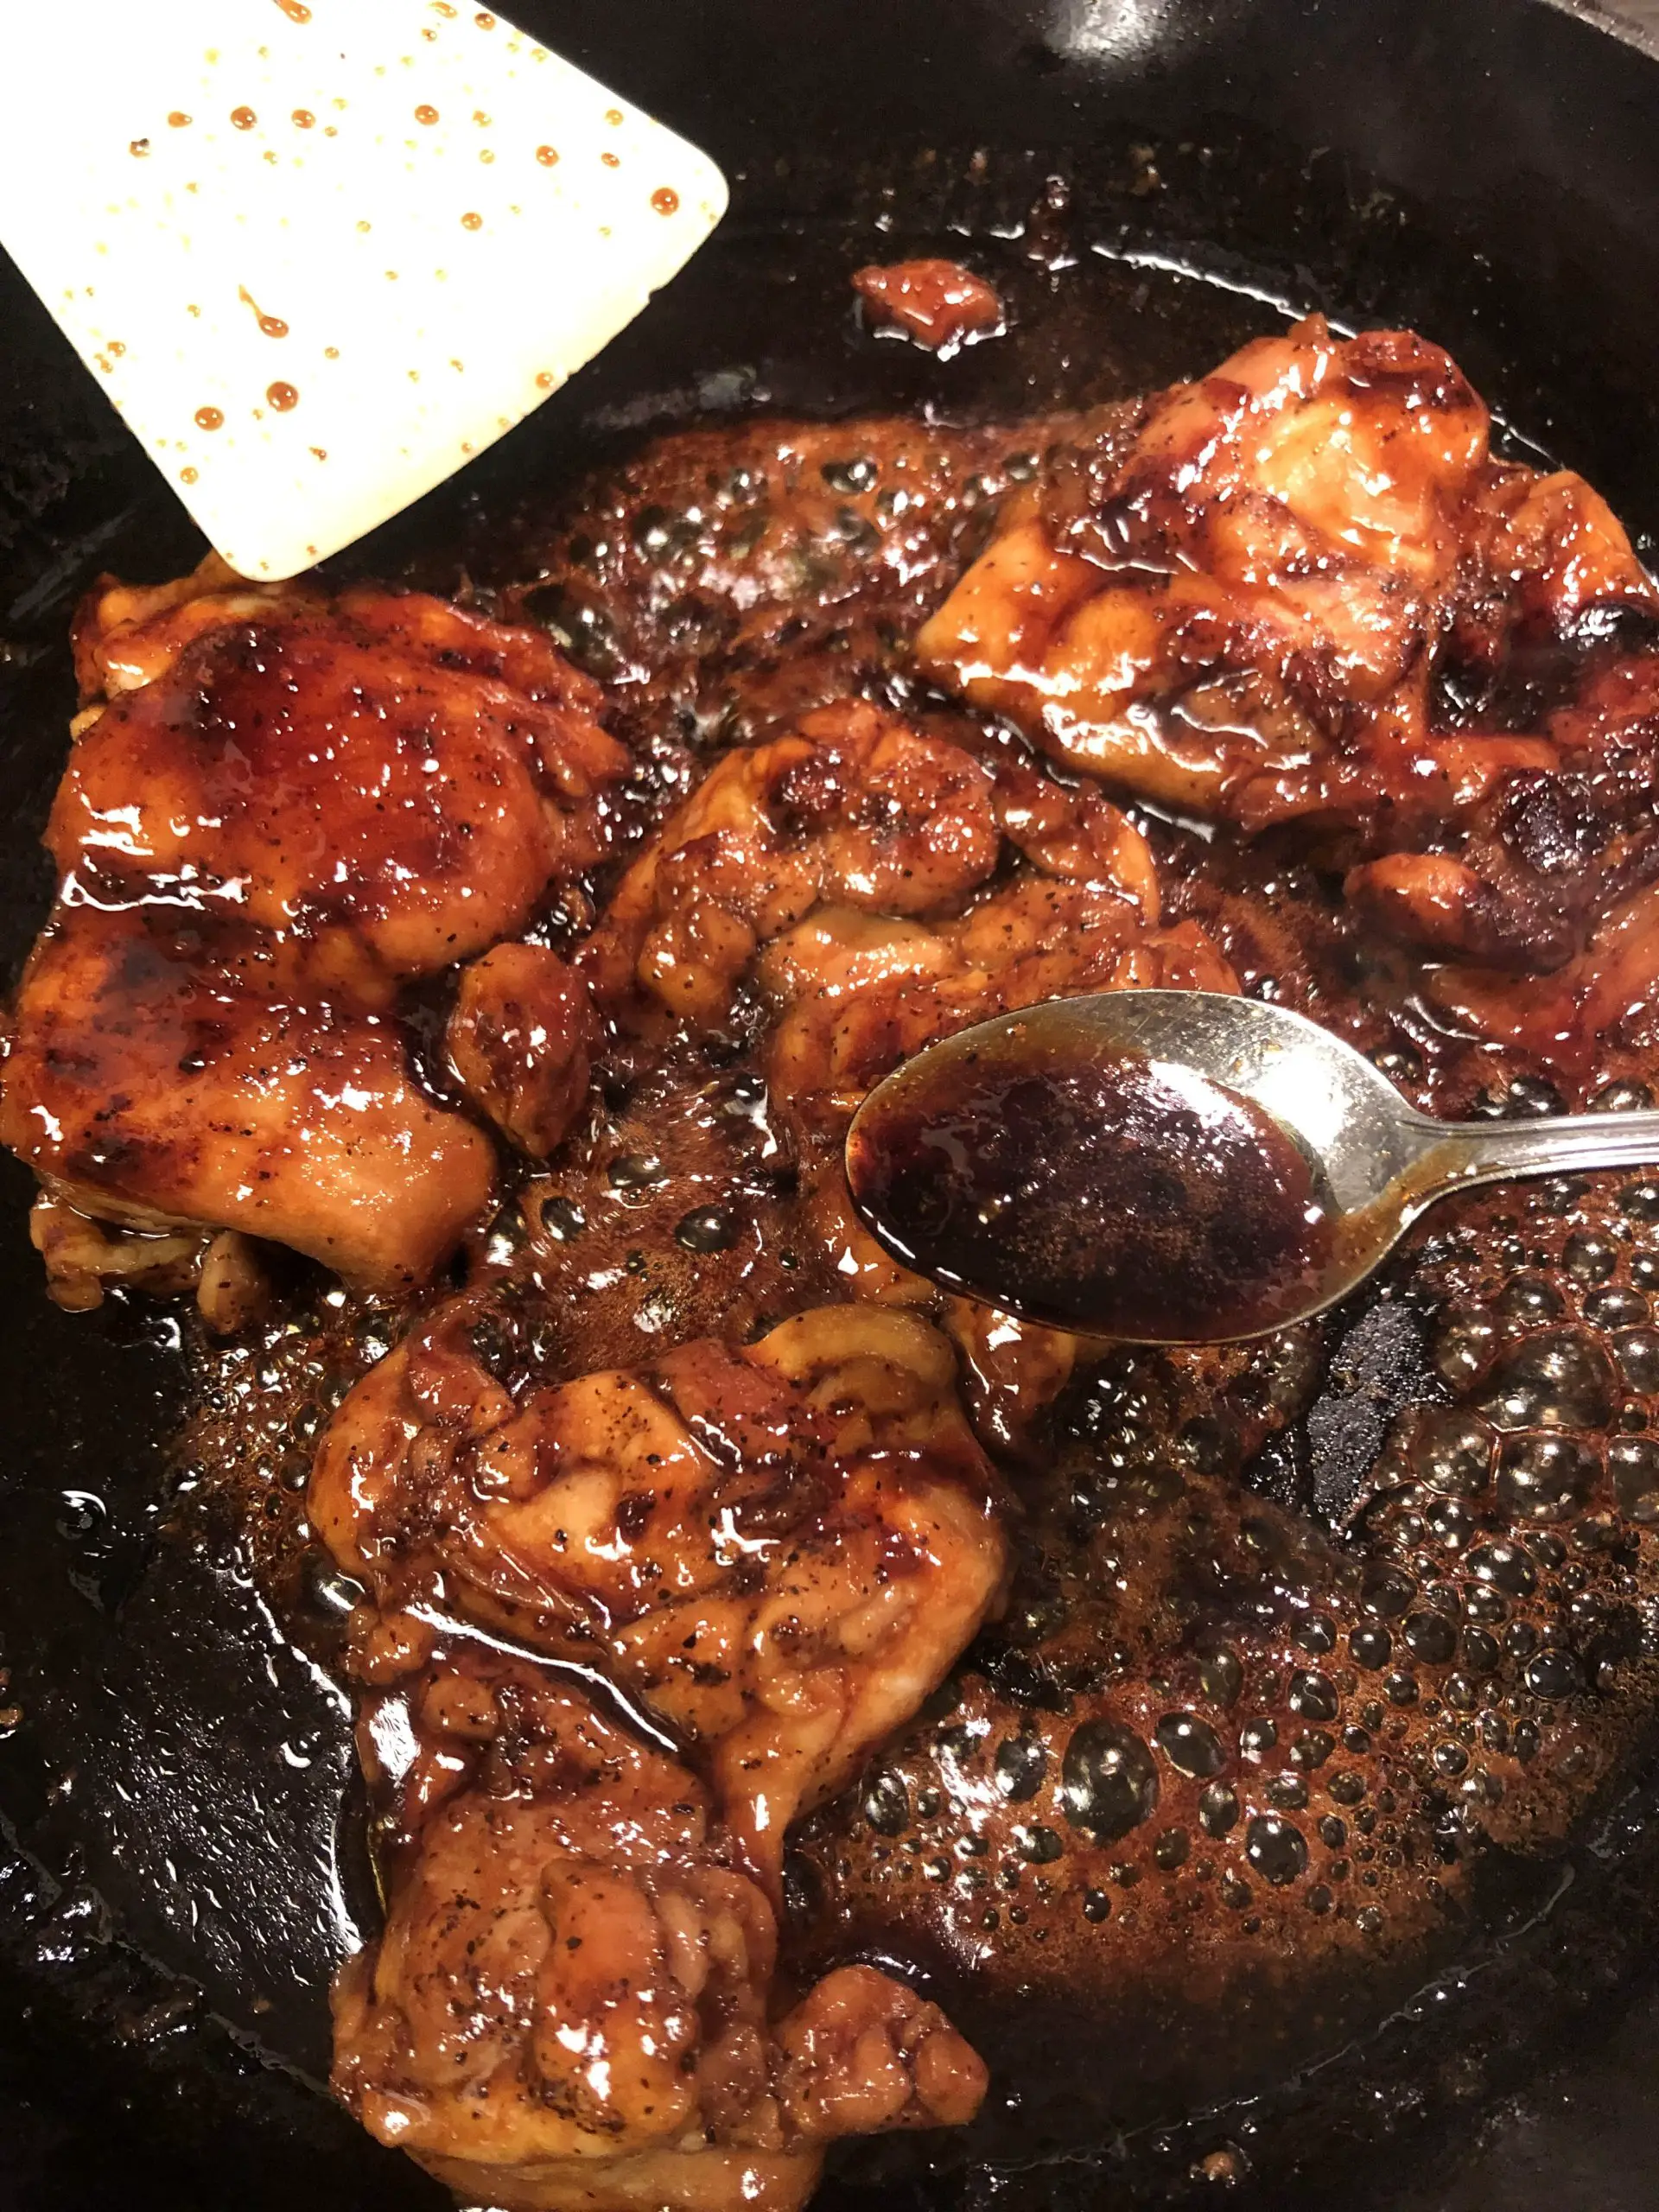
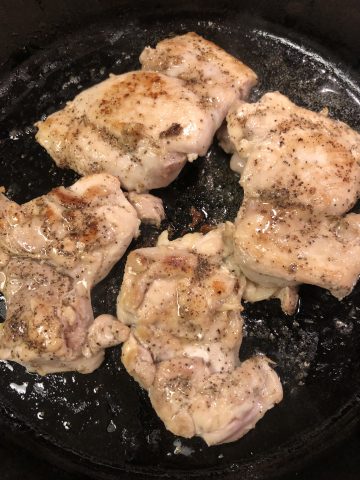
Place all of the ingredients in a small saucepan on a med-low heat.

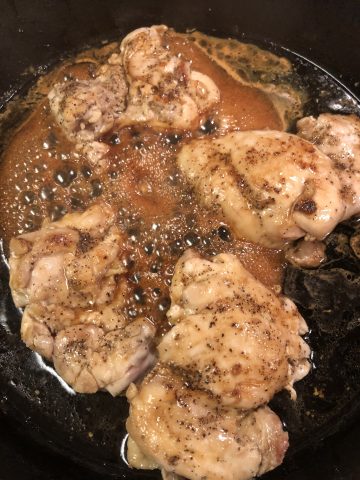
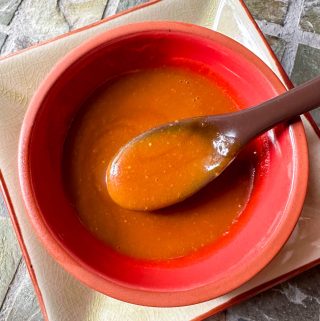
Allow the butter to melt for a bit, and then whisk until you obtain a silky smooth sauce. This took me about 5 minutes.

Serve immediately or allow to cool and then refrigerate in an airtight container for later use.
Suggestions For Serving
It's time to enjoy your delicious sauce, replete with incomparable Asian flavors!
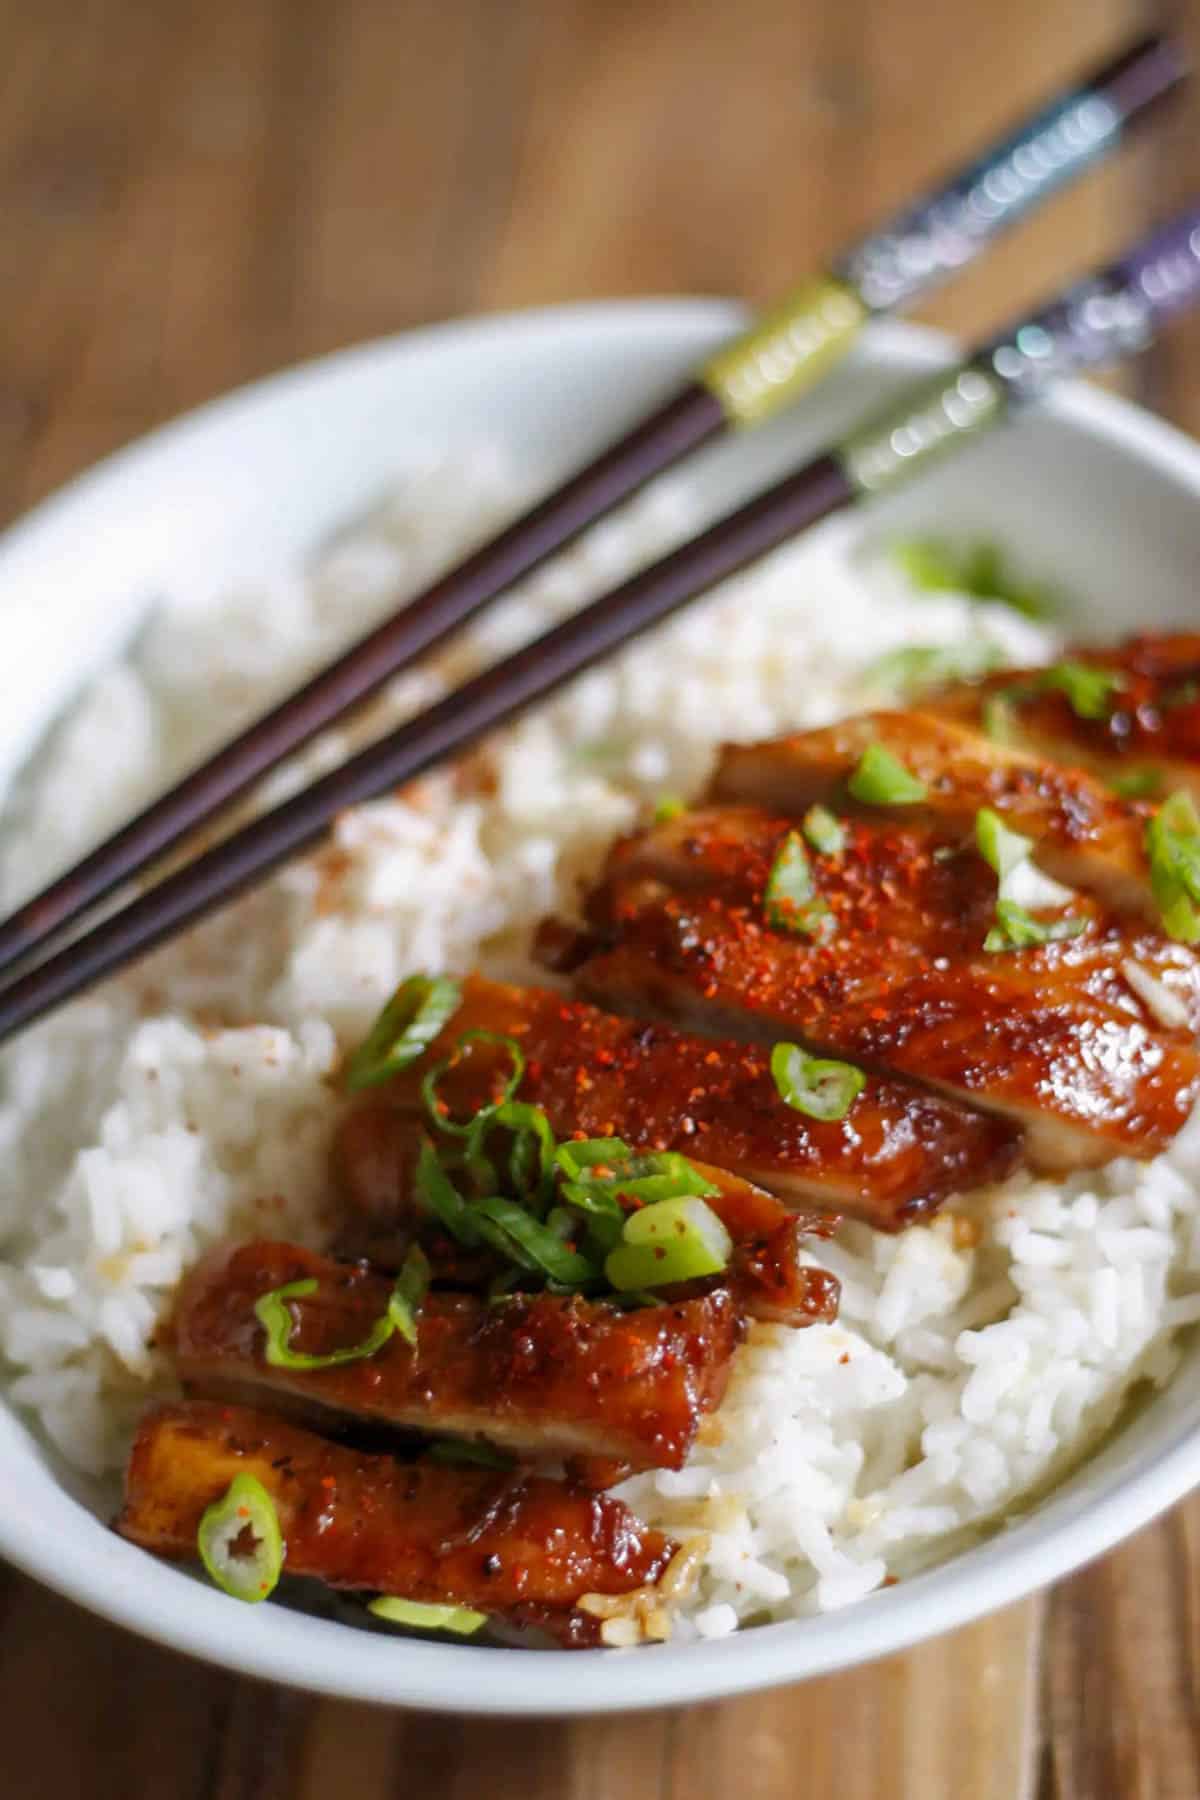
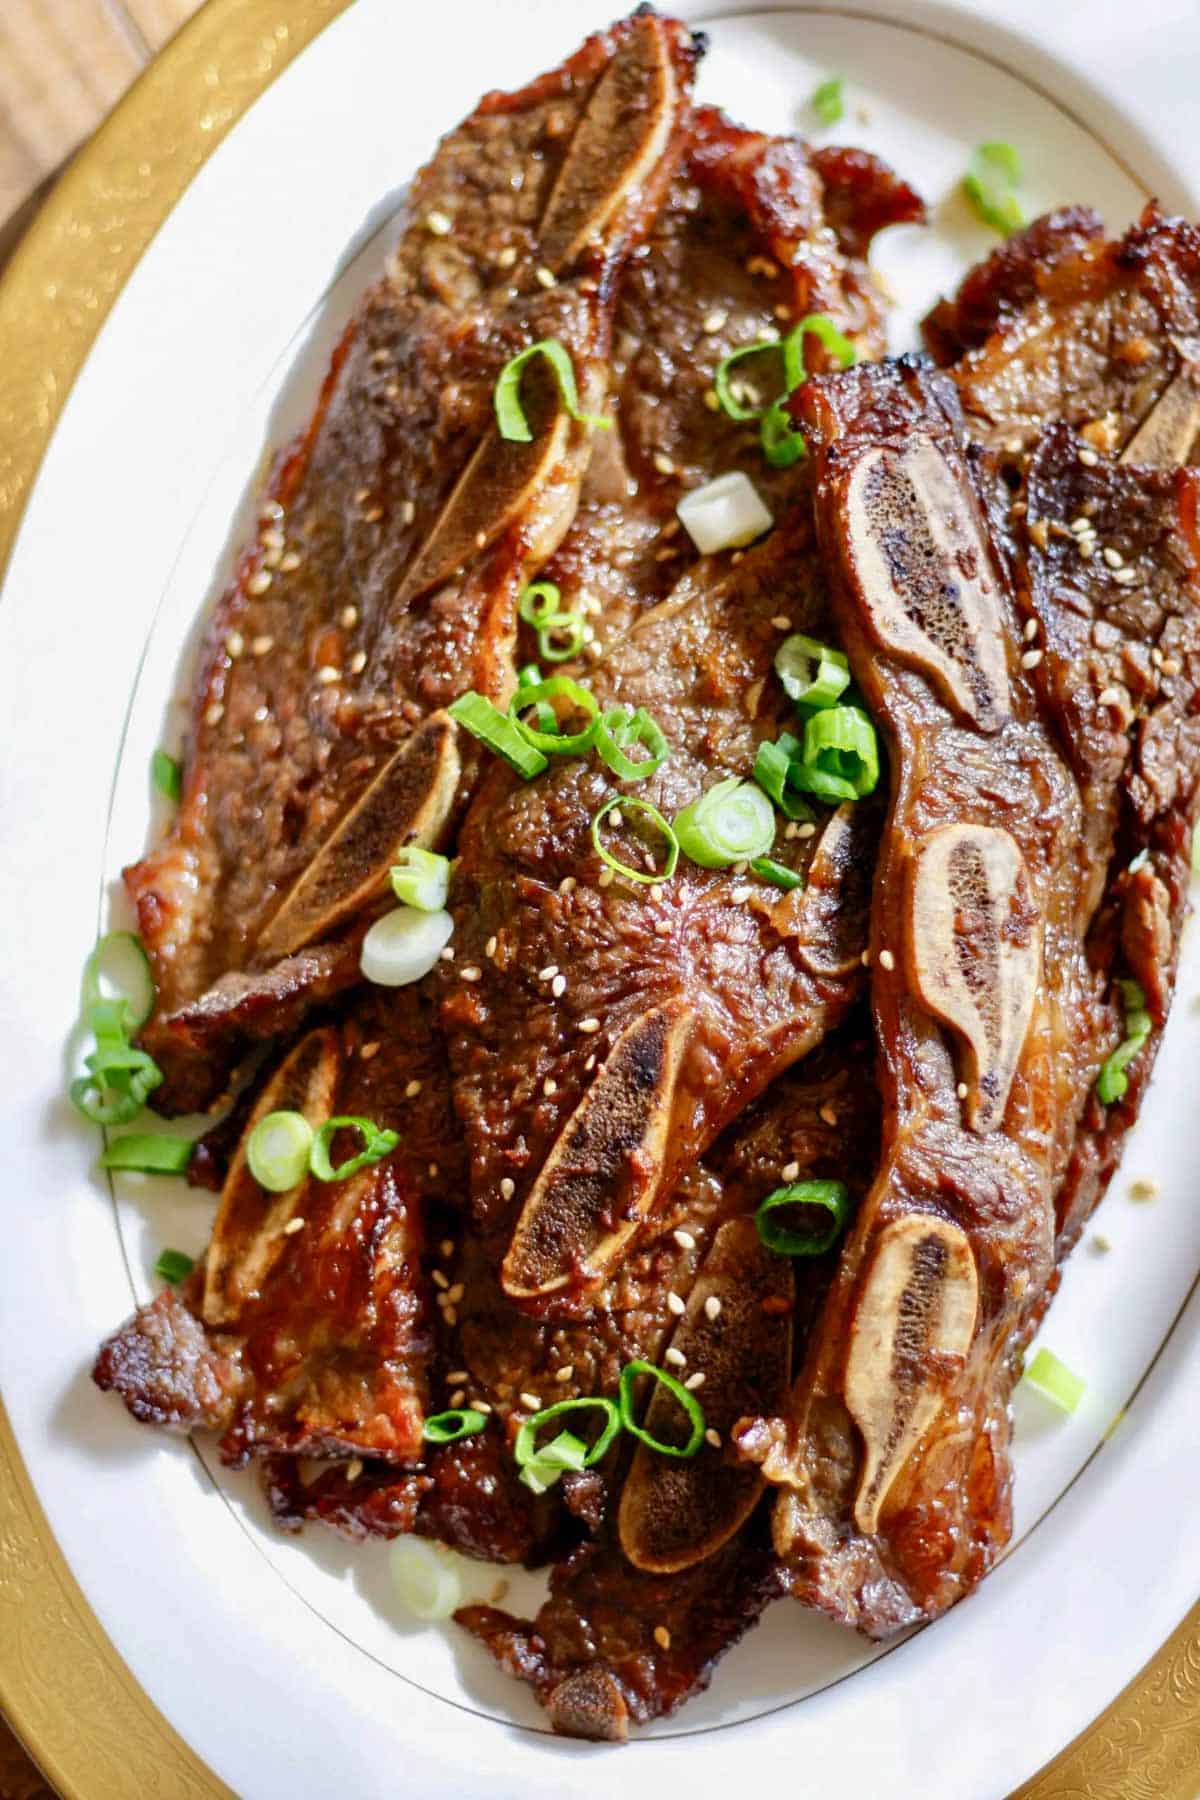
Here are some recommendations for this sauce (warmed):
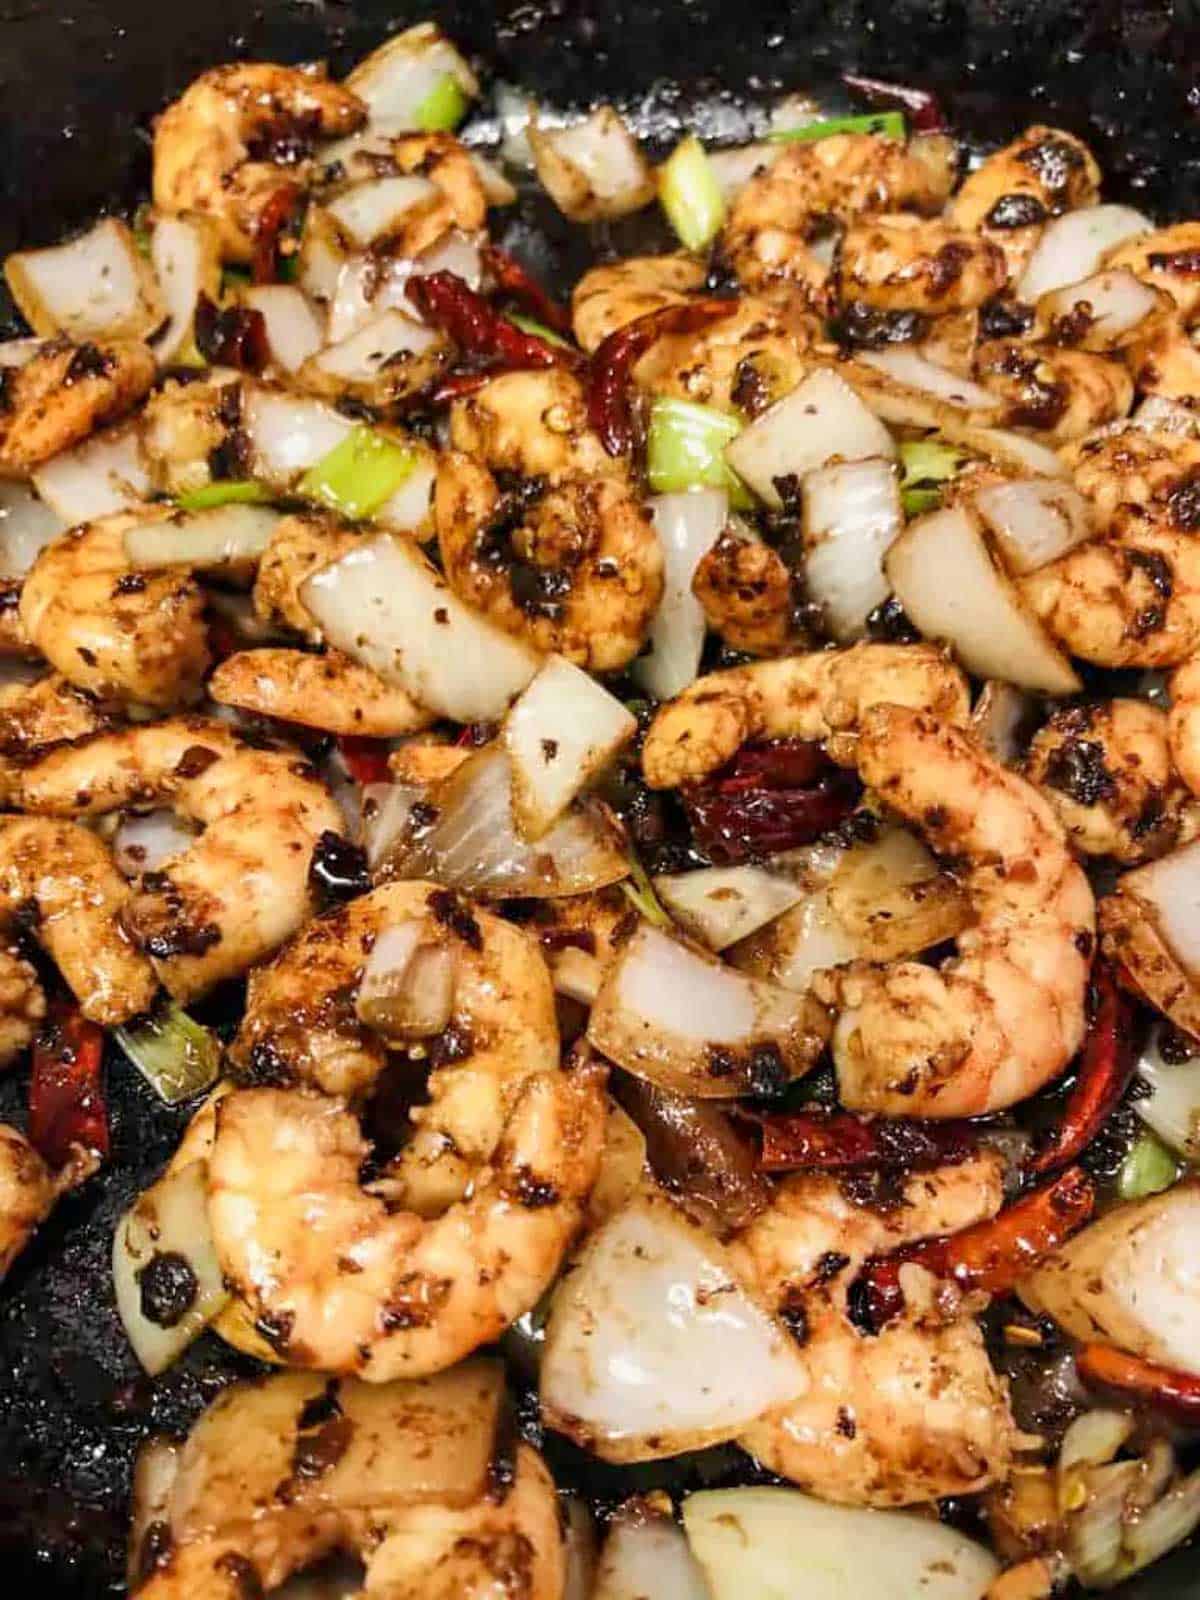
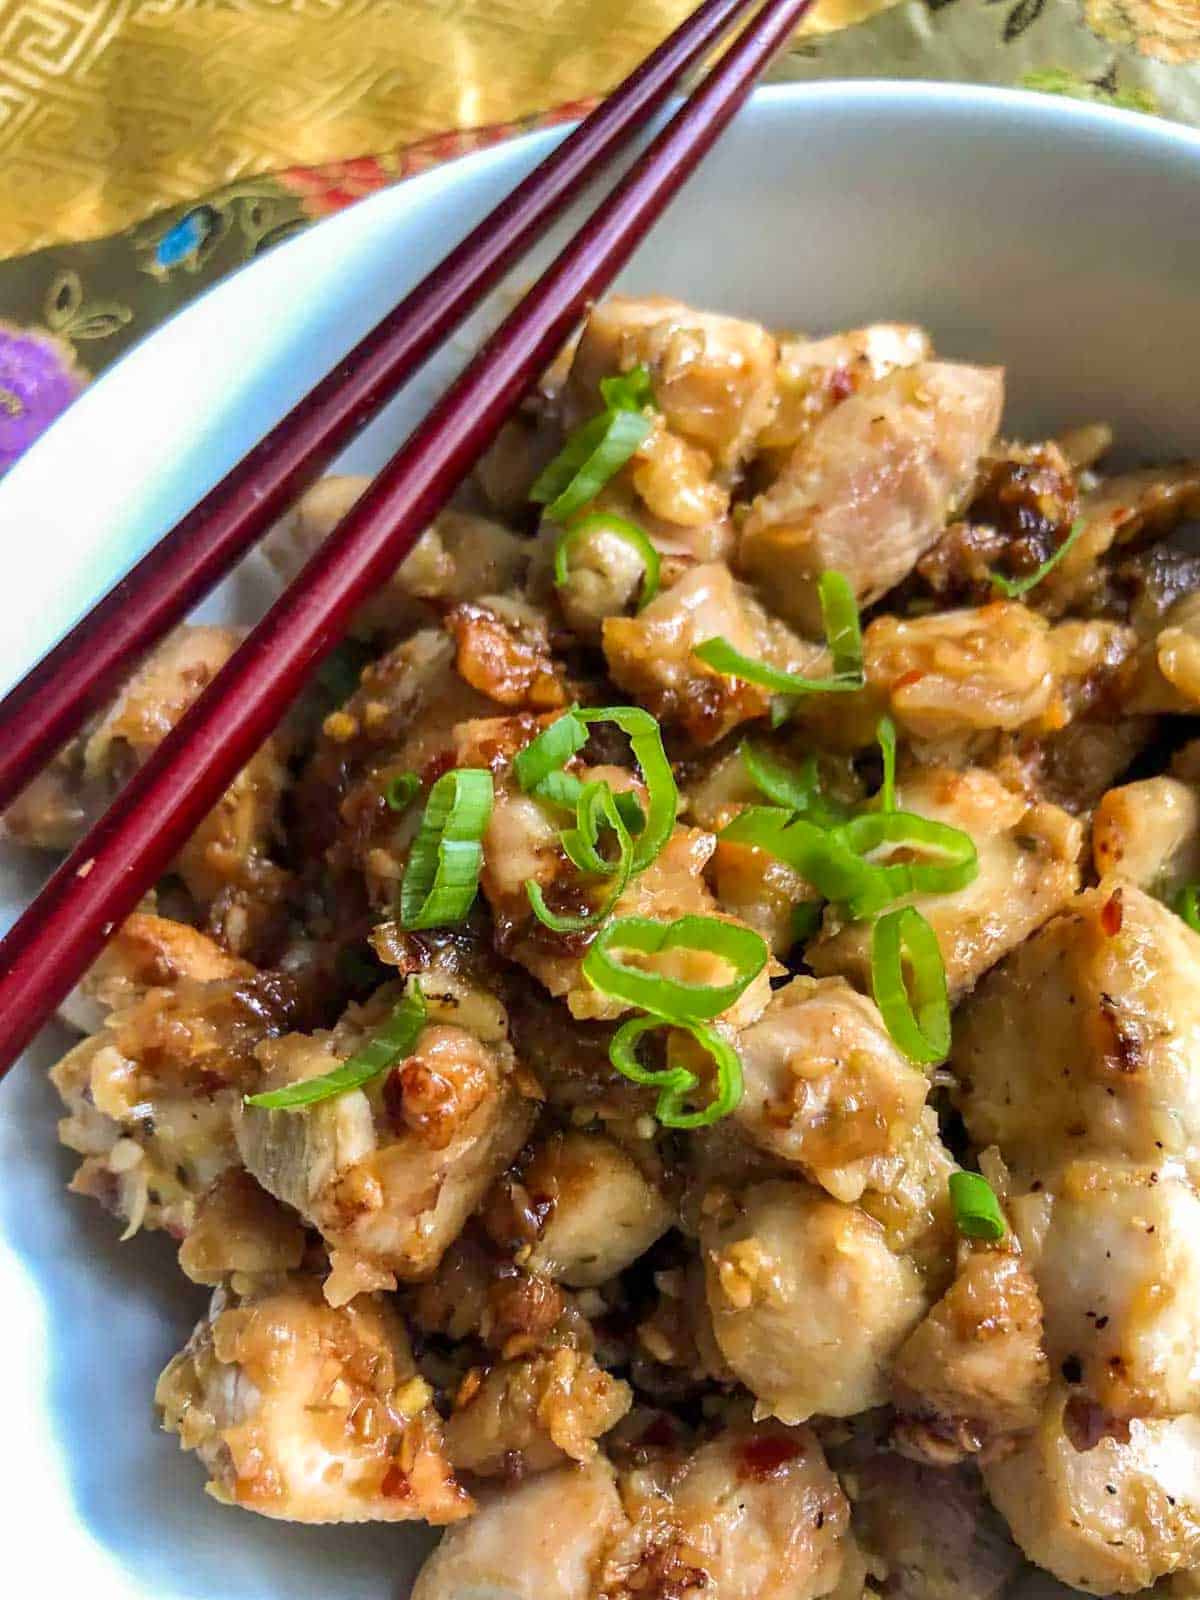
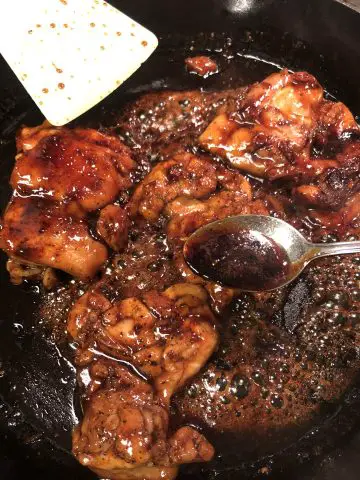
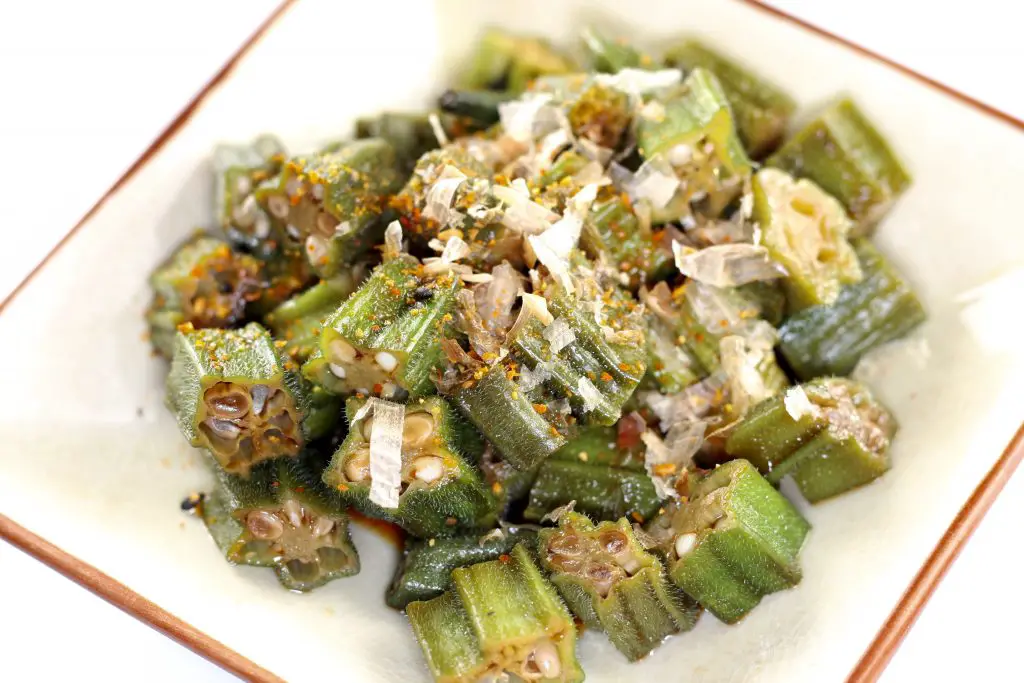
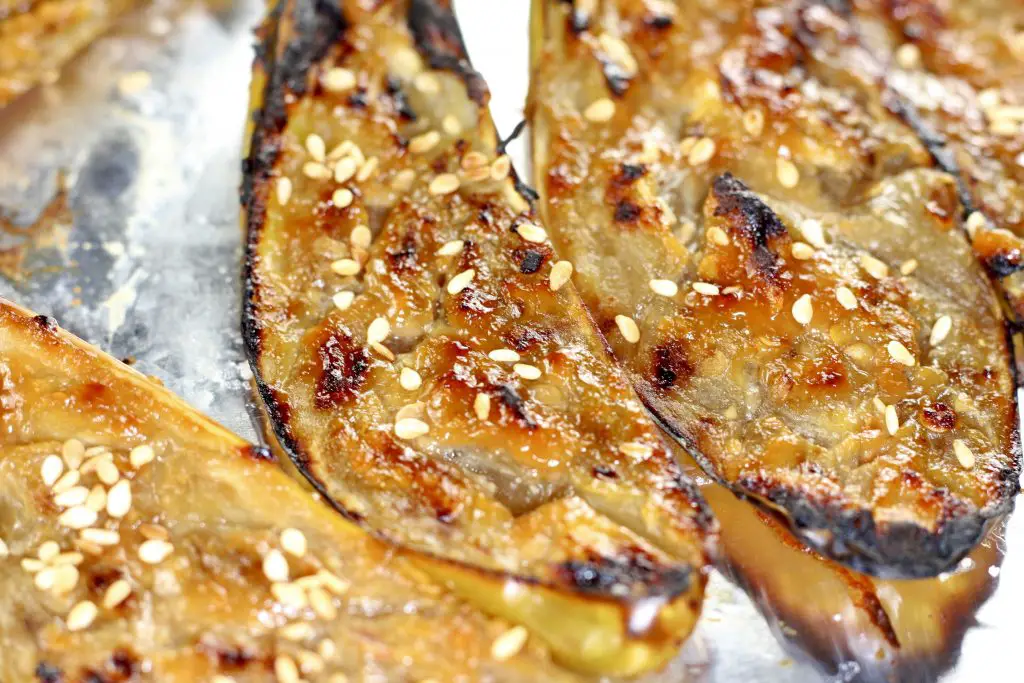
- Drizzle it over your favorite roasted veggies - try it over brussels sprouts, it's divine!
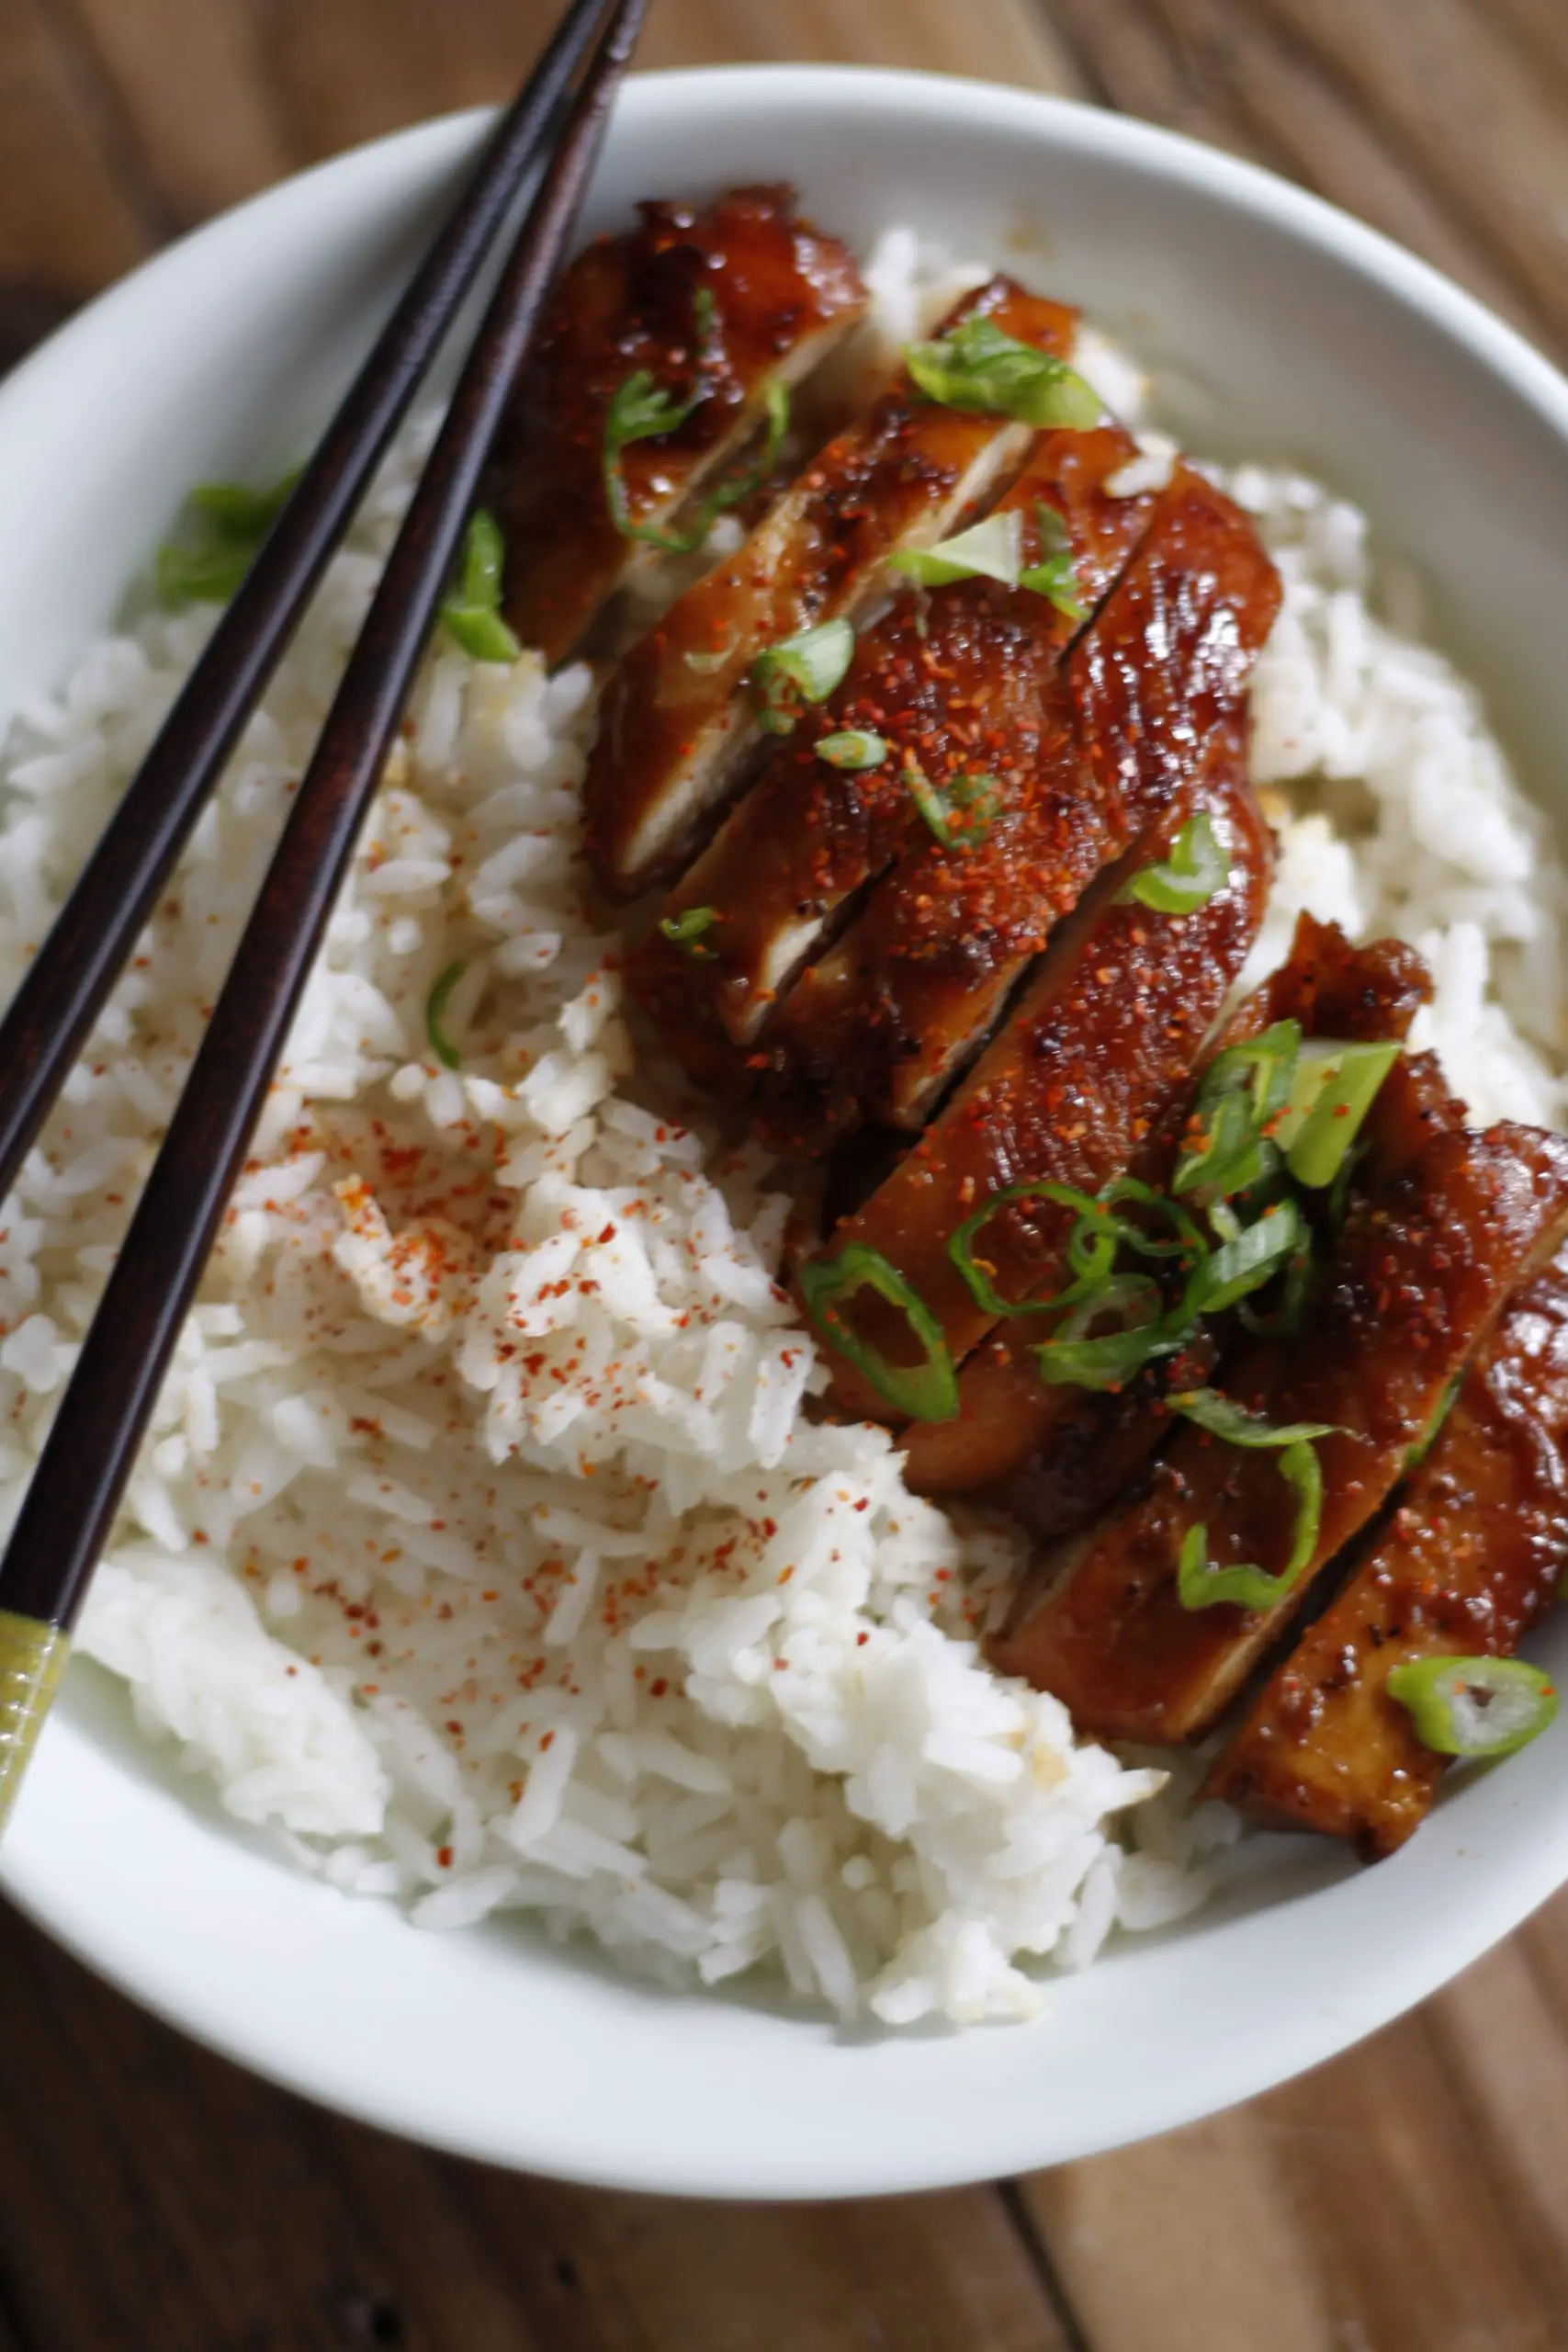
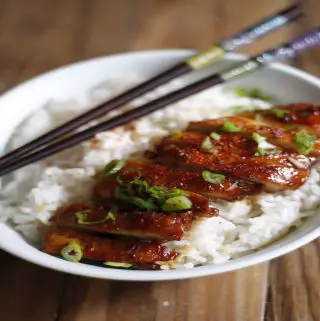
- Pour a bit over your favorite protein. I love it over chicken and pork belly
- Use it as a dipping sauce for fresh veggies such as broccoli
When this sauce has been refrigerated, it takes on the consistency of butter. You can then use it like you would butter, spreading it on anything you fancy! It's so good on cream creackers!
I do hope you will enjoy making this easy miso sauce recipe! The full recipe with printable recipe card can be found below!
FAQ
Store your miso sauce with butter in an airtight container in your refrigerator.
Some things you can add to this miso sauce with butter to jazz it up include fresh ginger (grated finely), a little maple syrup (for sweetness), and a small amount of rice vinegar for some tang!
Miso is a fermented soybean paste used extensively in Japanese cuisine. It is made by fermenting soybeans with an ingredient called koji (a fungus called Aspergillus oryzae), and salt (source Wikipedia.org/wiki/miso).
Some Other Great Recipes You May Enjoy!
Here are some other recipes you may enjoy:
Join Me On A Fun Food Journey!
Finally, I invite you to come along on this food journey with me! Please sign up to get the latest recipes and inspiration for you to expand your food comfort zone! It's an incredible journey, please join me by signing up here.
Cheers!
Grace
Easy 3 Ingredient Miso Sauce With Butter
Equipment
- 1 small saucepan
Ingredients
- 3 tablespoon butter I used salted butter but you can used unsalted; choose butter from grass-fed cows if possible
- 2 tablespoon miso I used red miso for this recipe
- 2 tablespoon soy sauce If you are sensitive to salt, you may want to cut down on the amount of soy sauce
Instructions
- Place all of the ingredients in a small saucepan on a med-low heat.

- Allow the butter to melt for a bit, and then whisk until you obtain a silky smooth sauce. This took me about 5 minutes.
- Serve immediately or allow to cool and then refrigerate in an airtight container for later use.