This page may contain affiliate links. So, I receive a small commission at no cost to you when you make a purchase using my link. This post is about an Easy and Best Linguine With Seafood Mix Recipe which will knock your socks off!

I am of the opinion that the best thing that you can do with a bag of seafood mix is to use it to make an amazing pasta dish. One that gives your taste buds a taste of the sea in every bite. A dish that transports you (in your mind anyway!) to a restaurant on the Italian Amalfi coast.
If this sounds amazing to you, then you've got to try this Easy and Best Linguine With Seafood Mix Recipe!
[feast_advanced_jump_to]Why You Will Love This Recipe!
Seafood lovers will absolutely LOVE this recipe because:
- This recipe uses fresh and simple ingredients that you should be able to find at most grocery stores
- The cooking time is around 10 minutes, so it comes together pretty quickly after a bit of prepping (total time around 35 minutes)
- It's versatile. Although I am using a bag of frozen seafood mix, you can choose a pound of a mix of your favorite seafood. Some options include bay scallops, calamari rings, shrimp, mussels, and delicious clams!
- You're going to create a delicious and amazing sauce that is perfect to toss with linguine!
If you are ready to make this delicious food, then please read on for the ingredients you'll need to gather for it!
🥘 Ingredients

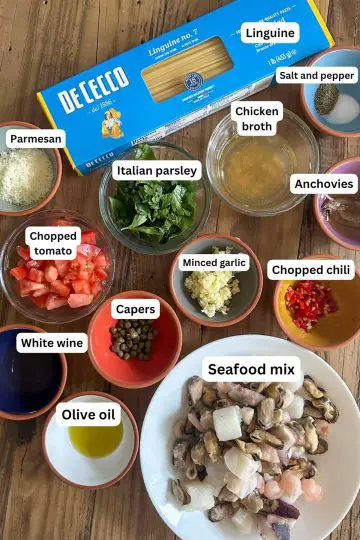
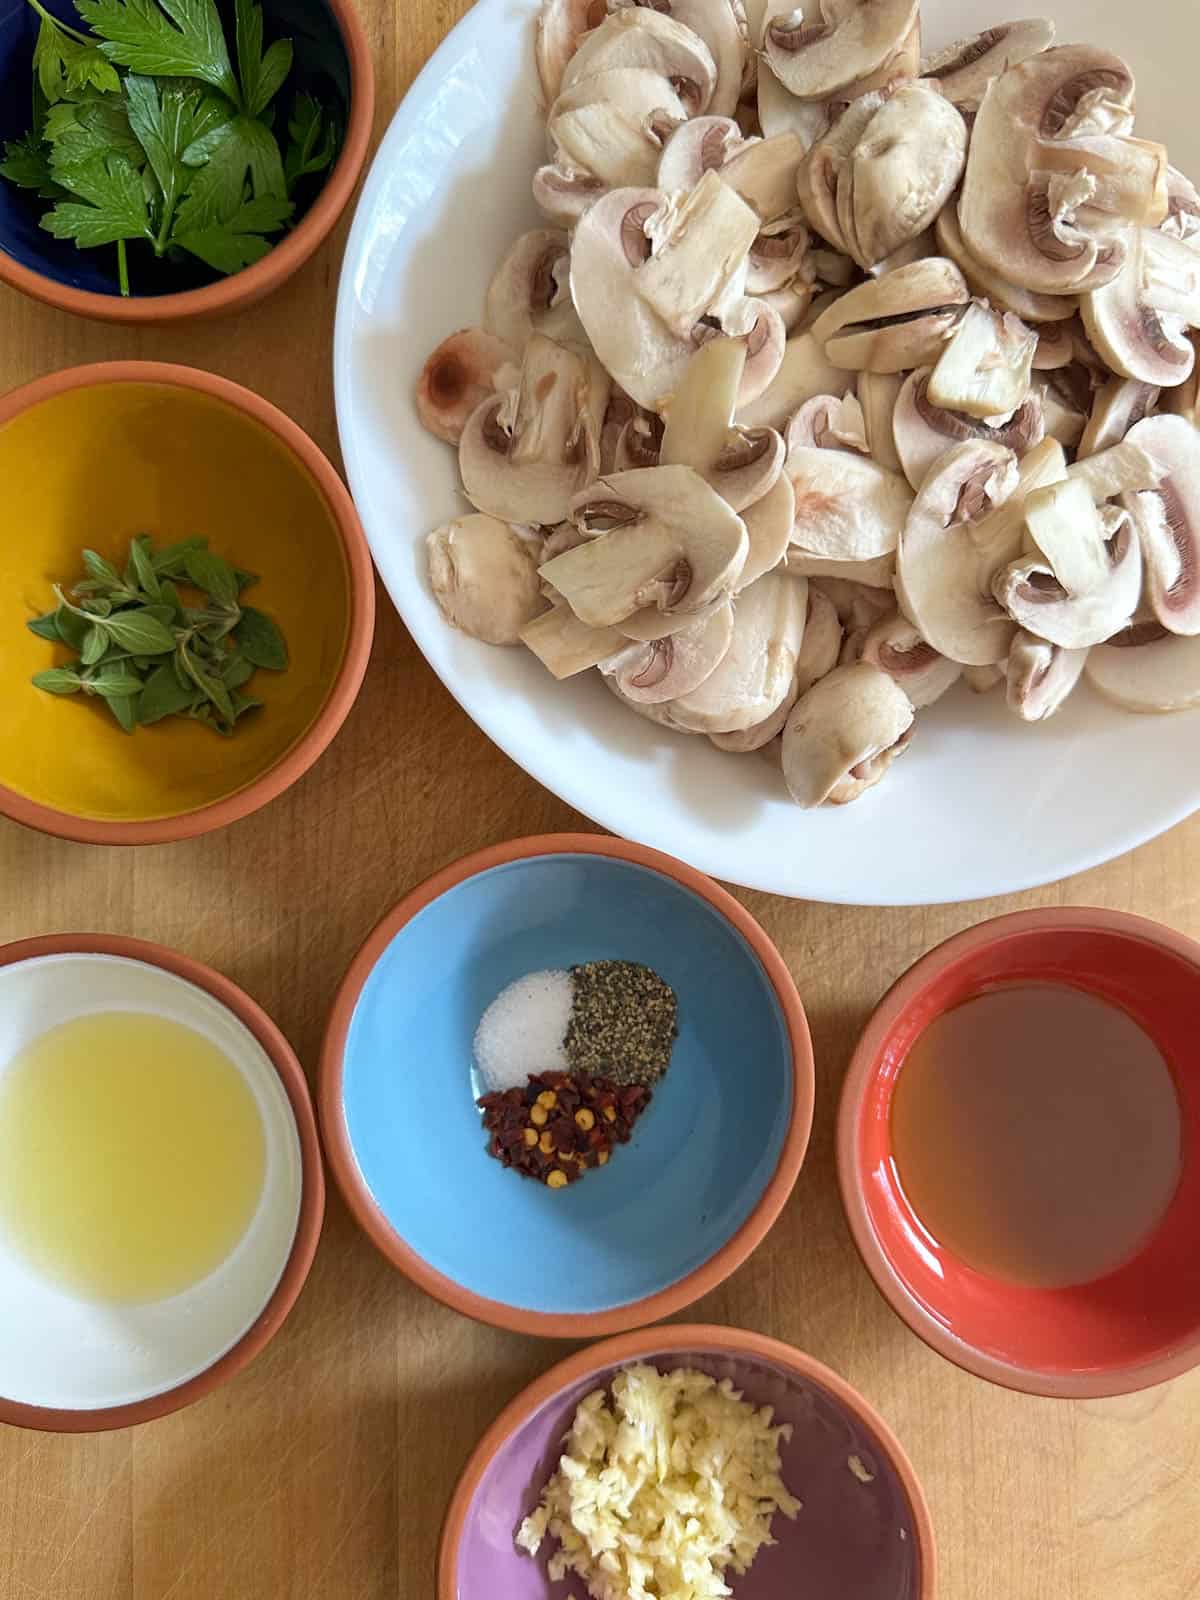
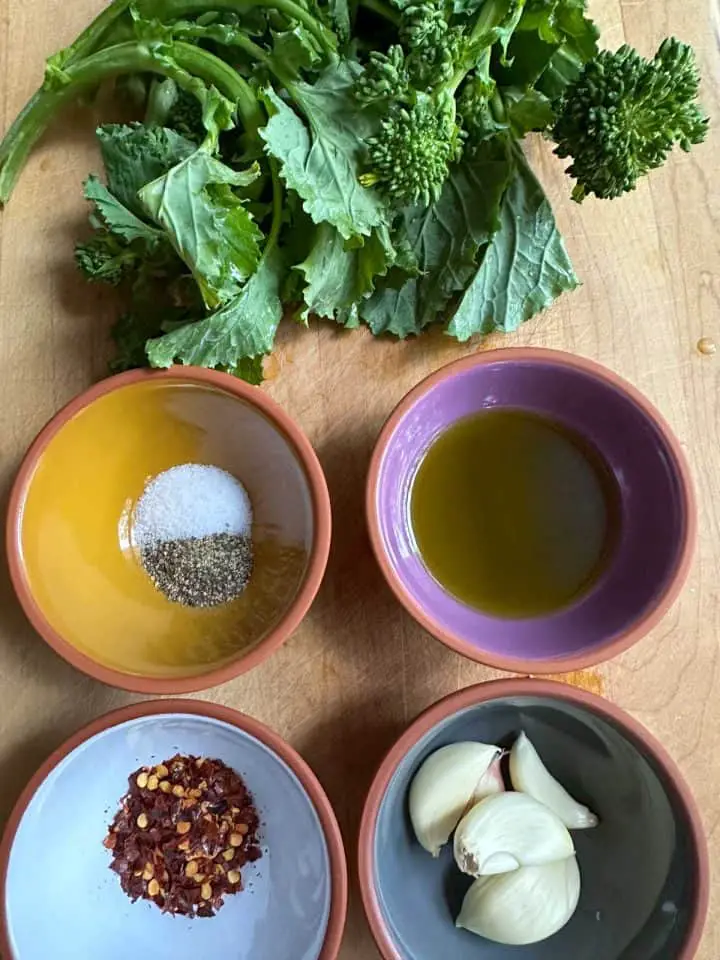
So here are the wonderful and fresh ingredients you will need for this seafood medley pasta:
- Linguine
- Seafood mix - the mix I bought was frozen which I defrosted for use in this recipe. My seafood mix contained a combination of shrimp, octopus, giant calamari, and mussel meat. Feel free to use a variety of fresh seafood or frozen seafood of your choice if you like!
- Fresh chili - I used a variety of red Thai chili
- Fresh garlic cloves
- Extra virgin olive oil
- Fresh parsley (I used Italian parsley)
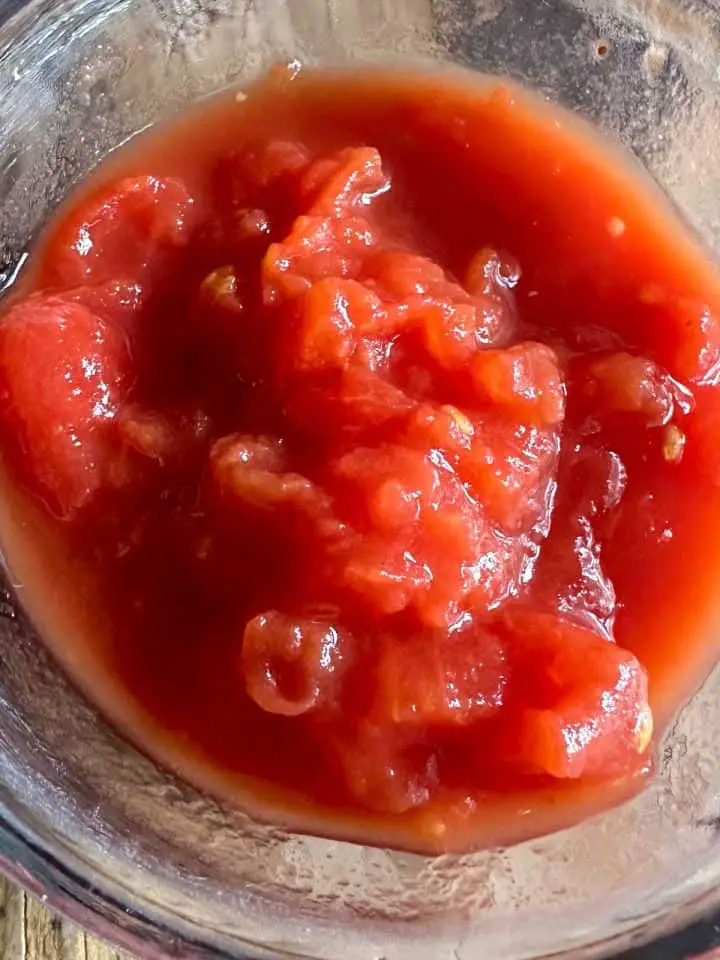
- Roma Tomato
- Capers
- Anchovies - these really lift the flavor of the dish!
- White wine
- Chicken stock (can sub chicken broth)
- Salt
- Black pepper
- Parmesan cheese (as a garnish)
Please don't let the list of ingredients put you off making this dish. The ingredients are easy to prepare and believe me this seafood pasta is totally worth it!
🔪 Instructions
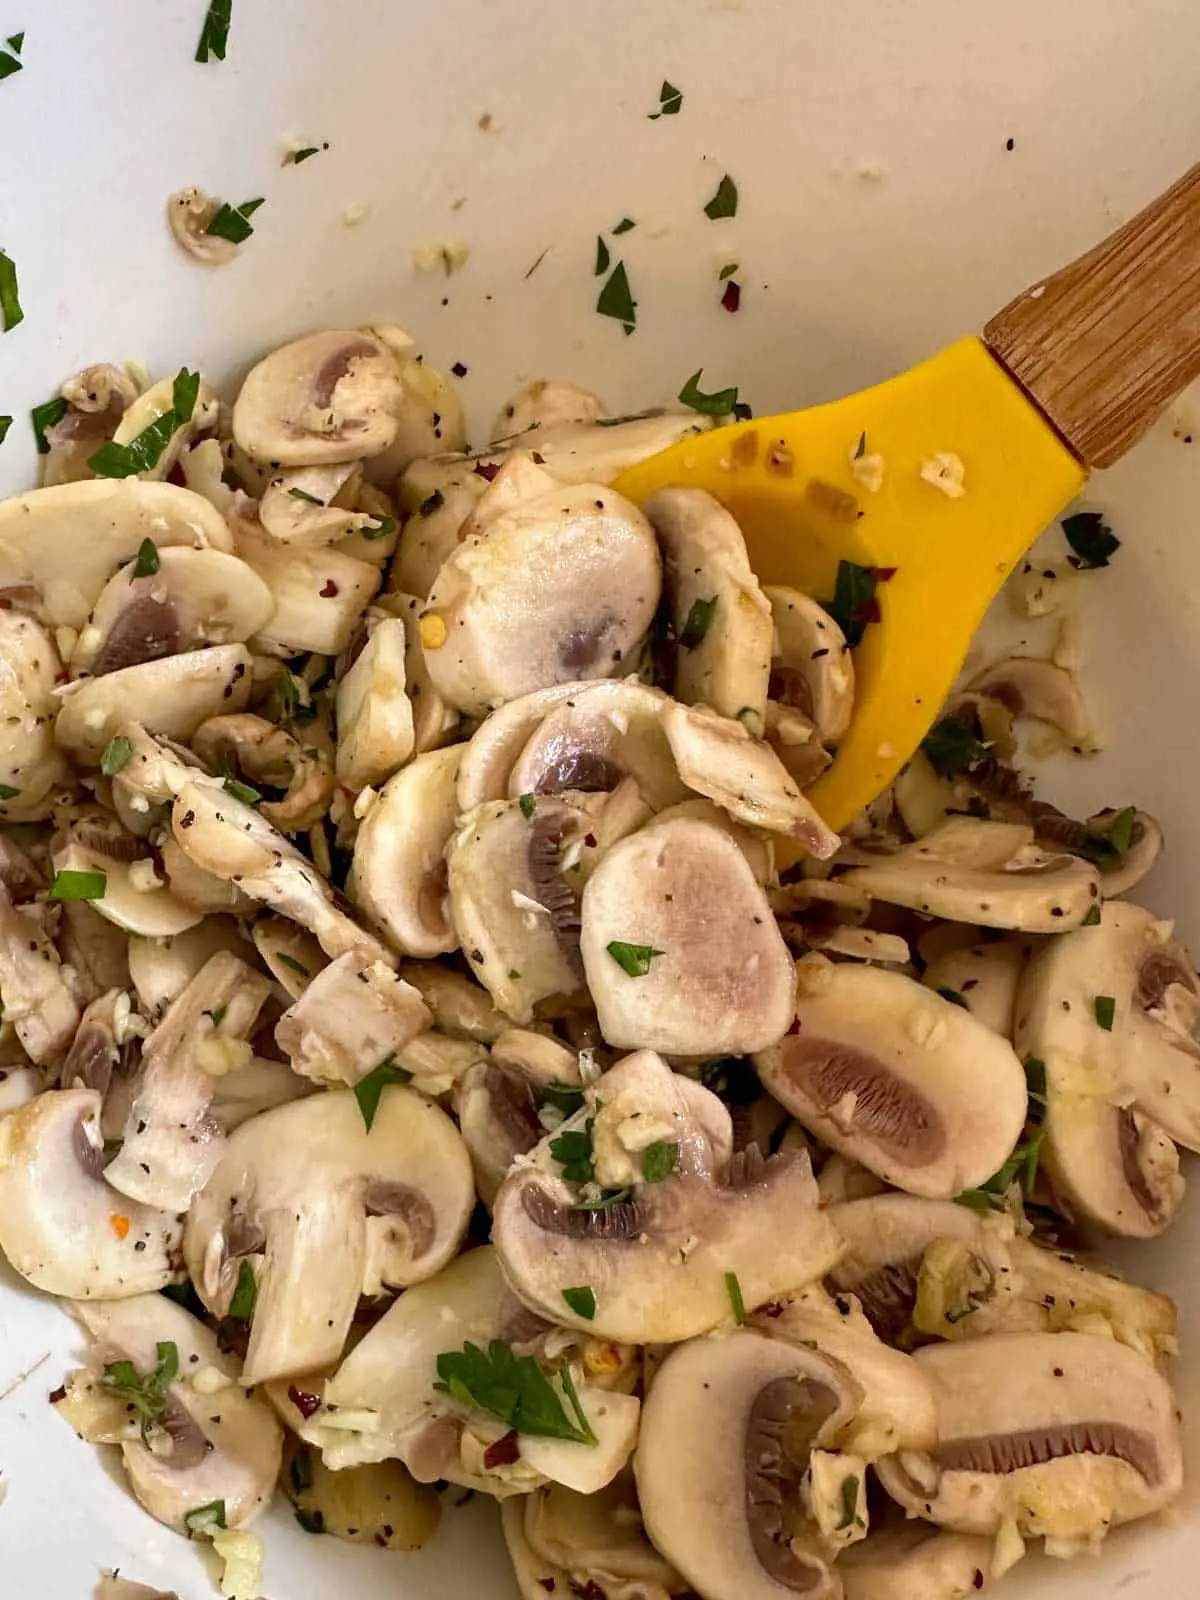
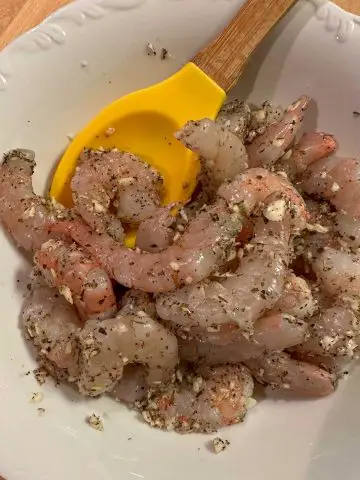
Prep all your ingredients and have them ready at hand to use. The seafood cooks really quickly so it's best to have all of your ingredients ready to go!
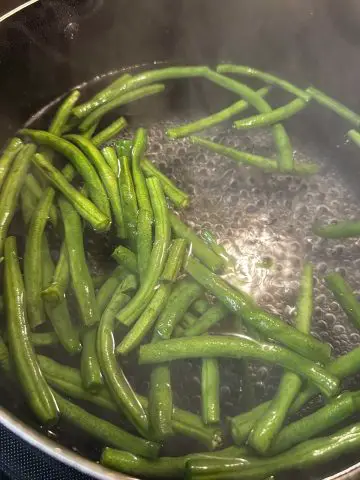
You can begin the process of cooking your linguine while you are preparing the sauce. Be ready to reserve 1 cup of the pasta water just before draining.
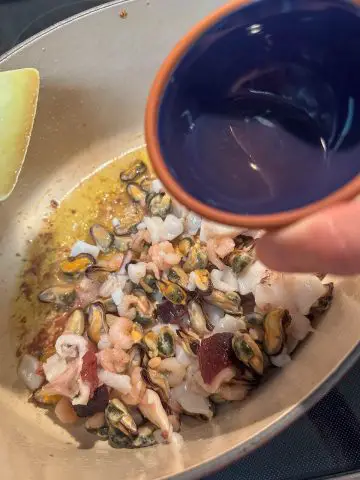
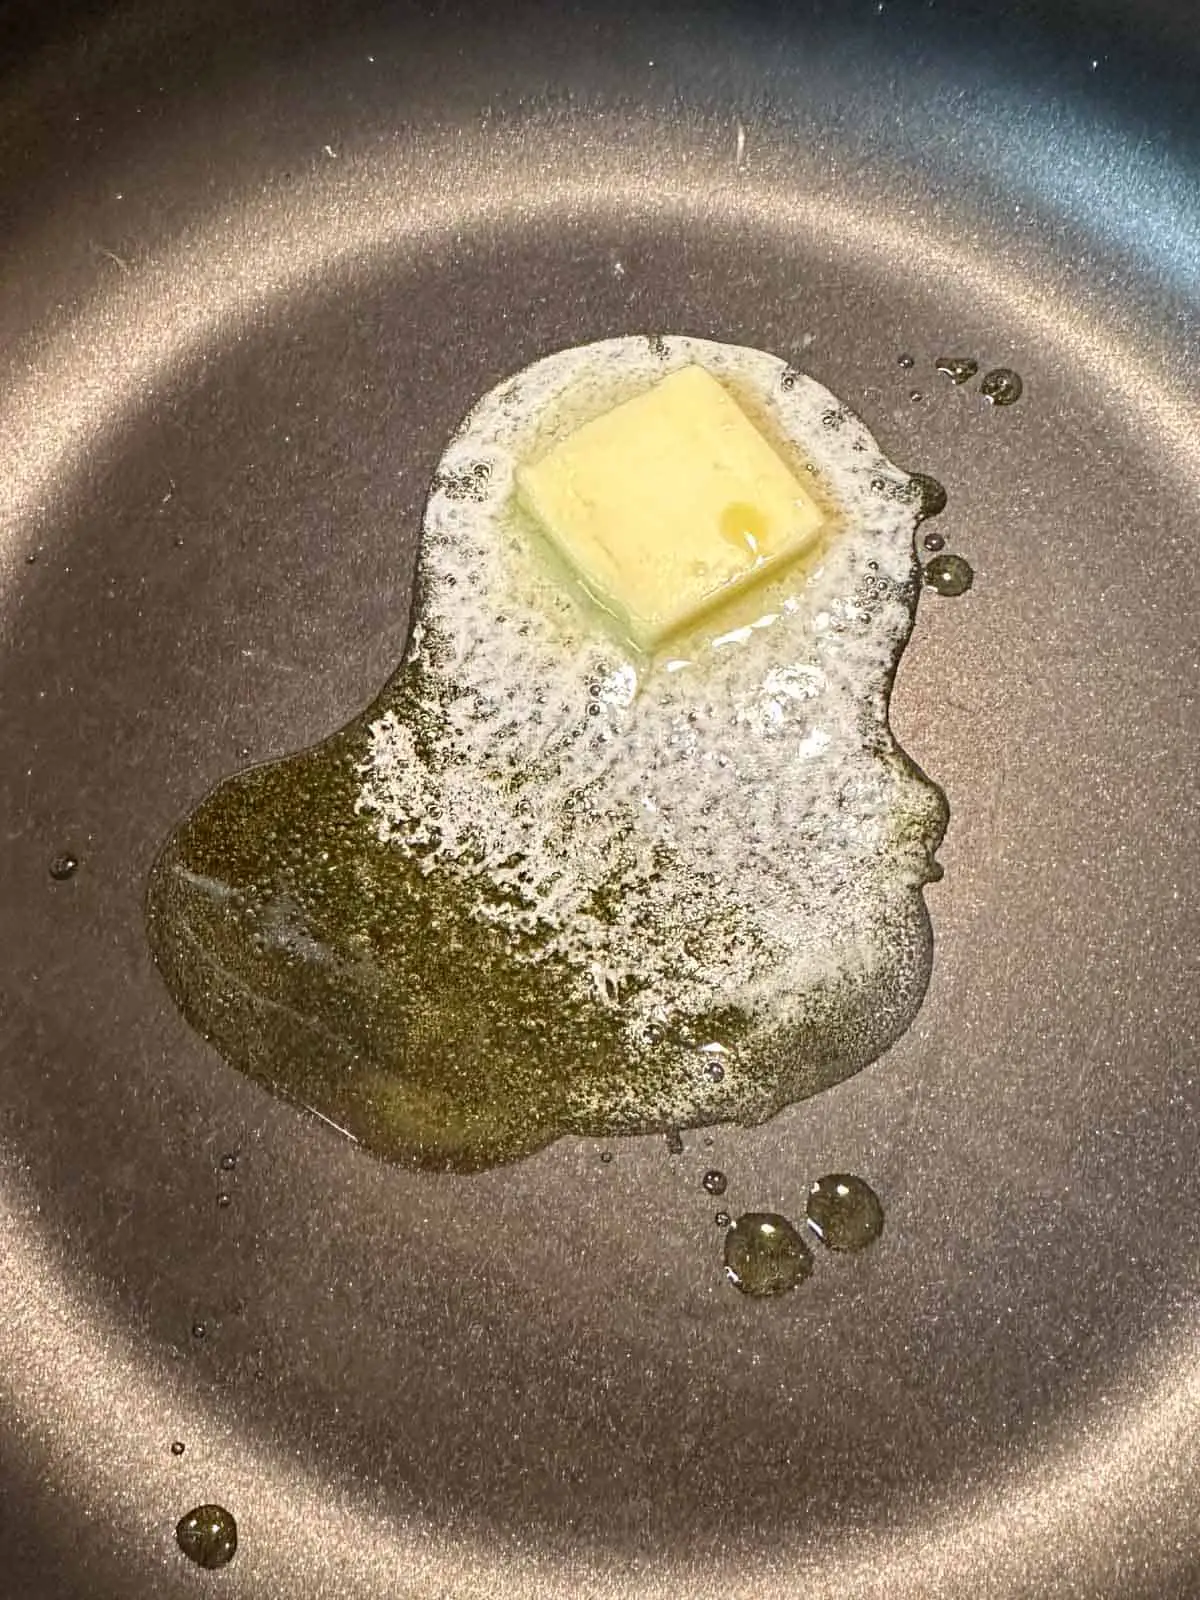
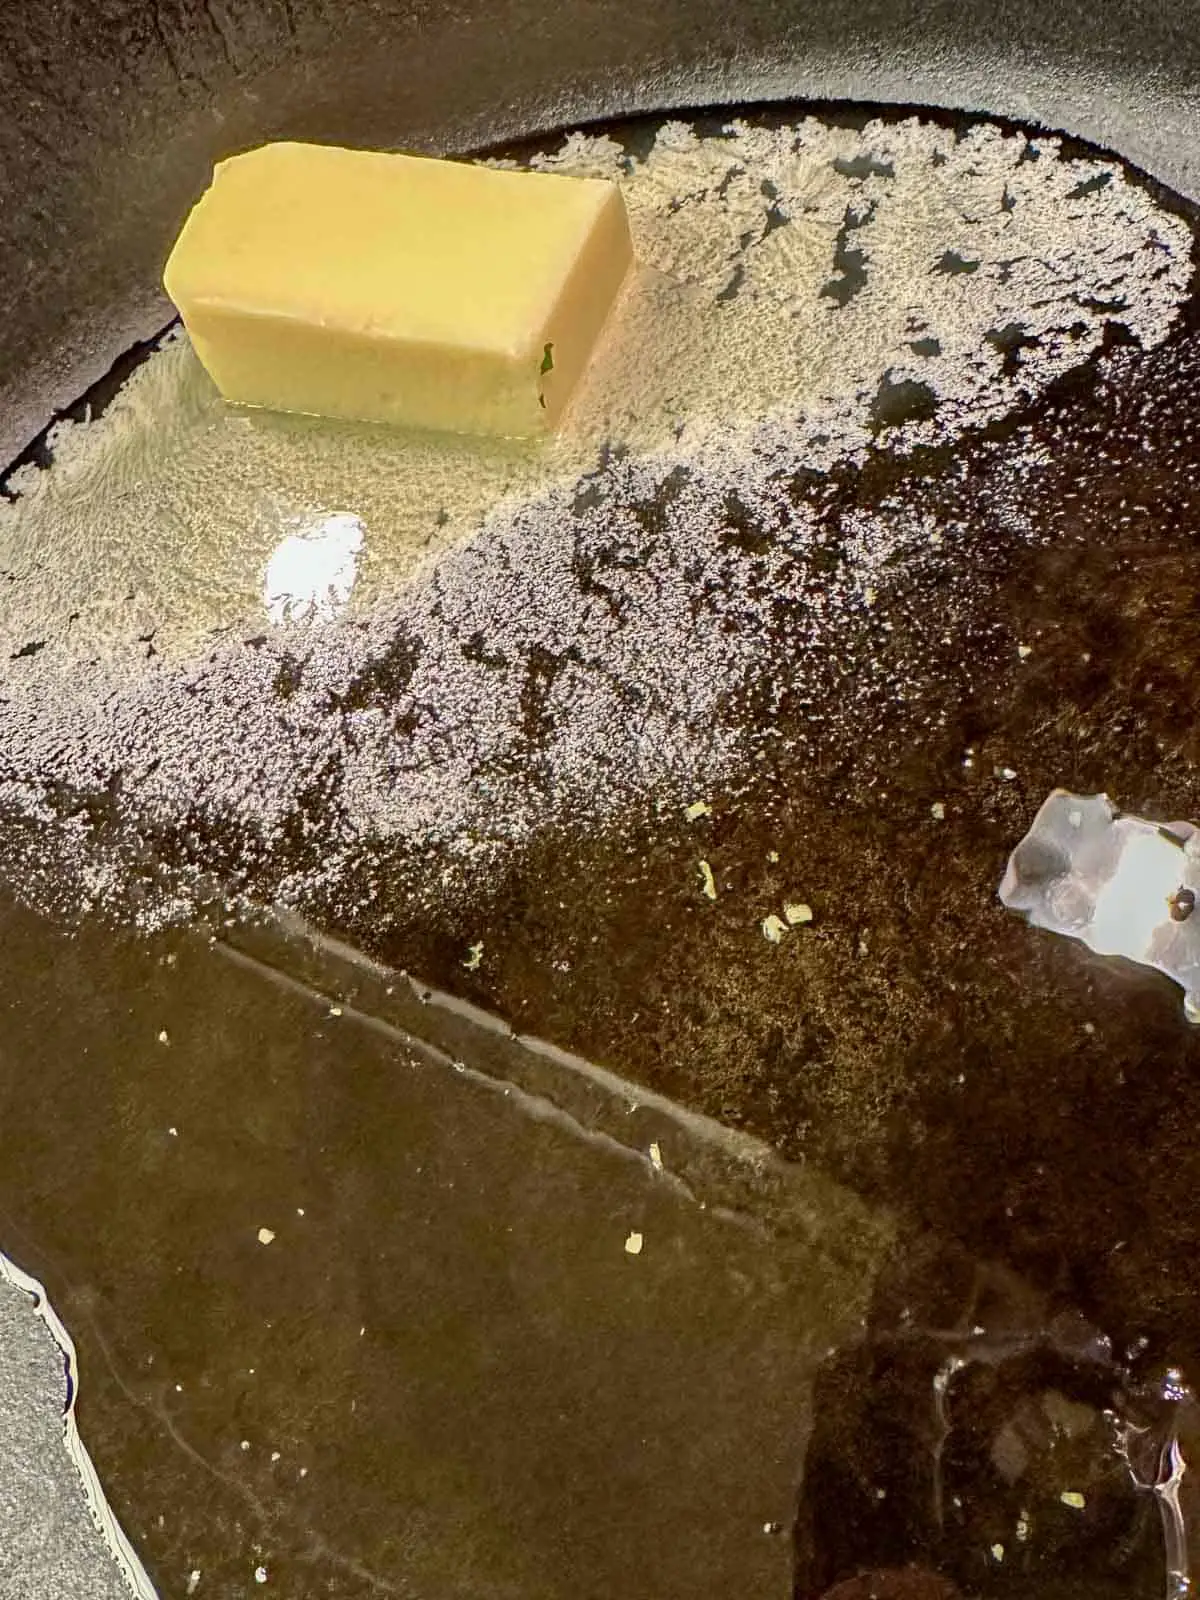
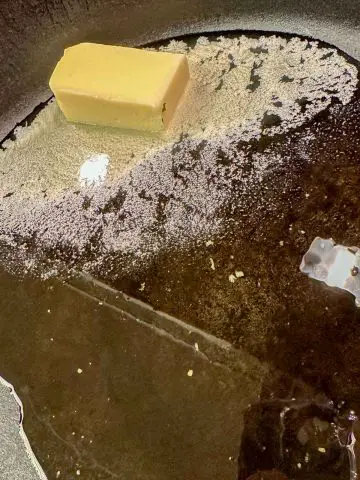
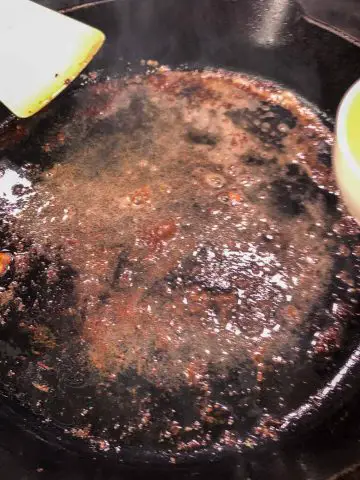
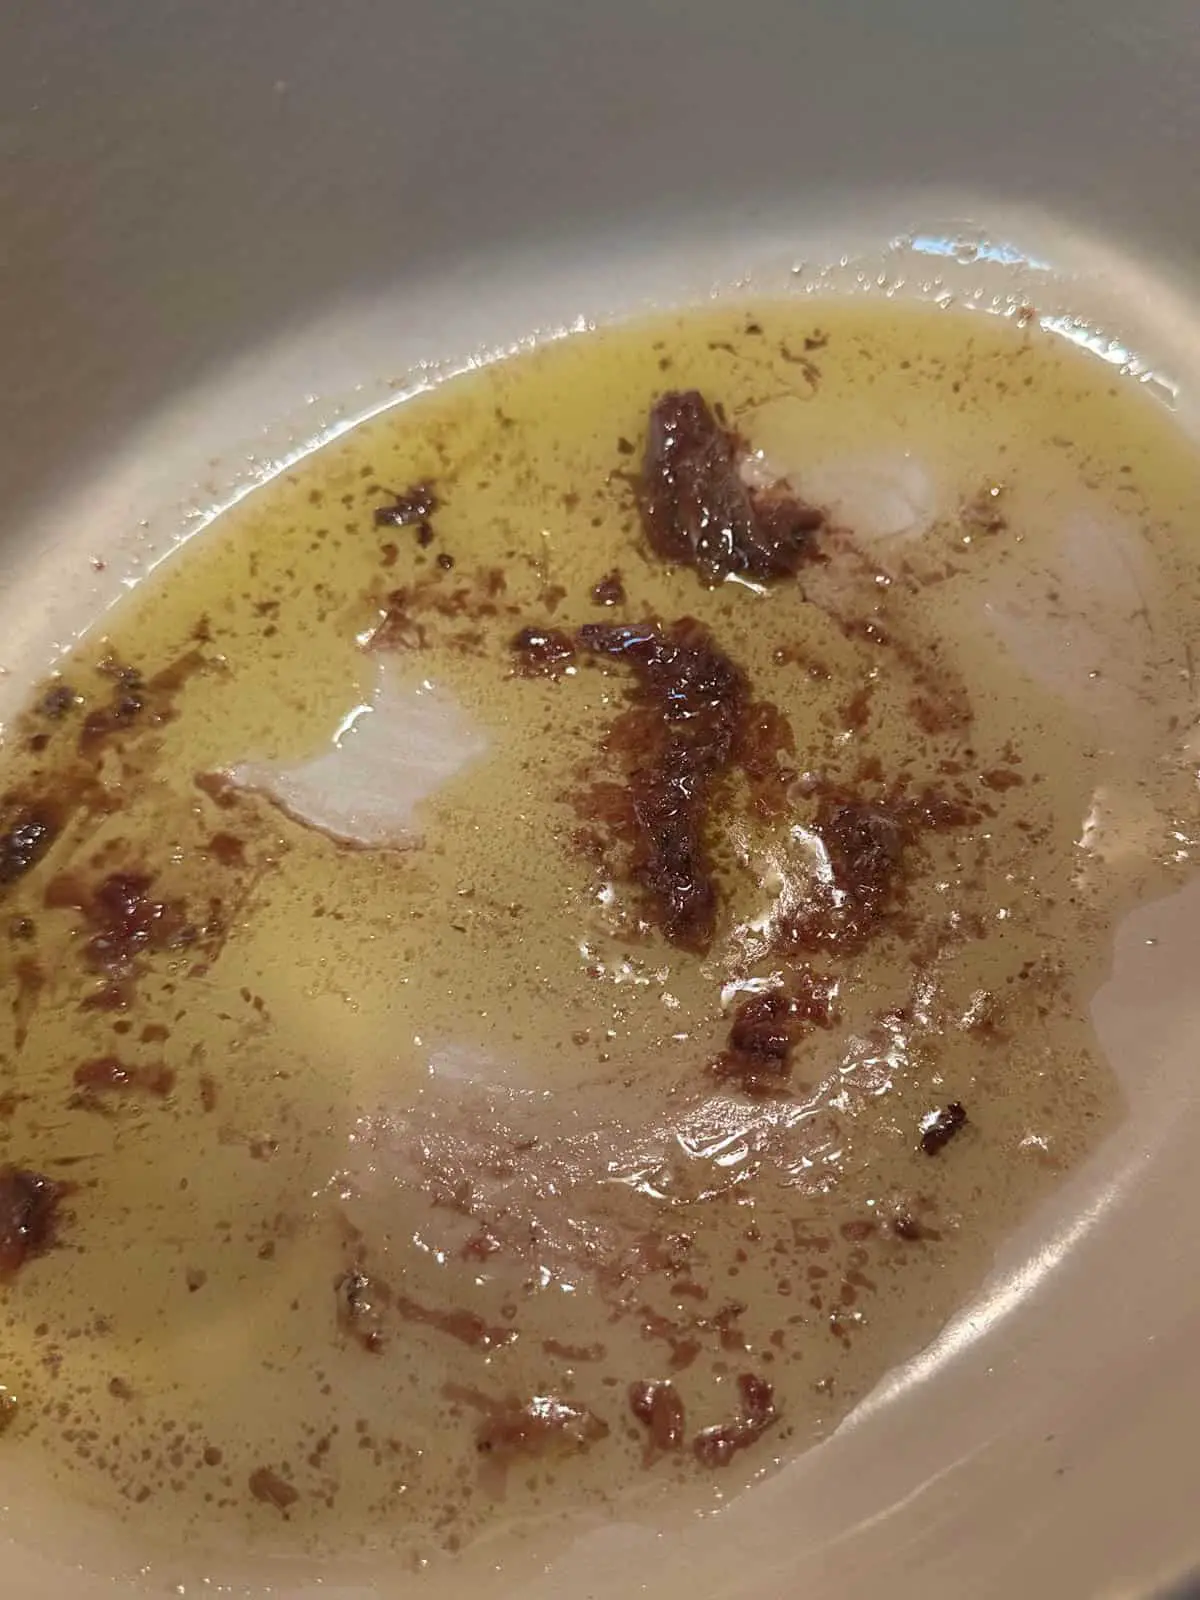
Add extra virgin olive oil to your large pot or Dutch oven on medium heat. Once the oil is hot, add the anchovies and stir until they melt into the oil, about 2 minutes.
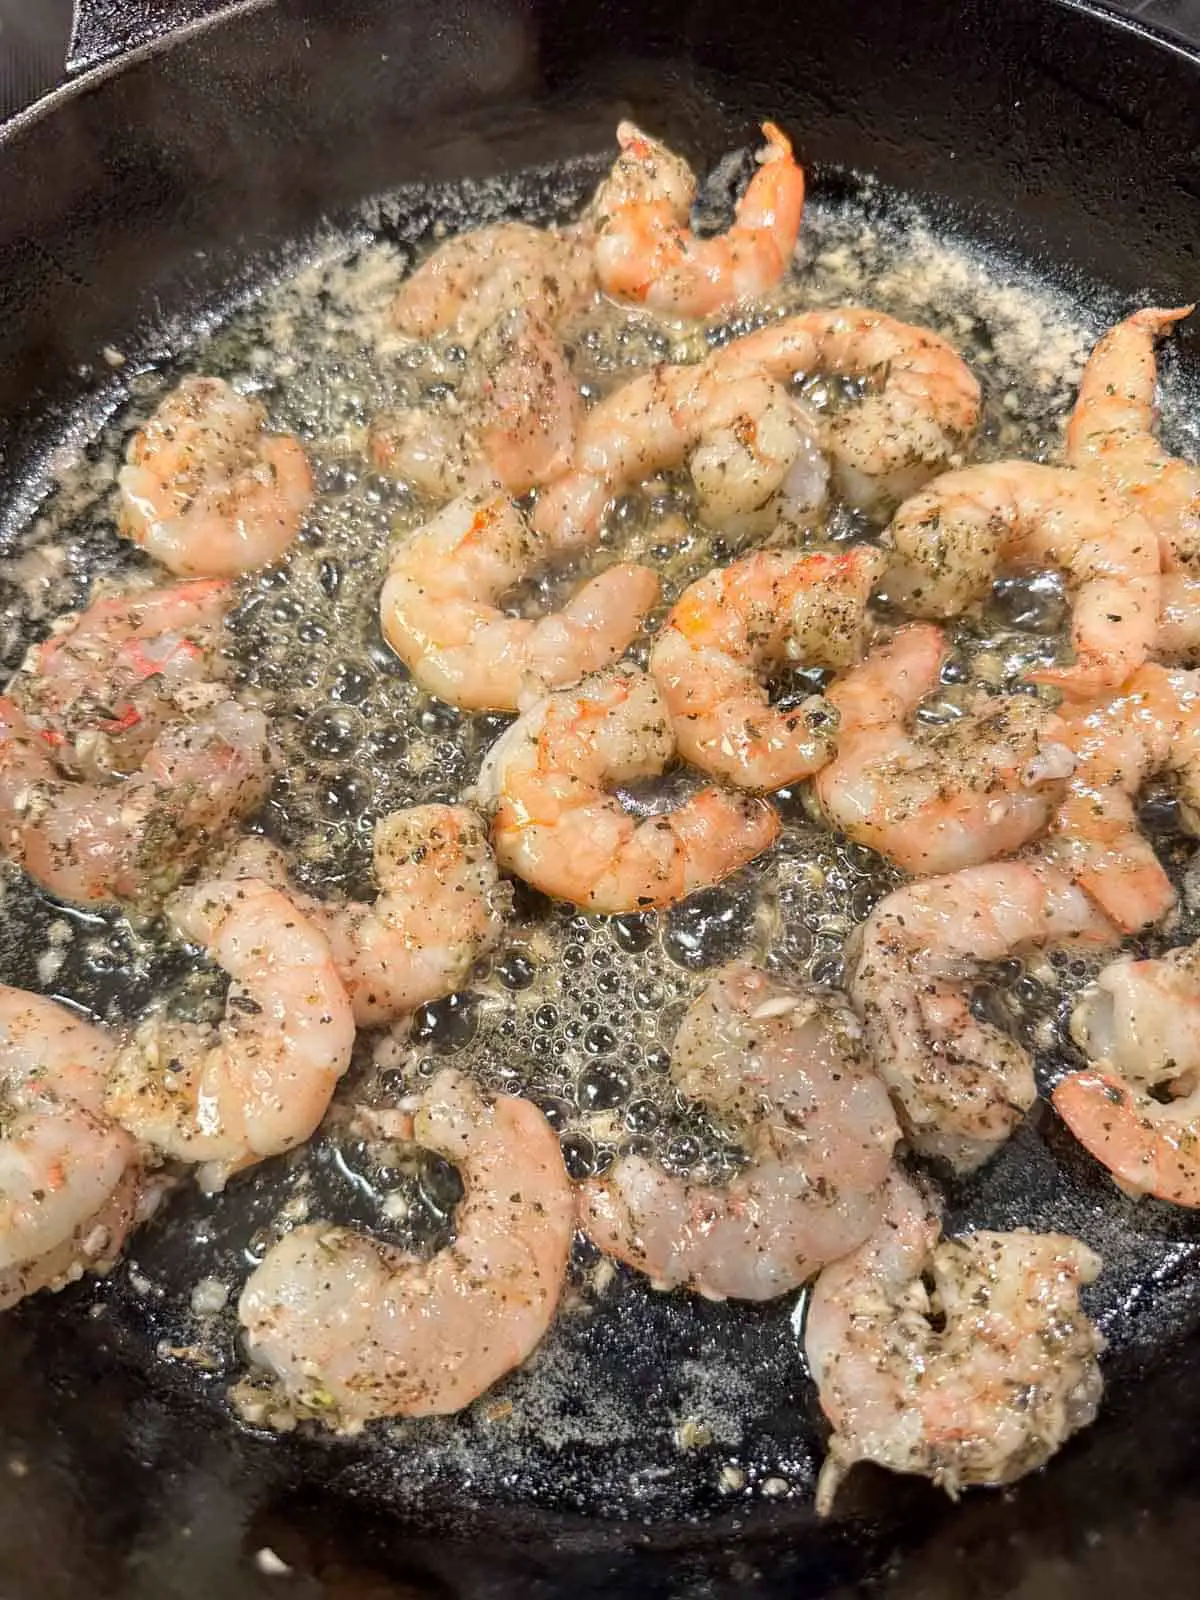
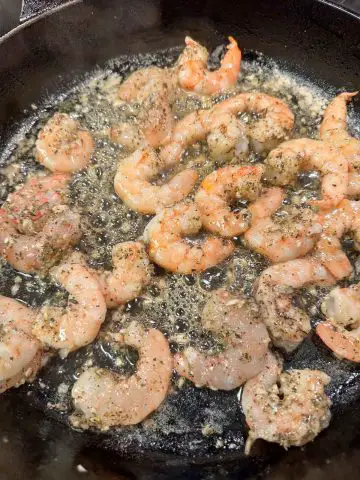
Then add the defrosted seafood mix and wine, and stir to combine well.

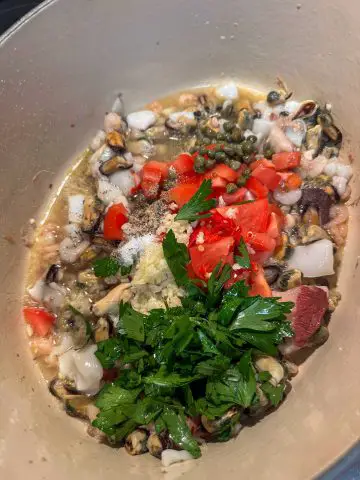
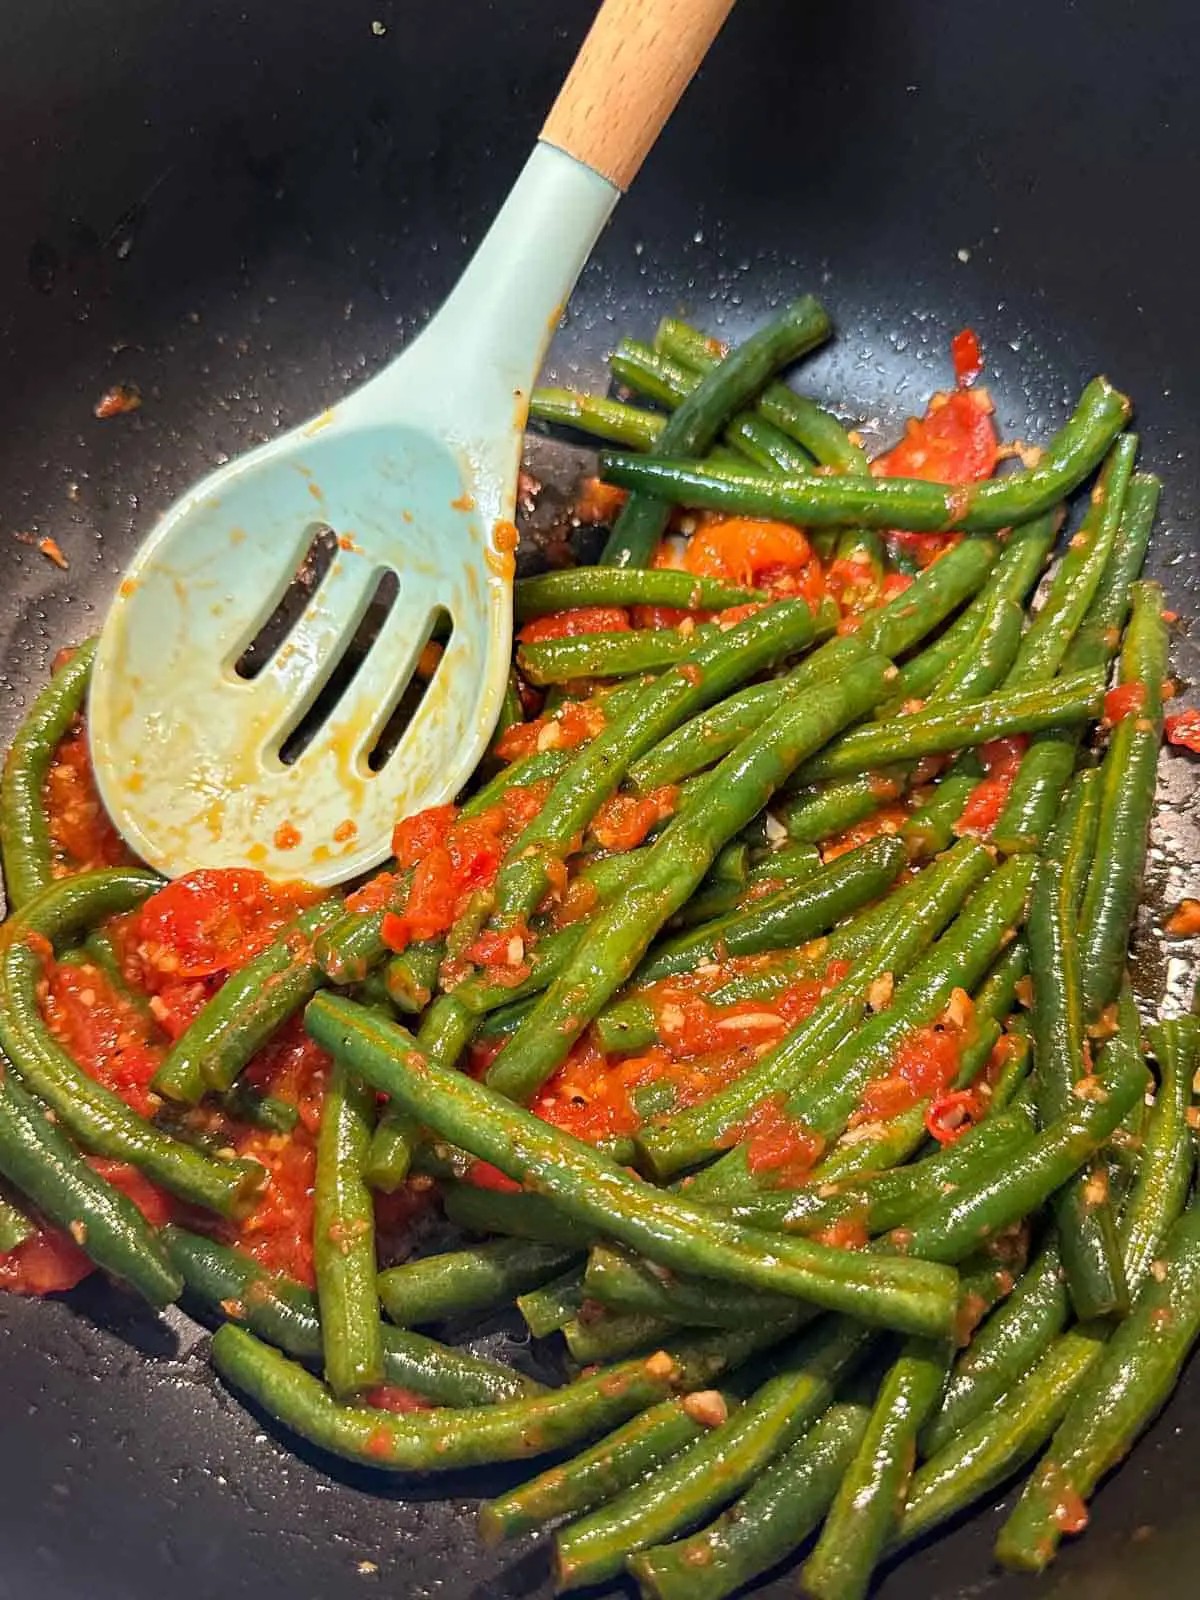
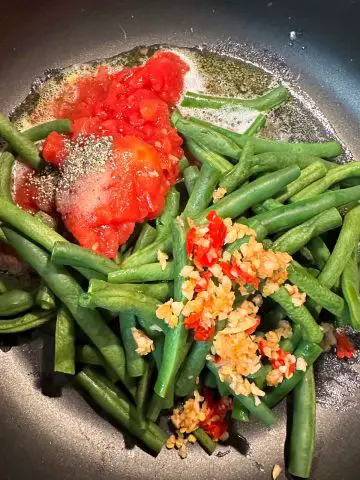
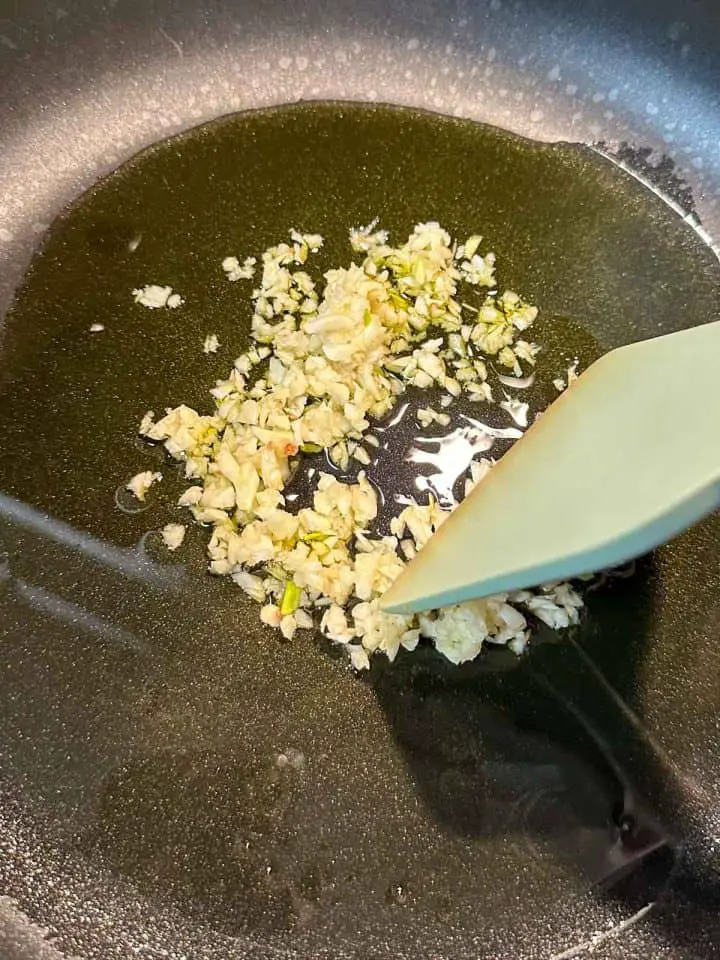
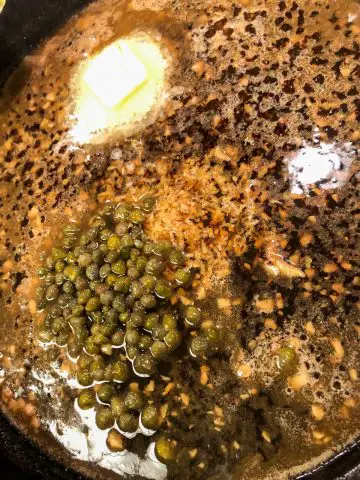
It's time to add all of the other ingredients! So now add the garlic, chili, capers, tomatoes, ¾ cup of the parsley, chicken stock, and salt and pepper. Bring to the boil on medium-high heat, and then lower the heat to a low simmer, cover, and cook for about 5 minutes.

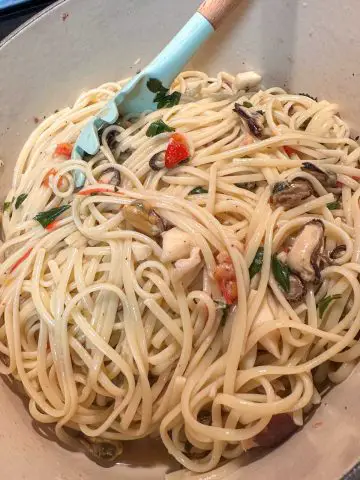
Keep the sauce warm on a low heat while your pasta finishes cooking if it is not ready. Don't forget to reserve 1 cup of the pasta water just before draining. Add the drained pasta to your seafood mix sauce and stir well. If the pasta is too dry for your liking, add some of the reserved pasta water a little at a time until you get the silky smooth pasta you are after.
If you feel there is too much liquid in the sauce, then you can cover the pot and let the pasta rest for around 3 minutes or so. During this time, the sauce will thicken.

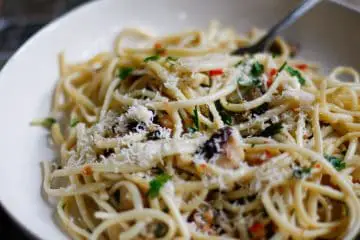
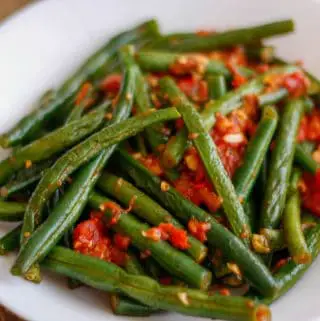
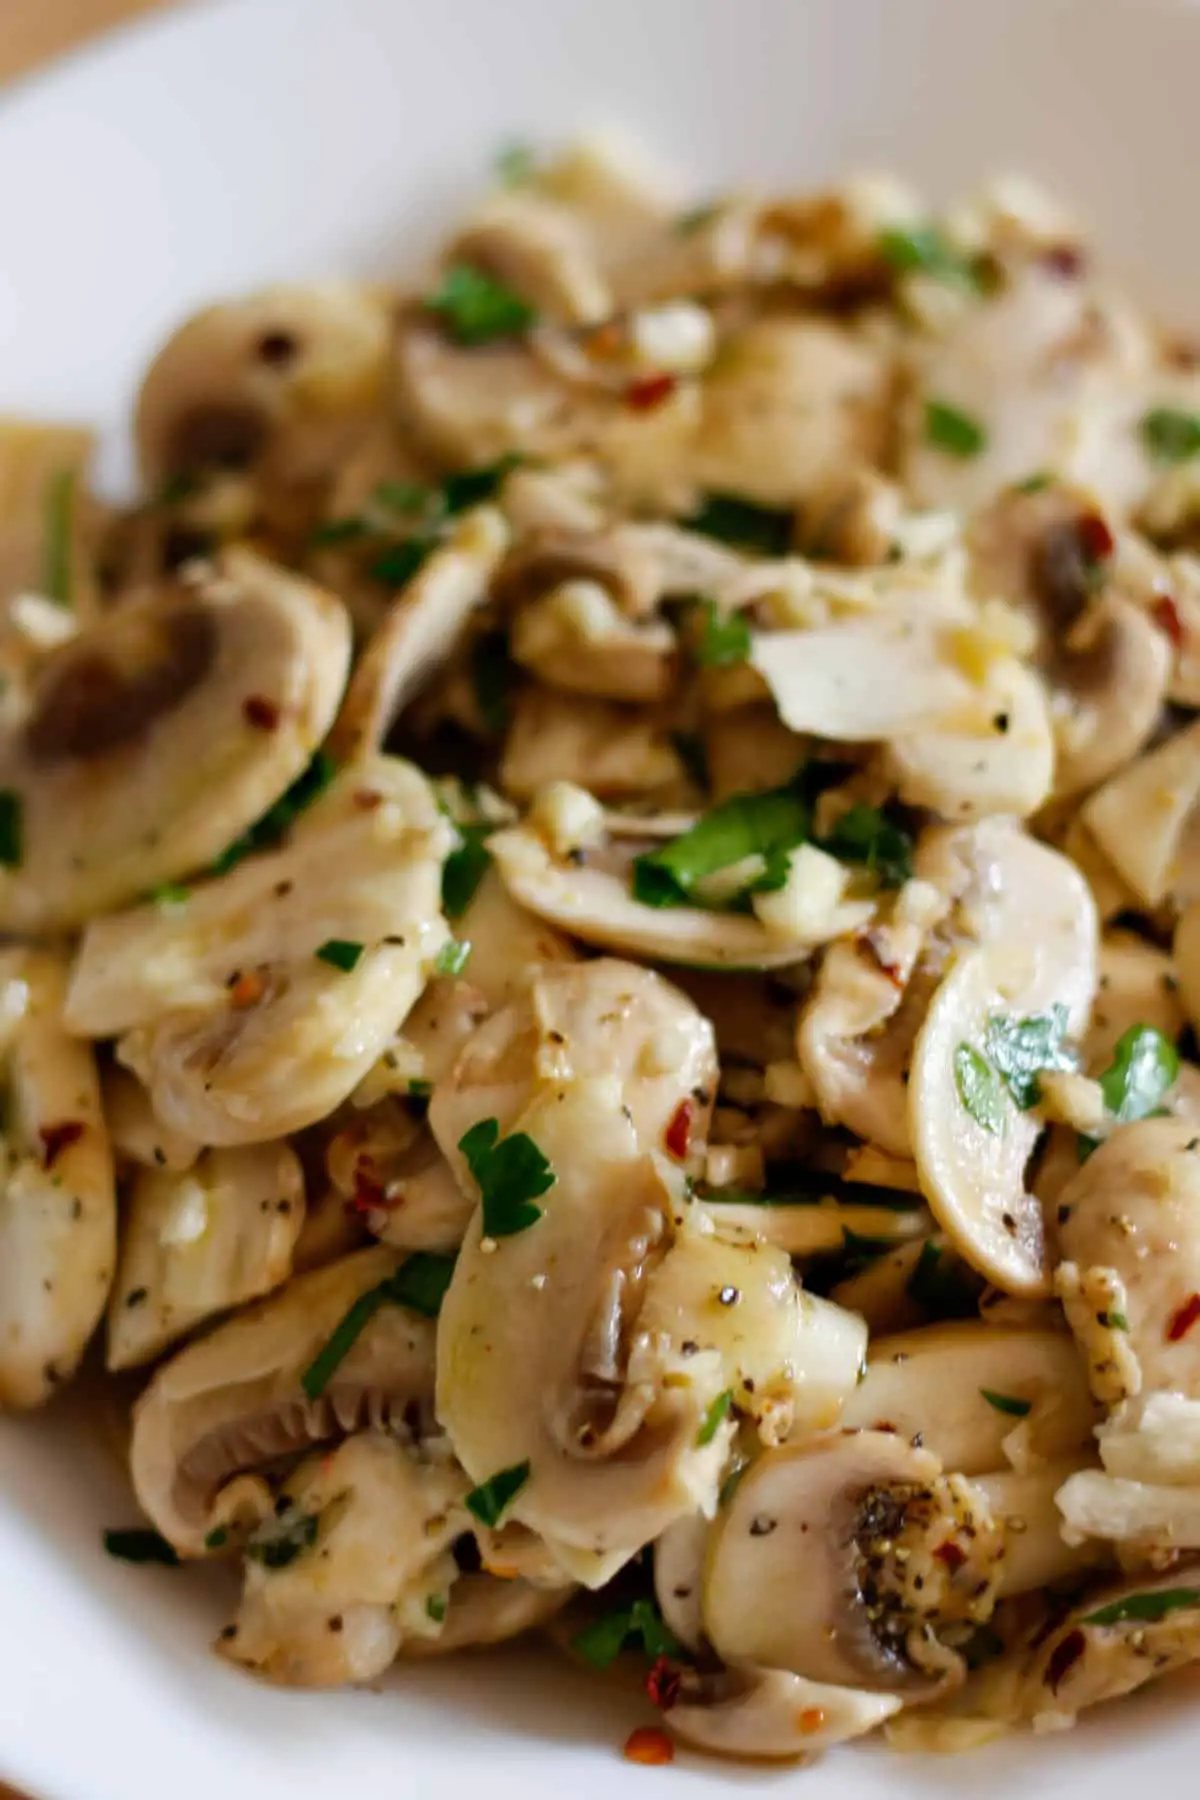
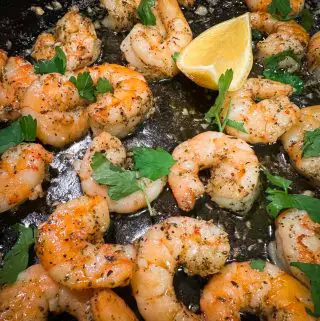
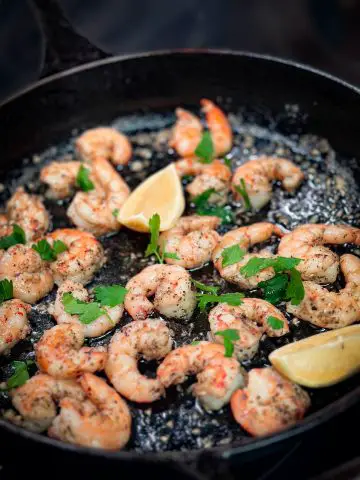
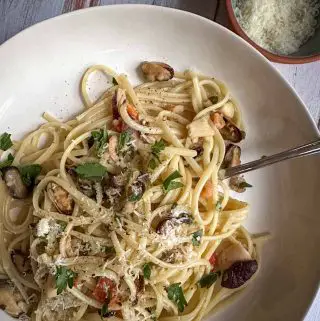
Your seafood pasta is now ready to serve!
Suggestions For Serving
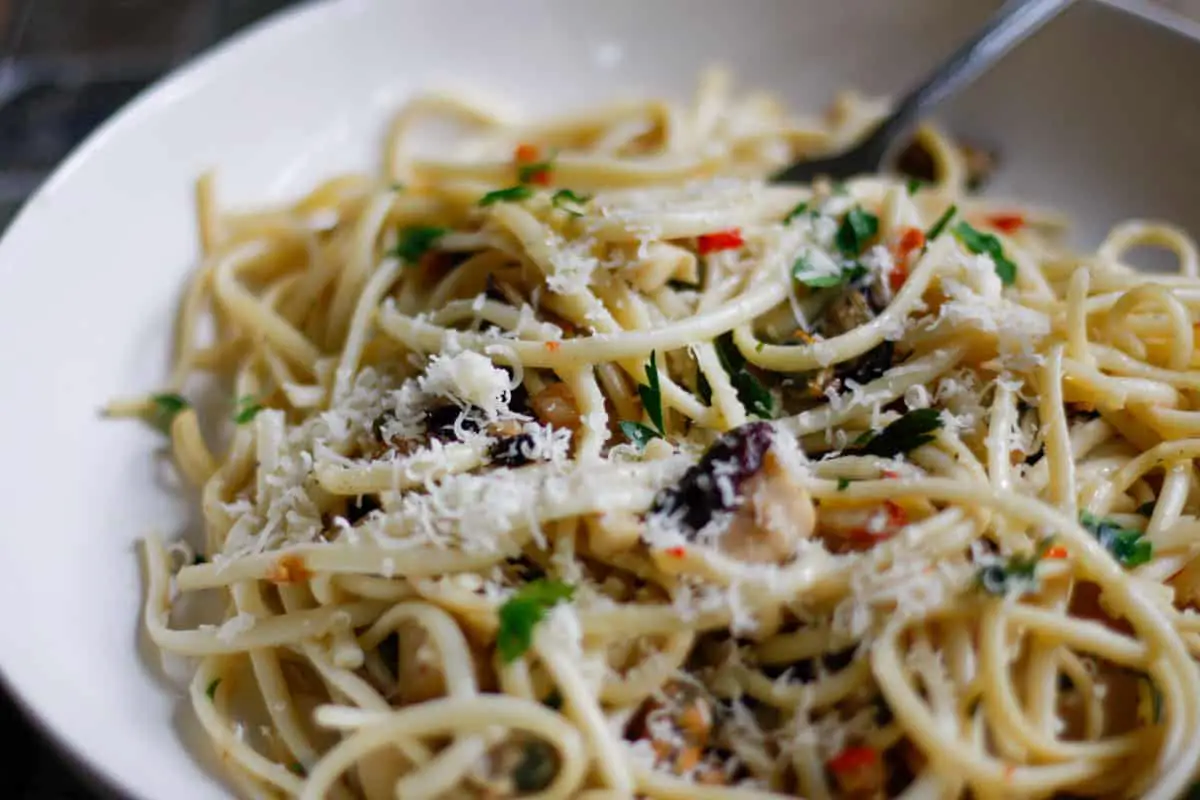
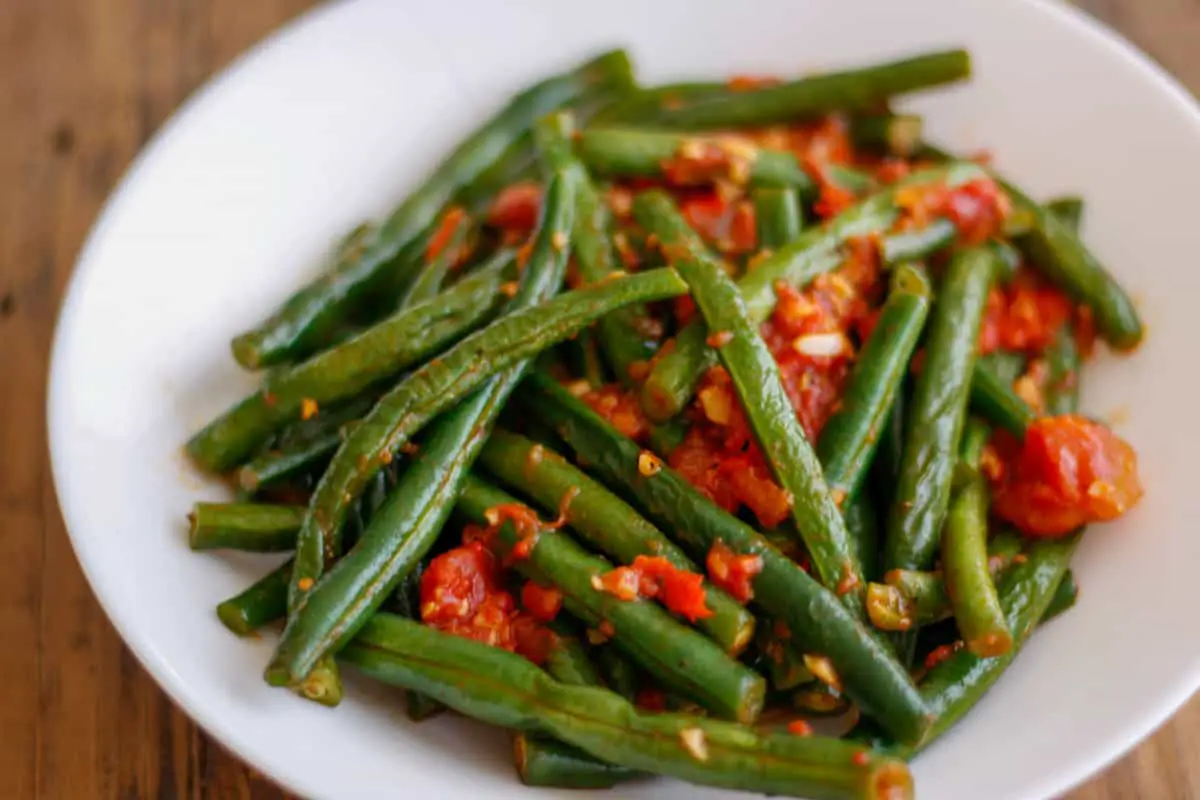
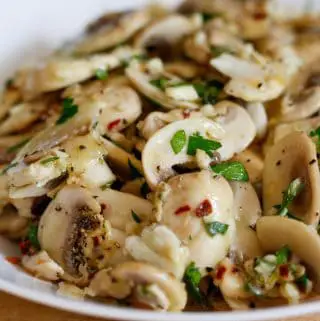
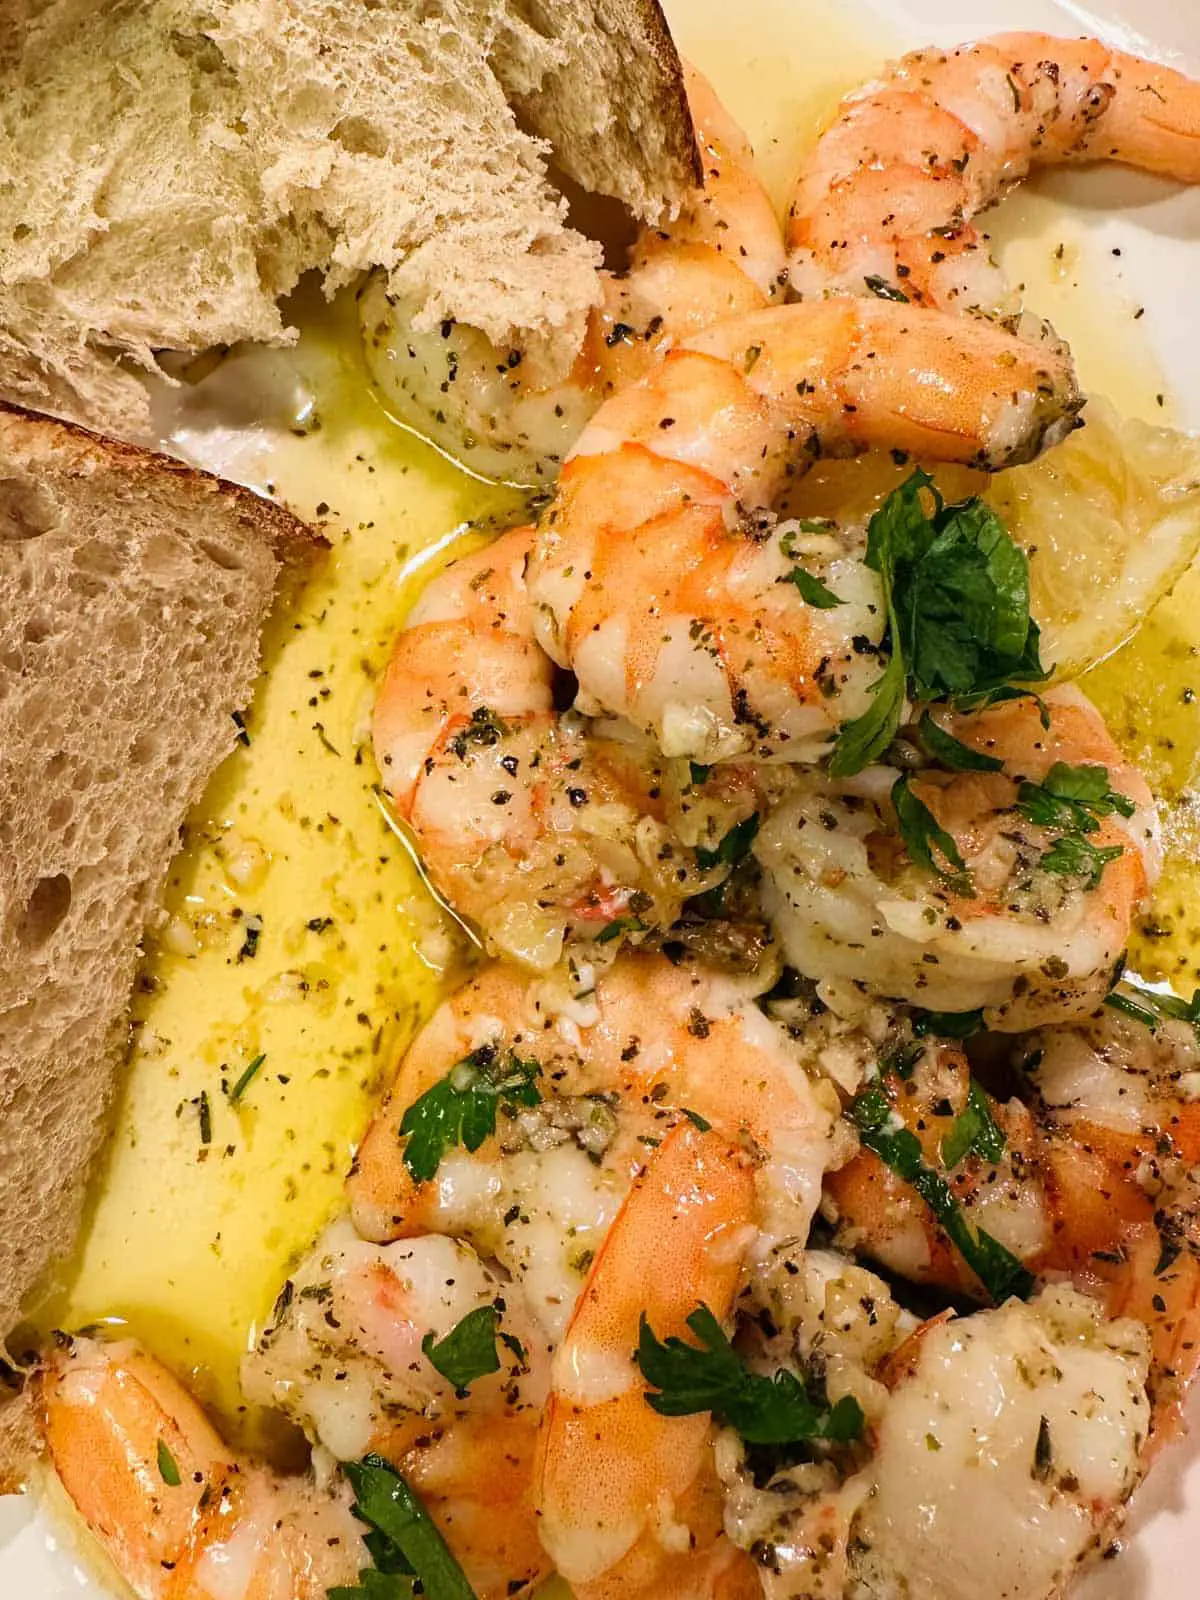
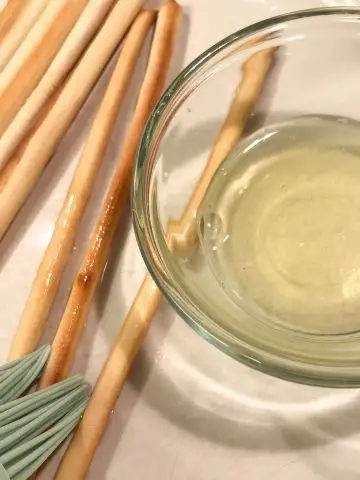
Place your pasta on a pretty plate and garnish with Italian parsley and Parmesan. The perfect finishing touch is a drizzle or two of extra virgin olive oil!
This easy dish is perfect served as a main course with some crusty bread and a fresh salad served as a side dish.
FAQ
You can store any leftover pasta in an airtight container in your refrigerator. This is best enjoyed within 3 days.
A delicious mix of seafood for pasta could include shrimp, mussels, clams, squid, octopus, or bay scallops.
Some Other Great Recipes You May Enjoy!
Here are some other great recipes that you may enjoy:
- The BEST Linguine With Pink Shrimp Sauce
- 5 Star Linguine Alle Vongole (Linguine with Clam Sauce)
- Linguine With Red Clam Sauce
Join Me On A Fun Food Journey!
Finally, I invite you to come along on this food journey with me! Please sign up to get the latest recipes and inspiration for you to expand your food comfort zone! It's an incredible journey, please join me by signing up here.
Cheers!
Grace
Easy and Best Linguine With Seafood Mix Recipe
Equipment
- large pot with cover or Dutch oven for cooking the seafood mix and sauce
- large pot for cooking the linguine
Ingredients
- 1 lb linguine cooked according to package directions
- 1 lb seafood mix defrosted
- 1 ts fresh chili chopped
- 5 each cloves garlic minced
- 1 tablespoon extra virgin olive oil plus additional drizzled over your finished pasta dish
- ¾ cup Italian parsley
- 1 Roma tomato chopped
- 1 tablespoon capers
- 3 each anchovies use the ones packed in oil
- 1 tablespoon white wine
- ¼ cup chicken stock can sub chicken broth
- ½ ts salt
- ½ ts black pepper
Garnishes
- ¼ cup Italian parsley minced
- ½ cup Parmesan cheese grated
Instructions
- Prep all your ingredients and have them ready at hand to use. You can begin the process of cooking your linguine while you are preparing the sauce. Be ready to reserve 1 cup of the pasta water just before draining.

- Add extra virgin olive oil to your large pot or Dutch oven on medium heat. Once the oil is hot, add the anchovies and stir until they melt into the oil, about 2 minutes.

- Then add the defrosted seafood mix and wine, and stir to combine well.
- It's time to add all of the other ingredients! So now add the garlic, chili, capers, tomatoes, ¾ cup of the parsley, chicken stock, and salt and pepper. Bring to the boil on medium-high heat, and then lower the heat to a low simmer, cover, and cook for about 5 minutes.
- If your pasta is not ready, then keep the sauce warm on a low heat while your pasta finishes cooking. Don't forget to reserve 1 cup of the pasta water just before draining. Add the drained pasta to your seafood mix sauce and stir well. If the pasta is too dry for your liking, add some of the reserved pasta water a little at a time until you get the silky smooth pasta you are after.
- Place your pasta on a pretty plate and garnish with Italian parsley and Parmesan. The perfect finishing touch is a drizzle or two of extra virgin olive oil!