This page may contain affiliate links. So, I receive a small commission at no cost to you when you make a purchase using my link. This post is about an Ethiopian Red Split Lentil Wat Berbere Spice Recipe!
One of my favorite spice blends is an Ethiopian spice blend called Berbere. This spice blend is essential in both Eritrean and Ethiopian cuisine.
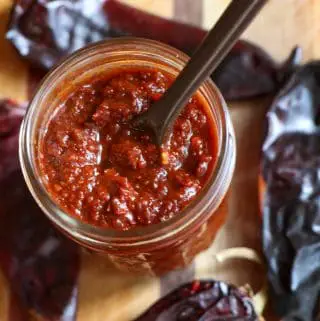
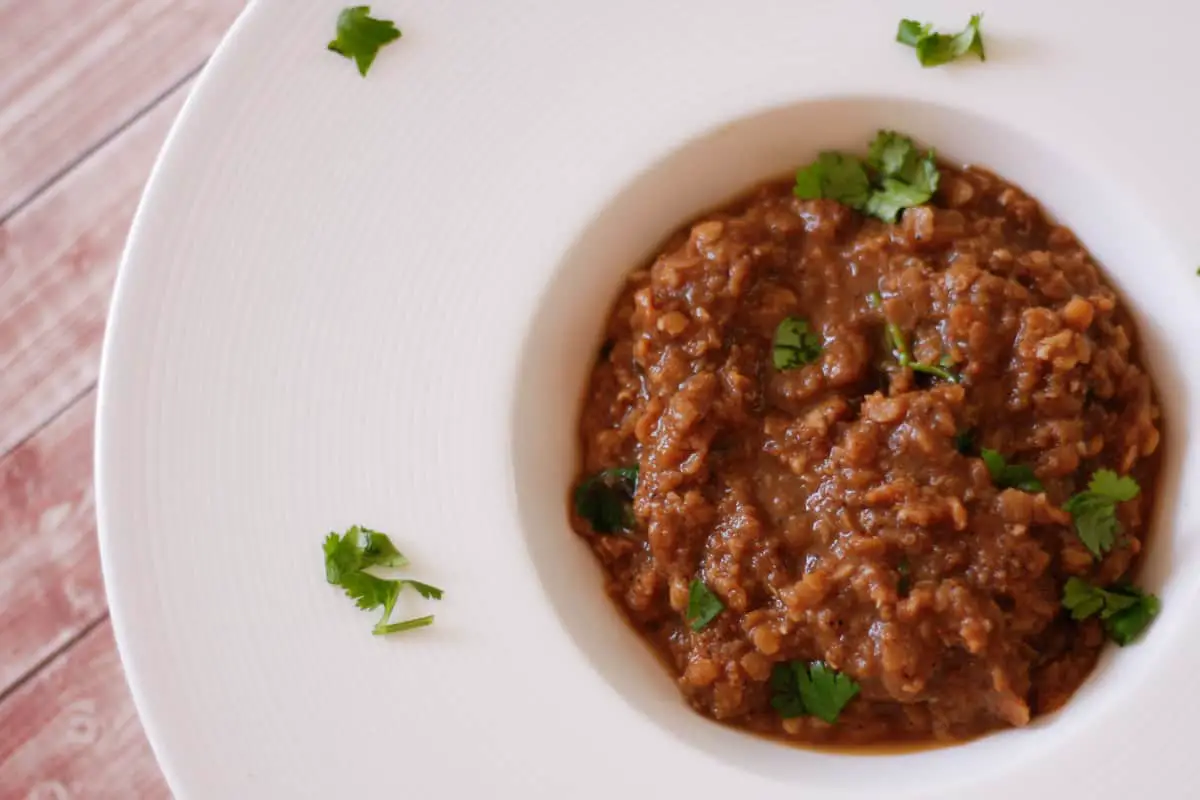
And it features in this Ethiopian dish called lentil wat. "Wat" means food, and the lentil wat I write about here is my version of misir wot (aka mesir wat or mesir wot), a red split lentil stew.
This Ethiopian lentils recipe is written with ease, simplicity, and of course deliciousness in mind.
But first allow me to tell you a little bit about Berbere spice!
[feast_advanced_jump_to]What is Berbere Spice Mixture?
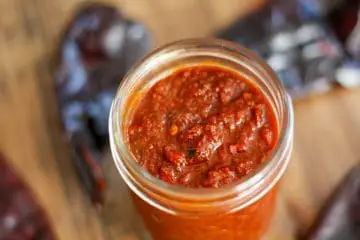
Berbere spice is a spice mix used in Eritrean and Ethiopian cuisines. It's a mixture of spices and blends typically differ but may include paprika, salt, coriander, ginger, cinnamon, chili peppers, black pepper, and/or cumin. It is used to make Doro Wat, the national dish of Ethiopia.
The taste of Berbere is spicy, but not in a chili pepper hot and spicy way. I'm referring more to the complex flavors and profile that includes the chili as well as warming spices and citrusy flavors as well.
In addition to using Berbere for meats and even fruits, it's absolutely fantastic with lentils and vegetarian recipes, as you will experience in this dish!
Why You Will Love This Easy Ethiopian Lentil Stew Recipe!
If you love Ethiopian food, or even if this is your first time trying Ethiopian food, you will love this lentil dish! Here are a few reasons why:
- First of all, this delicious recipe is easy. Please be aware that I've adapted this recipe to use simple and easily obtainable ingredients. For example, authentic misir wat may include niter kibbeh, which is a seasoned clarified butter similar to ghee. But this recipe uses olive oil which is easier for most of us to use.
- The cooking time is less than 30 minutes. Using red split lentils rather than whole red lentils helps to speed up the cooking process.
- This is one of the great Ethiopian dishes, with amazing flavors that are unforgettable and likely to become a favorite!
- It's easy to make this spicy Ethiopian red lentil stew part of a delicious vegetarian or vegan meal.
So now let me tell you what you'll need to make this dish!
🥘 Ingredients
So here are the simple ingredients that you will need for this lentil wat recipe:
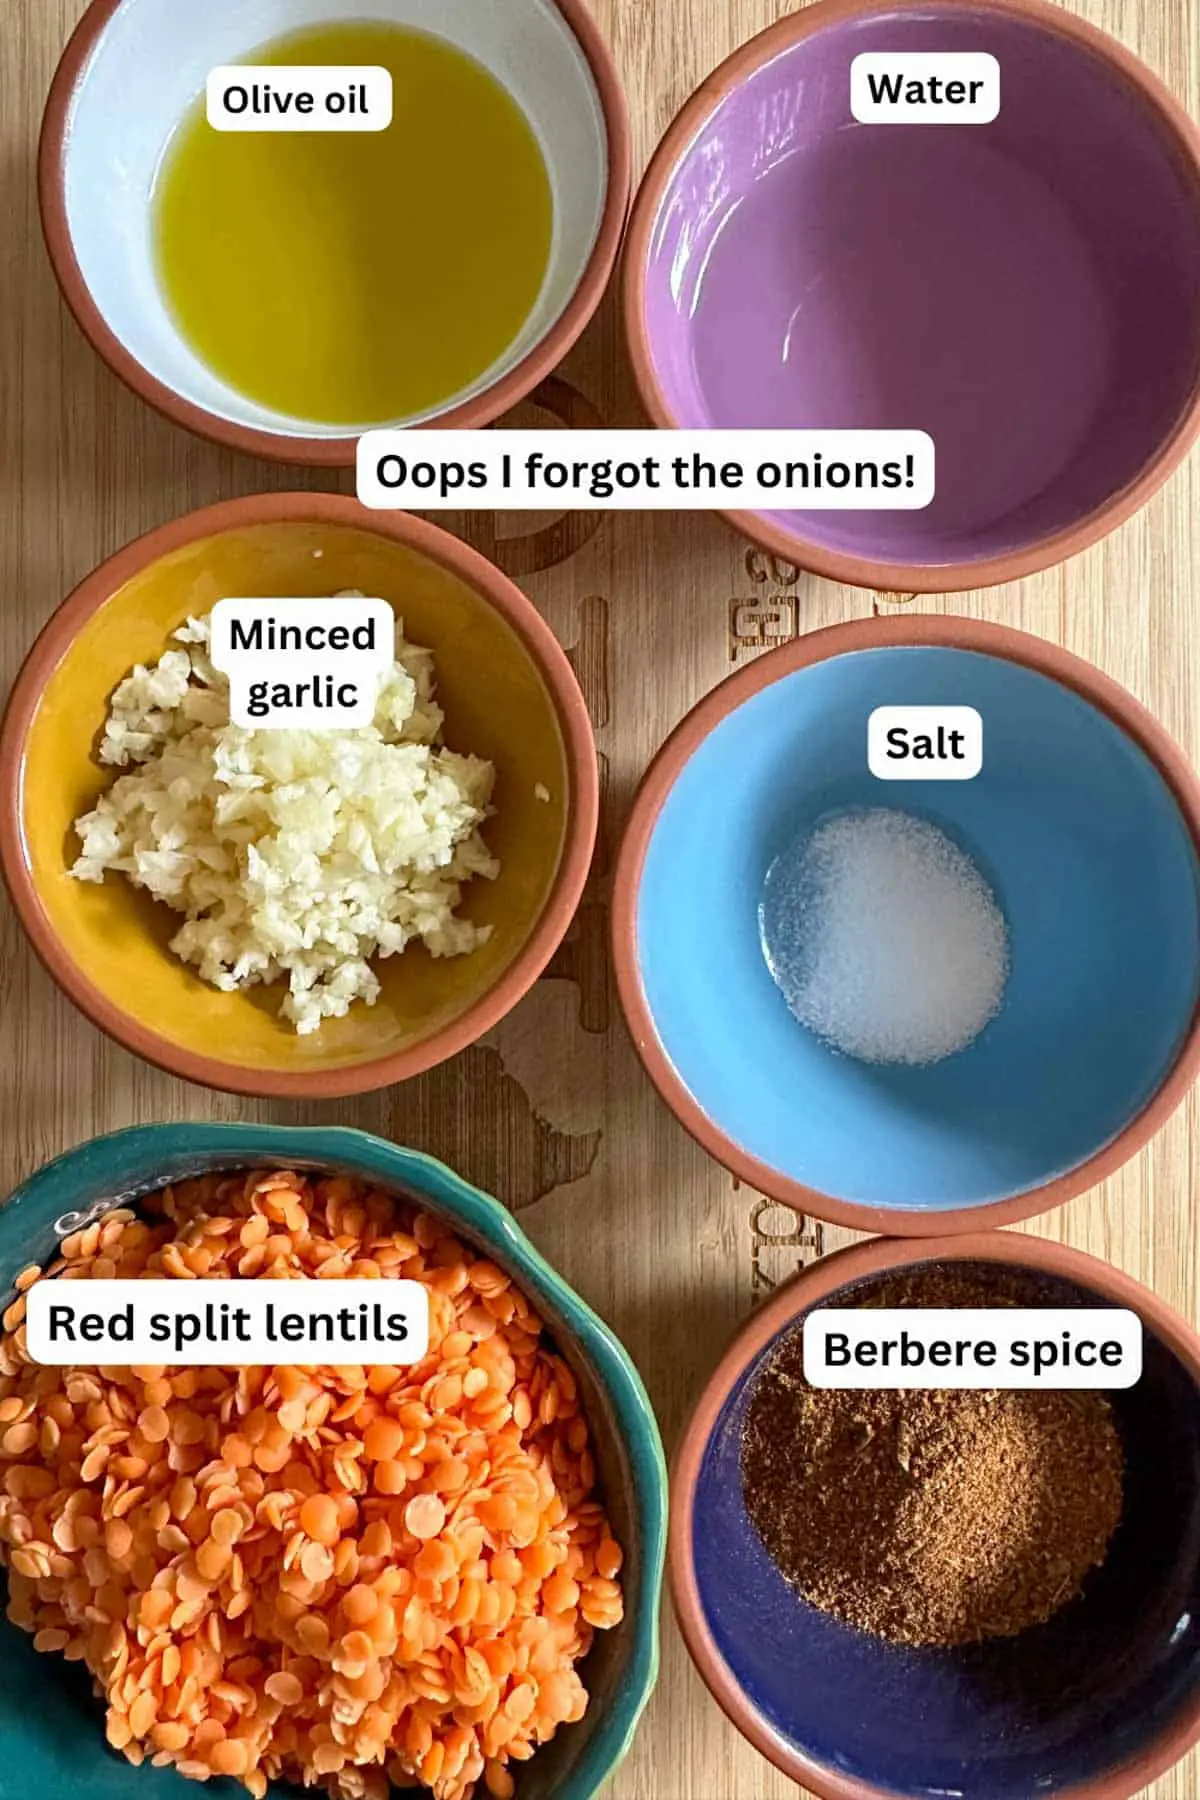
- Red split lentils
- Water - can sub vegetable broth if you like
- Berbere Spice Blend - there are many different Berbere Spice blends available commercially; I used one by Spice Hut
- Yellow onions - you can use red onions if you prefer
- Fresh garlic cloves
- Olive Oil
- Salt
- Optional cilantro as garnish
You should be able to get most of these ingredients at well stocked grocery stores. However, if your grocery store doesn't sell red split lentils or Berbere spice, I have linked to Amazon for your convenience.
Ok, it's time to roll up our sleeves and make this Ethiopian lentil wat!
🔪 Instructions
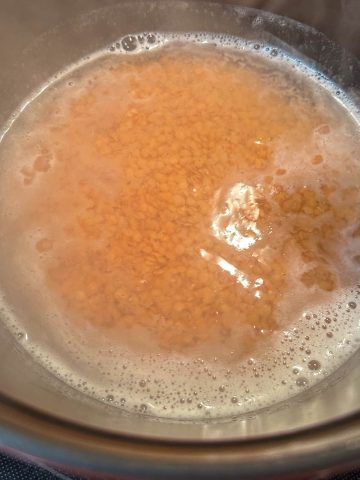
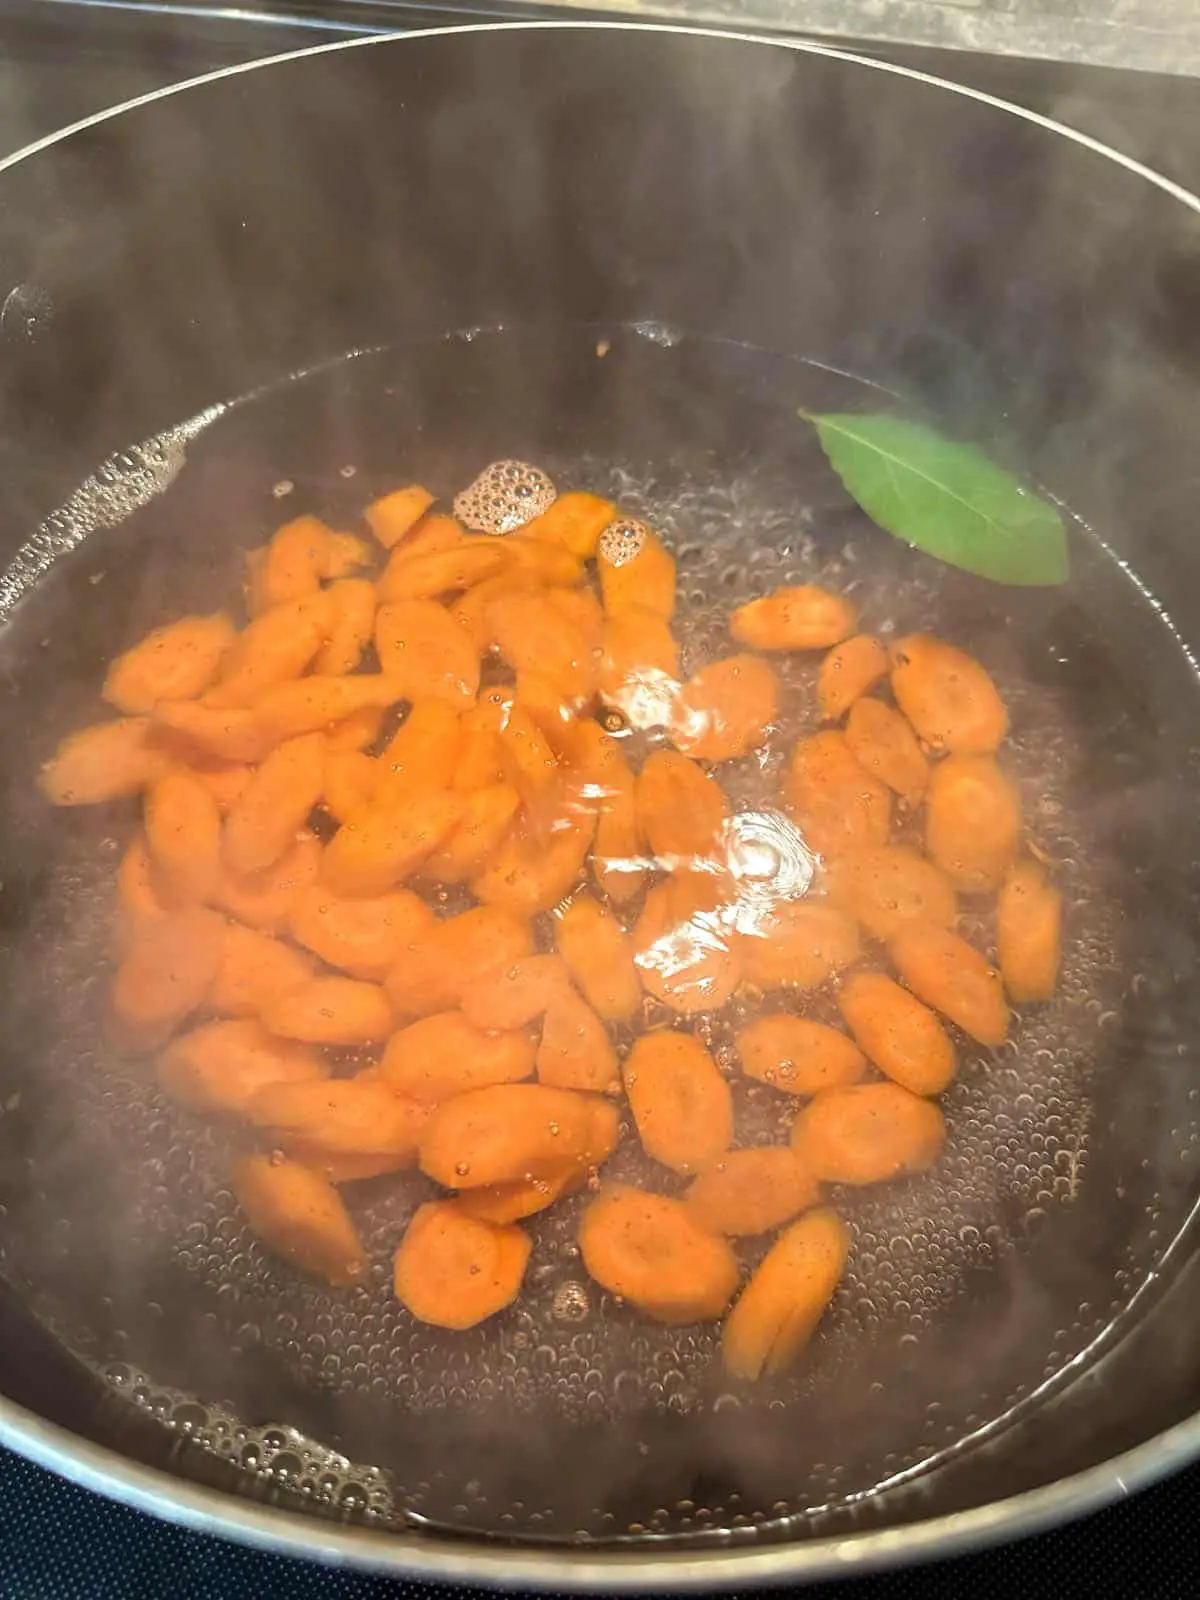
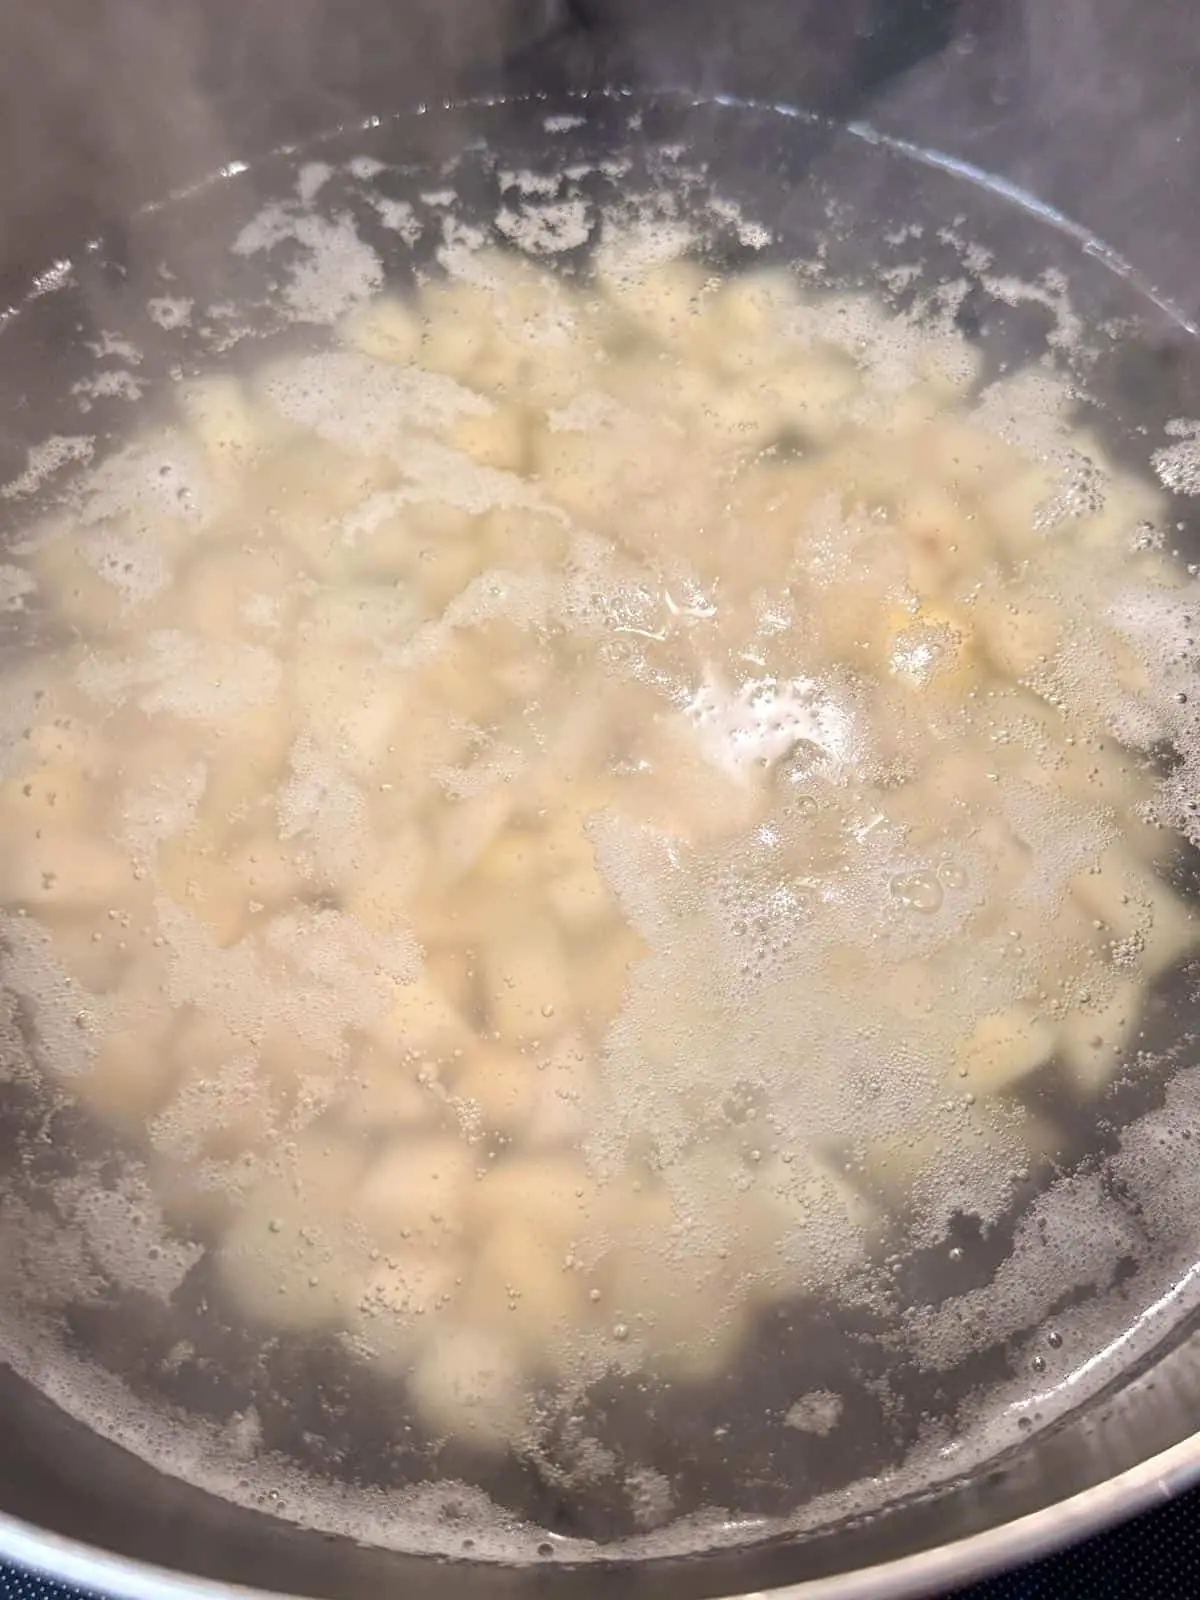
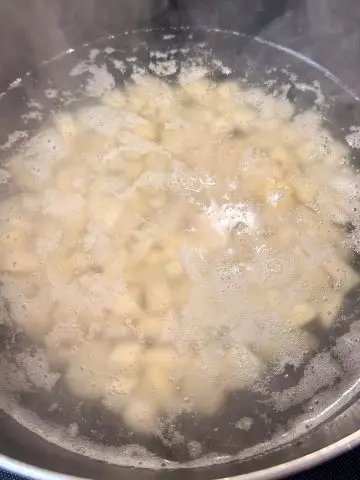
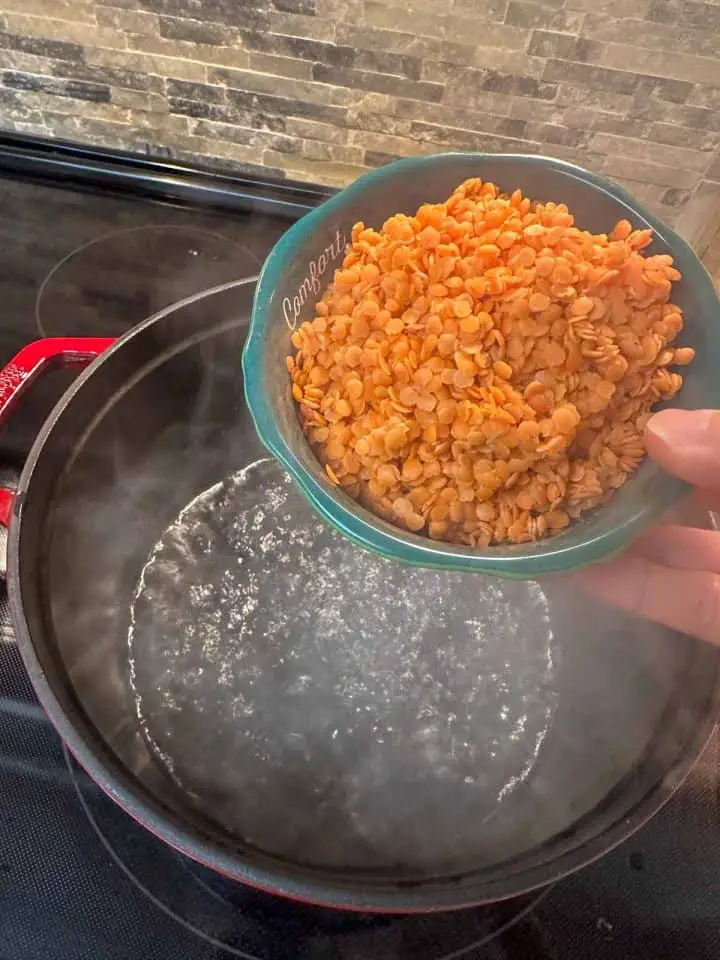
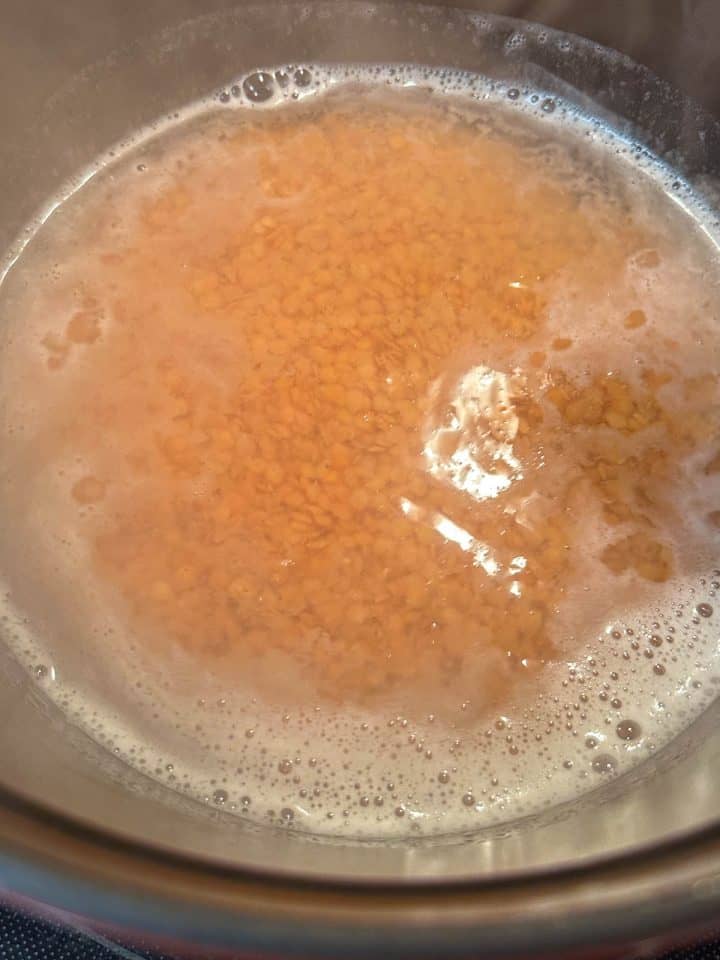
Bring 3 cups of water to the boil in a saucepan or Dutch oven, then add the red split lentils. Boil for about 7 minutes or until the lentils are soft and tender. Drain the lentils and set them to the side.
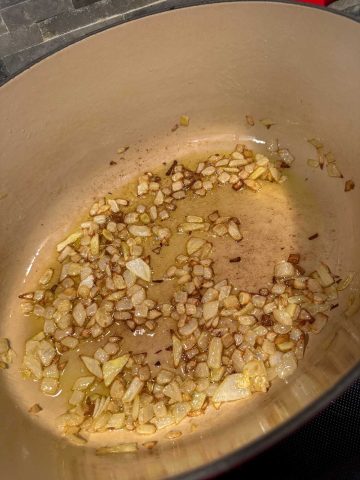
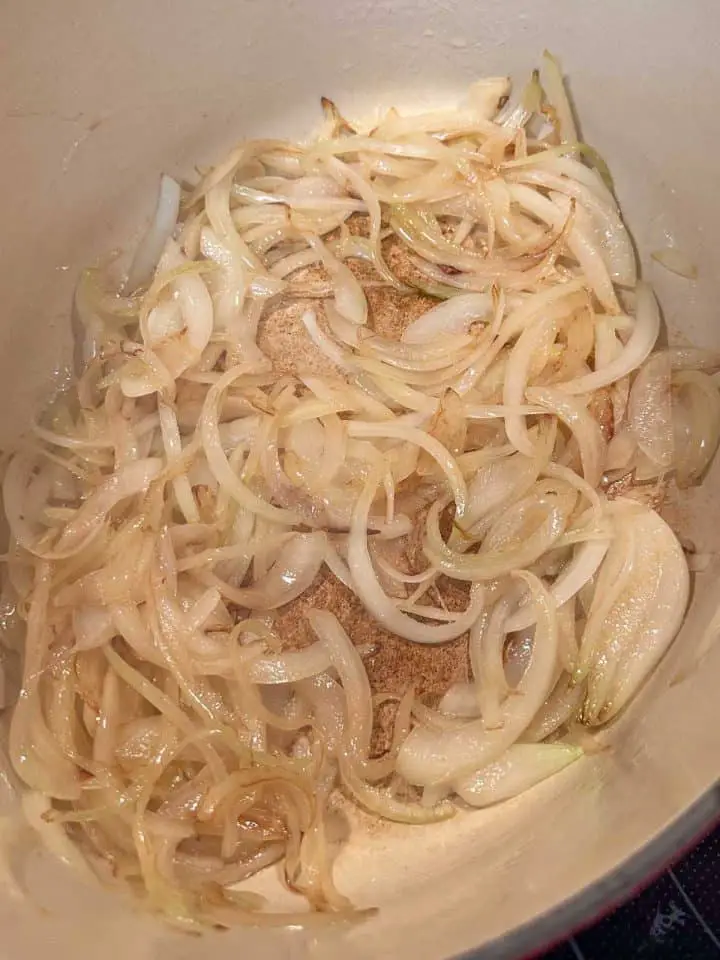
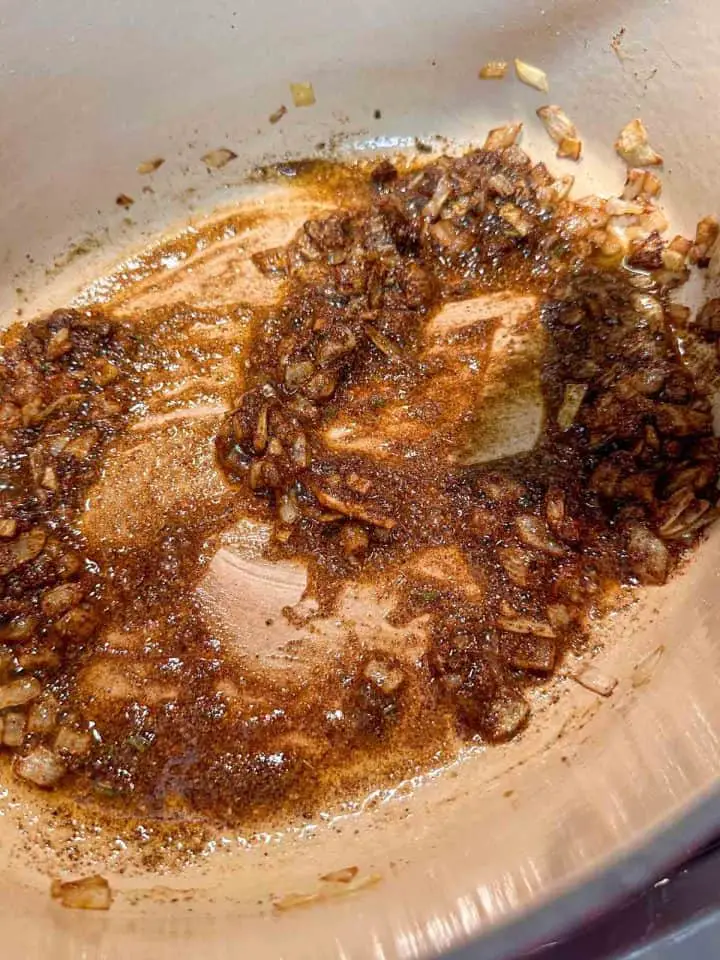
While the lentils are cooking, add oil to a separate saucepan or Dutch oven on medium heat. Cook the chopped onions until browned, about 6 minutes.
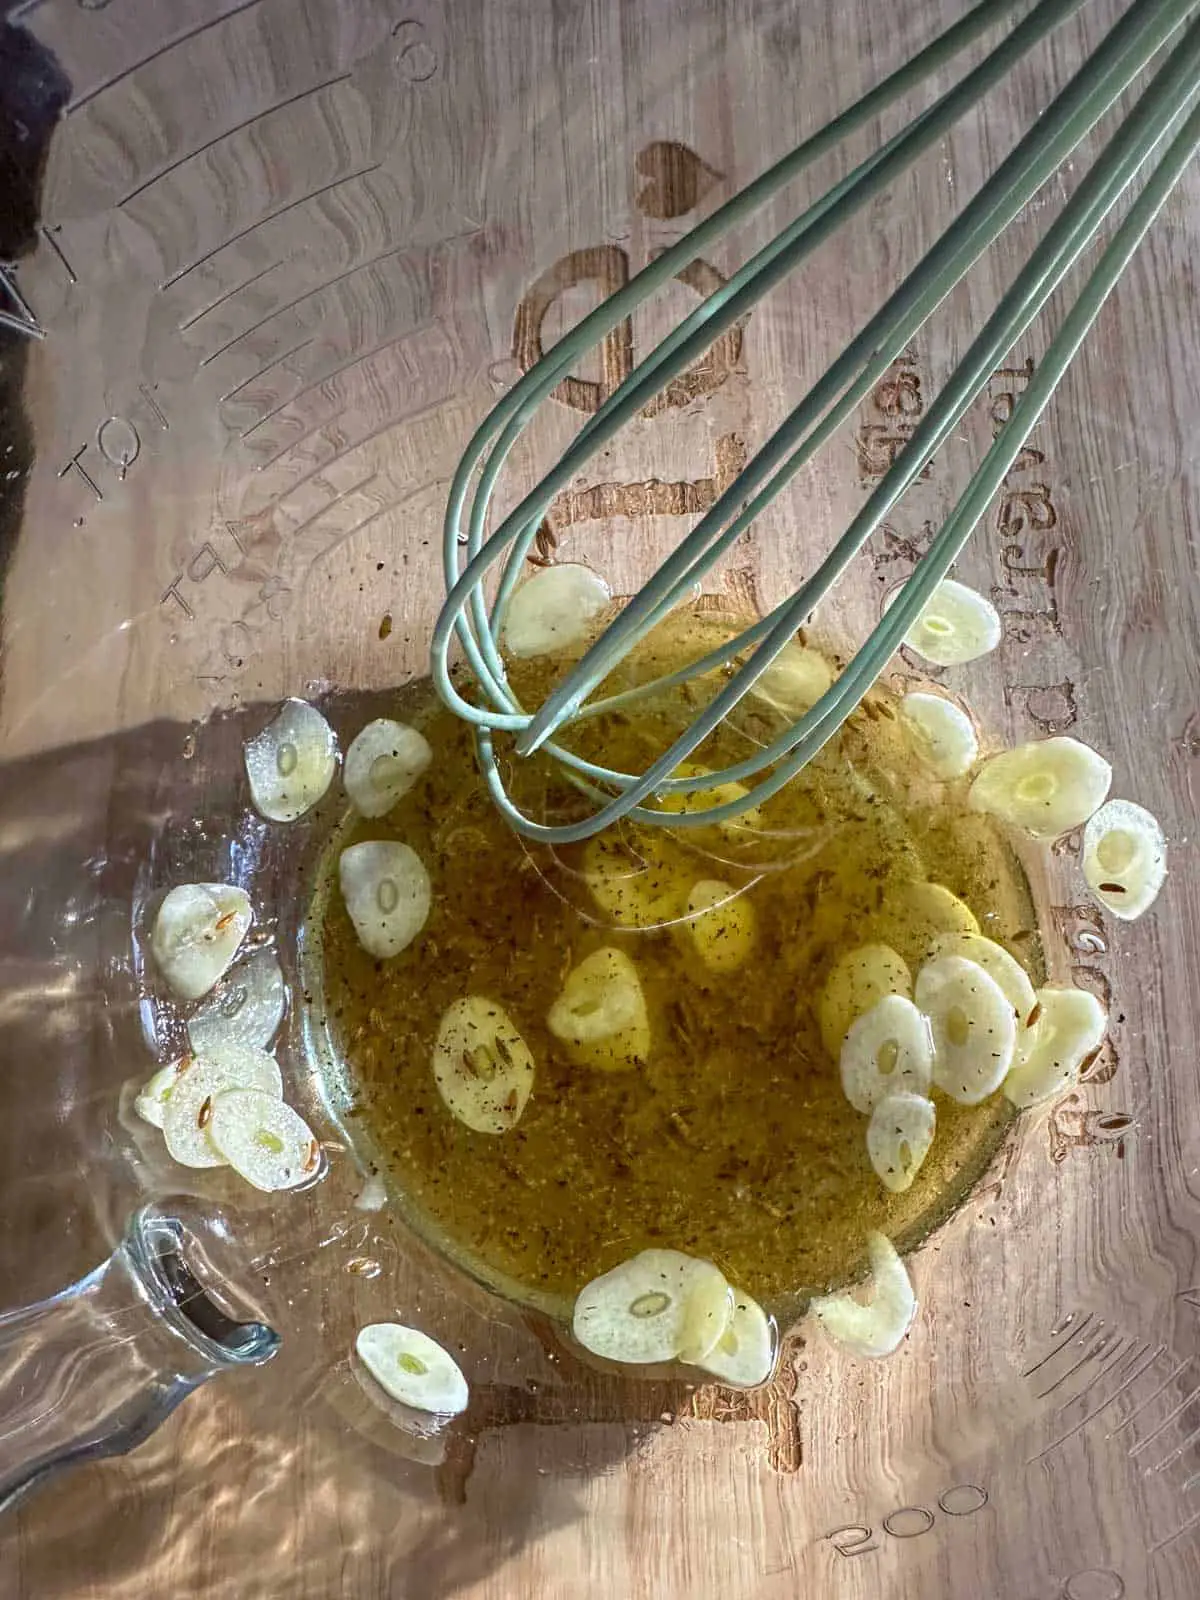
Lower the heat to medium low, and then add the Berbere spice. Stir for around 30 seconds.
PLEASE NOTE: 3 tablespoons of Berbere spice will give you big and bold flavors; you can adjust the quantity down if you want a milder tasting dish, or start with 1 tablespoon and increase the amount as you desire, adding more towards the end of cooking.

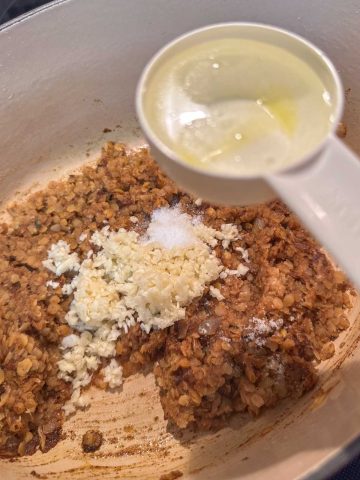
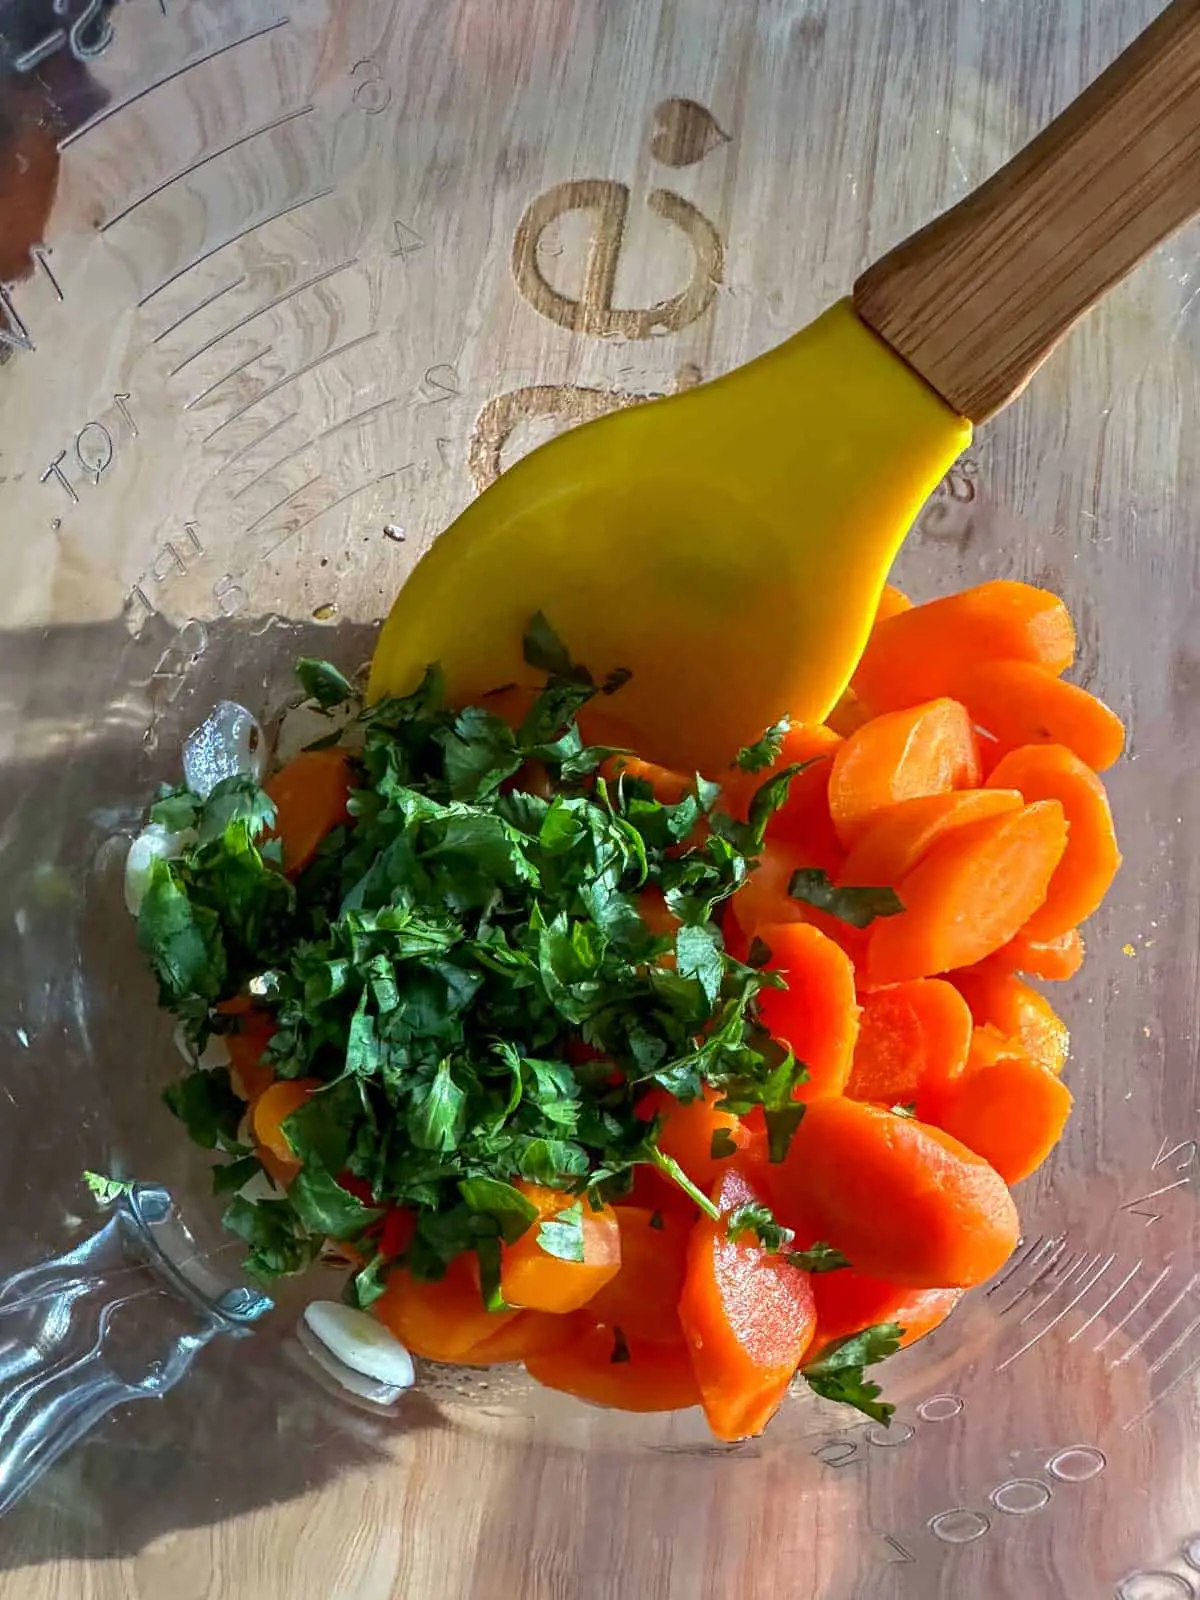
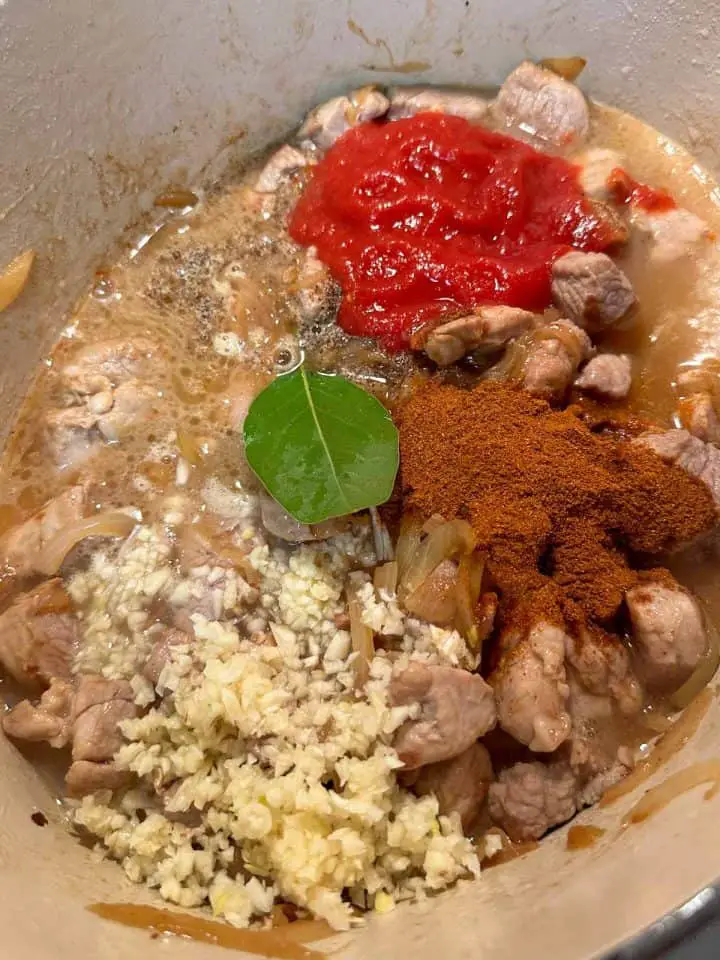
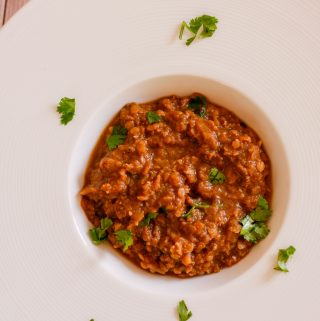
Now add the cooked lentils and stir them into the onion and Berbere mixture, followed by the minced garlic, salt, and ½ cup of water. Stir well, then cook on low for about 3-5 minutes.

During this time you can add additional water to achieve the consistency of the lentil wat to your liking.

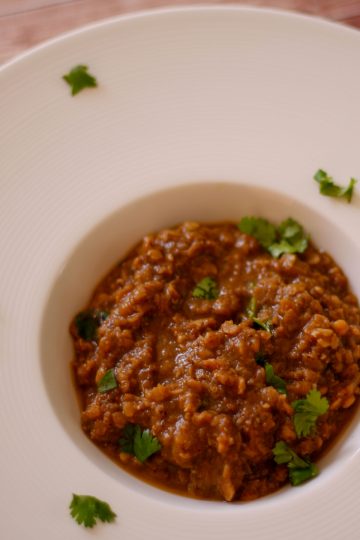
Taste and add more salt if you desire, and garnish with cilantro then enjoy!
Suggestions For Serving

Lentil wat is perfect eaten with Ethiopian injera if you have it, or scoop it up with any flatbread that you like.
I also enjoy eating this wonderful vegetarian dish with rice, and it is of course perfect to include as part of any Ethiopian meal.
You can find the full printable recipe card with step by step instructions below!
FAQ
Store leftover lentil wat in an airtight container, and enjoy within 3-4 days. I personally think it tastes better the next day!
You can substitute different lentils for red split lentils in this recipe. Consider green or brown lentils or whole red lentils. Just be sure to change the cooking time for your choice to lentils so that they are cooked until tender.
Some Other Great Recipes You May Enjoy!
Here are some other great recipes that you may enjoy:
Join Me On A Fun Food Journey!
Finally, I invite you to come along on this food journey with me! Please sign up to get the latest recipes and inspiration for you to expand your food comfort zone! It's an incredible journey, please join me by signing up here.
Cheers!
Grace
Ethiopian Red Split Lentil Wat Berbere Spice Recipe
Equipment
- 2 saucepans or Dutch ovens one is used to cook the lentils and the other is used to cook the other ingredients to which the cooked lentils are added to
Ingredients
- 1 cup red split lentils
- 3.5 cups water split; the 3 cups will be used when cooking the lentils until tender. ½ cup will be added toward the end of cooking the lentil wat mixture and you can add additional water to moisten the lentil wat to your liking
- 3 tablespoon Berbere spice this amount will give you big and bold flavors; you can adjust the quantity down if you want a milder tasting dish, or start with 1 tablespoon and increase the amount as you desire, adding more towards the end of cooking
- ½ onion chopped; I used yellow onions, you can use red onions if you prefer
- 6 each garlic minced
- ¾ ts salt
- ¼ cup olive oil
Optional Garnish
- cilantro finely chopped and added as an optional garnish
Instructions
- Bring 3 cups of water to the boil in a saucepan or Dutch oven, then add the red split lentils. Boil for about 7 minutes or until the lentils are soft and tender. Drain the lentils and set them to the side.

- While the lentils are cooking, add oil to a separate saucepan or Dutch oven on medium heat. Cook the chopped onions until browned, about 6 minutes.
- Lower the heat to medium low, and then add the Berbere spice. Stir for around 30 seconds.
- Now add the cooked lentils and stir them into the onion and Berbere mixture, followed by the minced garlic, salt, and ½ cup of water. Stir well, then cook on low for about 3-5 minutes.
- During this time you can add additional water to achieve the consistency of the lentil wat to your liking.
- Taste and add more salt if you desire, and garnish with cilantro then enjoy!