This page may contain affiliate links. So, I receive a small commission at no cost to you when you make a purchase using my link. This post is about a Delicious Savory Pancakes With Prosciutto Recipe!
Pancakes for dinner? Yes! Especially if they are dinner plate sized savory pancakes!
I prefer savory flavors to sweet ones. So if you are like me and enjoy pancakes, then you'll love this easy recipe that features prosciutto, mushrooms, and cheese!
[feast_advanced_jump_to]What is A Savory Pancake?
Savory pancakes are made with savory ingredients rather than sweet.
The options for savory pancakes are endless! Some ideas for savory ingredients to use in these pancakes are: green onions, different cheeses, crisp bacon, ham, and a variety of other vegetables.
Why You Will Love This Delicious Savory Pancakes With Prosciutto Recipe
You'll love this savory pancake recipe because:
- The basic recipe for the batter is so easy to make. You can actually think of it as a blank canvas for all of your favorite savory pancake fillings, such as savory bacon.
- This recipe will give you slightly fluffy pancakes that are absolutely delicious! Your whole family will love the salty (prosciutto), cheesy (gouda), and slightly umami (mushrooms) flavors in this dish!
- The cooking time from start to finish is about 35 minutes (includes prep time), so you can have these amazing pancakes ready in a flash.
- These pancakes are BIG! They are dinner plate size, so they make for a hearty meal!
- For our friends in England, this savoury pancake recipe will be a great option for Pancake Day (Shrove Tuesday)!
Cooking pancakes is fun!! So it's time to roll up our sleeves and make some incredible restaurant worthy savory pancakes!
🥘 Ingredients
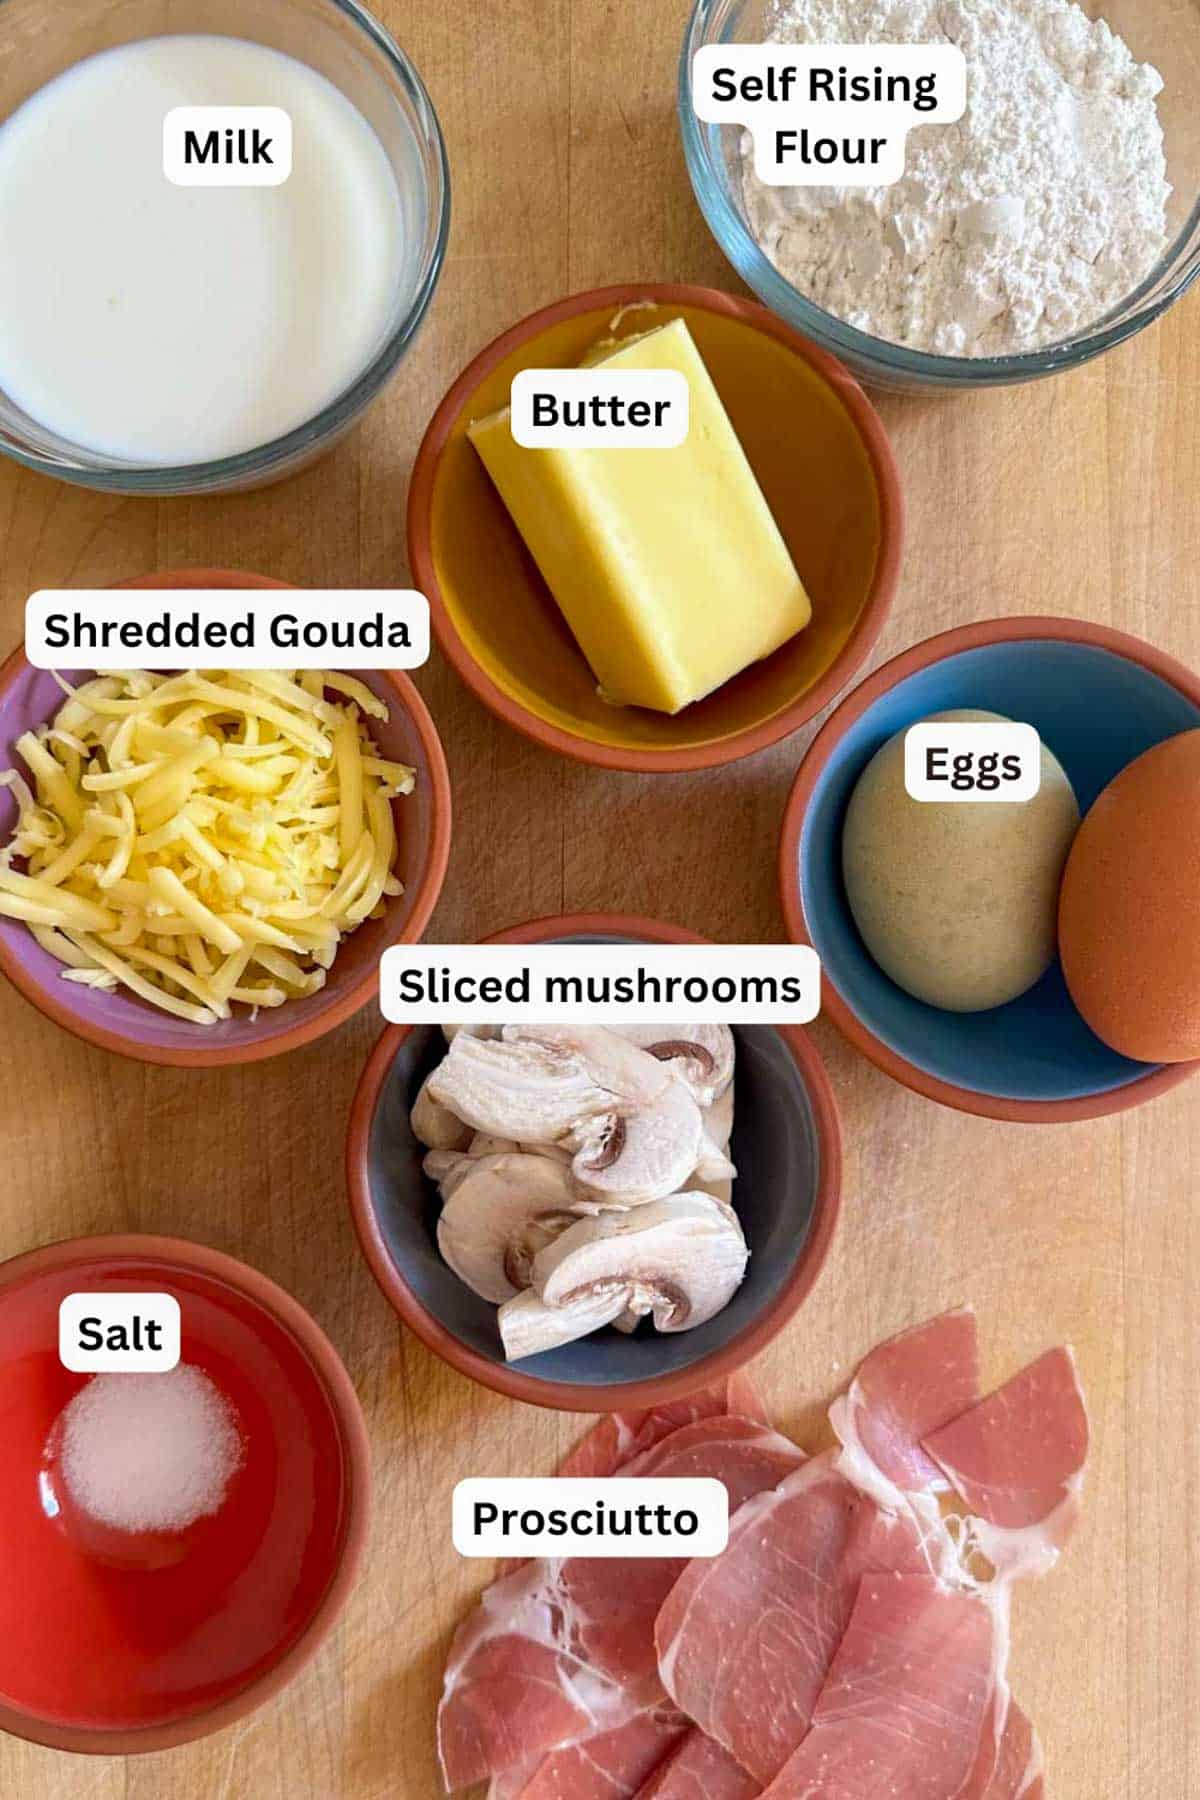
So here's what you will need to make these delicious savory (or savoury) pancakes:
- Self rising flour - I like using self rising rather than all purpose flour as this gives us pancakes that are a bit lighter and fluffier than all purpose flour
- Prosciutto
- Salt
- Eggs
- Whole Milk
- Butter
- Gouda cheese (shredded) - could sub Edam or cheddar cheese
- Mushrooms (sliced)
- Maple syrup (optional but oh so good for drizzling over your pancakes!)
🔪 Instructions
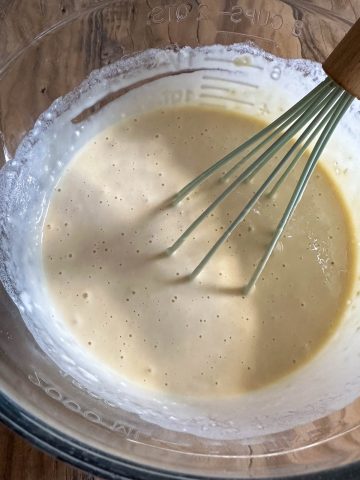
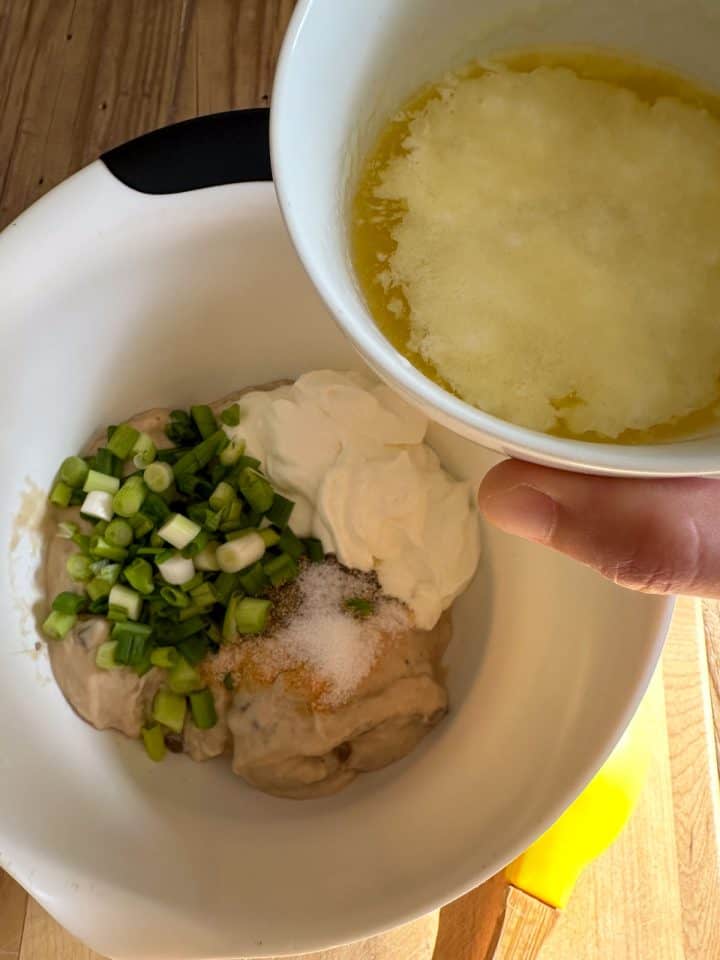
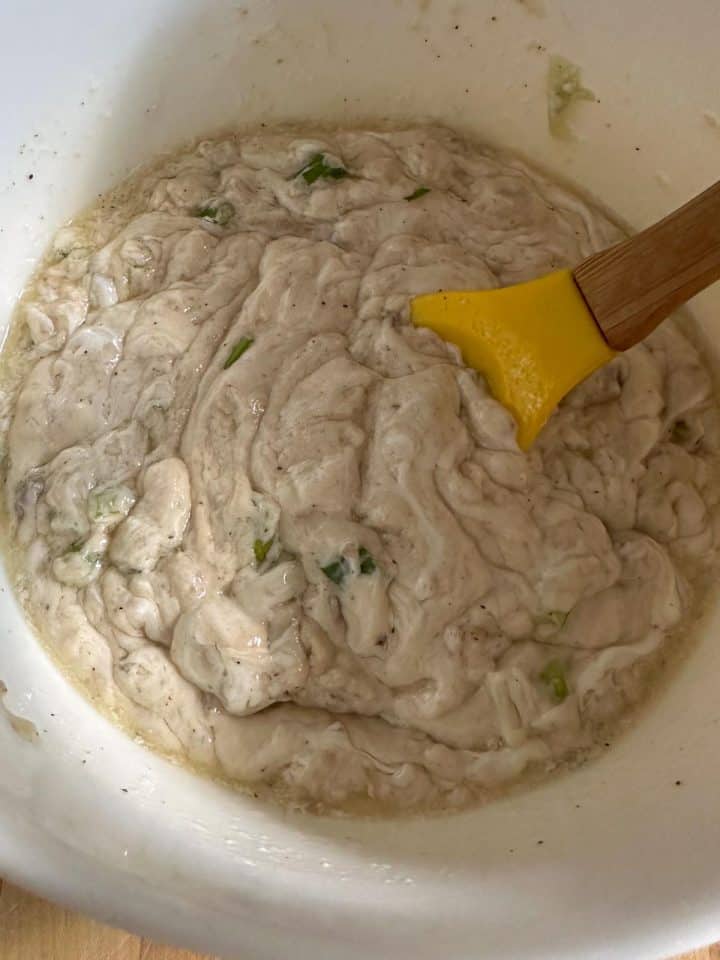
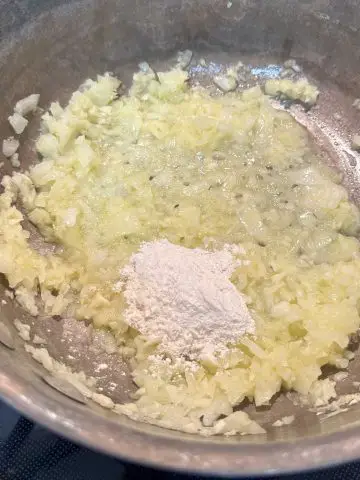
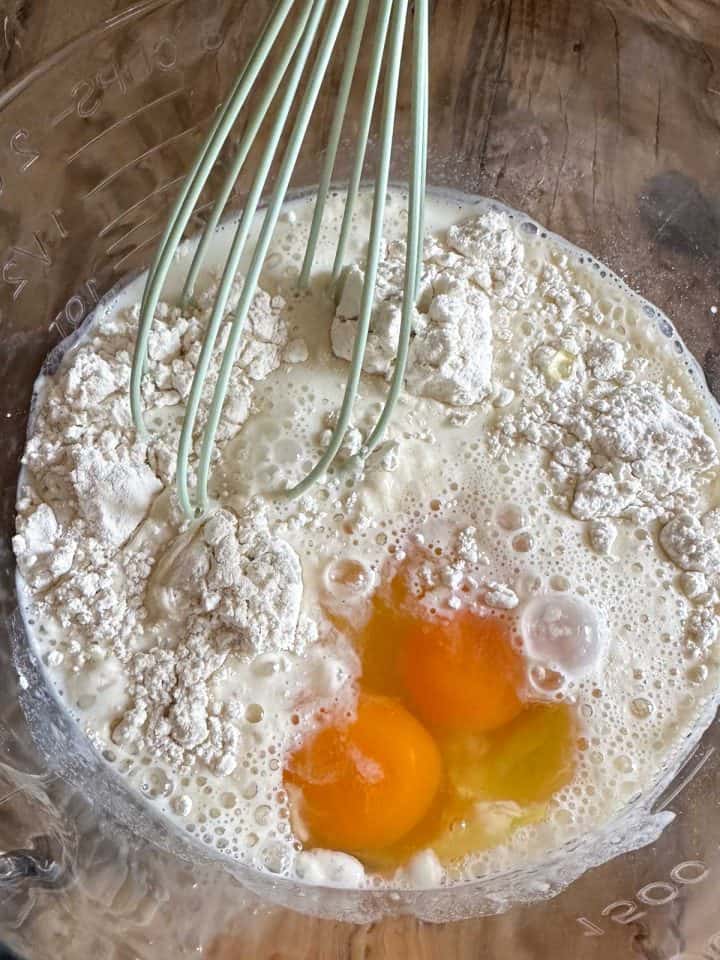
Make the batter by adding the self rising flour, milk, eggs, and salt to a large bowl. Whisk until the batter is smooth, then let the batter rest for 30 minutes.

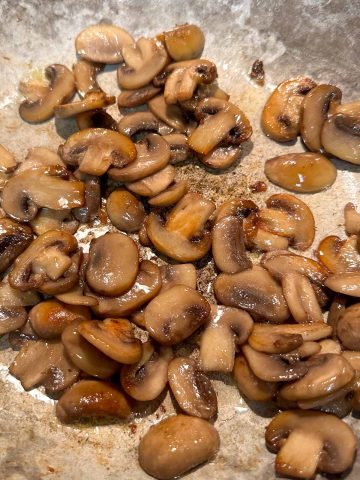
While the batter is resting prepare the mushrooms. Melt 2 tablespoon of butter on medium-high heat in a skillet.
Please note: I like to use a separate skillet to the one I use to cook the pancakes in. You can use the cast iron or non-stick pan you will use for your pancakes to cook the mushrooms in. However be sure to clean it well prior to cooking your pancakes.
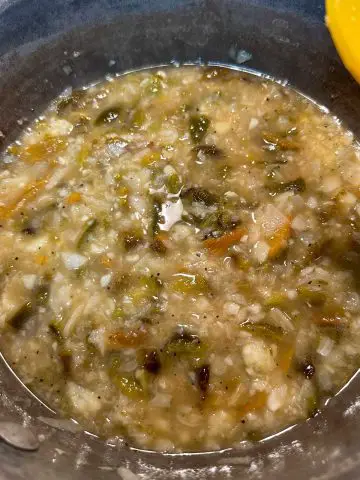
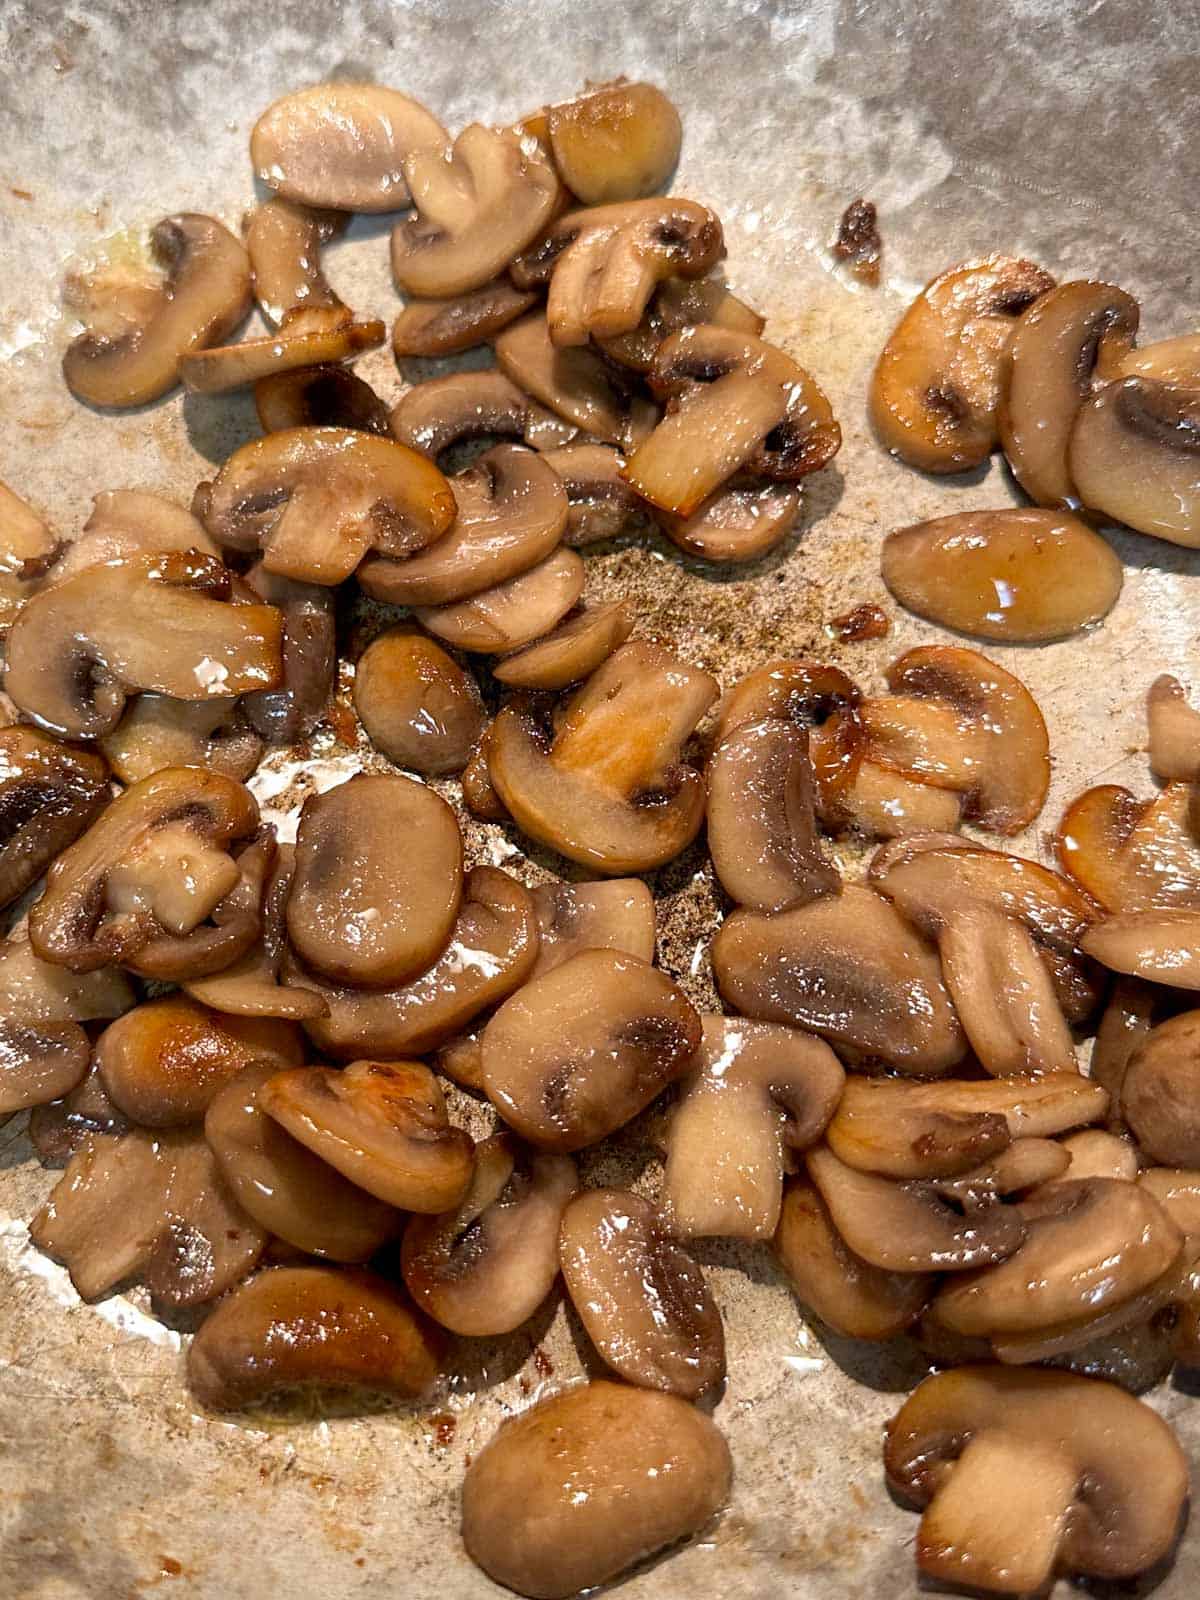
Once the butter has melted, add the sliced mushrooms and a pinch of salt. Cook the mushrooms, stirring often, until the mushrooms become a bit browned and crispy and the juices have cooked off, about 13 minutes.
Remove from the heat and set aside. If you have used the cast iron skillet you will use for your pancakes, be sure to wipe out and clean the skillet before cooking your pancakes.
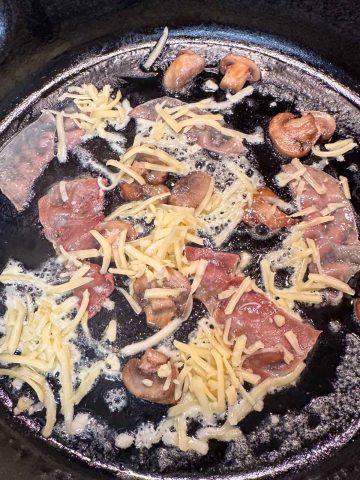
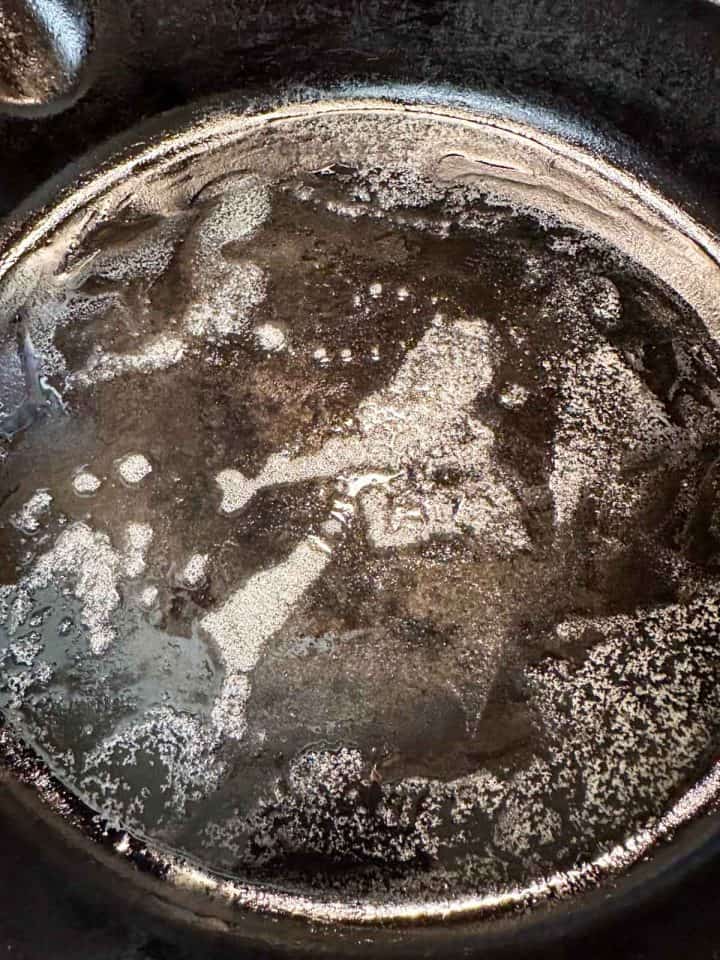
Once the batter has rested we can start making the pancakes. Add 1 tablespoon of butter to your cast iron skillet on a medium heat. Melt the butter, making sure that the butter covers the skillet.
Then add ¼ of the prosciutto, ¼ of the cooked mushrooms, and ¼ of the shredded gouda to the hot skillet. Scatter these ingredients evenly over the bottom of the skillet.

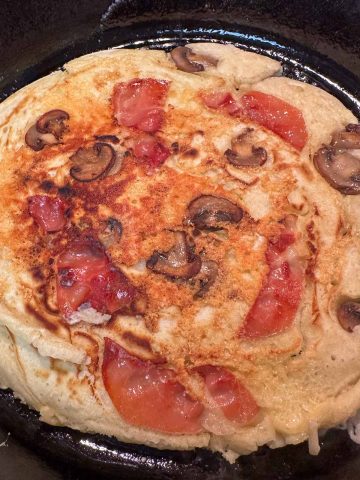
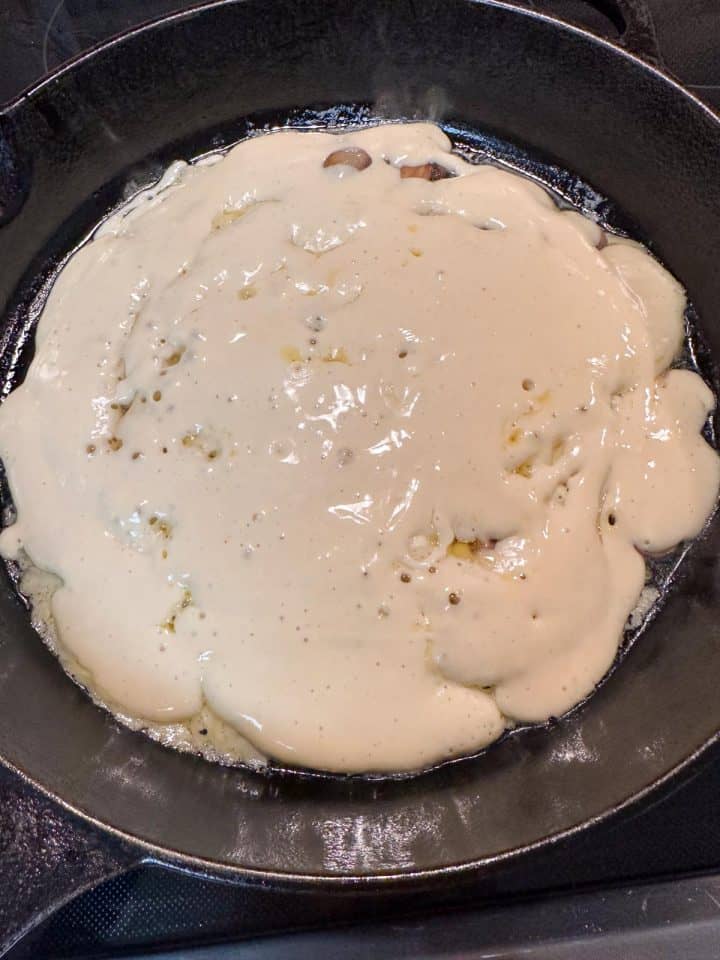
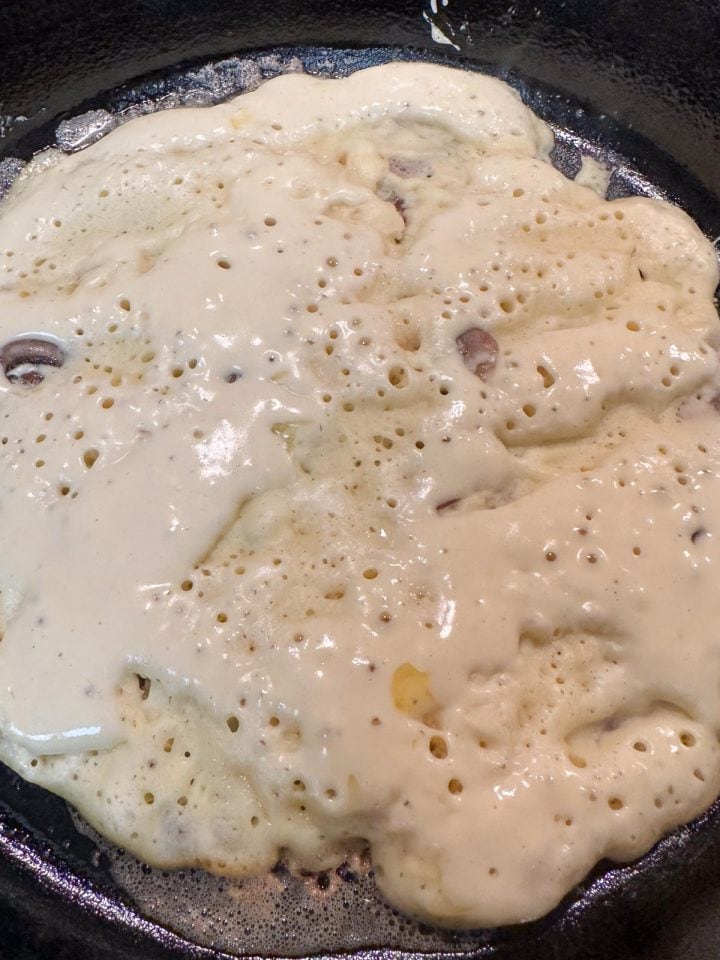
Stir the batter, then very quickly add ¼ of the batter to the skillet using a ladle. You want to cover the bottom of the skillet as evenly with batter as you can. Either tilt the skillet to cover or you can use a spoon to smooth it out if necessary.
Cook the first side until the top starts looking dry and you see pits appear. This should take about 2 minutes or so.
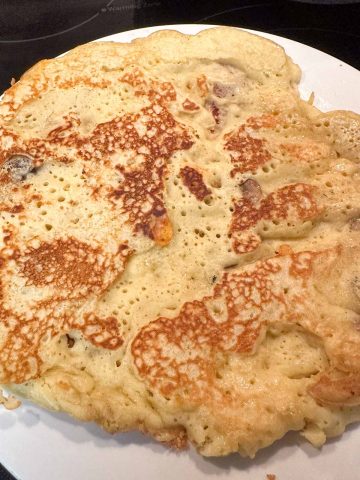
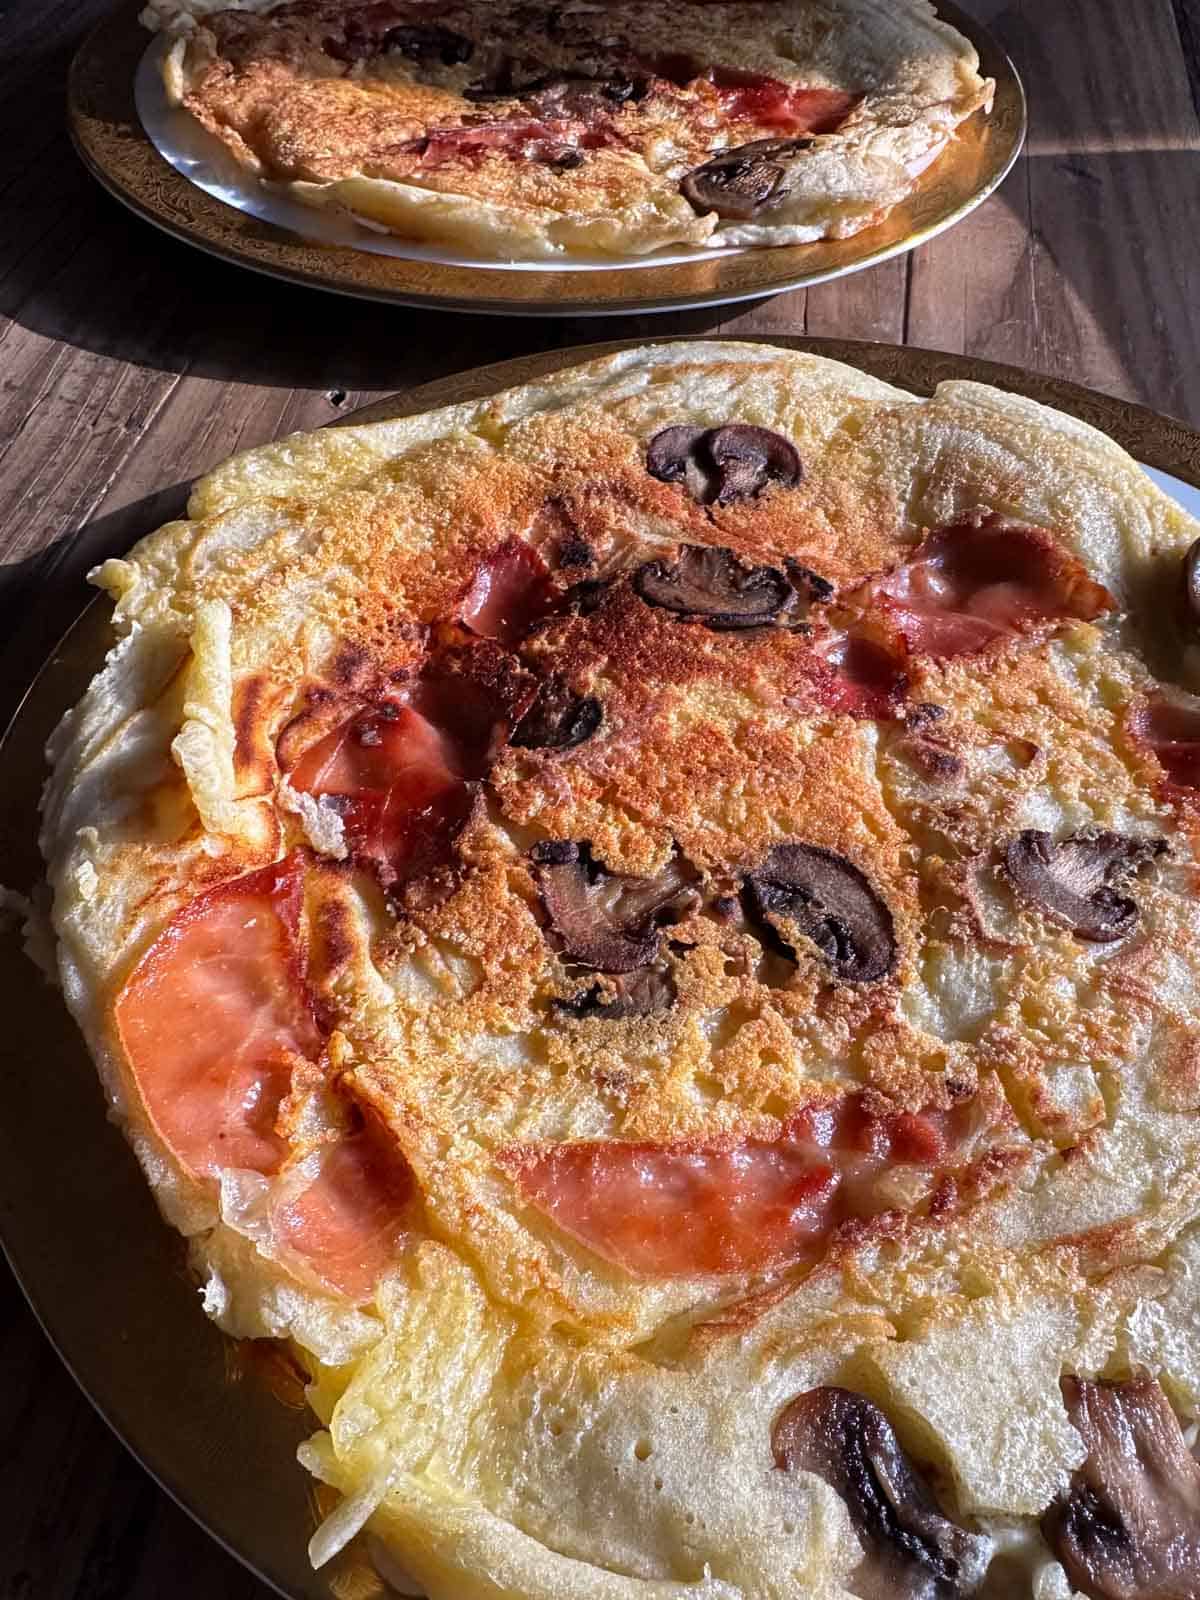
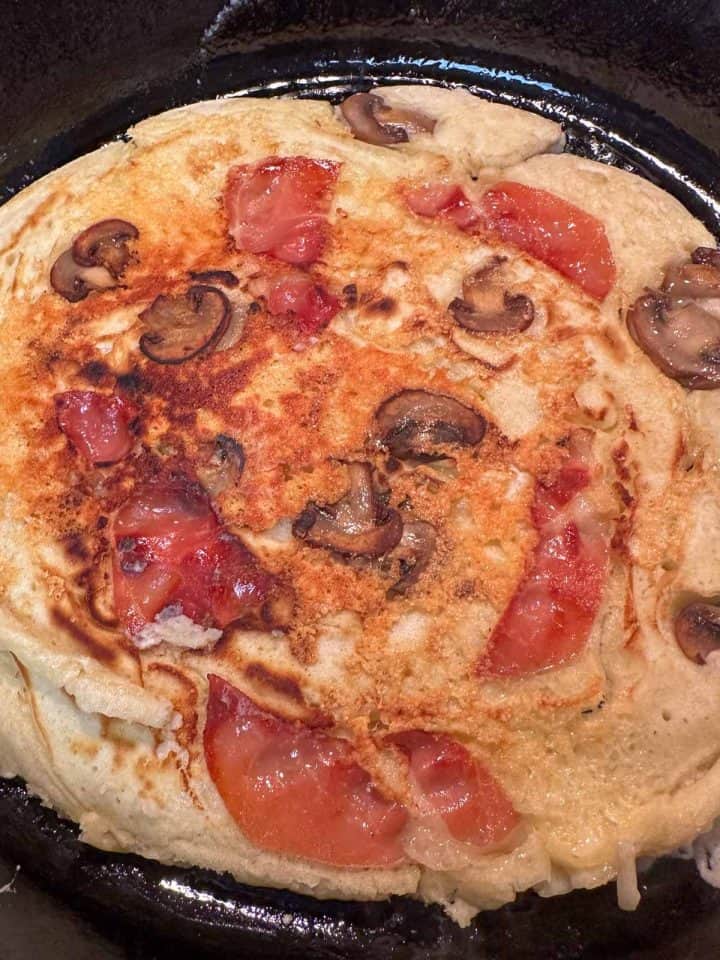
Flip the pancake to cook the second side until it is golden brown. This should take about 1 minute or so.
Flip the pancake back over, and admire it for a few seconds! Then remove it to a plate. Keep warm while you cook the other pancakes.
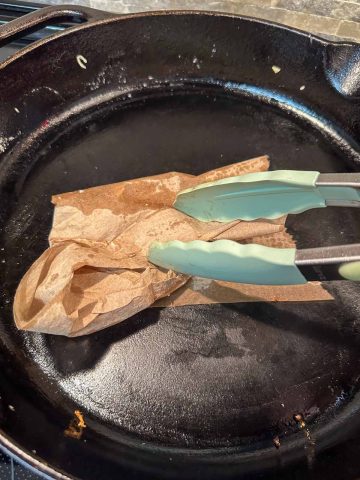
Be sure to wipe out the pan using a paper towel and tongs to remove any bits, etc. between cooking each pancake.


Repeat the process 3 additional times for a total of 4 savory pancakes, stirring the batter each time before adding to the skillet.
Suggestions For Serving
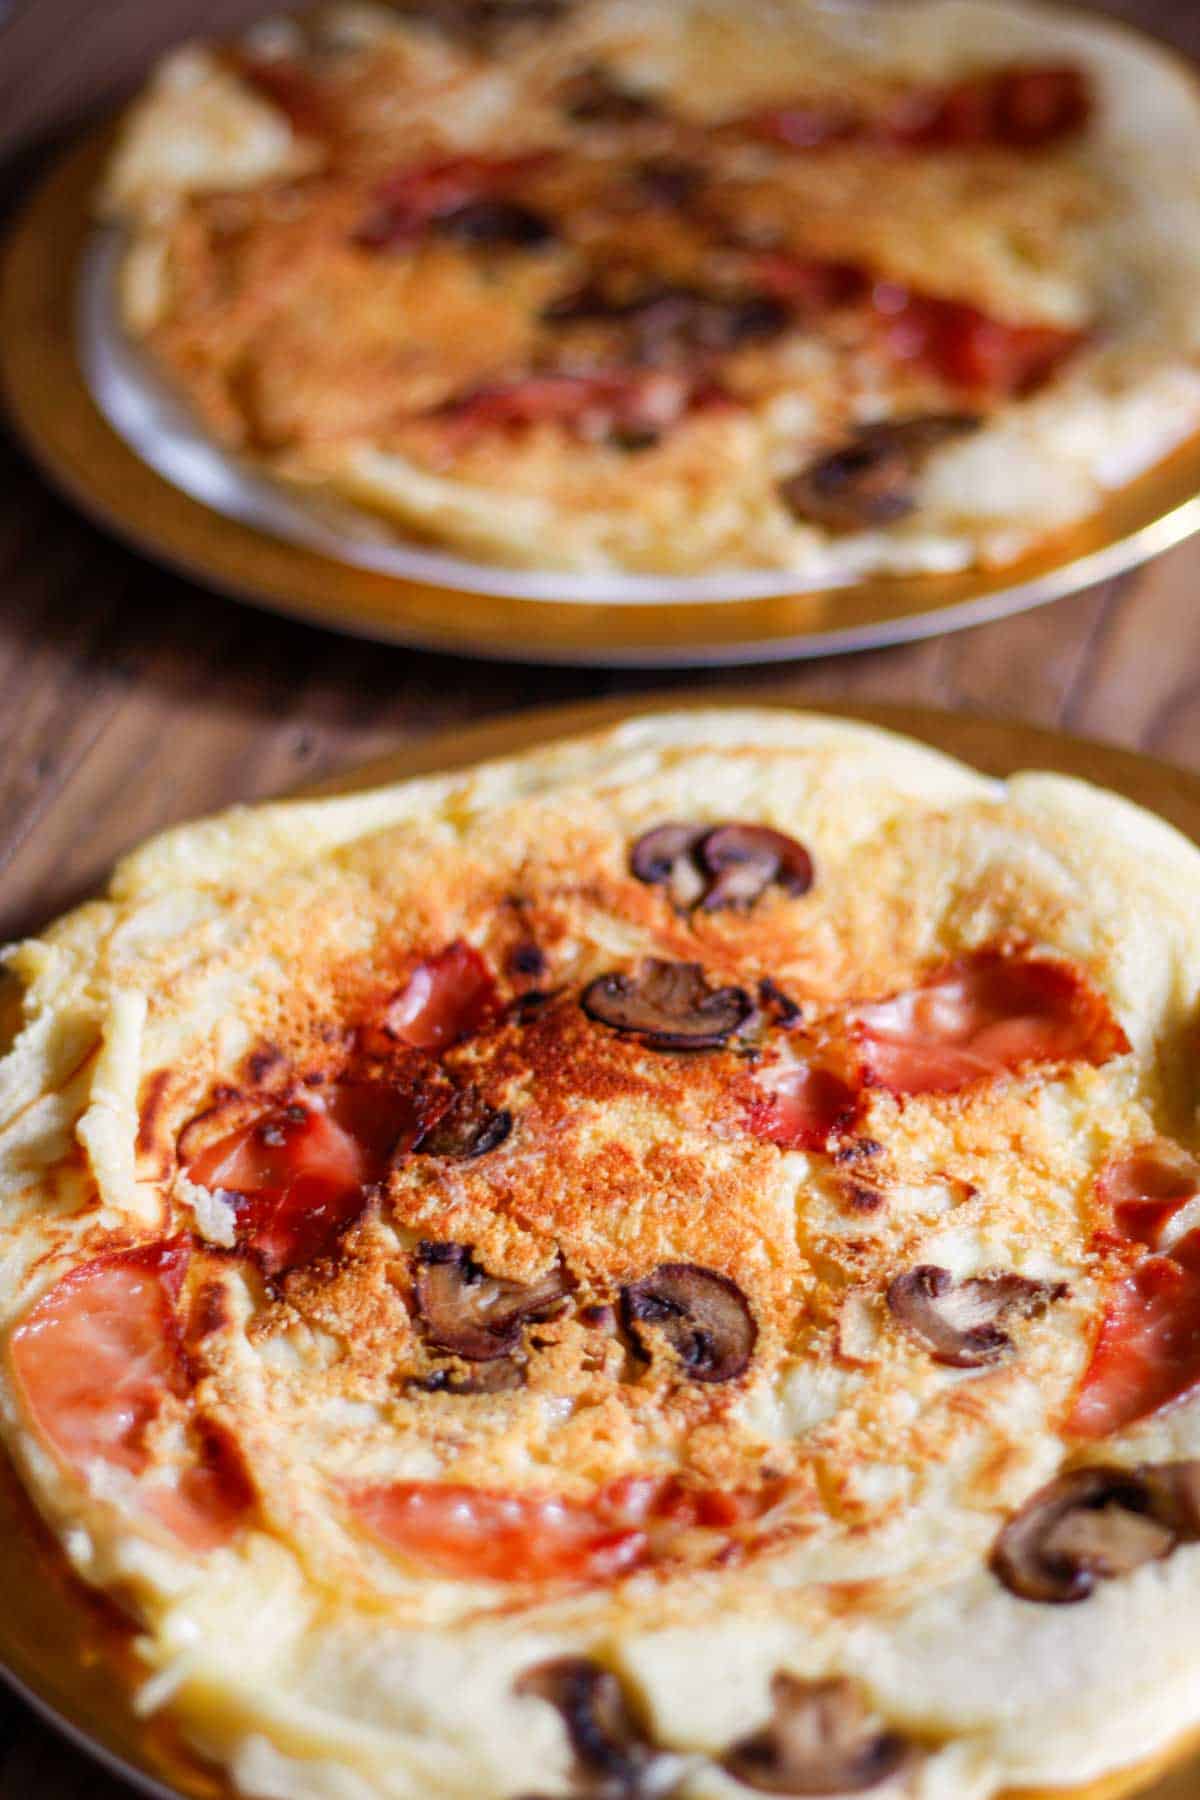
This is a savory pancake, but it's great to drizzle some maple syrup over it. Sweet and savory is always a great combination!
I love serving this as an easy dinner with a side salad for a hearty meal.
It also makes for a great breakfast, lunch, or filling brunch!
You can find the full printable recipe card below. I hope you will enjoy creating this Delicious Savory Pancakes With Prosciutto Recipe! Please leave a comment and star rating to let others know how amazing these pancakes are!
FAQ
Savory pancakes are made with savory ingredients rather than sweet.
The options for savory pancakes are endless! Some ideas for savory ingredients to use in these pancakes are: green onions, different cheeses, crisp bacon, ham, and a variety of other vegetables.
I find the best way to reheat leftover pancakes is in an air fryer. Place the pancake on the crisper tray that comes with your air fryer, and air fry at 375F to 400F for around 4-5 minutes or so, until the pancake is heated through.
Some Other Great Recipes You May Enjoy!
Here are some other recipes you may enjoy:
- Flaeskeaeggekage (aka Danish Bacon and Egg Pancake)
- The PERFECT Bacon Sarnie
- Easy Eggs Sardou Recipe
Join Me On A Fun Food Journey!
Finally, I invite you to come along on this food journey with me! Please sign up to get the latest recipes and inspiration for you to expand your food comfort zone! It's an incredible journey, please join me by signing up here.
Cheers!
Grace
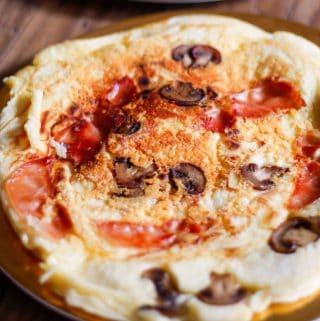
Delicious Savory Pancakes With Prosciutto Recipe
Equipment
- 1 cast iron skillet or non-stick pan use a well seasoned 10" or 10.5" cast iron skillet or non-stick pan
- skillet for cooking mushrooms optional
- large bowl for the batter
Ingredients
Batter Ingredients
- 2 cups self rising flour
- 2 cups milk
- 2 eggs
- ¼ ts salt
The Extra Goodies!
- 1.5 oz prosciutto each slice cut up into around 6 pieces/strips (typically packs of prosciutto may come in 3 oz packs so I used ½ a pack for this recipe)
- 8 oz white button mushrooms sliced
- 1.5 cups Gouda cheese shredded (could sub edam or cheddar)
Butter
- 6 tablespoon butter split - 2 tablespoon to cook the mushrooms and 4 tablespoon to cook the pancakes (each pancake cooks separately so use 1 tablespoon of butter for each pancake for a total of 4 tbsp)
Optional
- maple syrup optional but oh so good for drizzling over your pancakes!
Instructions
- Make the batter by adding the self rising flour, milk, eggs, and salt to a large bowl. Whisk until the batter is smooth, then let the batter rest for 30 minutes.

- While the batter is resting prepare the mushrooms. Melt 2 tablespoon of butter on medium-high heat in a skillet. Once the butter has melted, add the sliced mushrooms and a pinch of salt. Cook the mushrooms, stirring often, until the mushrooms become a bit browned and crispy and the juices have cooked off, about 13 minutes. Remove from the heat and set aside. If you have used the cast iron skillet you will use for your pancakes, be sure to wipe out and clean the skillet before cooking your pancakes.
- Once the batter has rested we can start making the pancakes. Add 1 tablespoon of butter to your cast iron skillet on a medium heat. Melt the butter, making sure that the butter covers the skillet. Then add ¼ of the prosciutto, ¼ of the cooked mushrooms, and ¼ of the shredded gouda. Scatter these ingredients evenly over the bottom of the skillet.
- Stir the batter, then very quickly add ¼ of the batter to the skillet using a ladle. You want to cover the bottom of the skillet as evenly with batter as you can. Either tilt the skillet to cover or you can use a spoon to smooth it out if necessary.
- Cook the first side until the top starts looking dry and you see pits appear. This should take about 2 minutes or so.
- Flip the pancake to cook the second side until it is golden brown. This should take about 1 minute or so.
- Flip the pancake back over, and admire it for a few seconds! Then remove it to a plate. Keep warm while you cook the other pancakes.
- Be sure to wipe out the pan using a paper towel and tongs to remove any bits, etc. between cooking each pancake. Repeat the process 3 additional times for a total of 4 savory pancakes, stirring the batter each time before adding to the skillet.