This page may contain affiliate links. So, I receive a small commission at no cost to you when you make a purchase using my link. This post is about how to make Easy Oven Roasted Potatoes Using Chicken Fat!
Do you want to enjoy heavenly roast potatoes? Crispy on the outside, so tender and fluffy on the inside, with a satisfyingly scrumptious taste?
Then you've got to try these oven-roasted potatoes using chicken fat!
Don't let your chicken fat go to waste. It's PERFECT for roasting potatoes!
[feast_advanced_jump_to]Why You Will Love This Recipe!
Let me tell you why you will love this recipe for roasted potatoes, which is the perfect side dish!
- This is a great and easy recipe to use chicken fat that you have on hand! Typically I would use olive oil when roasting potatoes. However, I usually have chicken fat rendered from making chicken stock or cooking a whole chicken in my slow cooker.
- Chicken fat is full of flavor! Your potatoes will taste divine when infused with this fat!
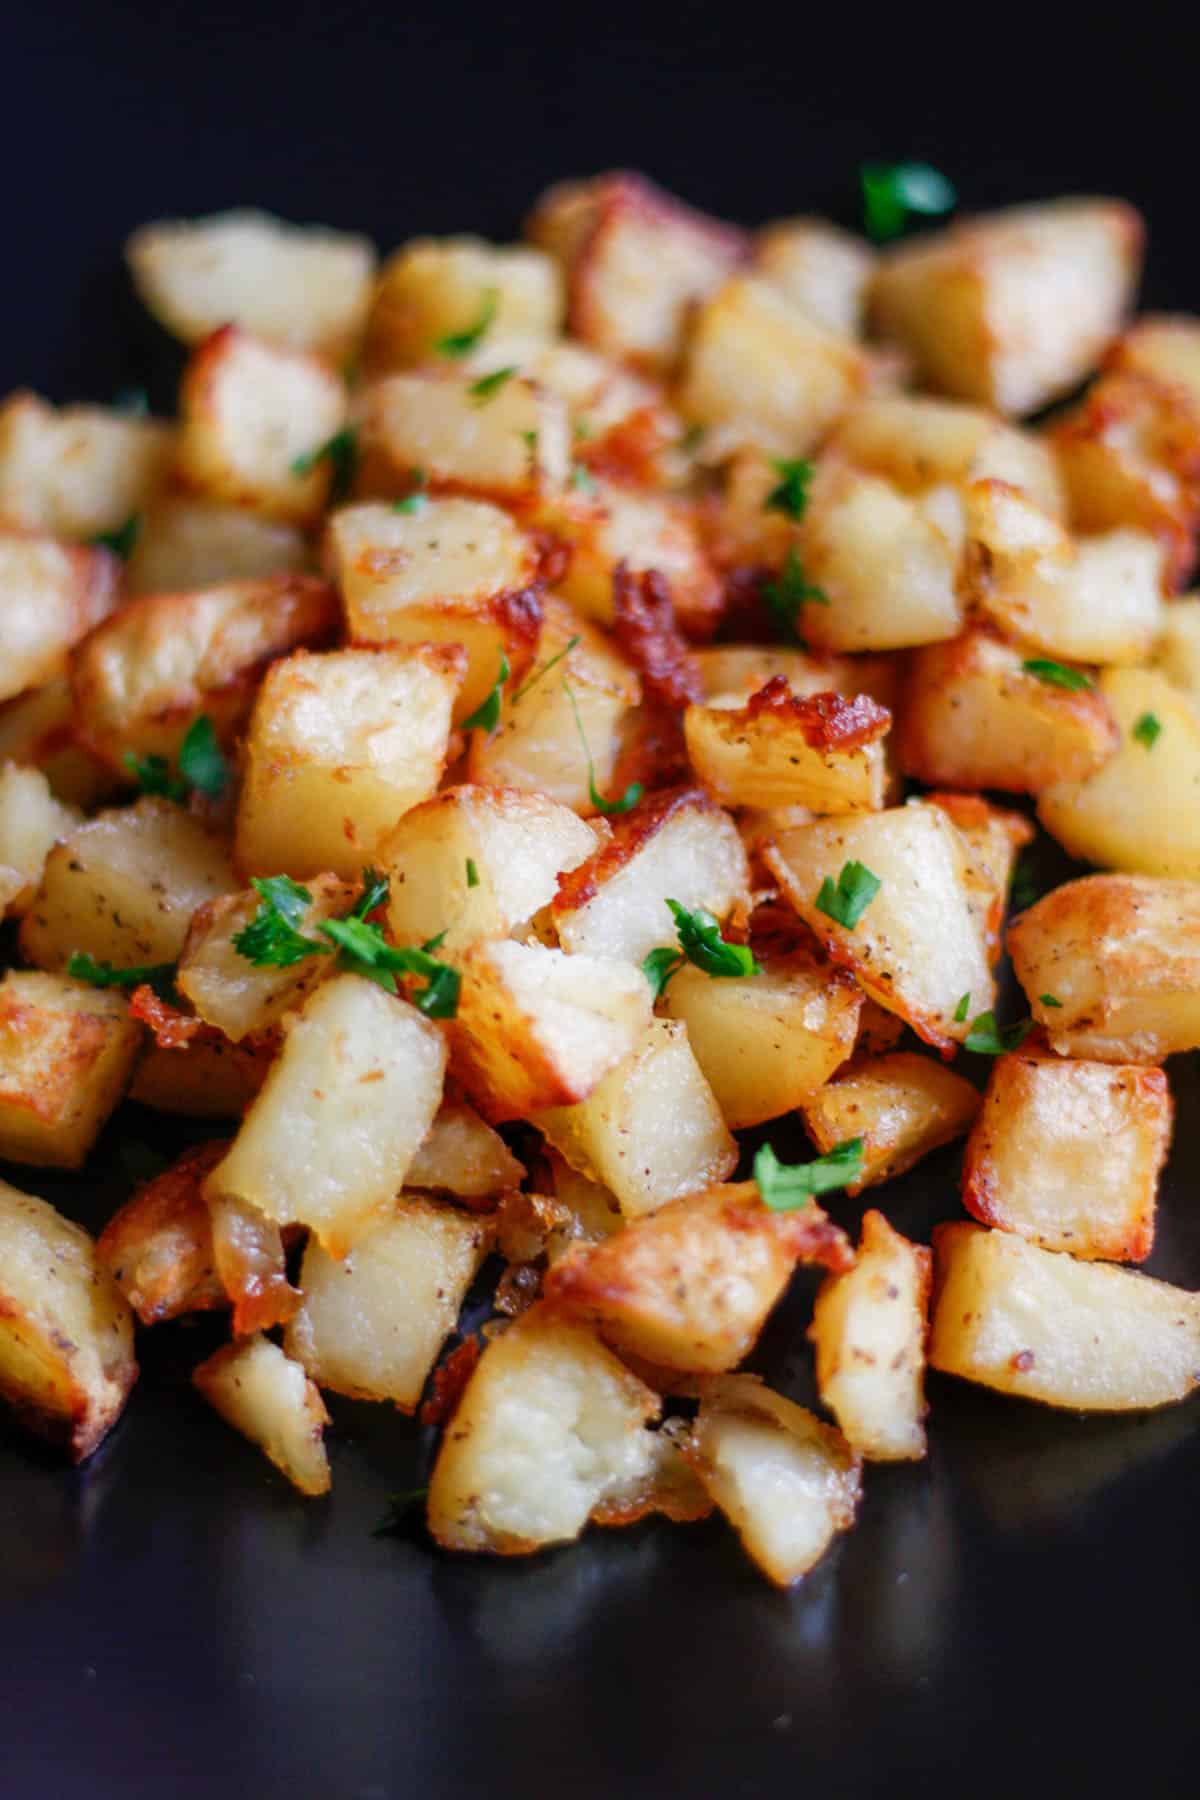
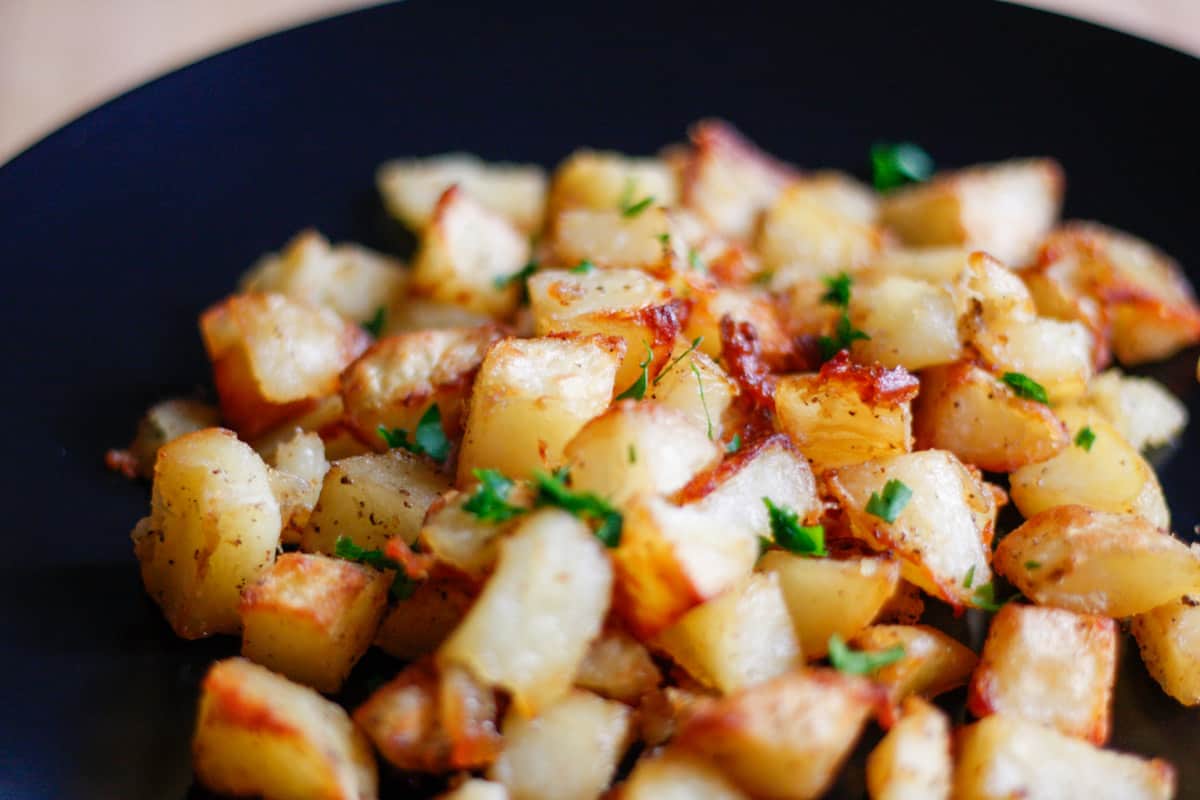
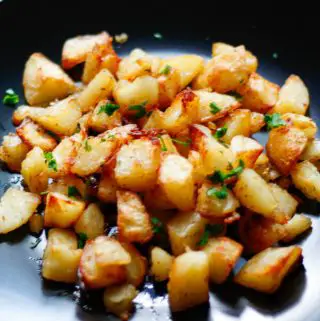
- You will be rewarded with golden brown crispy potatoes, which look as beautiful as they taste!
🥘 Ingredients

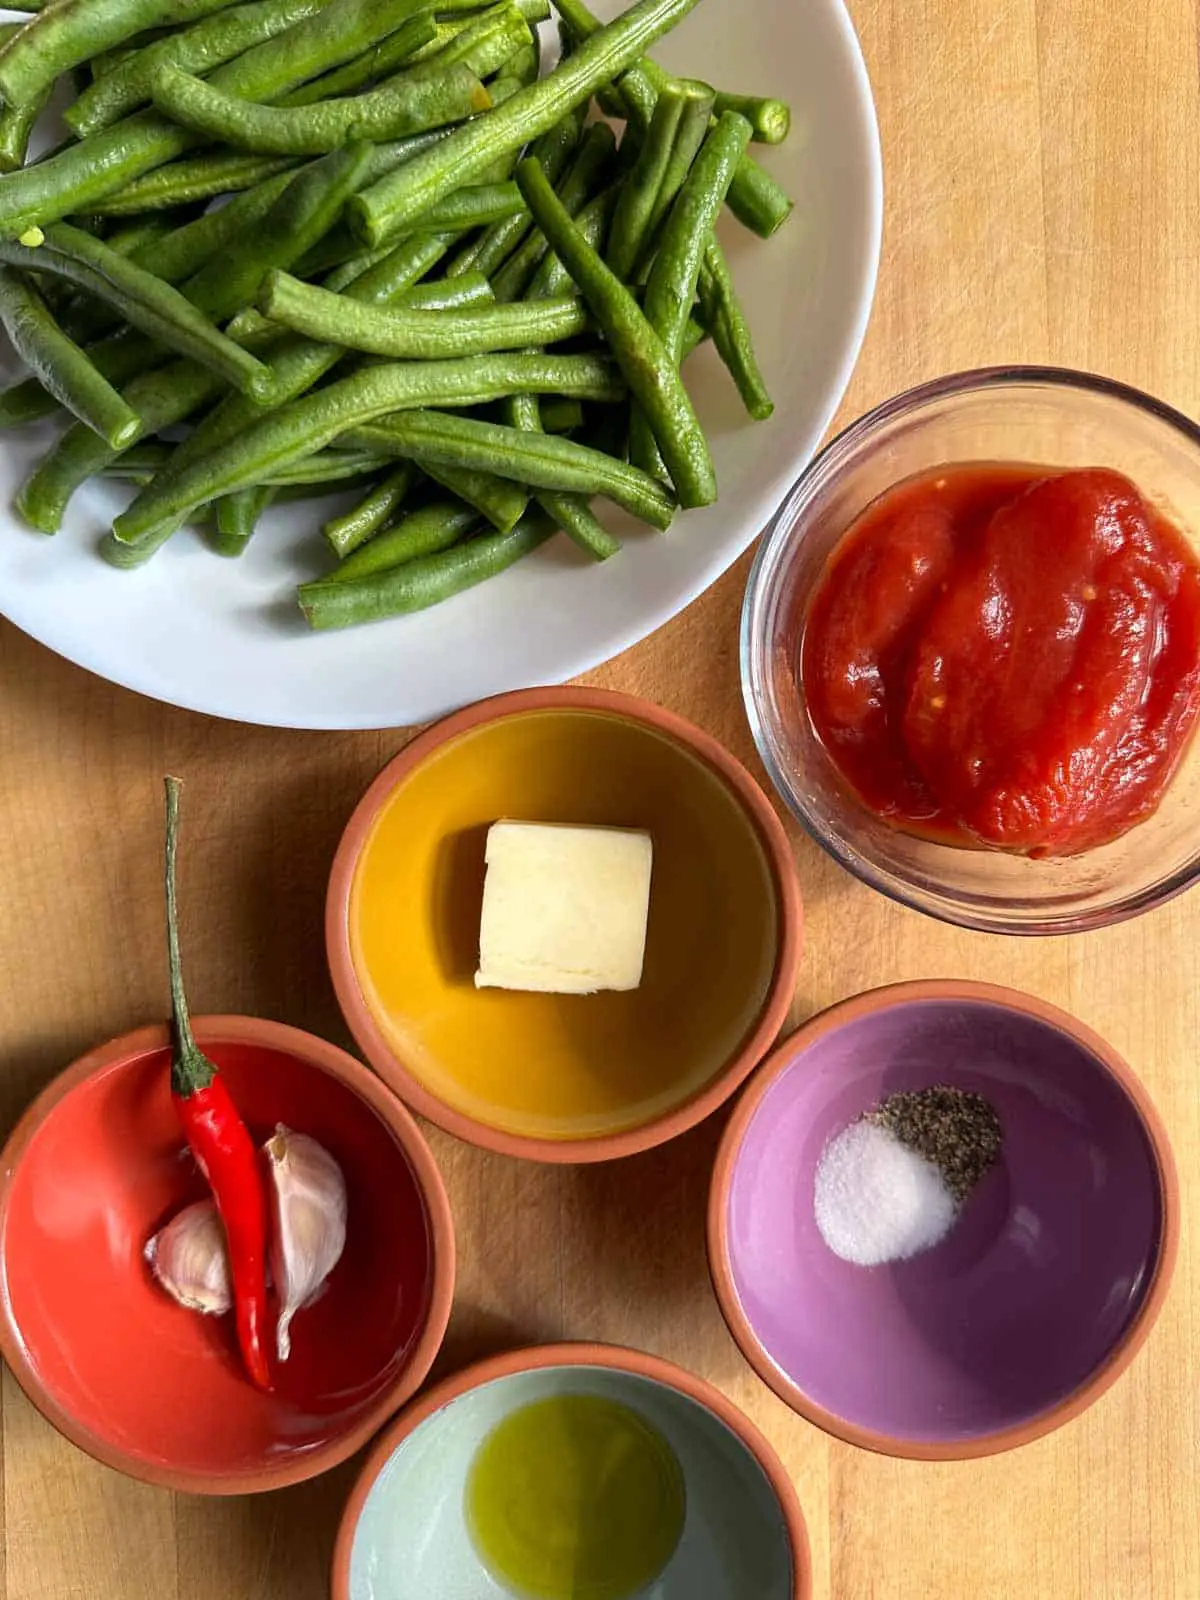
This simple potato recipe only requires 4 ingredients. They are:
- Russet potatoes
- Chicken fat - this can be from roast chicken drippings or from making chicken broth or stock; you can also purchase it at Amazon (affiliate link)
- Salt
- Black Pepper
- Fresh parsley (optional garnish)
You will be rewarded with the best roasted potatoes using only these 4 simple ingredients!
🔪 Instructions
Preheat your oven to 400F. If you like you can line your roasting pan with parchment paper or aluminum foil.
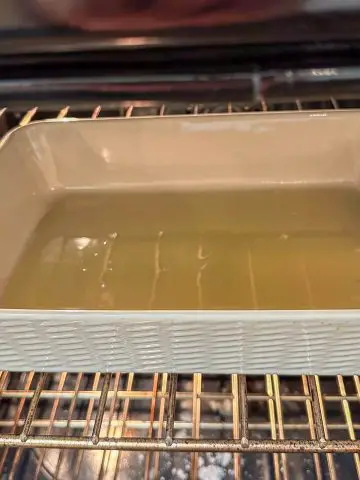
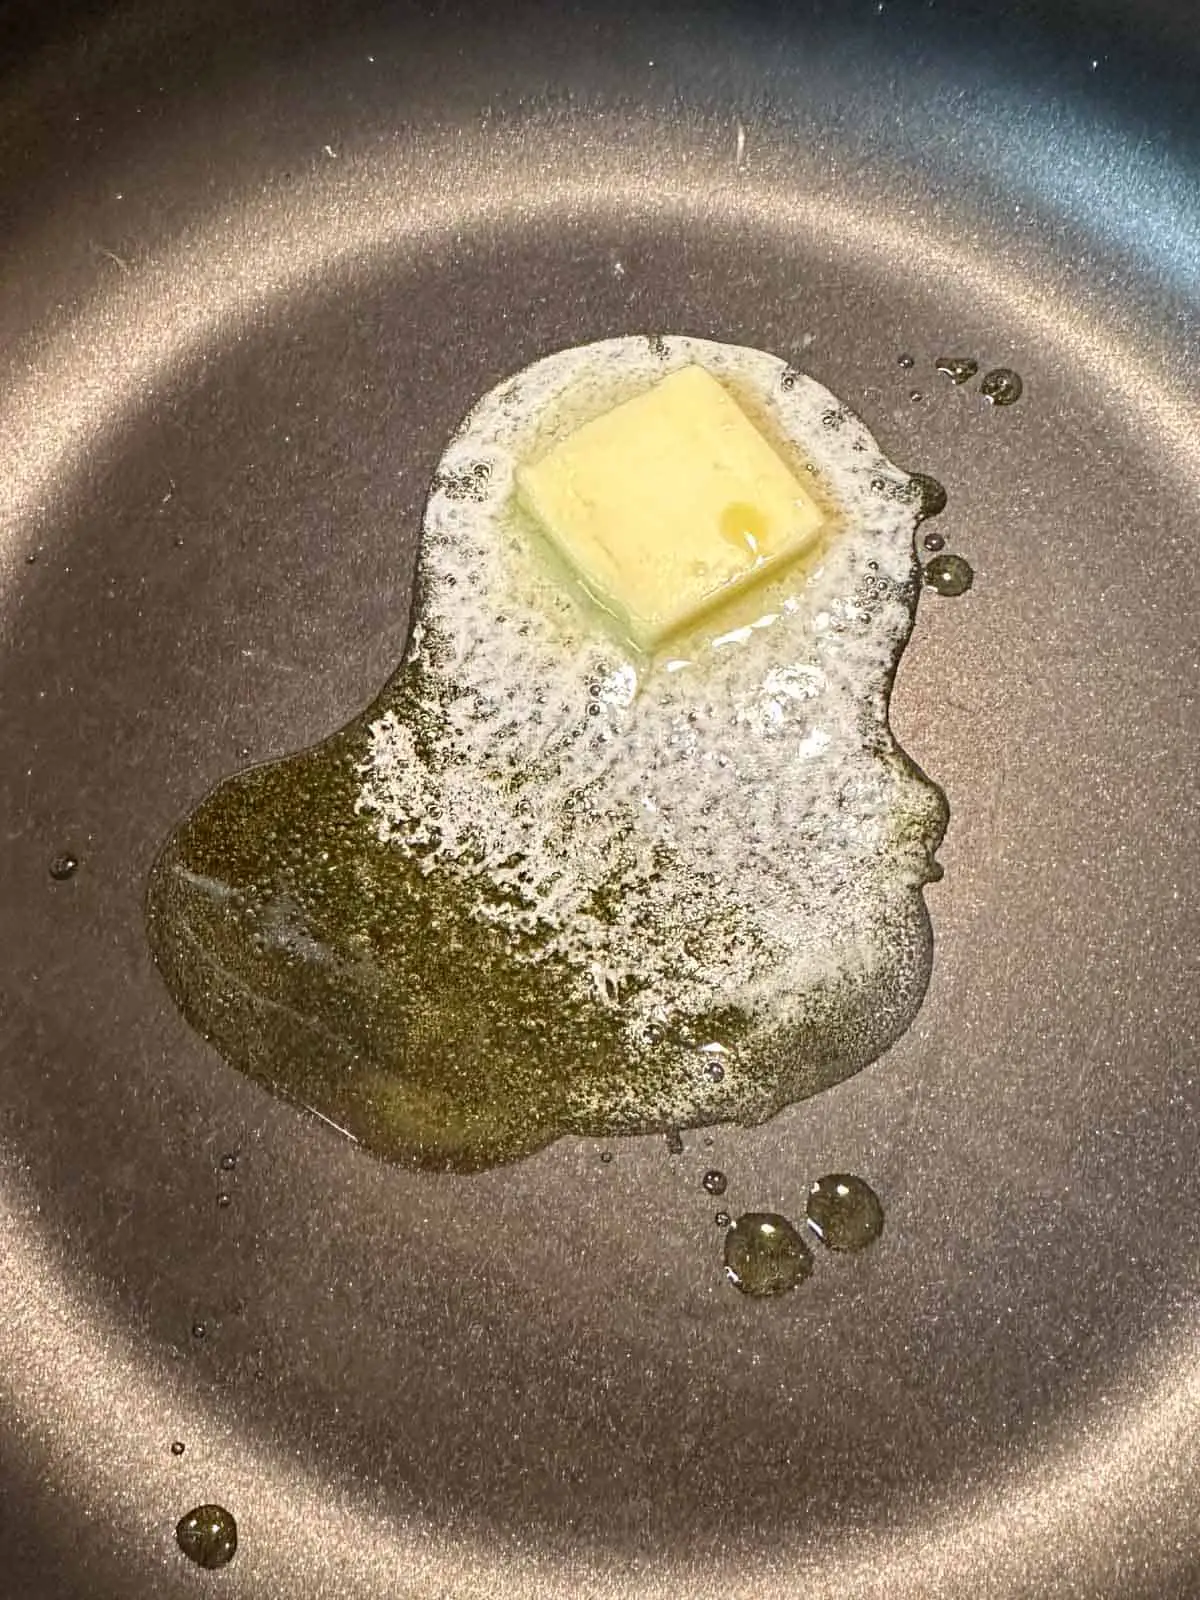
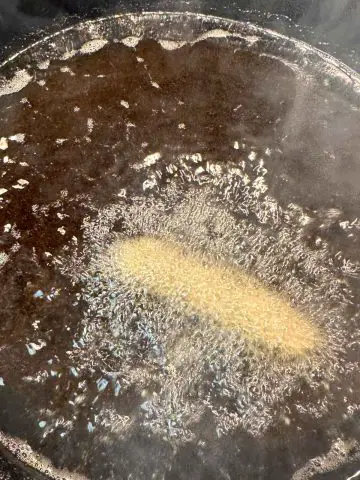
Add the chicken fat to the pan, and place in your oven to heat the fat. Just keep an eye on it as the fat will start to splatter when it gets hot.

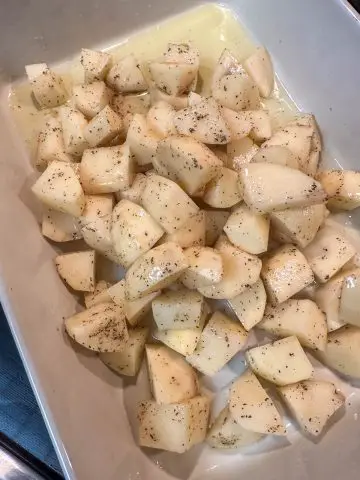
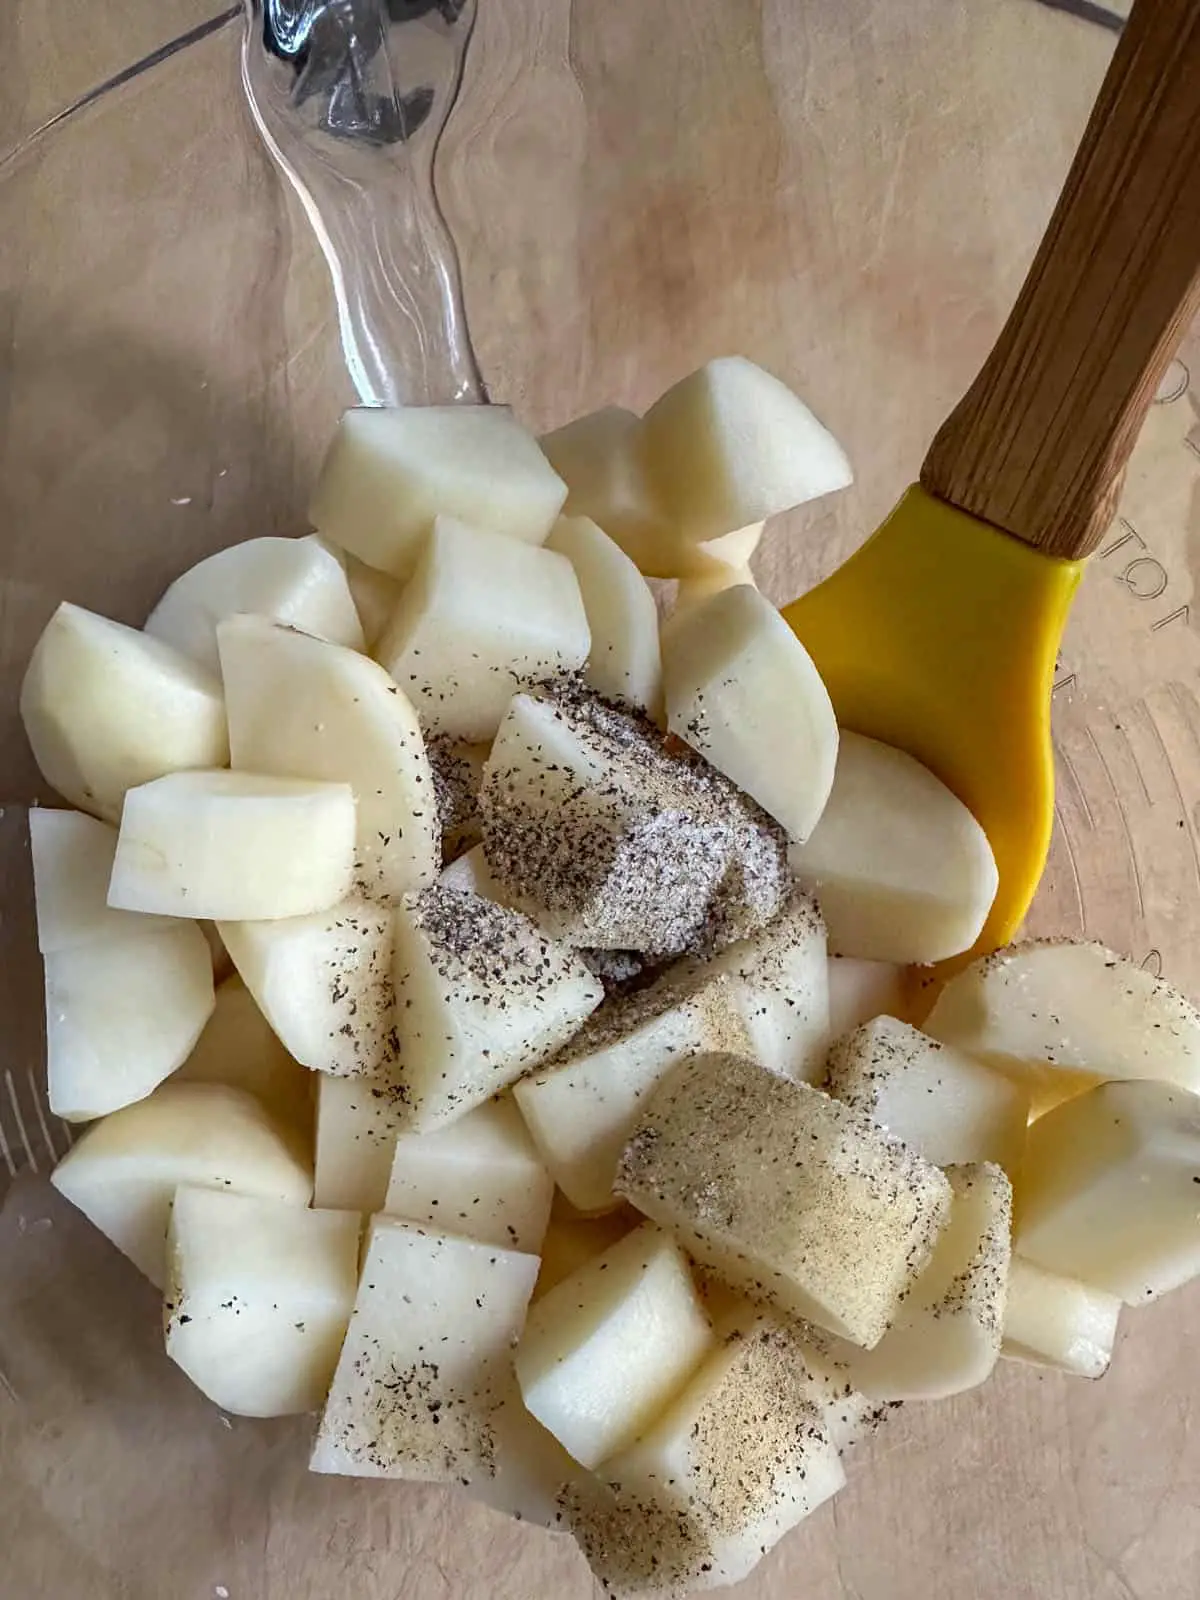
In the meantime peel and cut the potatoes into bite sized pieces (around 2" chunks). Put the potatoes in a large bowl, and then add the salt and pepper and toss to coat the potatoes.
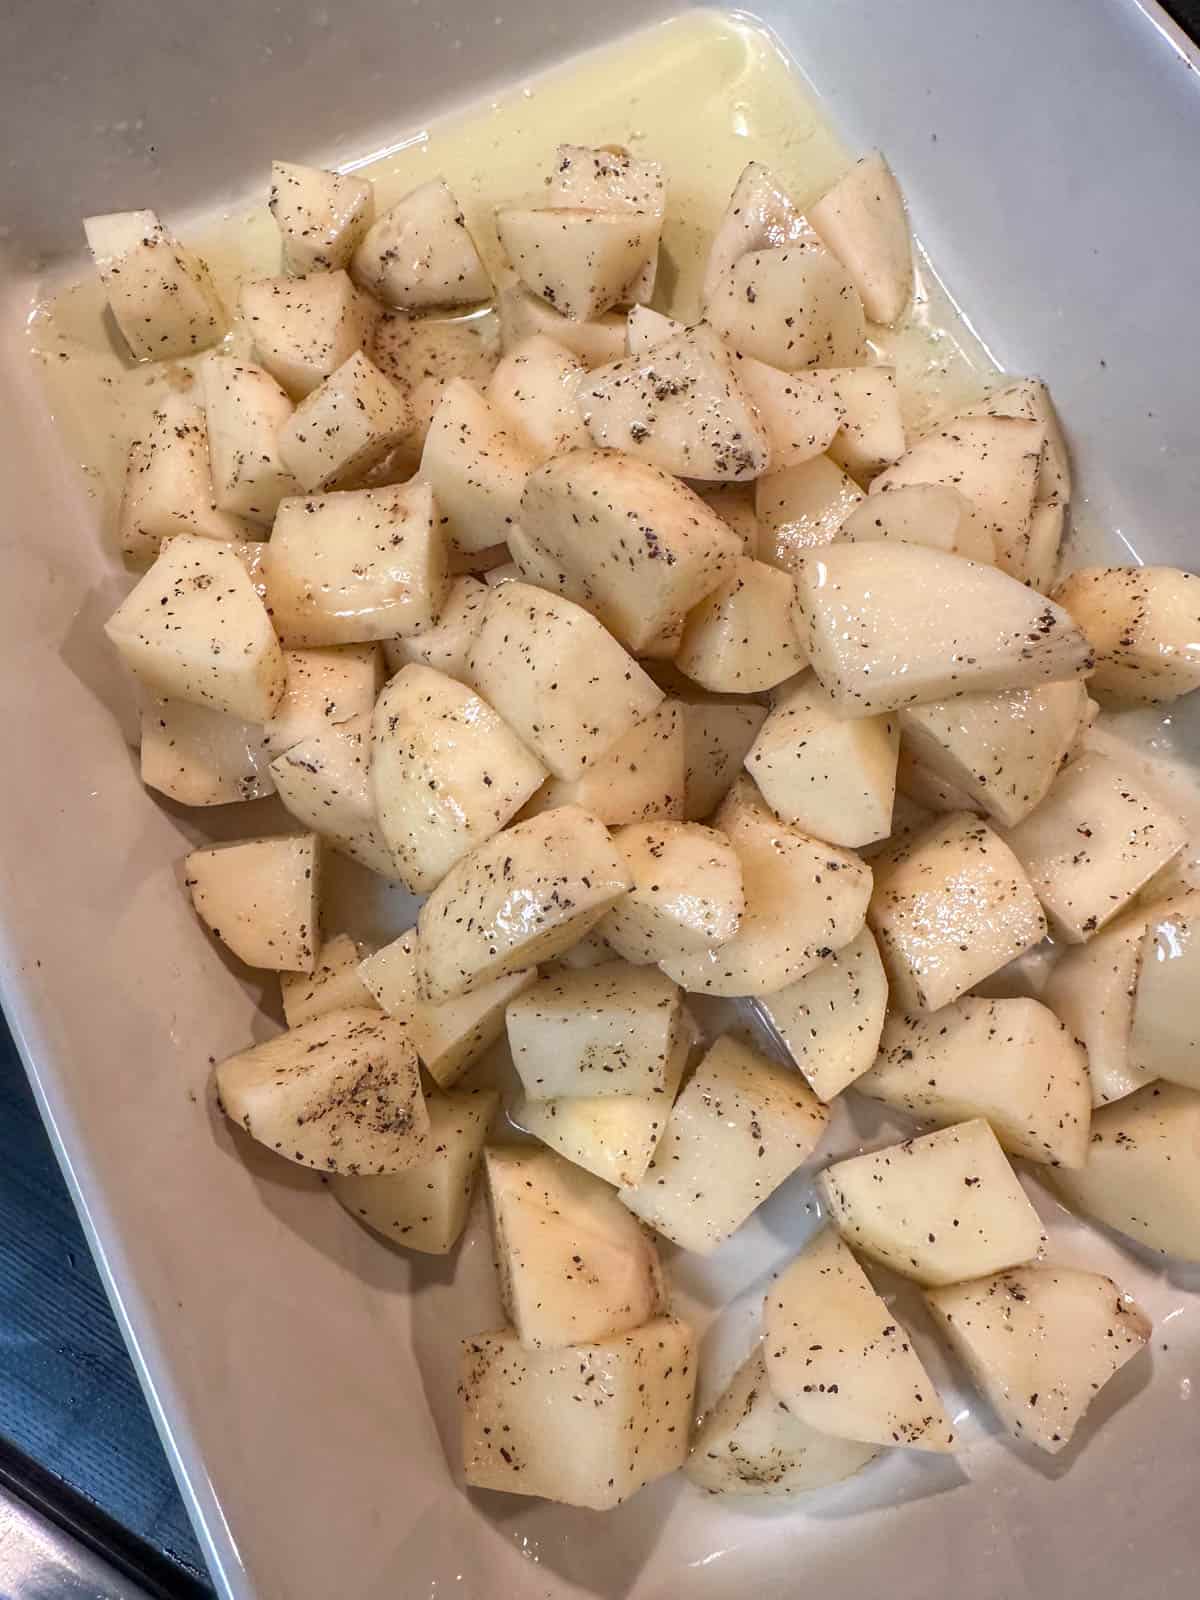
Remove the roasting pan from the hot oven using oven mitts, taking care if the chicken fat is splattering. Place the seasoned potatoes in the roasting pan and toss the potatoes in the hot fat. It's best to spread the potatoes out in a single layer and also ensure they aren't touching each other.
Roast for around 1 hr, or until the potatoes are browned and crispy. Check them every so often (20 minutes or so). You'll want to toss and turn them gently a couple of times during the roasting time to help the potatoes roast evenly.
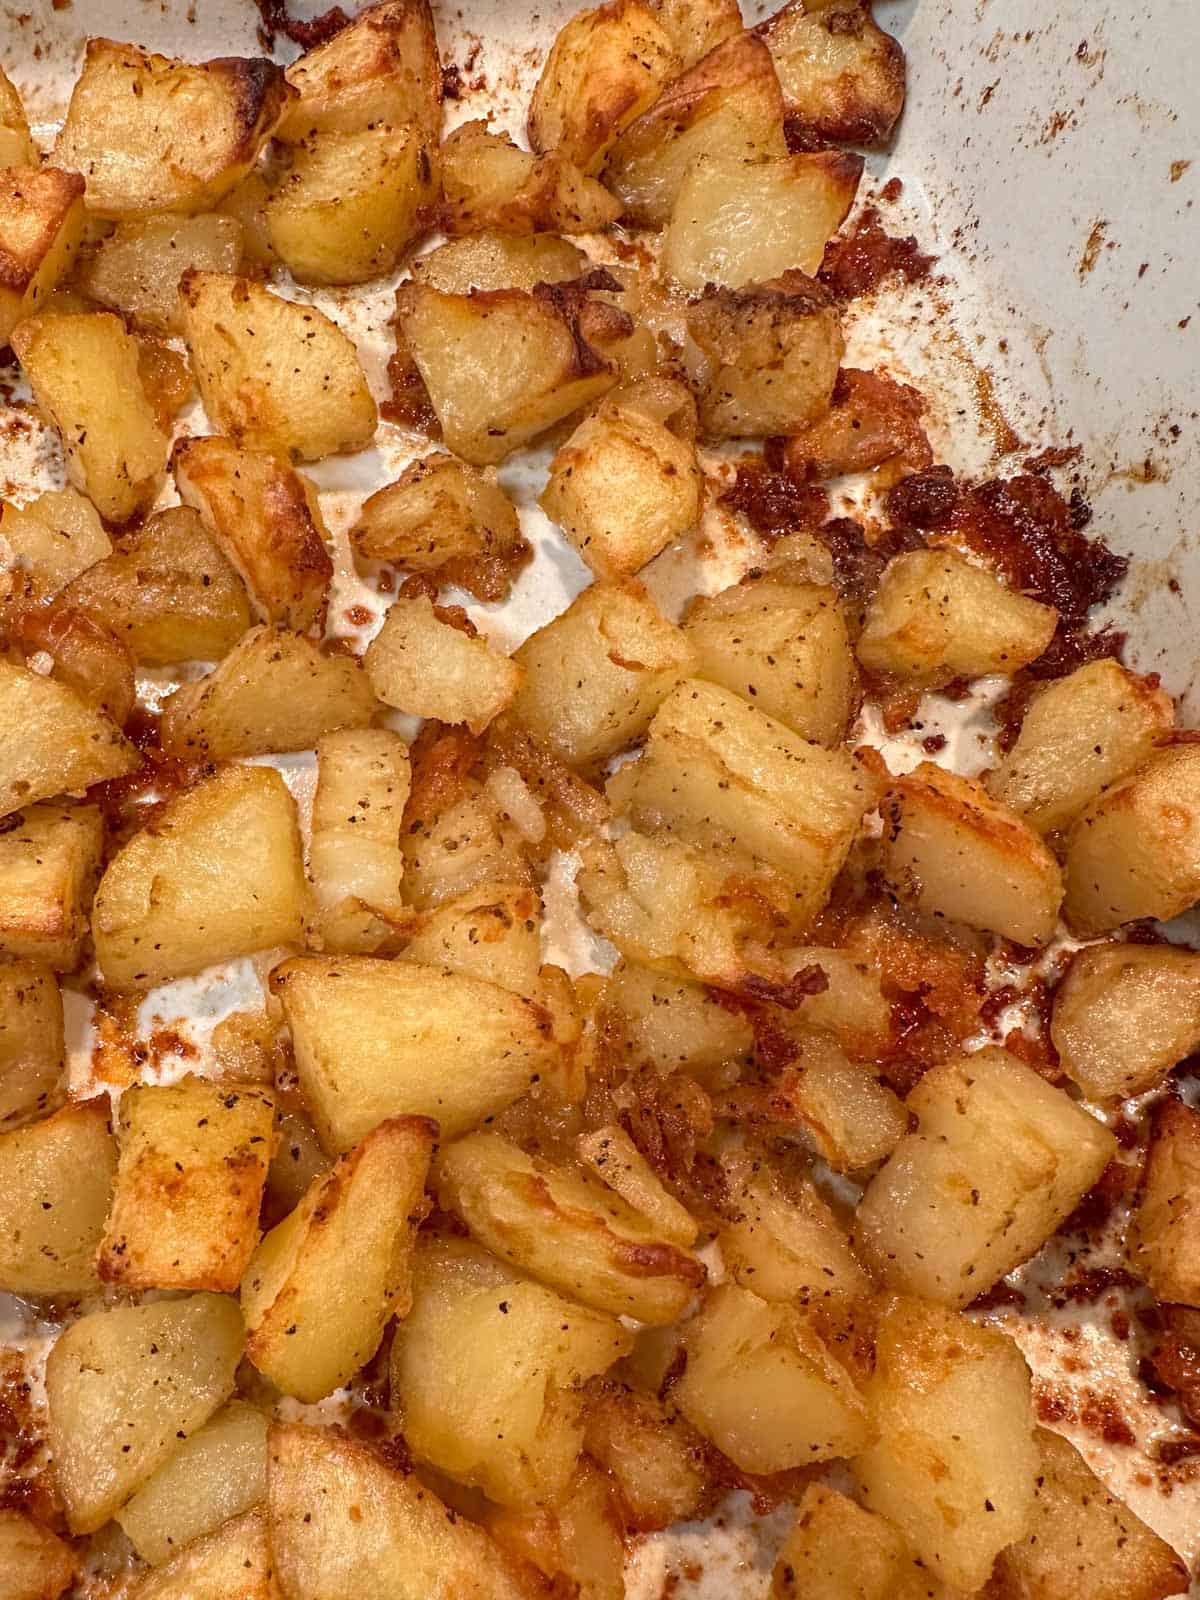
Serve hot, garnished with a bit of finely minced parsley if you like!
Suggestions For Serving
This easy side dish pretty much pairs well with all of your favorite main dishes! I love serving it with Garlicky Roast Chicken and Ribeye Steak.
For an extra indulgent treat, why not add some freshly grated Parmesan cheese to your roasted potatoes? It's truly heaven on earth!
I hope this will become your favorite way of roasting potatoes! Find the full printable recipe card below, and please leave a 5 star rating with your comments to let others know how great this delicious side dish is!
FAQ
I have only used russet potatoes for this recipe, however you can sub other types of potatoes if you like. Some suggestions are red potatoes, or yukon gold potatoes.
Consider these seasonings to add additional pizazz to your potatoes: garlic powder, Italian seasoning, and/or onion powder.
Store leftover roasted potatoes in an airtight container in your refrigerator. They are best enjoyed within 2 days.
I find the best way to reheat leftover roasted potatoes is to use an air fryer. Air fry at 375F for up to 5 minutes until hot and crispy!
Some Other Great Recipes You May Enjoy!
Here are some other great recipes that you may enjoy:
Join Me On A Fun Food Journey!
Finally, I invite you to come along on this food journey with me! Please sign up to get the latest recipes and inspiration for you to expand your food comfort zone! It's an incredible journey, please join me by signing up here.
Cheers!
Grace
Easy Oven Roasted Potatoes Recipe Using Chicken Fat
Equipment
- 1 roasting pan large enough so that you can spread your potato pieces out so they don't overlap
Ingredients
- 1.5 lb russet potatoes peeled and cut into 2" chunks
- ¾ ts salt
- ¼ ts pepper
- ⅓ cup chicken fat
Optional Garnish
- ½ ts parsley finely minced
Instructions
- Preheat your oven to 400F. If you like you can line your roasting pan with parchment paper or aluminum foil. Add the chicken fat to the pan, and place in your oven to heat the fat. Just keep an eye on it as the fat will start to splatter when it gets hot.

- In the meantime peel and cut the potatoes into bite sized pieces (around 2" chunks). Put the potatoes in a large bowl, and then add the salt and pepper and toss to coat the potatoes.
- Remove the roasting pan from the oven using oven mitts, taking care if the chicken fat is splattering. Place the seasoned potatoes in the roasting pan and toss the potatoes in the hot fat. It's best to spread the potatoes out and also ensure they aren't touching each other.
- Roast for around 1 hr, or until the potatoes are browned and crispy. Check them every so often (20 minutes or so). You'll want to toss and turn them gently a couple of times during the roasting time to help the potatoes roast evenly.
- Serve hot, garnished with a bit of finely minced parsley if you like.